Tag: hanging
-
Framing and Hanging Exterior Mosaic Plaques
Artist Brad Srebnik’s mosaic street number plaque is worth taking a look at for several reasons. It has a harmonious color scheme with good warm-cool contrast, it’s tightly executed, and the numerals have crisp outlines and subtle curves in a distinct font style. If you are thinking about a project with mosaic numerals or letters…
-
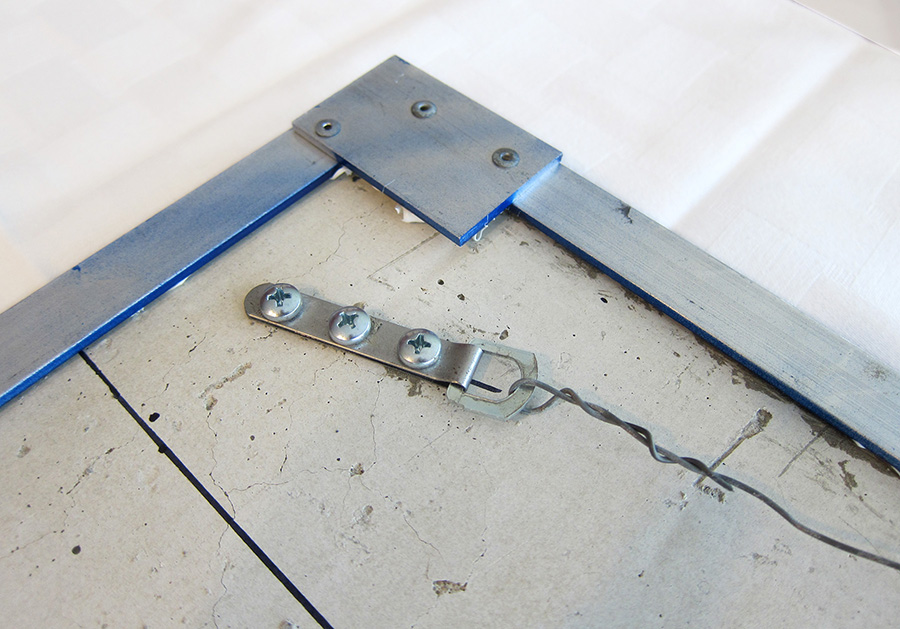
How to Hang Mosaic Art with French Cleat Wall Mounts
Small mosaic plaques can be mounted on a wall with a the same type of hangers and wires used for paintings provided the nail on which it hangs is mounted in a stud inside the wall, and even then redundant wires and fasteners are recommended. However, larger mosaics need more robust mounting hardware. The “french…
-
Architectural Mosaic Safety Issues
An architectural mosaic can cut someone if sharp edges are left exposed or crush someone if it’s not mounted securely. Even a small mosaic plaque is significantly heavier than a painting or photograph of the same size and should not be hung with light gauge wire or fasteners. Preventing Cuts Would You Glue Razor Blades…
-
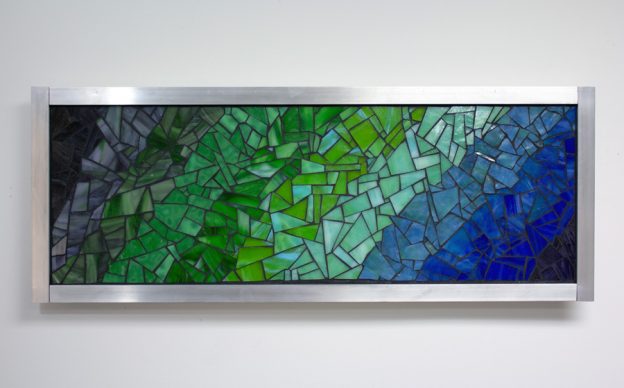
How To Make Reclaimed Wooden Frames And Mount Indoor Mosaics
Frames That Match The Art If the mosaic is a mixed-media mosaic with rounded and irregular sculptural elements, a frame in the style of a generic photo frame or document frame may look out of place with its uniformity and minimalism and linear perfection. The Merits Of Reclaimed Wood I think reclaimed wood with some…