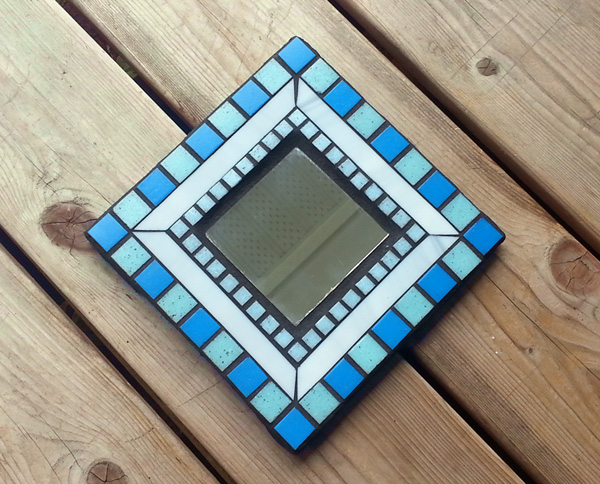
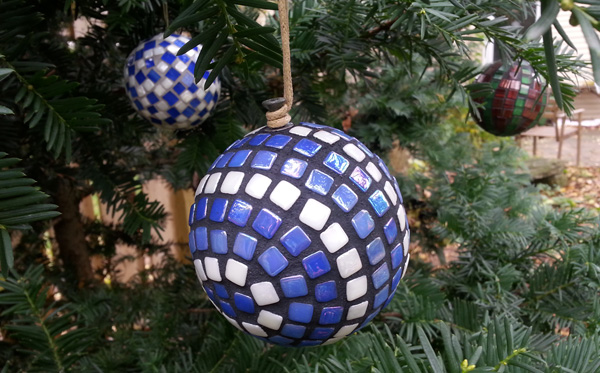
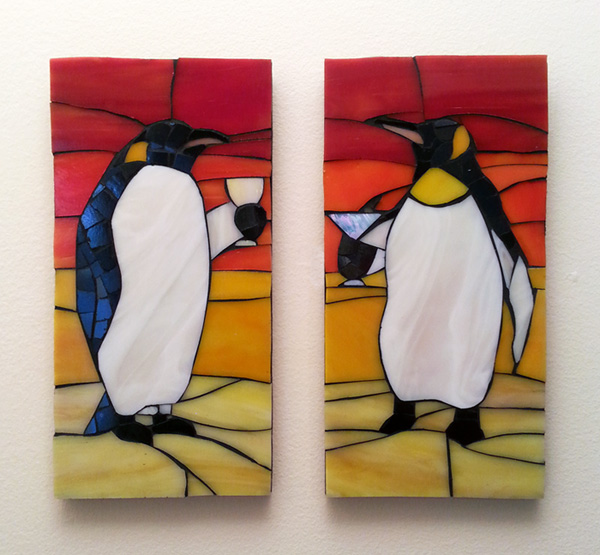
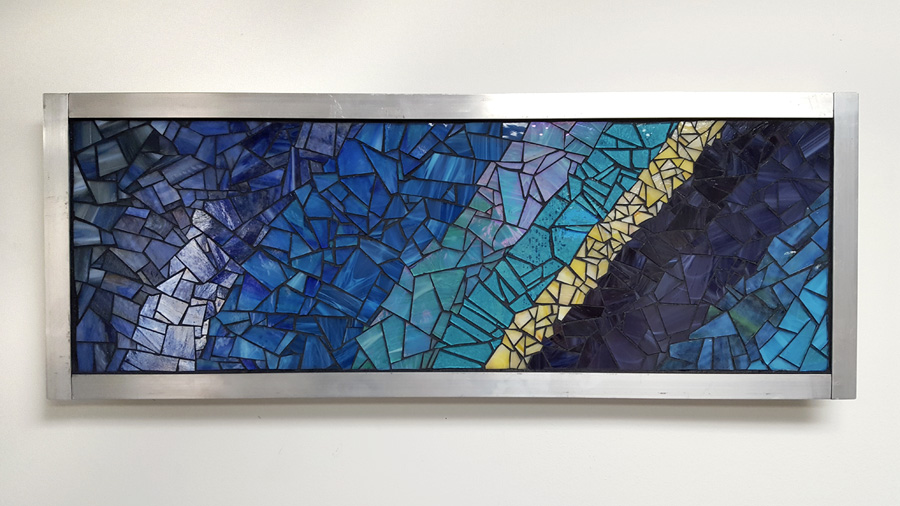
Not too long ago, I included a request in our email newsletter for customers to send us pictures of their mosaic art. I was pleasantly surprised by how incredibly good some of the mosaics were, but I was more than a little bit disappointed to see how poor some of the photographs were. To be brutally honest, some of the photos made me nothing less than angry. Here’s why:
If you are going to spend over 40 hours making anything, does it makes sense to photograph it without spending at least 4 minutes to make sure you have a neutral background and adequate lighting? After all, the vast majority of the people who see your art will actually only see the photograph of it and not the mosaic itself.
Note: You don’t have to be paranoid about sending me pictures of your art. The pictures I am talking about were so dark and/or blurry that I couldn’t tell what type tile was used in the mosaic. Seriously.
It was actually shocking that people could have enough patience and artistic sensitivity to produce the quality of mosaic they submitted to us, yet not display any of those traits when taking photographs of that same art. Many of the photographs looked like they were taken by a passing teenager who could care less: “I think I got a good shot. It’s a little blurry, and there’s shadows on the top corner, but you get the idea. Whatever. Hey, do you know what time Burger King closes?”
If this seems like a rant, it is, but my cheapo cell phone is capable of taking better photographs than a lot of what we received. And that is just the point of this long-winded introduction: YOU DO NOT NEED AN EXPENSIVE CAMERA TO TAKE PUBLISHABLE PHOTOGRAPHS OF MOSAIC ART AND PAINTINGS. You can take excellent photos with ordinary and low-end digital cameras provided you take just a little time (minutes) to ensure that you have adequate lighting and background.
Staging and Lighting for Art Photography
Diffuse Sunlight
The best lighting for photographing art is outdoors on a mildly overcast day or during late afternoon or early morning. Of course, you don’t want a dark sky with cold light, a little high cloud cover provides much better lighting conditions than a very sunny day with no clouds at all. When the sun is very bright, colors tend to look bleached out, and there are problems with glares and sparkles on glass and polished stone. The diffuse light of early morning, late afternoon and mildly overcast days is ideal.
Indoor Lighting
Sometimes you need to take photographs inside the studio. Sometime you need a work-in-progress shot and sometimes you don’t have time to wait for daylight hours. When this happens, take the time to move ordinary household lamps around so that you have adequate light and light from more than one angle. A simple end-table lamp with the shade removed can provide quite a bit of light, but tall floor lamps are even better because they are the right height. I like to position lights on either side of me a few feet away and stand in the middle. That means I am photographing from the direction of light but not with the light behind me. This ensures I don’t cast a shadow on the artwork or have glares.
Staging
The Art And Nothing But The Art
Many people like to photograph their art in situ as it is displayed, such as hanging on a wall or in out in the garden. This is fine. Surrounding objects, plants and people can give a sense of scale and context to the art. However, this should never be your primary photo of the art when submitting to contests or publications. At least one photo should be of the art itself in its entirety with other objects cropped out. This allows the viewer to see the most detail while still seeing the work as a whole without distraction.
Do It On The Floor
A common problem in photographing flat artwork is not taking the picture dead on at 90 degrees but slightly off from that. The problem isn’t obvious until you go to crop the photo, and then you realize that the top of the art is wider than the bottom (or vice versa) because you didn’t have the art perfectly flat or you didn’t have the camera perfectly perpendicular to it. This is an example of “foreshortening,” and the problem usually happens when the art is leaned against a wall at an angle, which makes it difficult for the photographer to tell if they are shooting dead on.
The easiest way to photograph a small or medium-sized piece of flat art without foreshortening is to lay the artwork on the floor and stand above it on a chair or stool. Lay the art on a neutral-colored carpet of towel or sheet and photograph it from above. Of course, make sure that you don’t have an overhead light behind your head to cast a shadow on the artwork, but if you arrange a lamp on either side of you as described above, you can avoid that problem.
I should clarify what I mean by shadow. A shadow doesn’t have to be a distinct silhouette to be a problem. A shadow can be more subtle than that, manifesting itself only as a region of the artwork which isn’t quite as bright as the rest.
Cropping and Enhancing Photographs
If your photograph isn’t bright enough or doesn’t look right, the solution may be a simple as a click of a button. Your probably need to crop or re-size the photo anyway, so why not use some of the other features in your photo editor to correct basic problems. Many of the tools in photo editing programs have “smart” or “auto” settings where you can let the software determine what is wrong (such as brightness or contrast) and automatically apply a calculated correction. Many times the problem can be solved in one click, but if not you can still use the tools manually to make adjustments.
I use Adobe’s Photoshop Elements for cropping, correcting and enhancing my artwork photographs, and it has great tools for adjusting lighting and contrast, correcting hues, playing with color variations, etc.
However, many of these same features are available in free photo editors such as GIMP, Picasa, iPhoto and others.
How My Online Artwork Is Photographed
The vast majority of my online artwork is photographed outdoors on mildly overcast days of diffuse light or in the morning or late afternoon. I lay my artwork flat on a concrete slab away from trees, houses and other sources of shadow. I position a step stool next to the art on a side where the sun will not be behind me. I photograph the art straight down and look for any subtle shadow that my body or other object might be casting before taking pictures.
Leave a Reply