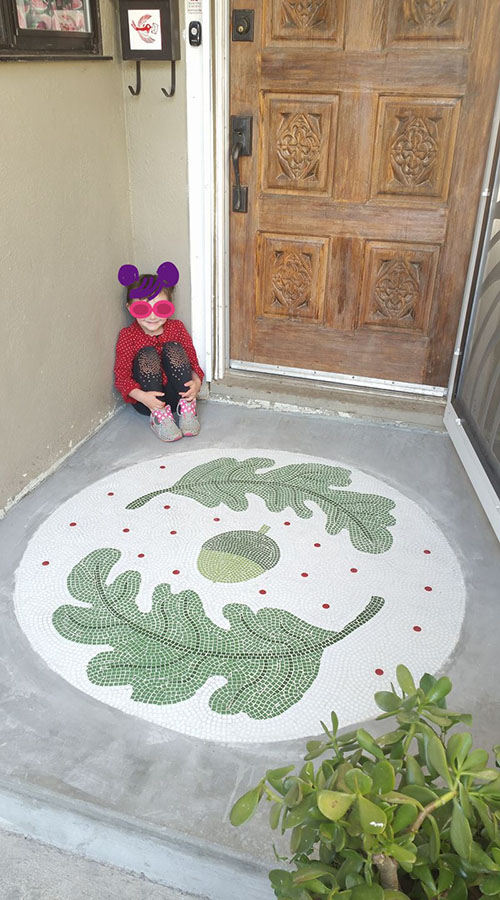
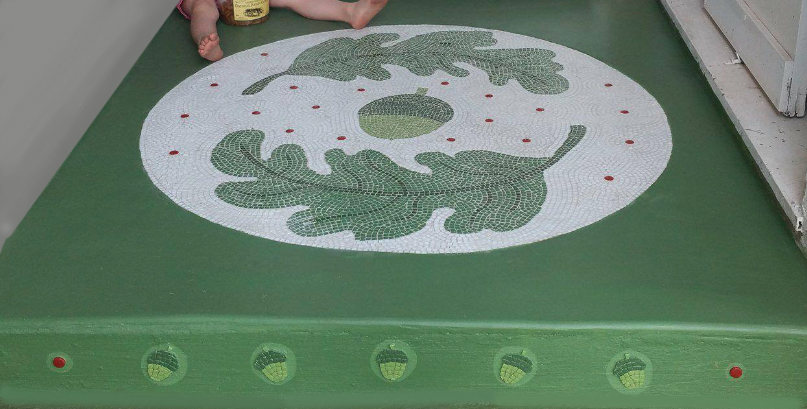
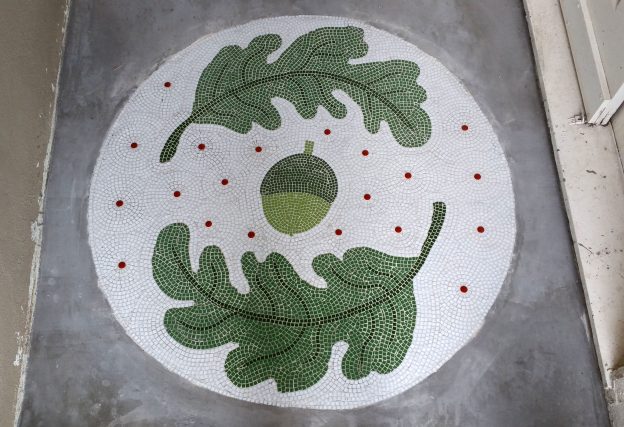
Ana Bonnin emailed us some pictures of her recent entranceway mosaic, and I wanted to share these with our readers. Ana’s pictures also made me remember that I needed to summarize what I know about best practices for making porch mosaics last longer.
Ana’s mosaic is the family emblem that she and her husband designed to represent the parents (symbolized by oak leaves) protecting their seed. My favorite photo includes the doodlebug in question, with a disguise added digitally by Mommy.

Ana’s plan was to paint the surrounding concrete green.
If your mosaic does not cover the entire surface, then make sure it is recessed so that the top of the mosaic is flush with the surrounding concrete so that tiles are not easily knocked loose by foot traffic.
In my opinion, it’s easier to mosaic the entire surface of the porch than it is to alter the surface through grinding down or building up areas, but if you are pouring the concrete porch from scratch, you can leave a recess for the mosaic insert. For most glass mosaic tile, the recess should be about of 4 to 6mm.
Making Your Own Porch Mosaic
Mosaics on porches and entranceways should be mounted using thinset mortar directly to the concrete. To lay the mosaic design up in advance, use mounting tape or mounting paper instead of fiberglass mesh so that you can avoid glue completely. Also make sure that the concrete surface has been cleaned thoroughly to ensure a good bond. Surface prep is absolutely critical for the mosaic to last.
Surface Prep
Any paint or sealer on the concrete must first be scoured off using a stiff wire brush. You can use hand brushes such as those used for cleaning welded steel, but for larger areas, a rotary steel brush in a die grinder or electric drill might be needed. If so, makes sure your arms are strong enough to control the rotating brush when it makes contact with the surface. The rotating brush will jerk forcefully to the side like a car tire spinning on asphalt.
Steel brushes in power tools are dangerously sharp and tend to get out of control because they pull across the surface in a circular motion that pulls the rotating head around and back toward the operator. Wears leather work gloves and denim when you work with steel brushes in rotary tools. Face shields might be advisable, especially for novices.
Do NOT seal the concrete before mounting the mosaic. You want to make sure the concrete is clean and free off anything that might interfere with the thinset mortar bonding securely. If the concrete is old and stained with soil or moss or patina or tree sap or anything, then scour it off with a wire brush. This is extremely important for making sure the mosaics lasts instead of cracking off in a year or two.
Grout Is Required
Grout keeps water from seeping between tiles where it can freeze and crack the tile. Make sure you use a grout gap (instead of mounting tiles so that they touch) and make sure that you work the grout down into the BOTTOMS of the gaps by rubbing and pressing hard enough to fill bubbles and voids.
We use traditional grouts made from sand and portland cement, and so we don’t have much experience with the new epoxy-based grouts, which are much harder and supposedly more durable than traditional grouts. A mosaic in a wet outdoor location such as a porch or swimming pool would be a good time to use the epoxy grout if you don’t mind the smell and clean up.
Seal the Finished Mosaic
After the grout has cured for a day or more, make sure you seal the mosaic with multiple applications of a tile and grout sealer.


Leave a Reply