Artist Jill Gatwood has emailed me her procedure for using GE Silicone II to mount mosaic tile to steel mailboxes, and it is outlined below.
Jill’s instructions have convinced me that there are enough mosaic applications for silicone adhesive that we should sell it. Note that we still recommend thinset mortar or Weldbond for mosaics on architectural surfaces such as backsplashes, but for projects such as mosaic mailboxes or glass-on-glass mosaics, silicone adhesive is preferred.
Jill’s steel mailbox instructions are fairly complete and include recommendations for purchasing the right type of mailbox for the project and modifying it as needed.
Steel Mailbox Instructions
1. Selecting The Mailbox
Jill says that a steel mailbox from the big box home improvement stores or a hardware store will work but you have to check it and make sure the metal is strong and doesn’t flex. (In practical terms, this means you should buy the mid-grade or premium model and not the one made for the bottom of the market.)
Jill recommends getting one that has ribs to strengthen the frame if you need an XL size mailbox.
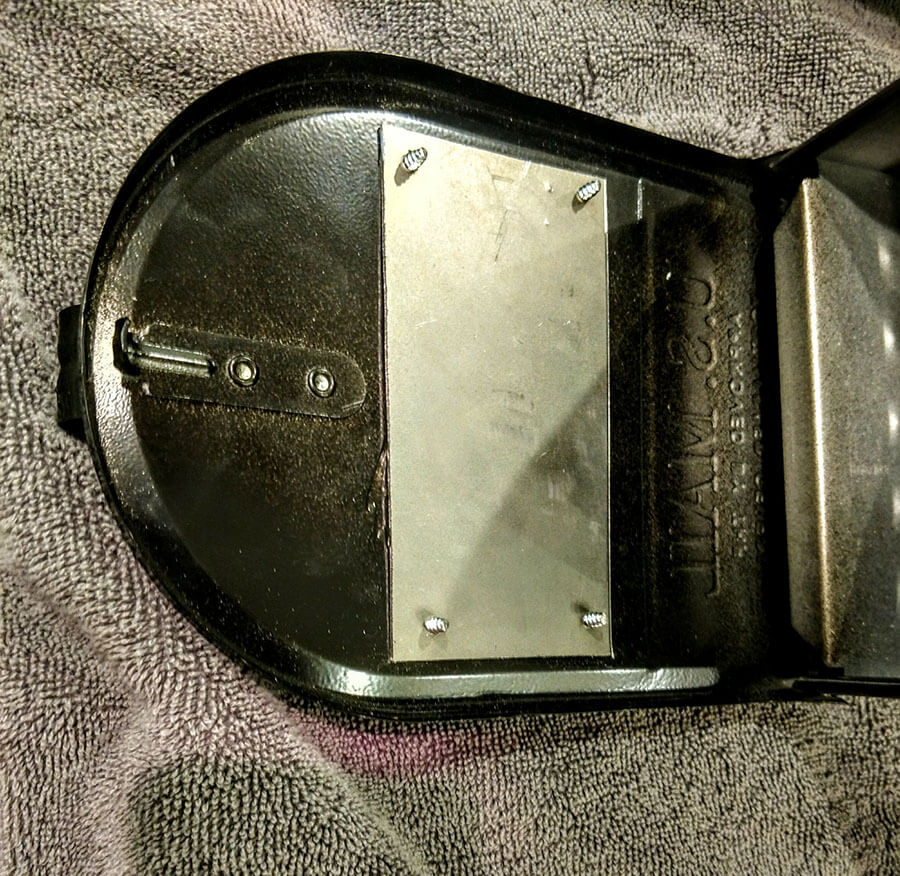
2. Modify And Sand The Mailbox
Reinforce Door
Jill reinforces the door with a metal plate because otherwise the door is most likely to flex and pop off tiles.
Remove Flag
Remove the flag, which hides the mosaic design. The tile would also prevent the flag from turning up or make it difficult.
Sand Select Areas
The mailbox should be sanded all over, except for the bottom rim and any other part that will be exposed and not tiled.
- Leave the bottom inch of the mailbox un-tiled. This area is a bit weaker and tiles can be lost during mounting.
- Leave an un-tiled rim where the door opens and closes.
As always, we recommend using pieces for the indestructible belts made for belt sanders instead of quickly disposable sand paper. (The price is about the same, but one lasts forever compared to the other.)
3. Draw The Pattern
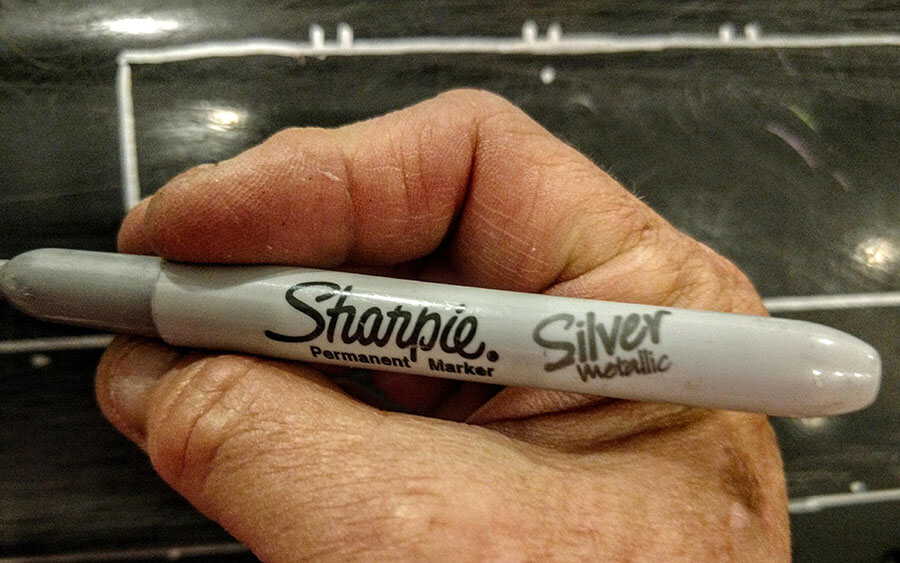
To draw your design on the box, Jill recommends using a silver Sharpie pen or one of those red crayon pencils that peel down with a string to expose the tip. A silver Sharpie pen is used instead of a regular black Sharpie because it shows up better on the bare steel.
She recommends that you personalize your mailbox with your address number or name so that it is less likely to be stolen.
3. Select An Adhesive
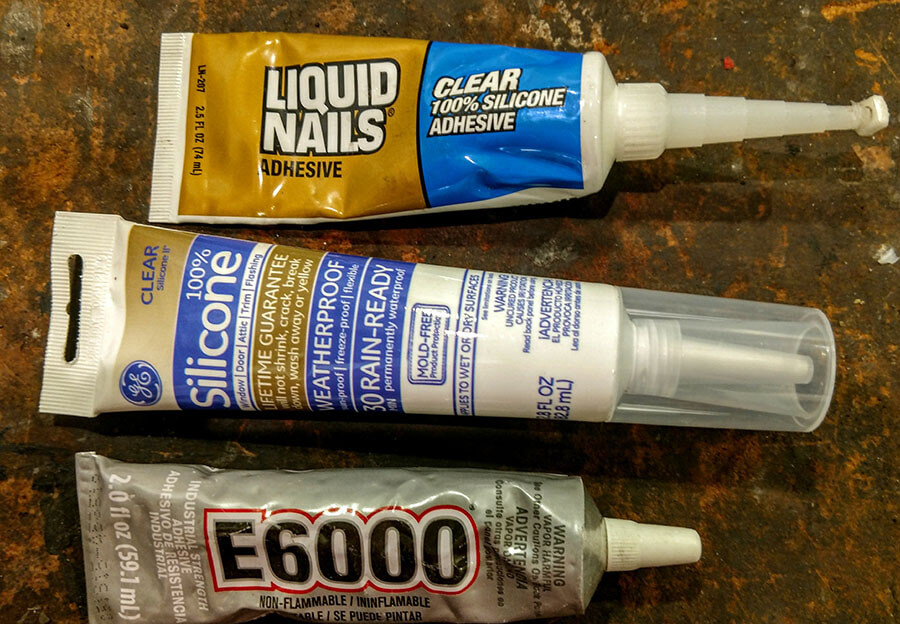
Avoid using a silicone caulk chosen at random as they might vary in terms of fillers and cracking over time or hardness or some other property. GE Silicone II seems to have the most fans online for mosaic work. Jill often uses it for her mailboxes, and we have used it in-house for glass-on-glass mosaics.
Jill says that E6000 can be used, but we avoid it due to fumes and toxicity and stick to silicone.
4. Tile The Mailbox
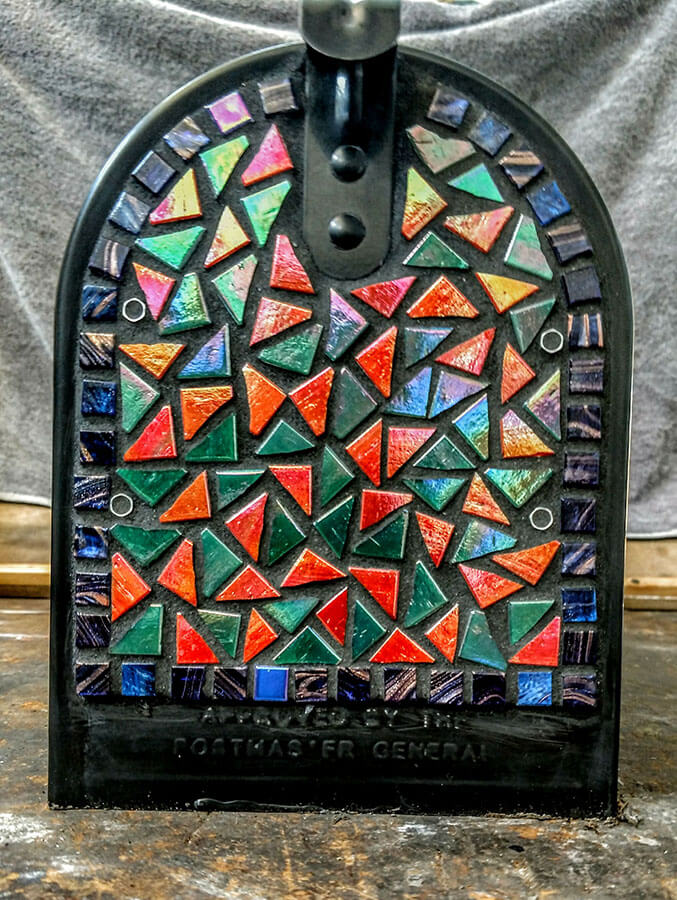
Tile the mailbox one side at a time and rotate it as needed to turn each side up for tiling. Silicone hardens faster than white PVAs such as Weldbond but take care not to turn the mailbox before the silicone hardens and risk shifting the tiles on the side resting on your work surface.
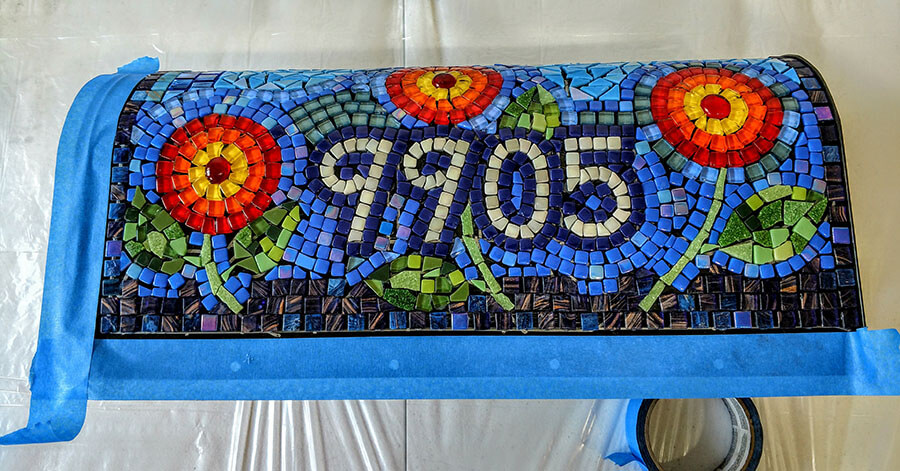
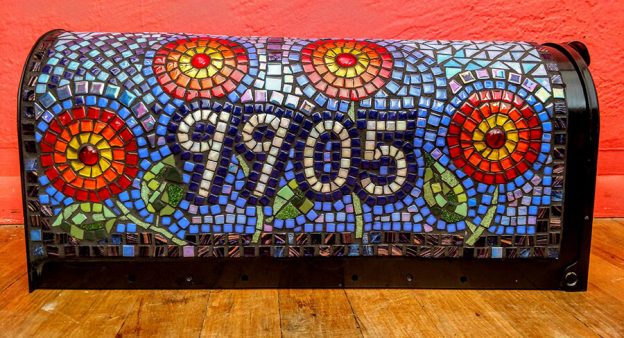
5. Grout The Mailbox
Let glue cure for a day or two and then grout with sanded grout. Usually a dark grout looks best. Jill uses painter tape to cover the parts that won’t be grouted (otherwise you have to clean grout out of the holes and the door mechanism).
Let the grout dry for a day or two and then seal the whole mailbox with 511 Impregnator Grout Sealer. This is a wipe-on/wipe-off product that can be purchased at Home Depot.
Note that sometimes these water-based grout sealers will have negative reviews online. I speculate that most of these negative reviews are from people who used material that froze during shipment. That is why we don’t see the sealer in our online mosaic store and allow people to purchase it locally.
I think that the remaining negative reviews are from people who didn’t buff off the excess sealer.
6. Mount the Mailbox
Post: If you don’t already have a strong mailbox post, use a 4” x 4” wooden post or a hollow metal post 3 ½” square. Sink post into the ground with concrete.
Mailbox platform: I recommend using a Universal Mounting Bracket available at Home Depot/ Lowe’s/most home improvement stores). It includes instructions and screws, etc.
A second option is to secure a 6″ x 18 1/2″ block of wood to the mailbox post. Attach the mailbox to the wood base with 1 5/8″ coarse-thread drywall screws through the side holes of the mailbox.
7. Maintenance
Because mailboxes are exposed to the elements and get a lot of wear, inspect the condition every few months, especially the door. Because the door gets a lot of use, you may need to occasionally patch the grout or even replace a tile or two there. Re-seal with grout sealer every six months or so for maximum life.
When To Use Silicone Adhesive
For years I have recommended that people NOT use silicone caulks as an adhesive for mounting mosaic tile, and I did so for several reasons.
The main reason I discouraged silicone was that people were using it for architectural surfaces such as bathroom backsplashes and having problems with the grout cracking when the flexible silicone was compressed by random impacts on the tiled surface. I also discouraged people from using it because silicone doesn’t clean up easily with soap and water like Weldbond and thinset mortar do, and novices tended to use whatever silicone caulk they happened to have at home, no matter how old. They also expected silicone to compensate for using vulnerable backers like plywood, which isn’t reasonable.
The problem is that Weldbond doesn’t ever fully dry and turn clear when sandwiched between larger pieces of glass, and there is a real need for something that can be used for glass-on-glass mosaics, such as gluing stained glass to a window pane.
Now we sell GE Silicone II for glass-on-glass mosaics and for projects such as steel mailboxes where thinset will eventually cause bare steel to oxidize or fall off when the paint on painted steel starts to flake off.

Leave a Reply