Category: Step by Step Instructions
-
Temporary Surfaces Versus Mosaic Backers
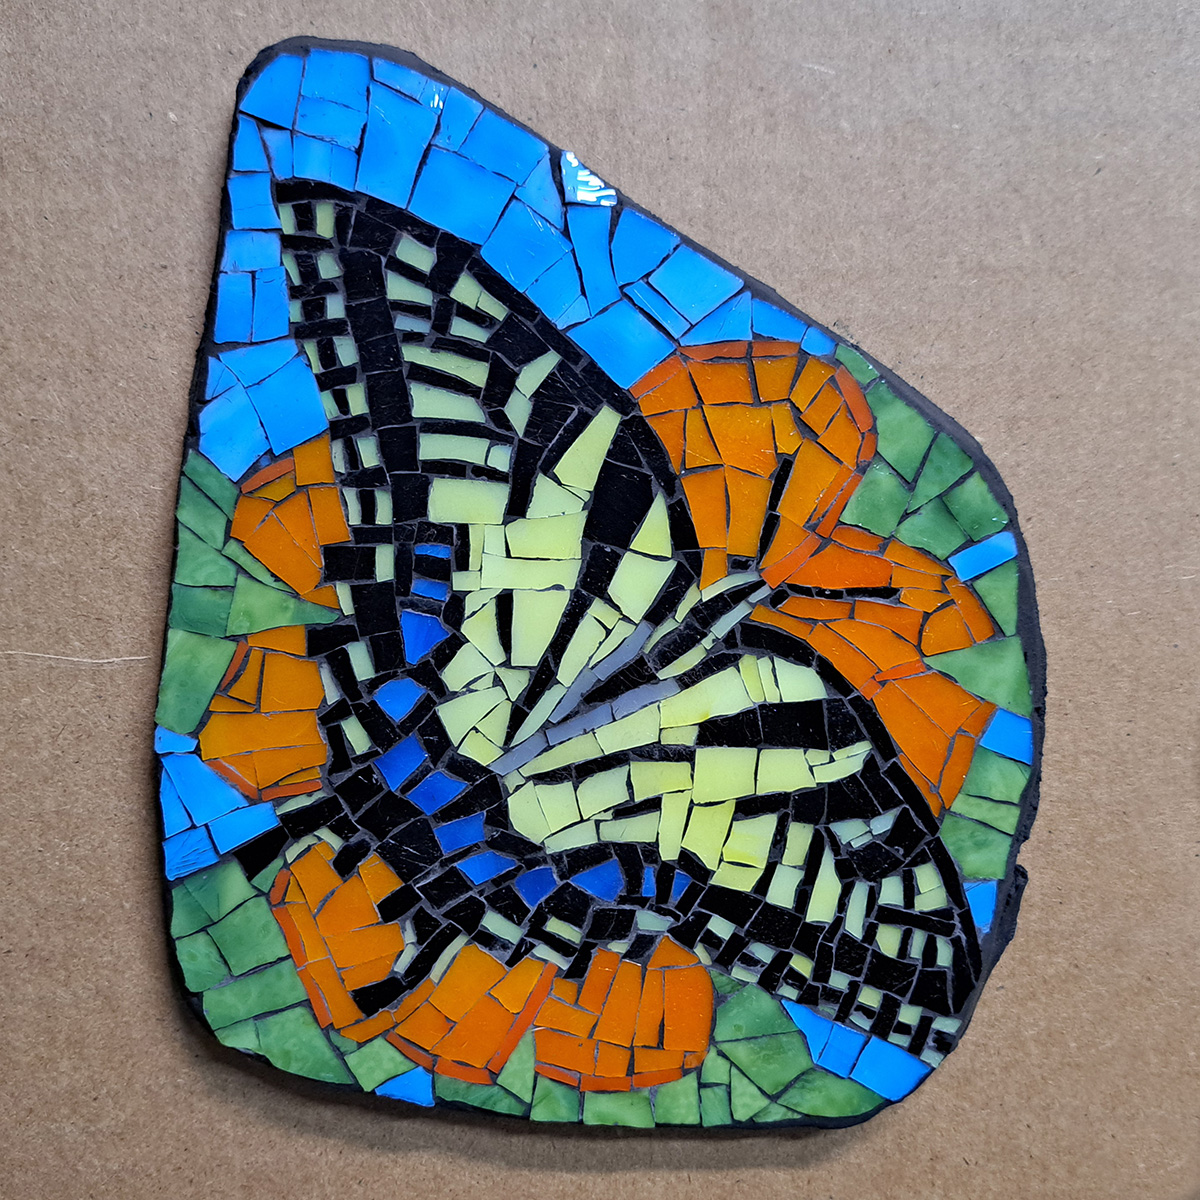
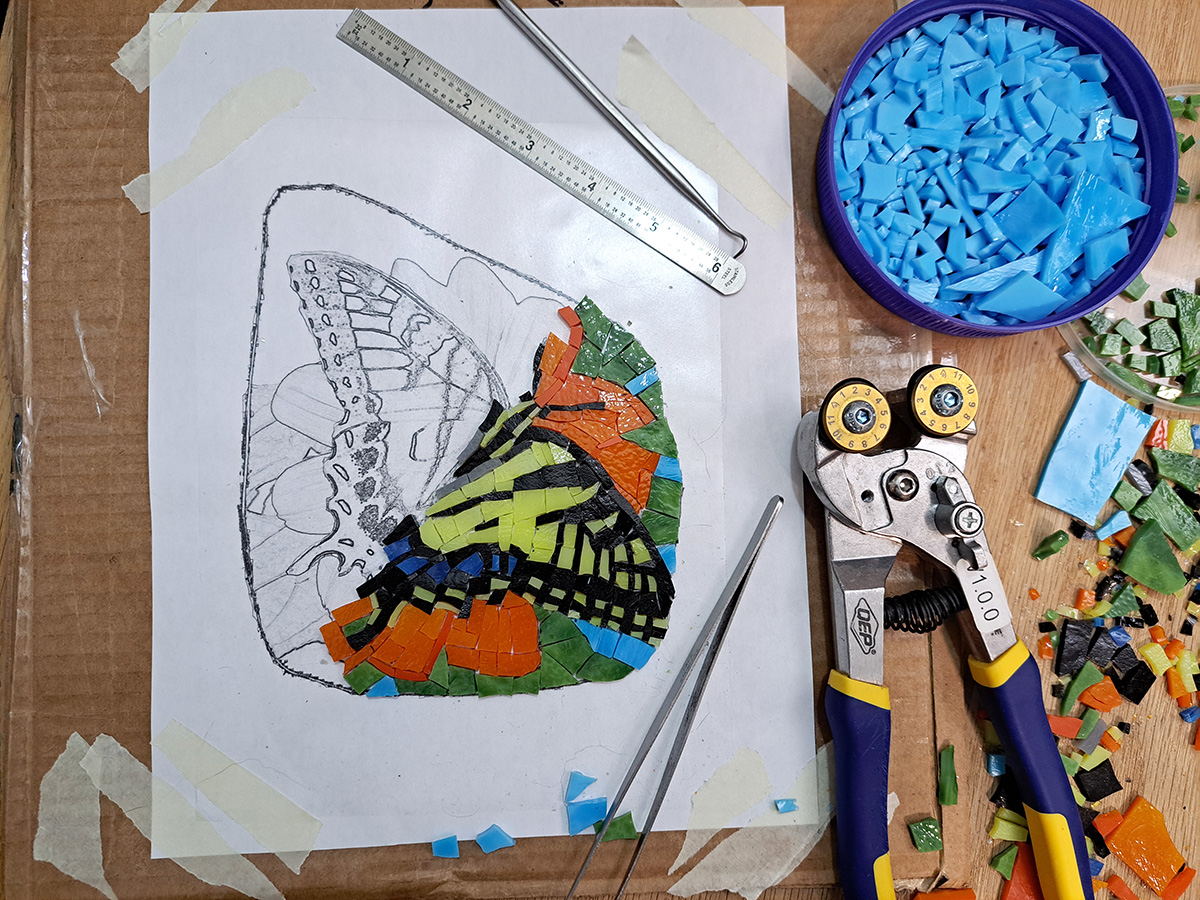
My article about making patterns for irregularly-shaped mosaics shows other work-in-progress steps for the same mosaic I show here in this post. The mosaic is named for its subject, Eastern Tiger Swallowtail Butterfly. It’s about 6 x 7 x 1/2 inches in size. In this article, I show the creation of the temporary surface and…
-
Making Patterns for Irregularly-Shaped Mosaics
My recent mosaic Eastern Tiger Swallowtail Buttefly was mounted on an irregularly-shaped backer. This article summarizes how to use Adobe Photoshop to size and crop the pattern so that it matches the shape of the backer. Previous articles explain how to make a mosaic pattern from any photo using Photoshop’s find-edges filter and how to…
-
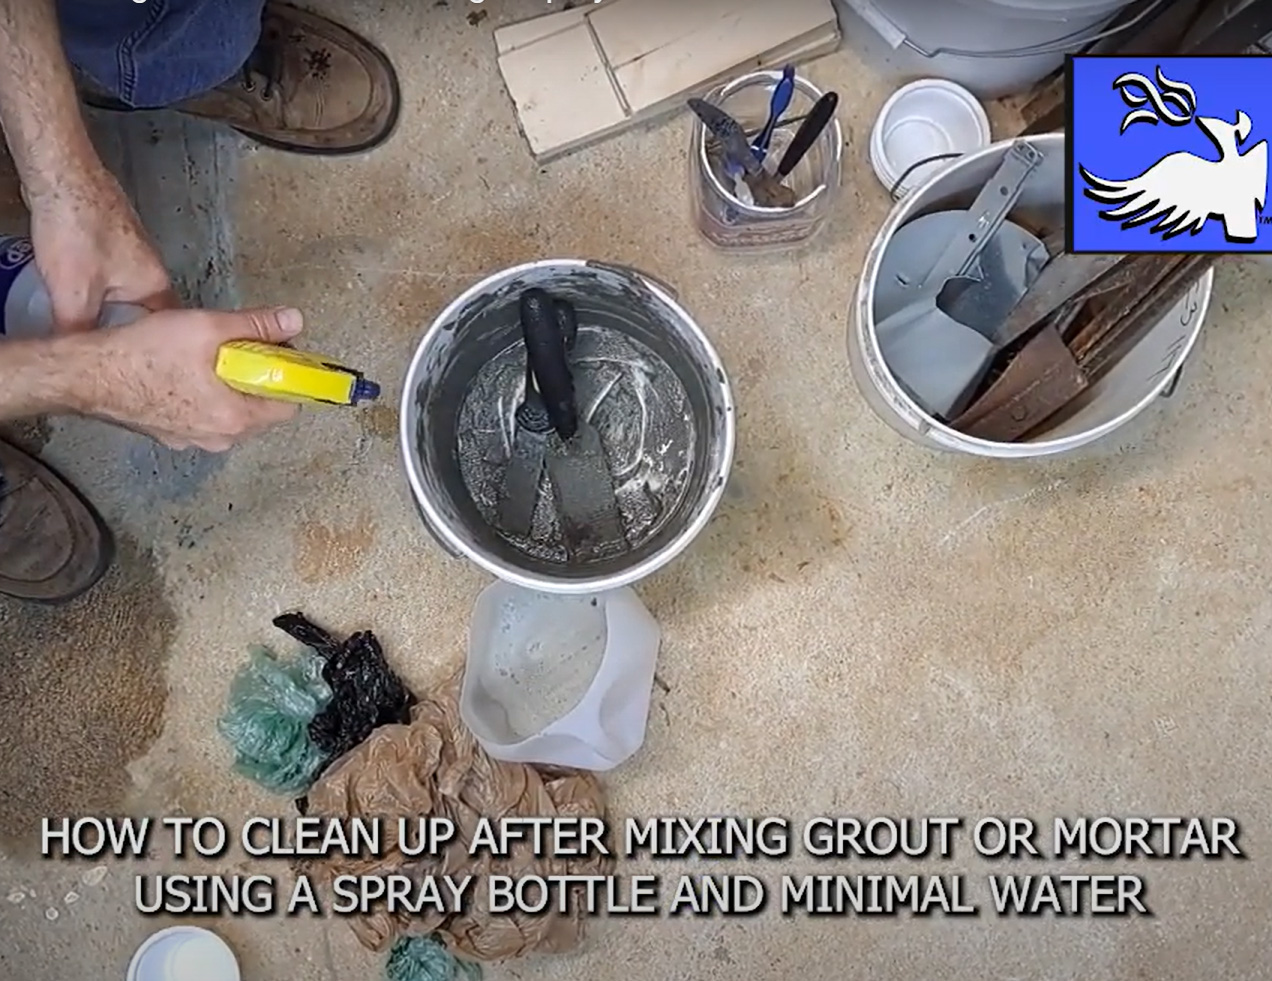
How To Clean Up After Mixing Grout Or Mortar
I made a video showing how to clean up the spreading tools and bucket after mixing up grout or thinset mortar. My method only requires a cup or two of water from a spray bottle and some downcycled plastic grocery bags.
-

Make Quick Mosaic Patterns from Any Photo
Recently a friend of mine asked for a mosaic pattern for a kingfisher and the materials to make it. He made this request at the eleventh hour when he discovered that it would be raining the entire weekend of his family’s beach trip. I literally had to get the pattern and the tile shipped the…
-
Backer for Irregularly-Shaped Mosaic
I have made another mosaic of Moses dreaming on Mount Sinai, and this version also has an irregular shape. I like making sacred relics and visual artwork that “goes past the frame.” I wanted this mosaic to be on a stone tablet like the original decalogue.
-
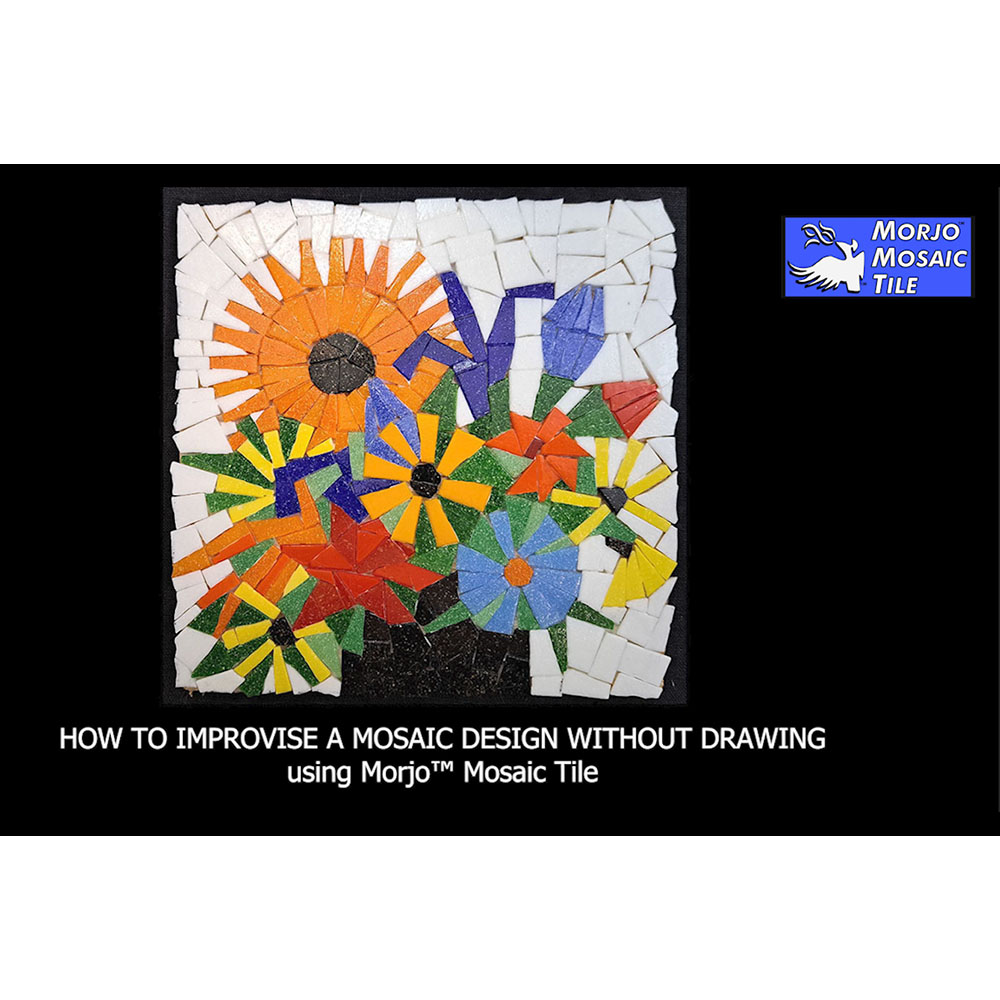
Morjo™ How to Mosaic Videos
I am producing a series of How to Mosaic Videos and have rebranded our Youtube Channel to Morjo Mosaic Tile™. I have about 30 to 40 videos currently in production and will be publishing these in the coming weeks. The mosaic video published today is: HOW TO IMPROVISE A MOSAIC DESIGN WITHOUT DRAWING Using Morjo™…
-
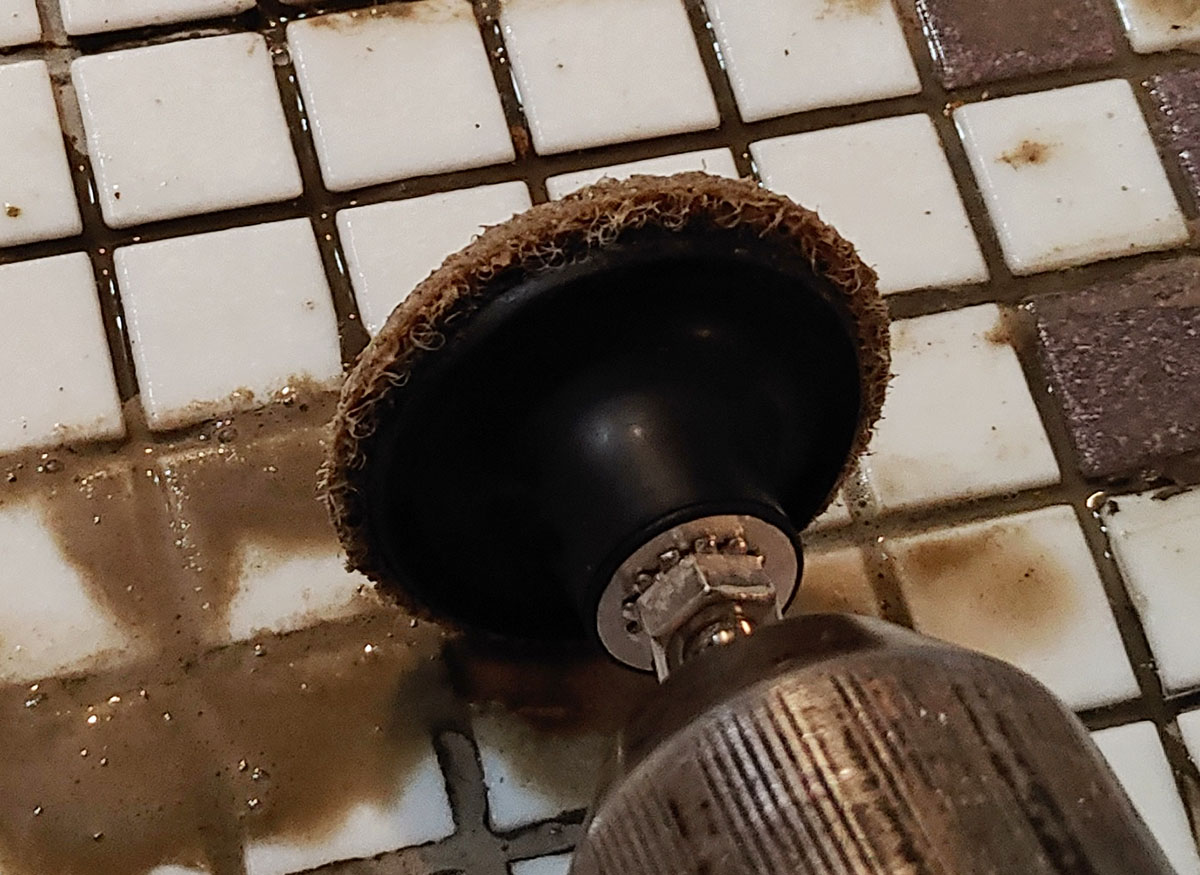
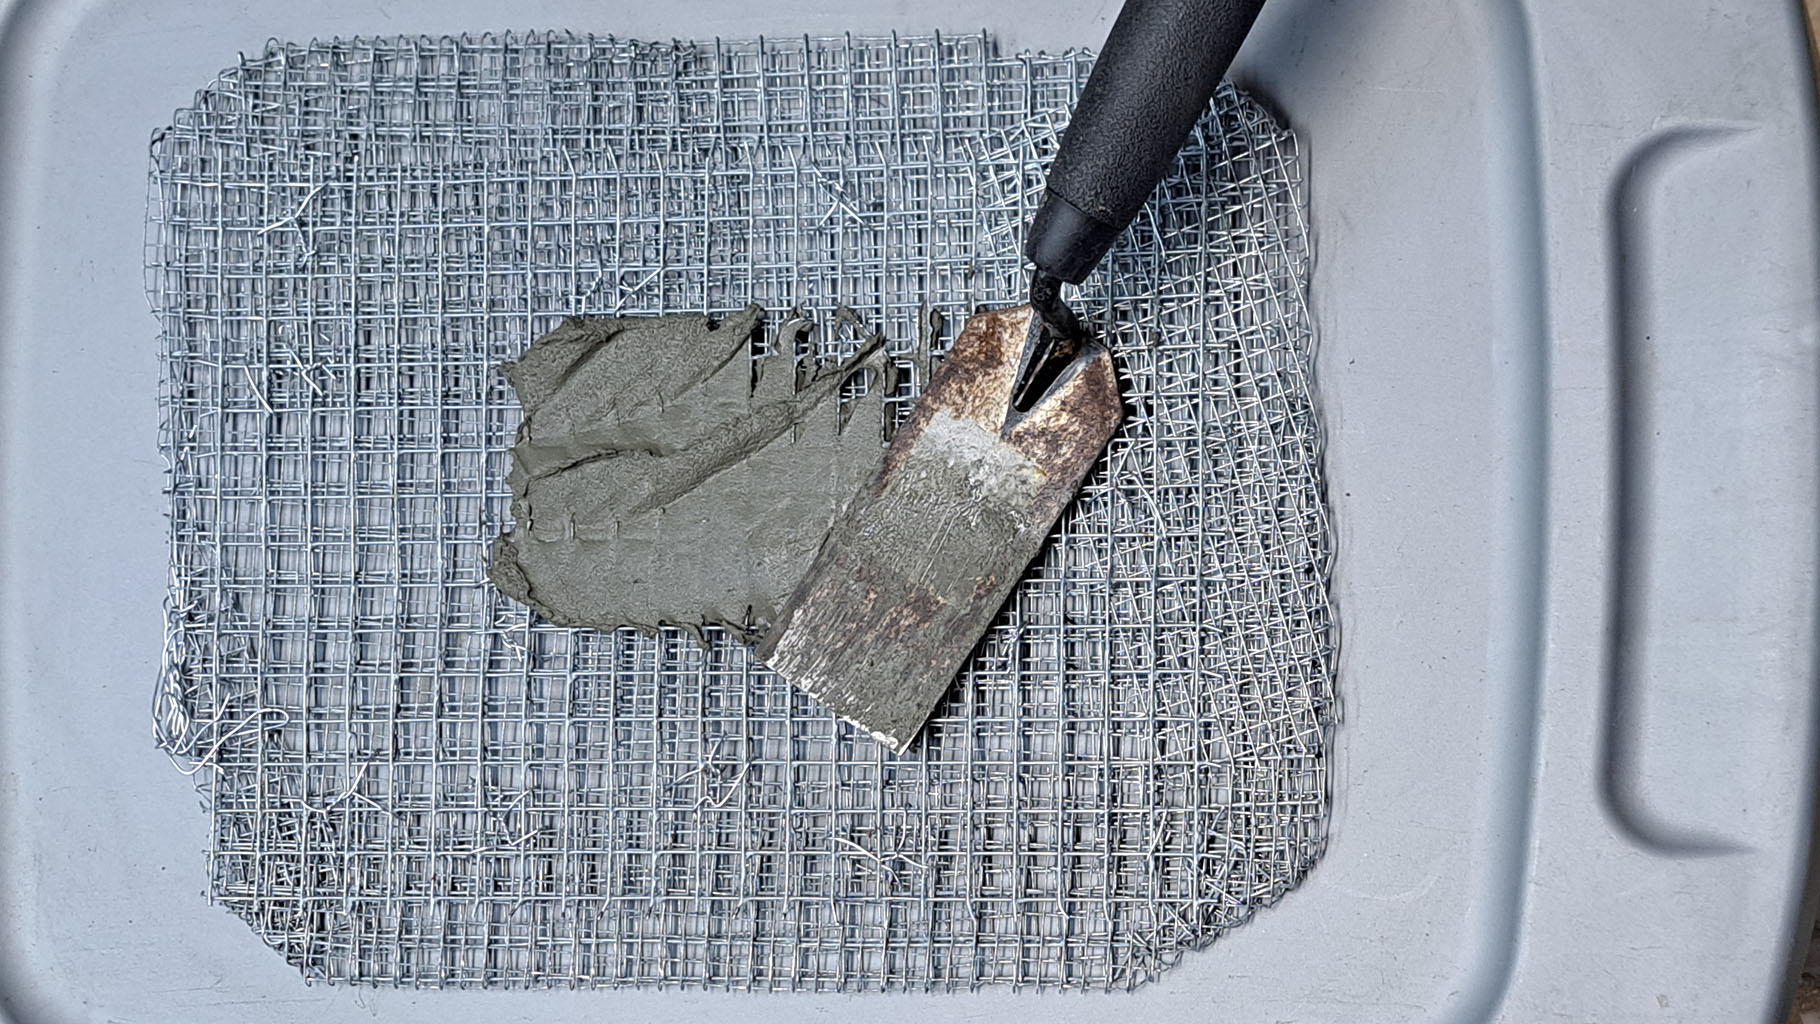
Nonstandard Method for Removing Mortar in Gaps
Natalija reminded me that she used her cordless drill with a mesh disc to remove the hardened mortar, and that cordless rechargeable tools exist. Either we didn’t have cordless rechargeable tools on my home planet, or I was having a stress-induced boomer episode yesterday. One of those two things is true, maybe both.
-
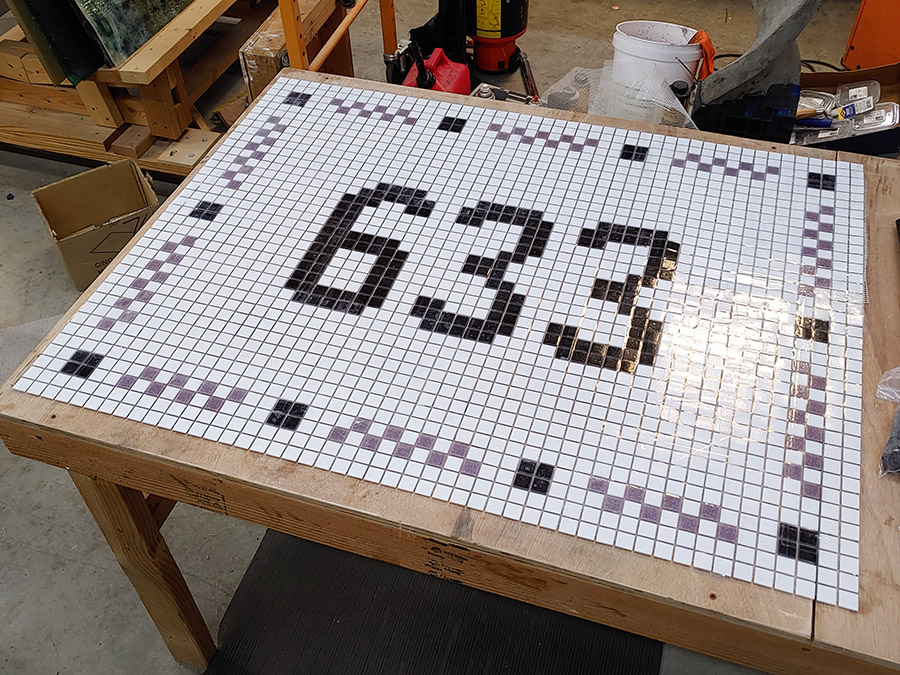
Entranceway Mosaic: How to Use Grids, Mesh, Tape, and Thinset
Natalija recently created an entranceway mosaic as one of the final projects in the renovation of her new home. She did a great job photo documenting the process step by step, including some serious mistakes/missteps, and that is why I am eager to share it. Also, the mosaic itself looks good and was well executed.
-
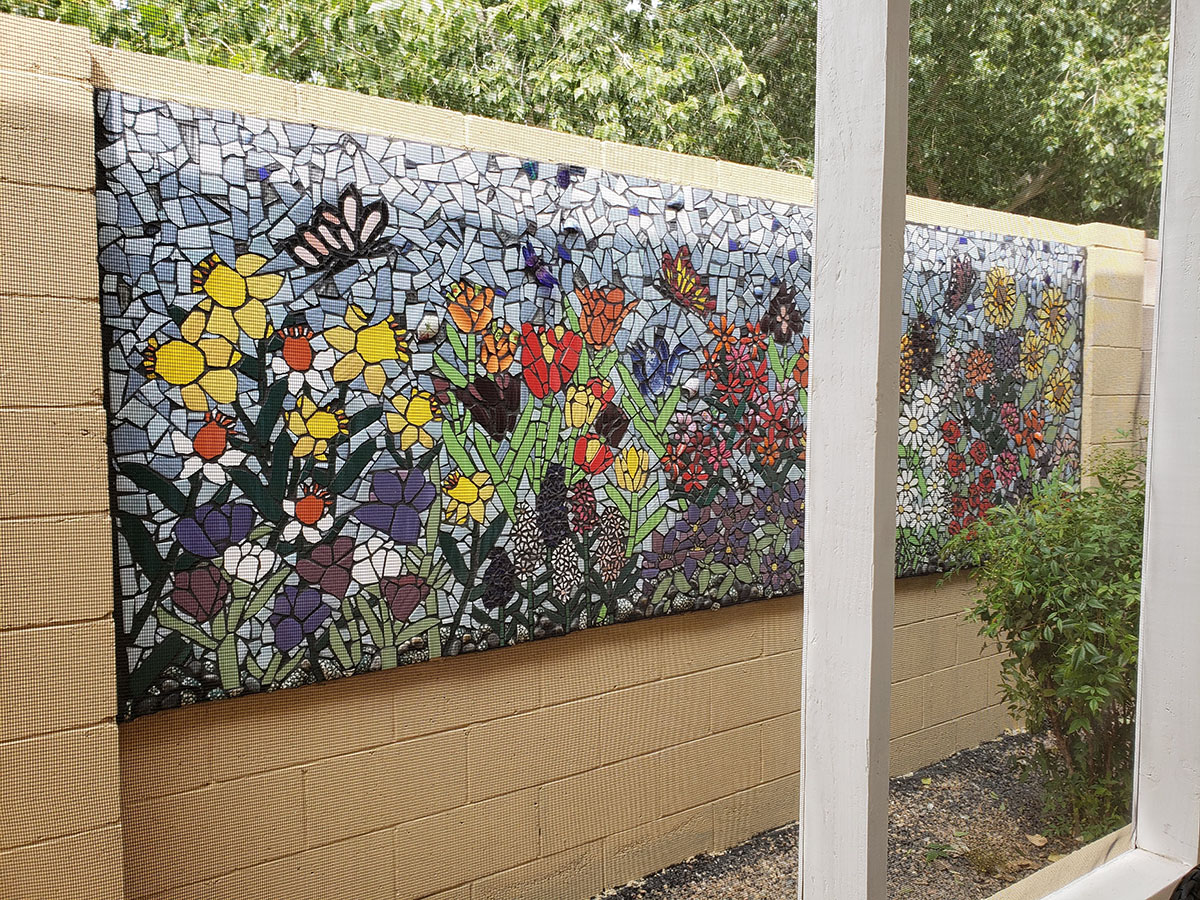
Mosaic Mural on Tile Backer Board
Artists Patricia Cream and Leah Mitchell recently completed an outdoor mosaic mural mounted on foam-core tile backer board, and they took excellent photos of the work in progress. Each major step in the process is shown, including the french-cleat hanging brackets used to mount the mosaic to the cinder-block wall. The mosaic mural is also…
-

Making Mosaic Letters from Beads
Glass Seed Beads in the 3.7mm size can be strung on short pieces of wire to make letters, numerals, and symbols in mosaic artwork. Step #1. Find Wire Any variety of metal wire can be used, but copper taken from stranded electrical wire is the easiest to find and use:
-
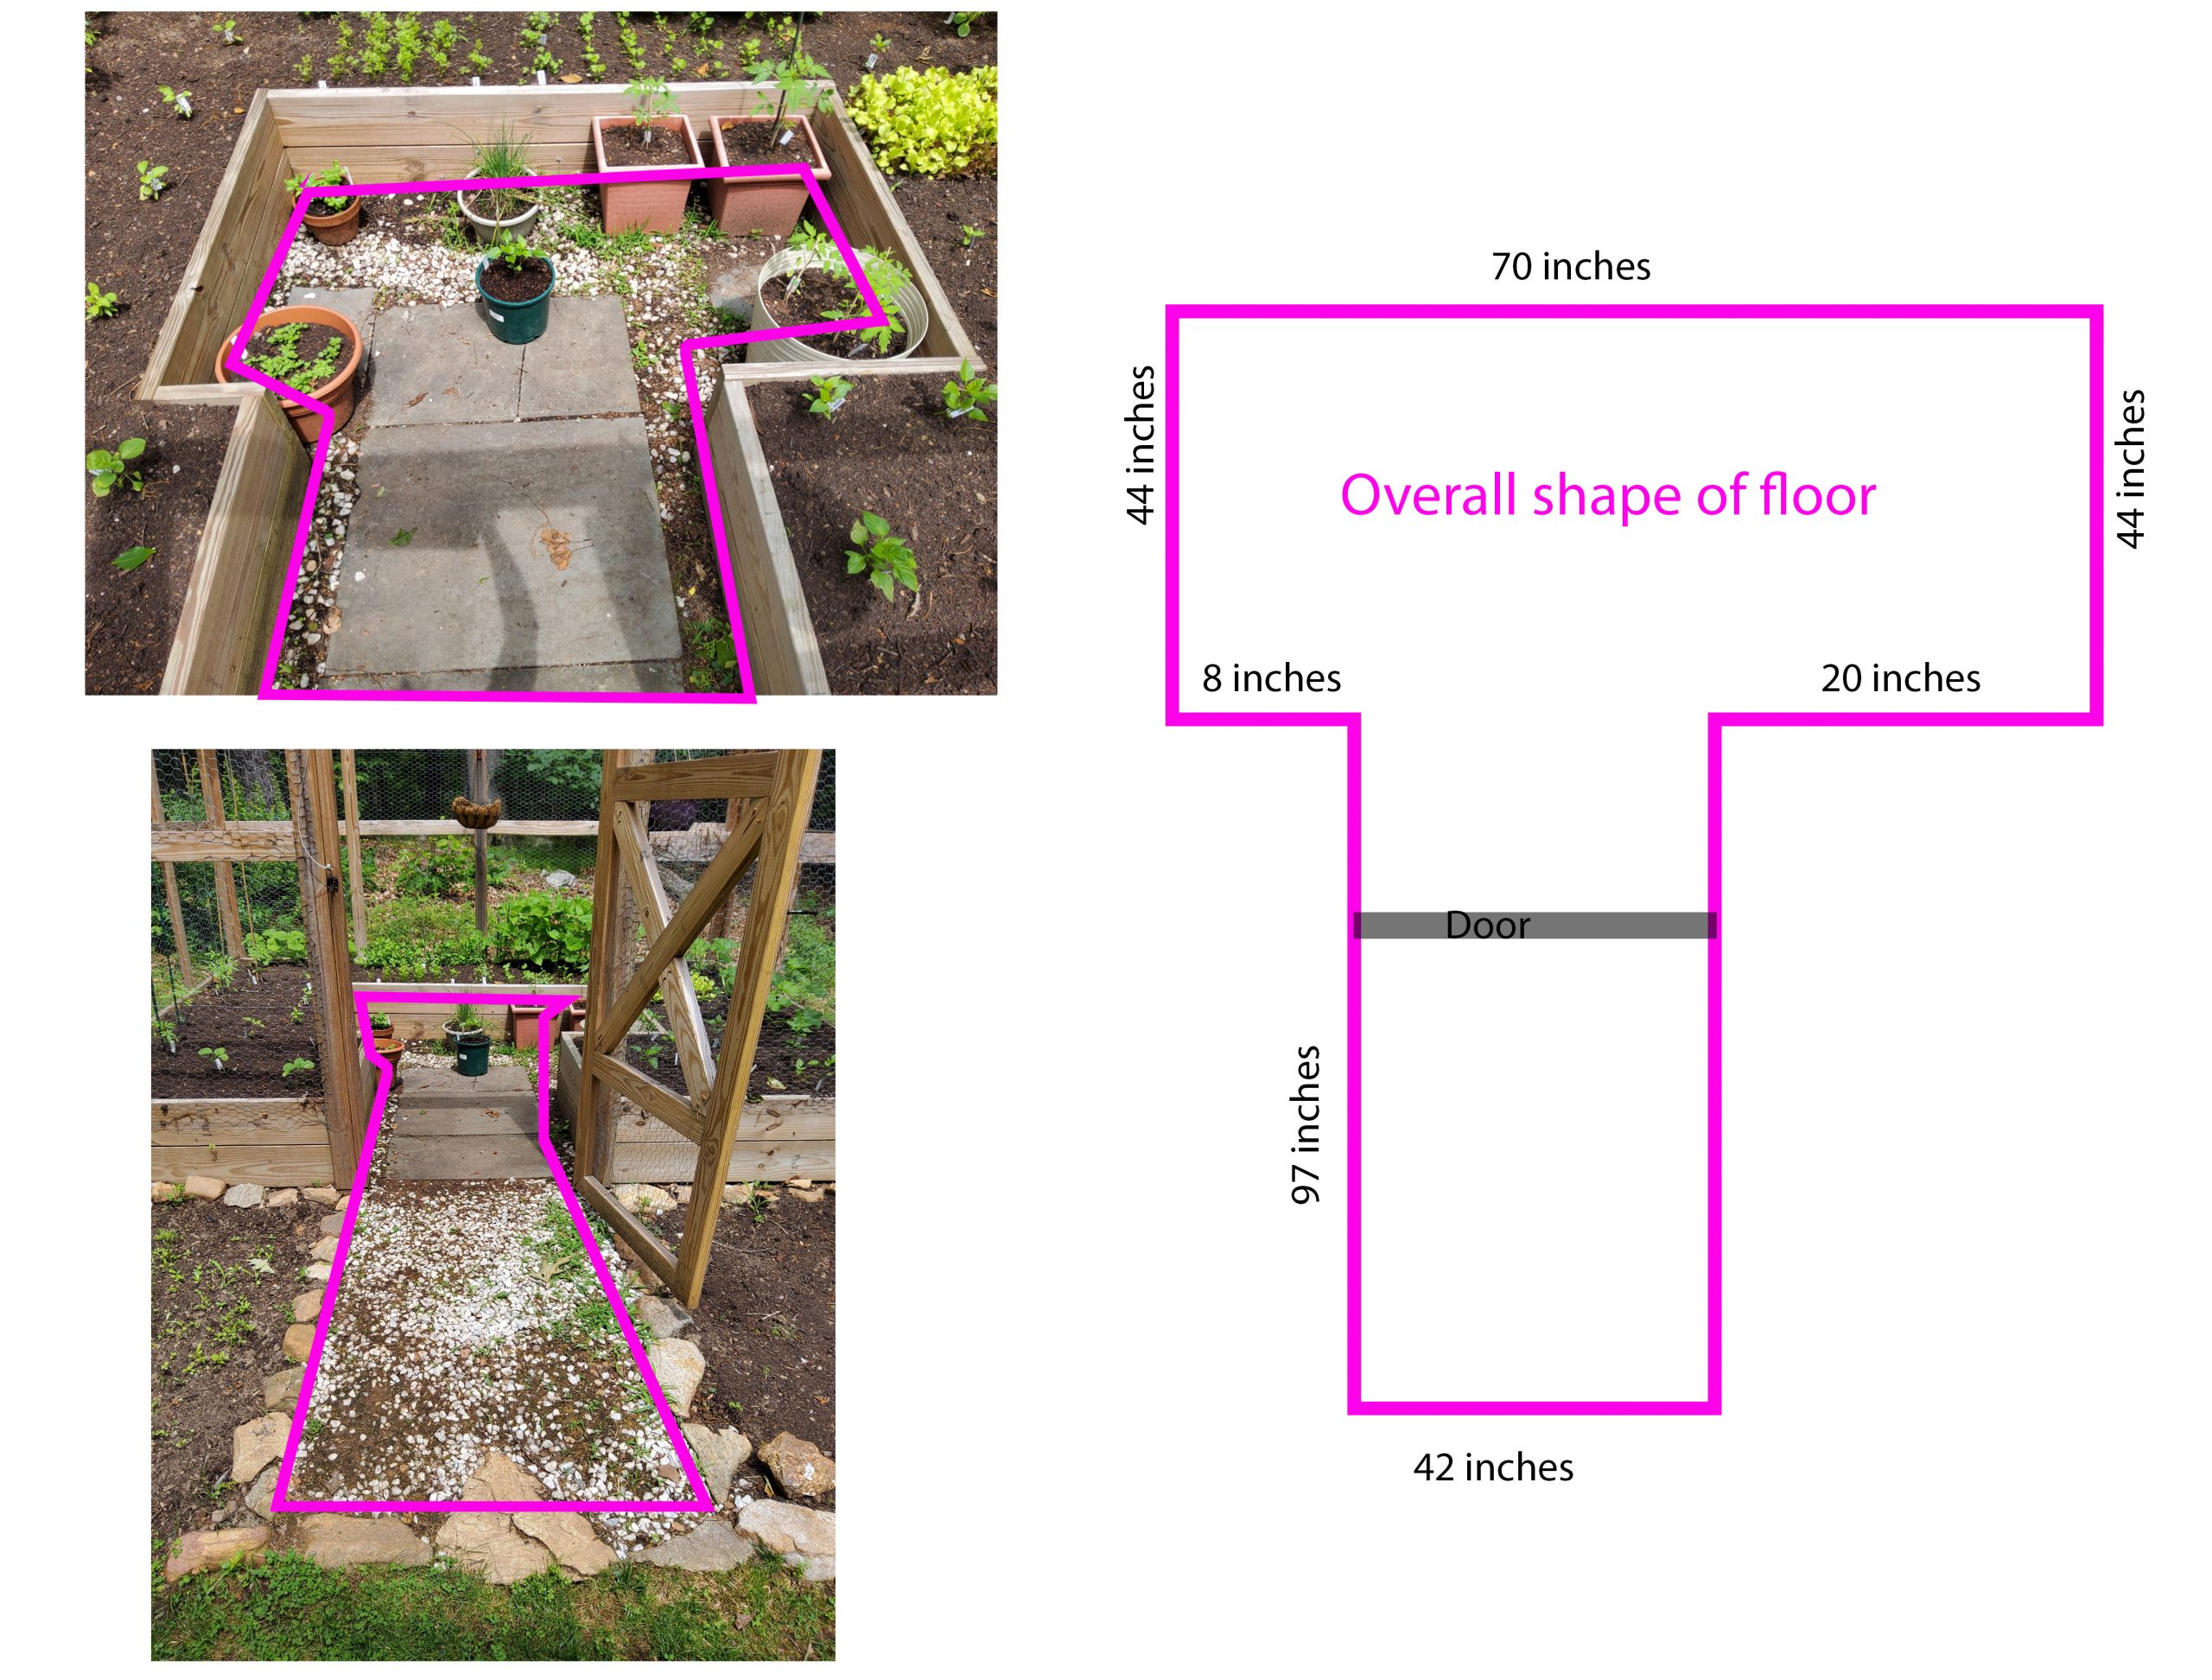
Drainage Concerns for Garden Mosaics
Artist Sandra Christie of Married Metals emailed me some questions about an outdoor mosaic she wanted to make for her garden area in Connecticut. The mosaic will be on a 50-square-foot slab of concrete that will be poured to make a short walkway into a fenced garden area. Sandra’s initial questions didn’t emphasize drainage in…
-
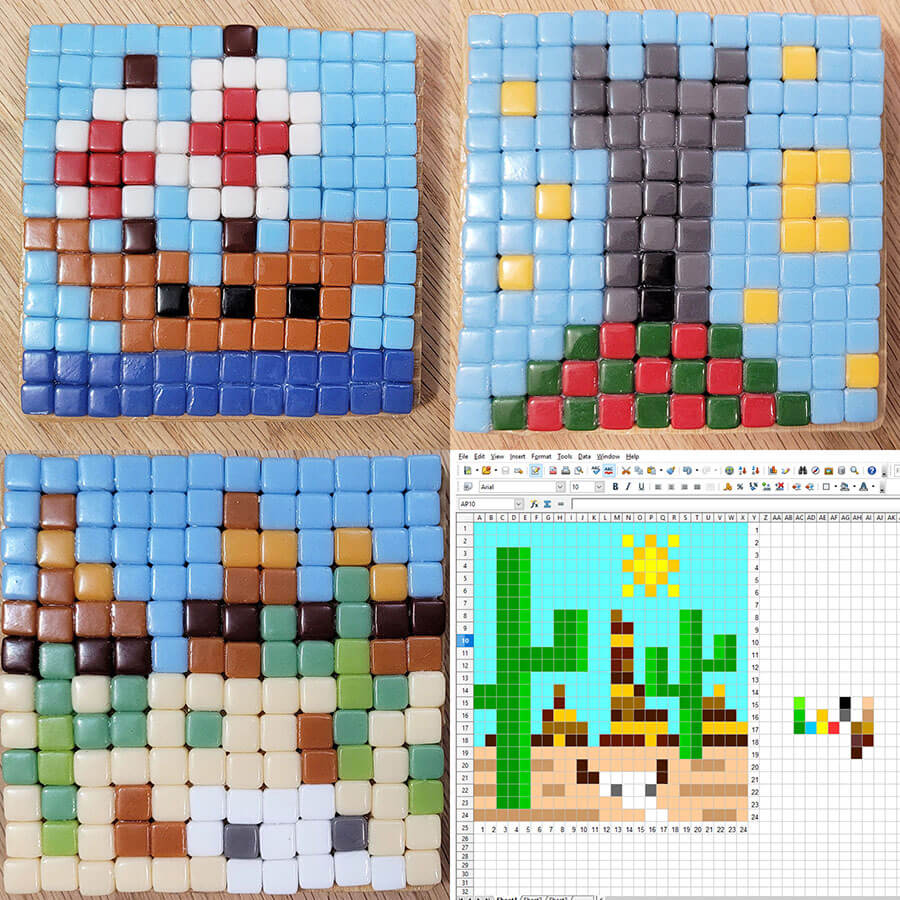
Grid Mosaic Teaching Tool
My 13-year-old son made some mosaics on our 4-inch bamboo coasters with me. His designs are also figurative and iconic, but unlike the mosaics I have been making, his designs use whole uncut tiles. My son’s designs are all Minecraft-inspired images, and so the blocky nature of uncut square 8-mm tiles was perfect: Minecraft-Inspired Mosaics…