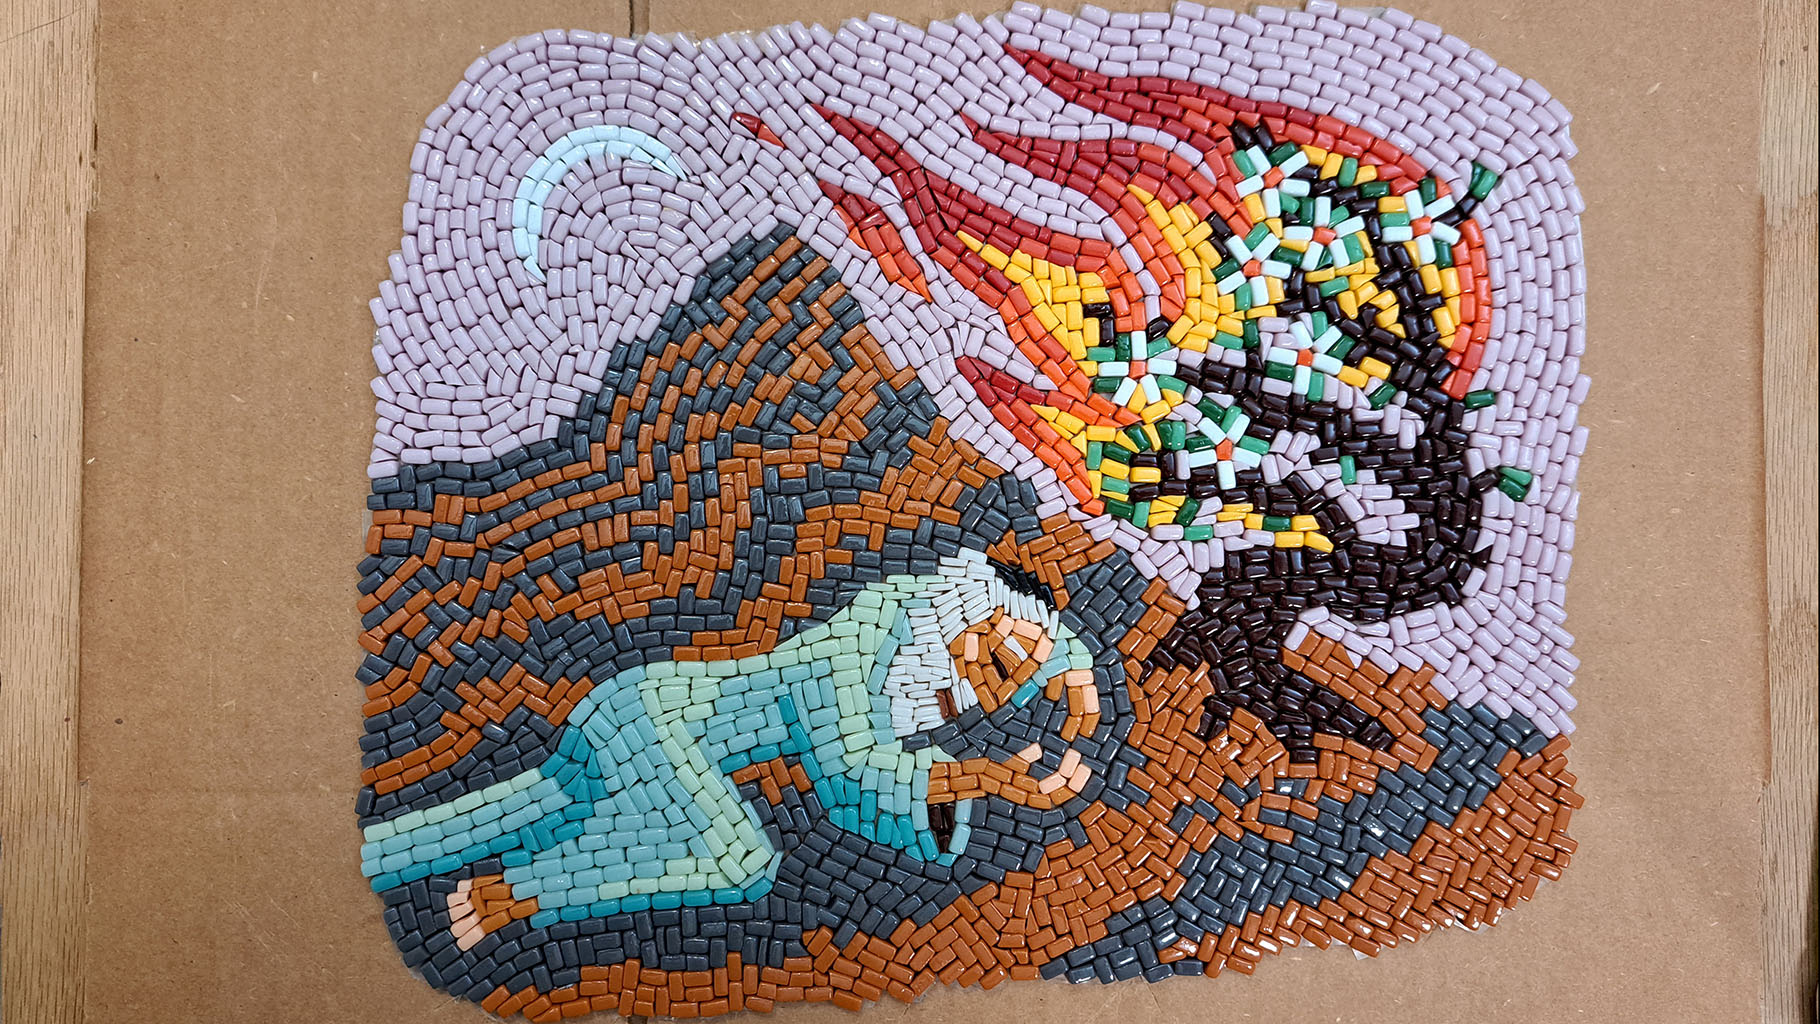
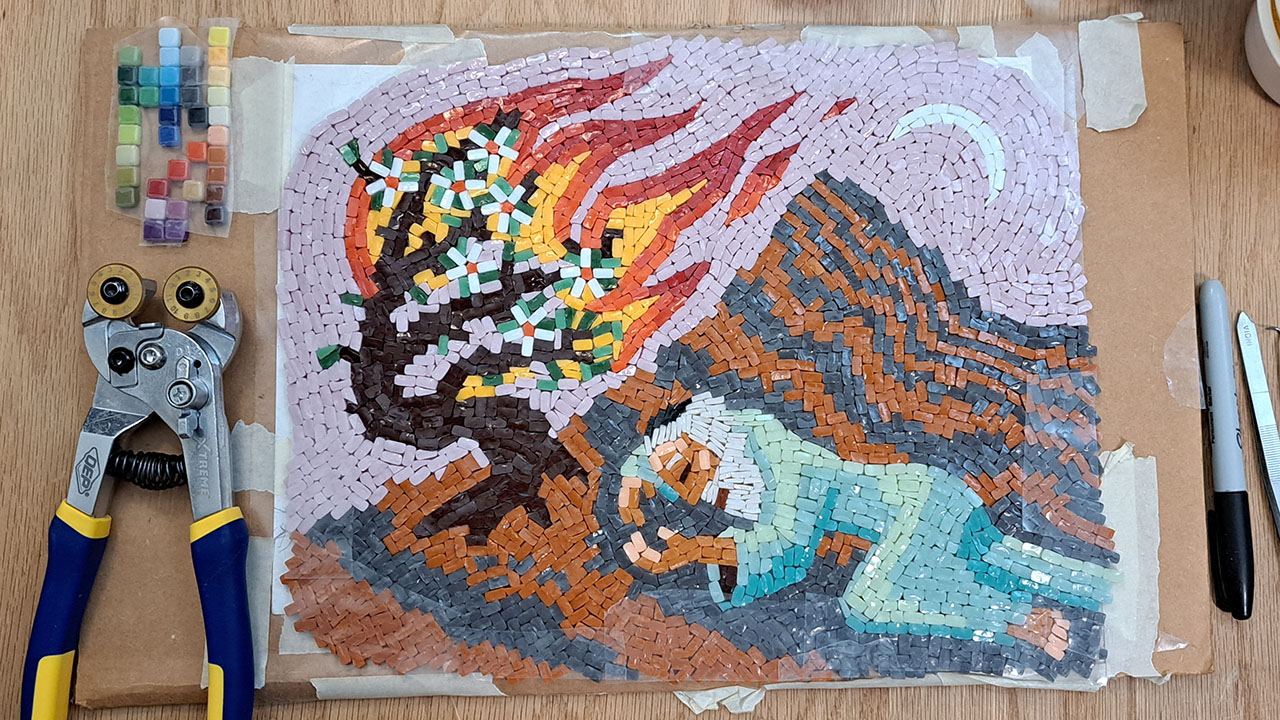
I have made another mosaic of Moses dreaming on Mount Sinai, and this version also has an irregular shape.
I like making sacred relics and visual artwork that “goes past the frame.” I wanted this mosaic to be on a stone tablet like the original decalogue.
Mosaic Mounting Tape
The mosaic above is reversed because the side shown will be pressed into the thinset mortar.
The other side of the mosaic is the actual face surface, and it is temporarily attached to Mosaic Mounting Tape.
Cutting Template
The first step in making a custom shaped mosaic backer is to make a cutting template from cardboard or paper. The video below shows how I traced around the mosaic to make the template.
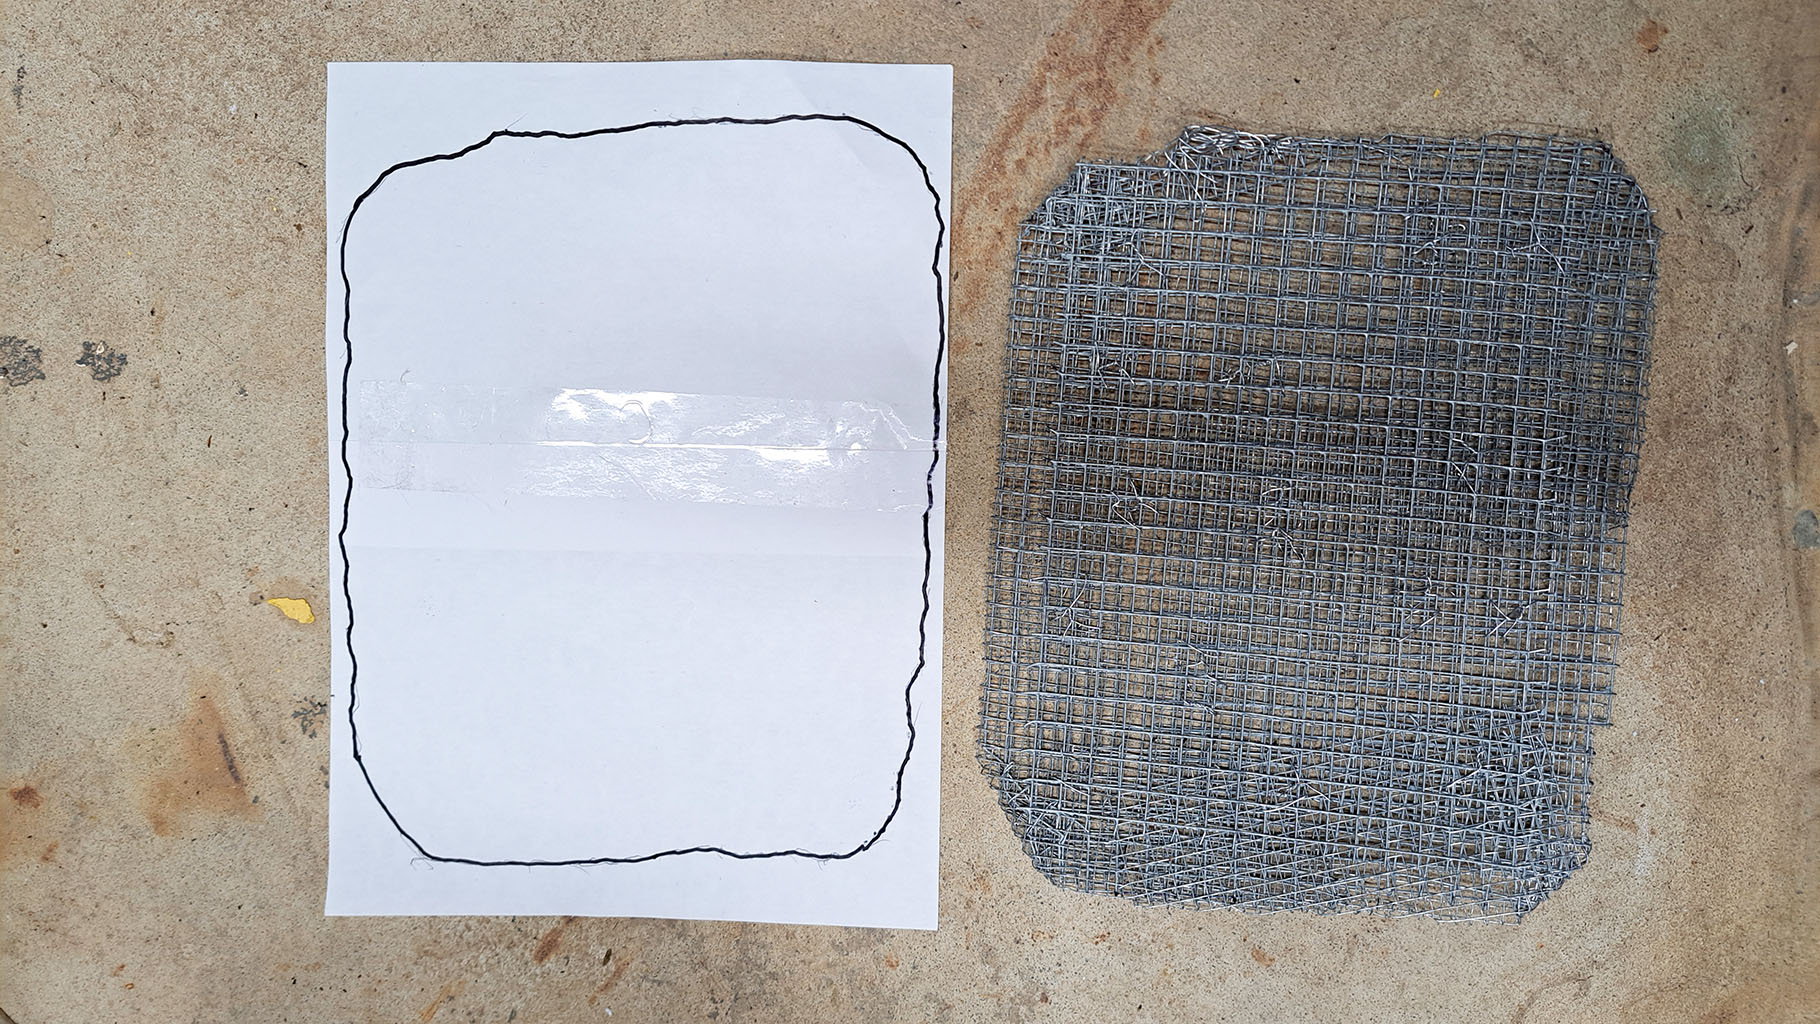
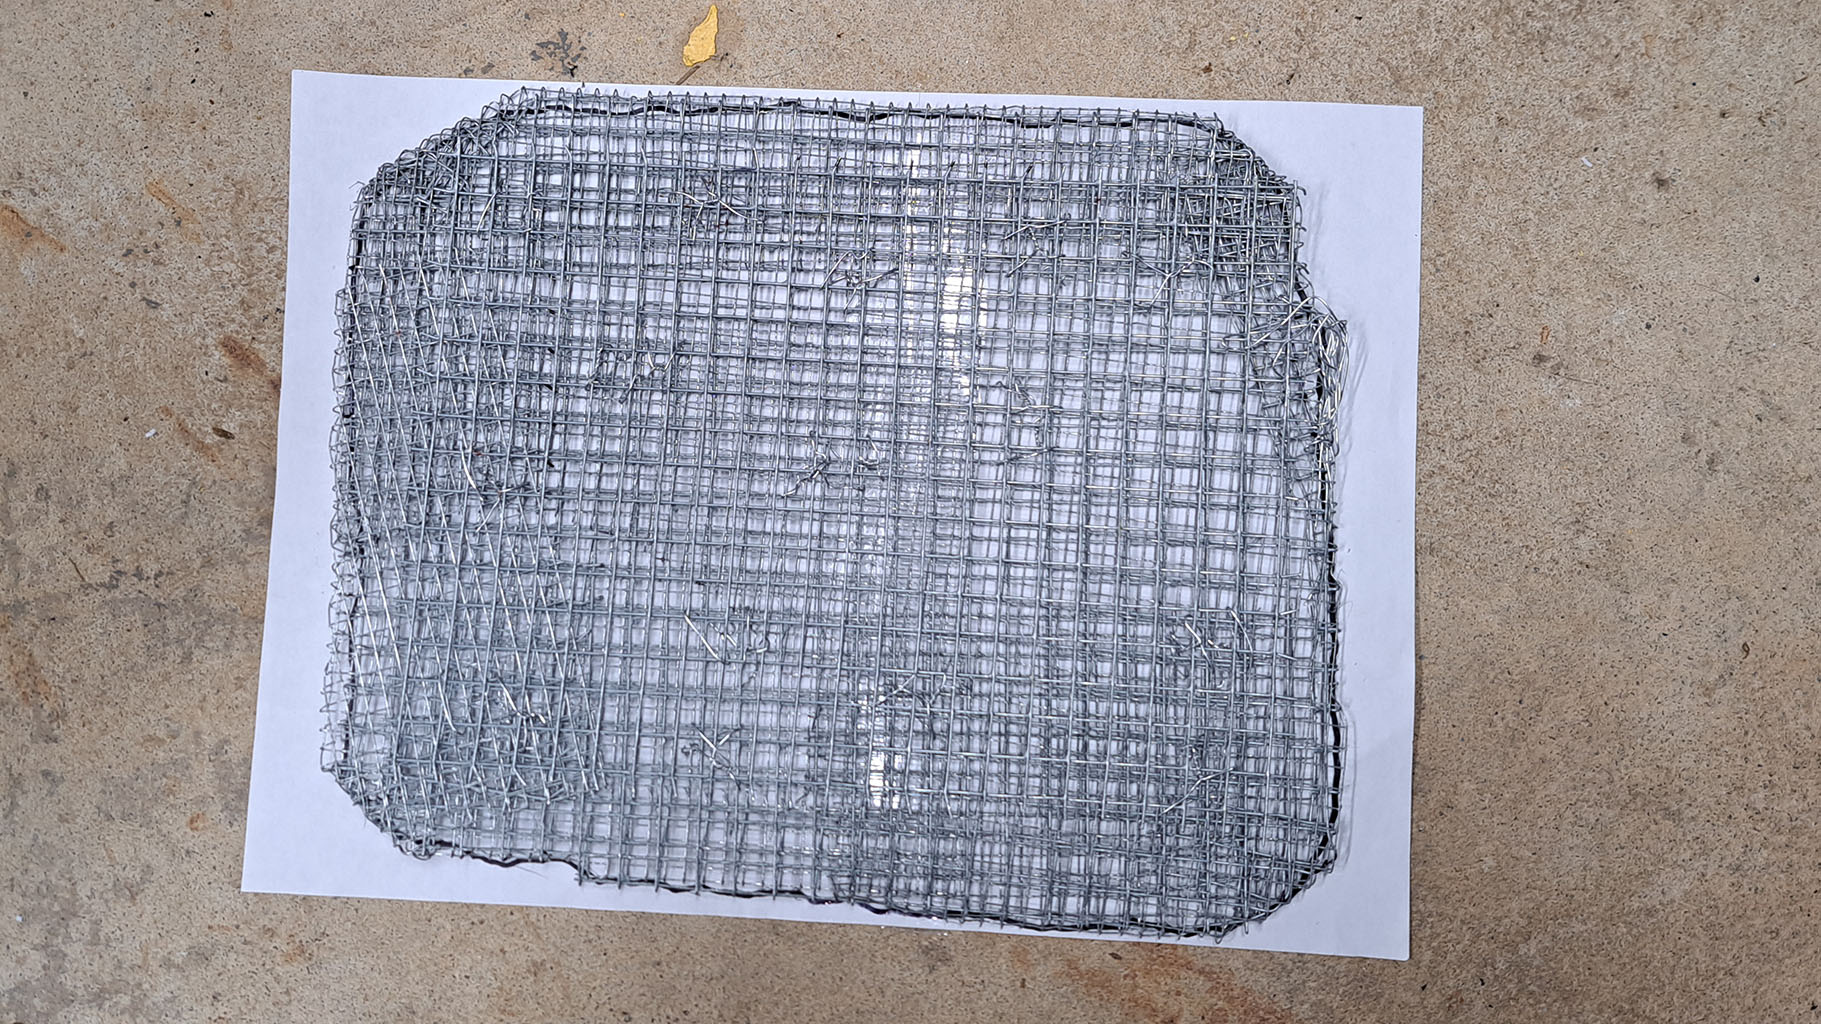
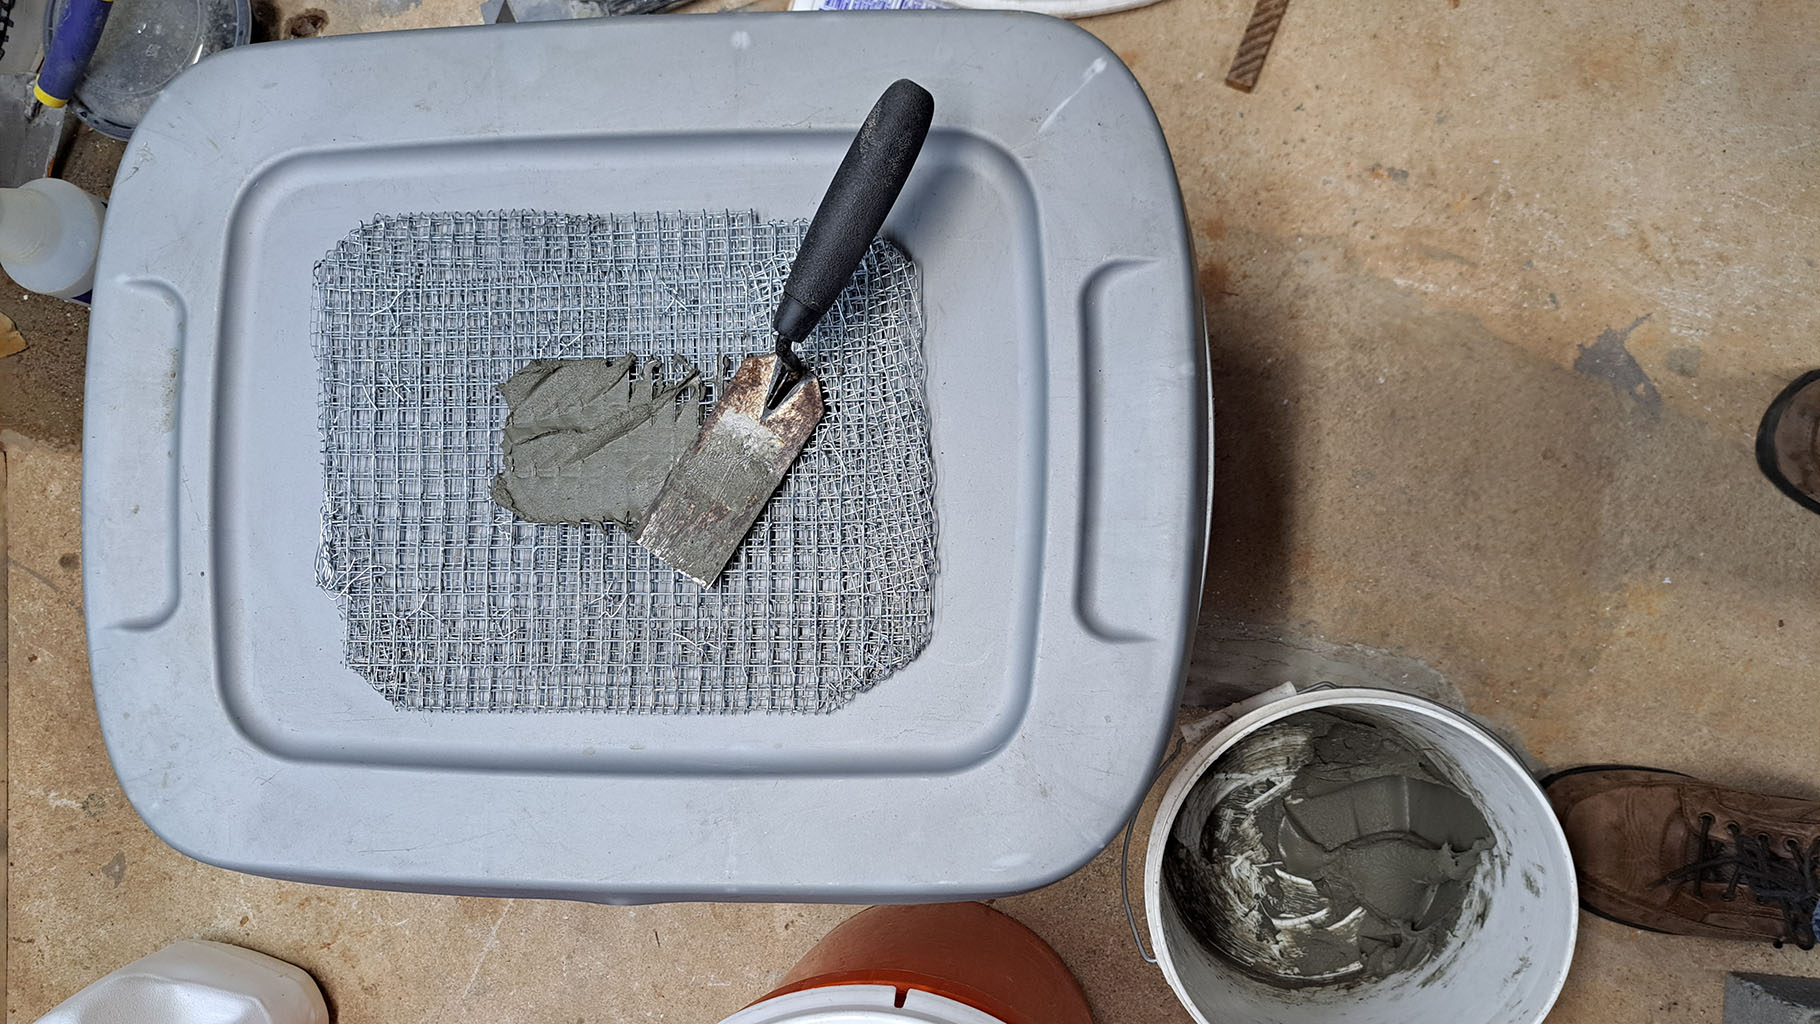
Steel Wire Skeleton
I used scrap pieces of hardware cloth (steel mesh) to make a steel reinforcing skeleton for the backer. I cut the hardware cloth with sheet-metal snippers.
I used a benchtop vice to bend and flatten the edges so that they overlapped.
I used thin bailing wire to tie the sheets together.
Periodically, I used the paper cutting template to make sure the shape of the backer matched the mosaic.
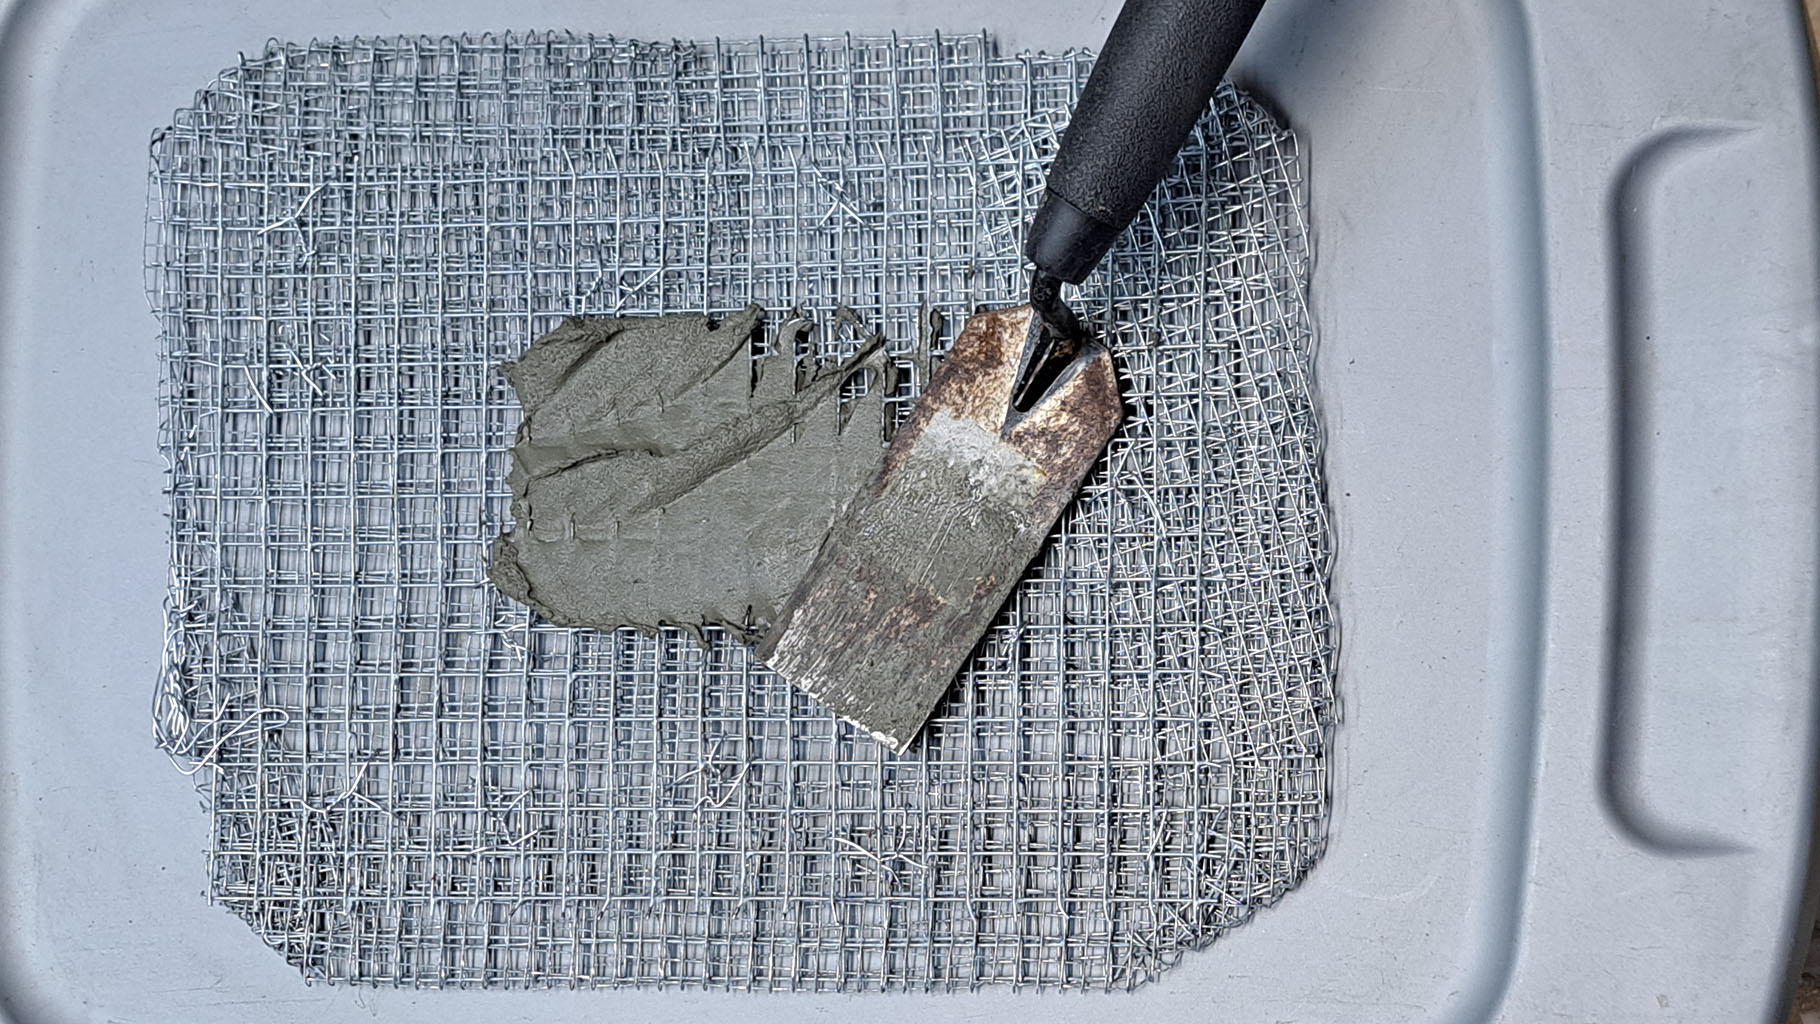
Thinset Mortar
I use Versabond brand thinset mortar as a sculptural material. I also use it to mount my glass tile mosaics, although the manufacturer of Versabond recommends one of their specialty thinset mortars for glass instead of regular Versabond.
The amount of thinset in the bucket below is about one third of what was actually needed. Immediately after taking this photo, I made an additional batch of thinset twice as large.
Irregularly Shaped Mosaic Backer
Make sure the mortar is spread over a plastic sheet or container lid so that the mortar doesn’t stick to your work surface.
You will need to be able to flip the backer to plaster it from both sides.
It will also need to be flipped after about 8 to 12 hours of hardening time so that the mortar can dry and harden evenly.
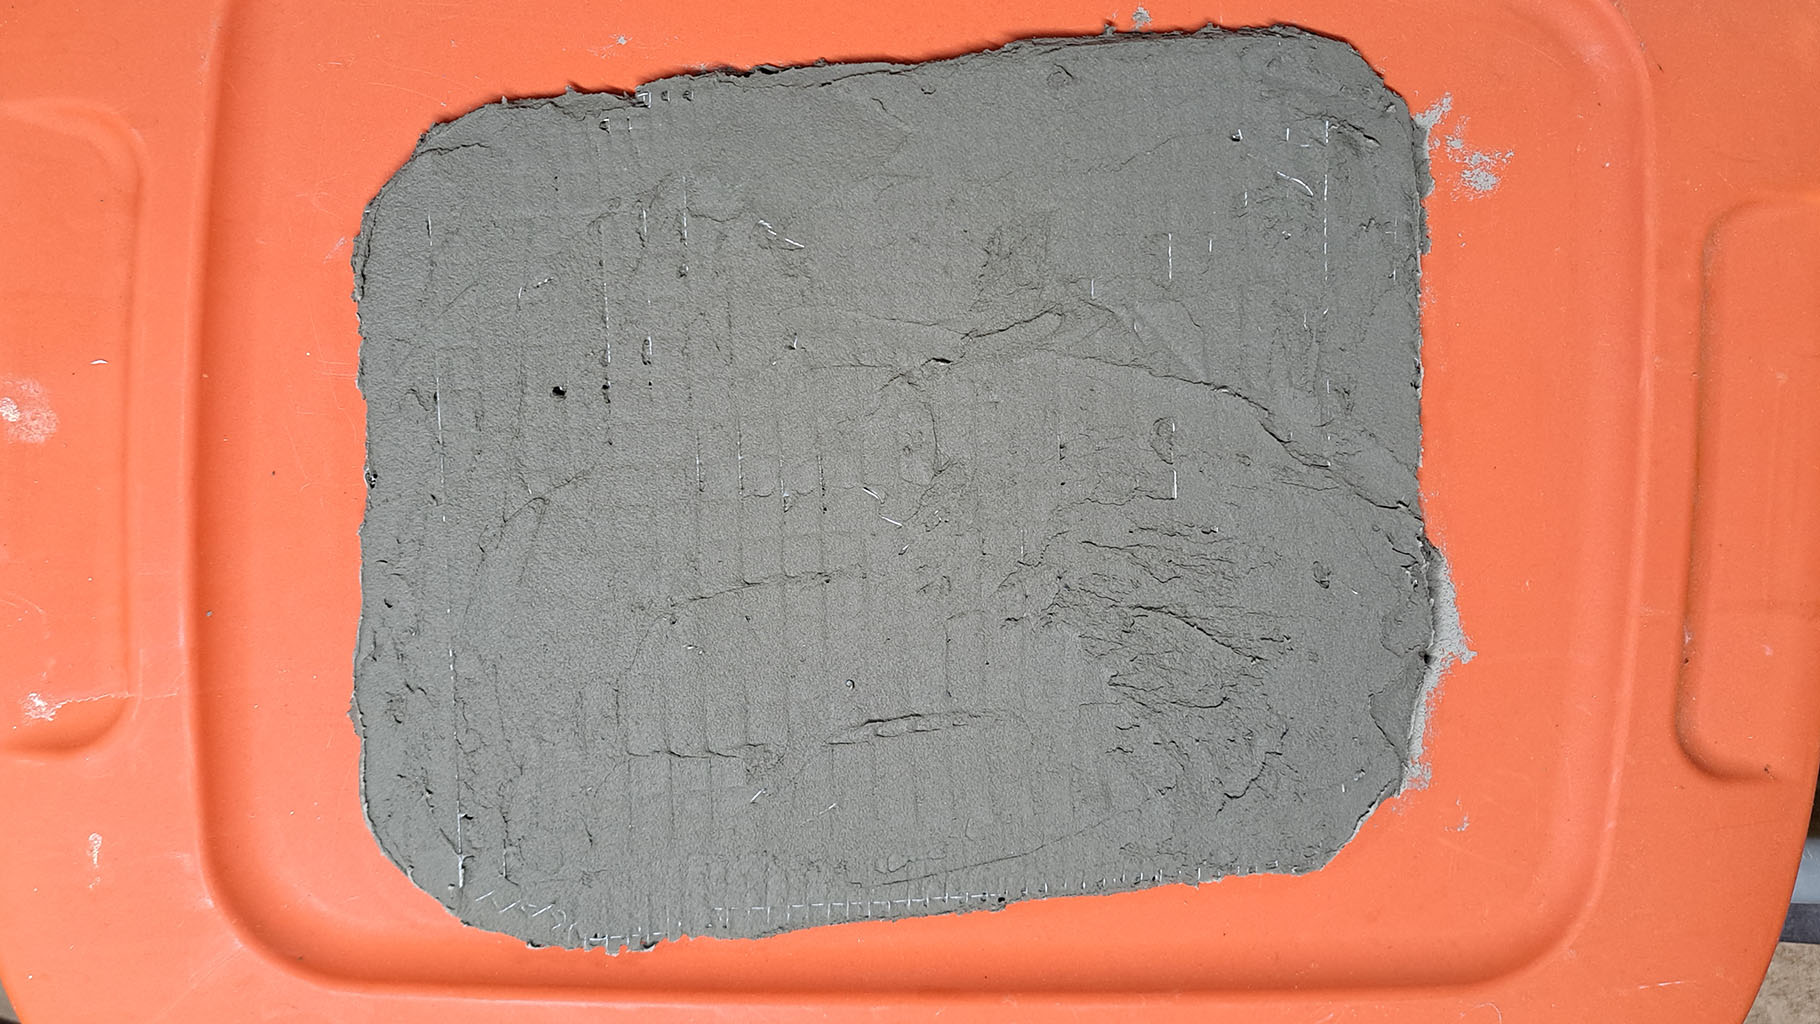
Strong, Thin, Heavy Backer
The backer is less than 1/4 inch thick and very strong.
A mosaic backer made using this method is relatively heavy, and so this backer is best used to give small works “heft” and “substance.” I would not use this type backer for a mosaic that was larger than a small icon.
How-To Video
I made a video of the process from making a paper cutting template to spreading thinset mortar on a skeleton of hardware cloth (wire mesh). Unfortunately, the latter half of the video is merely captioned still images, but it gets the point across.
The video does do a good job of showing how to flip and trace a mosaic while it is on Mosaic Mounting Tape.
Mosaic Artwork
The photo below shows the mosaic from the front, although it is still on mounting tape:
Leave a Reply