Category: Material and Tool Information
-
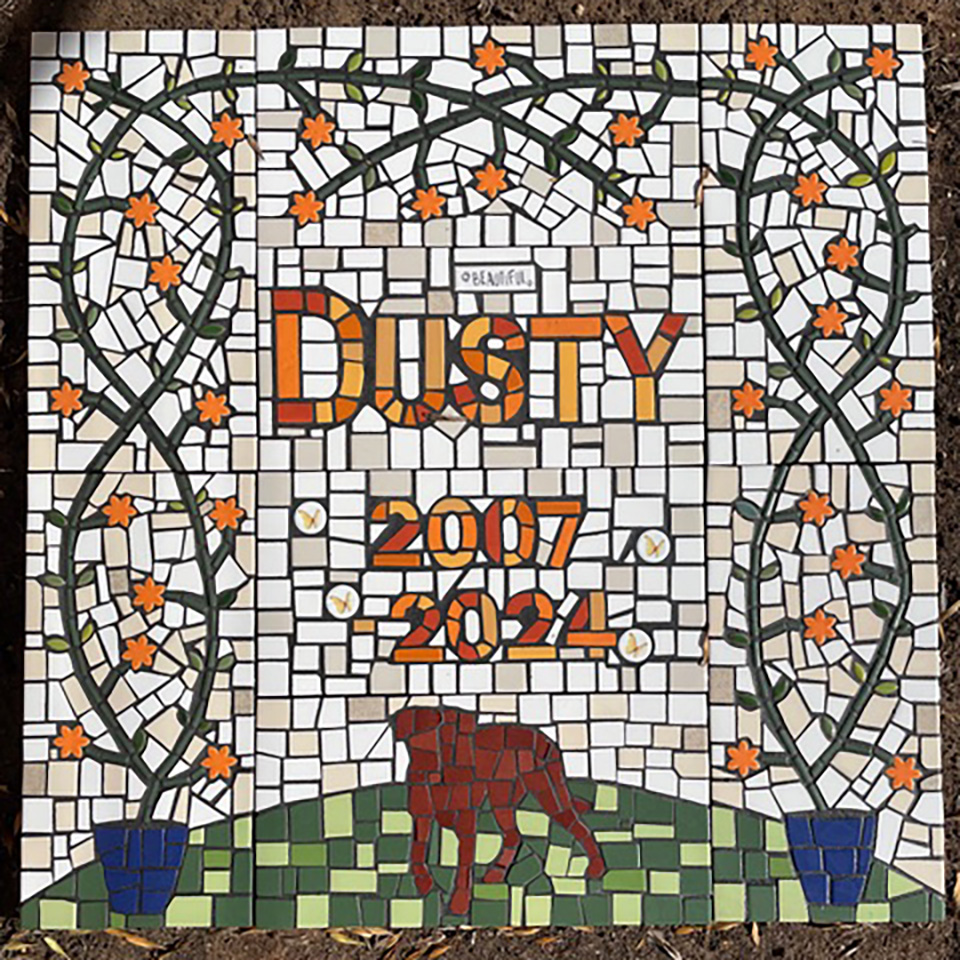
Pet Memorial Mosaic: Dusty’s Rest
Artist Sue Williams made a memorial mosaic for her recently-departed companion Dusty, and I wanted to share it with you for several reasons. The first reason is that Sue made the mosaic in sections on concrete pavers, which allowed her to make the mosaic in manageable pieces indoors. This mosaic is also worthy of note…
-
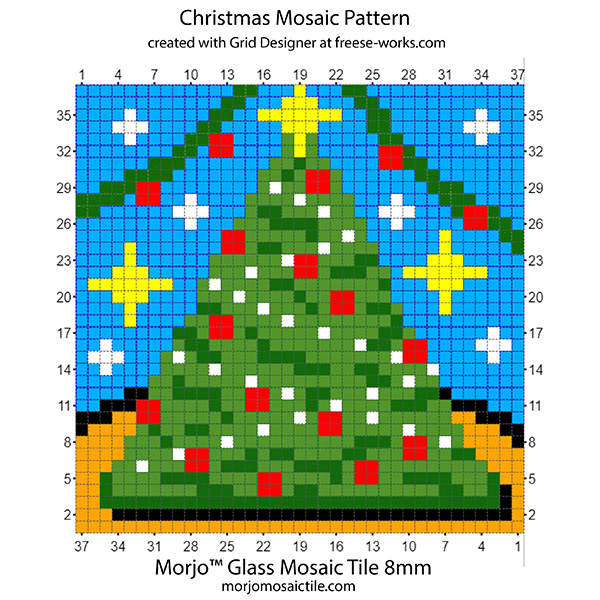
Online Mosaic Design Tool
To promote mosaic as a fine art, we encourage people to make their own mosaic designs and to choose non-gridded over gridded designs. Nevertheless, there are many situations that call for naturalistic images, and these are most easily made using a gridded design where each tile is treated as a tiny pixel.
-
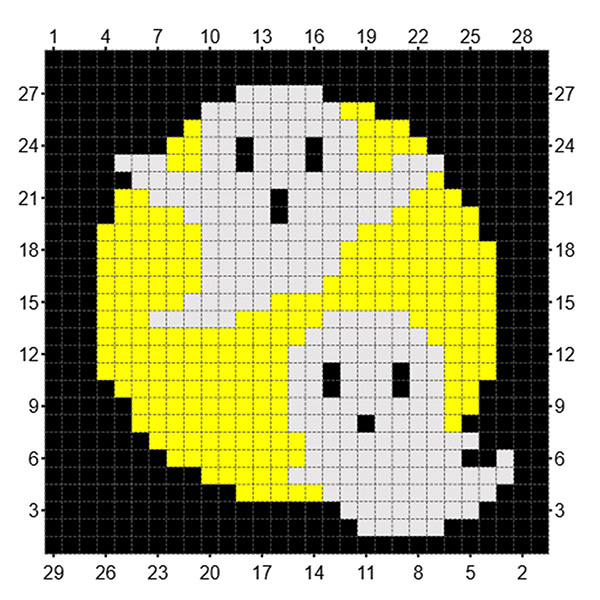
Boo! Mosaic Patterns for Halloween
Ivana created some patterns for Halloween mosaic designs that will be part of an ongoing series with new designs for each holiday. These patterns are for use with whole tiles in a grid with no grout gap and are designed for Morjo™ 10mm Vitreous Glass Mosaic Tile on a 12×12-inch mosaic backer. You can order…
-
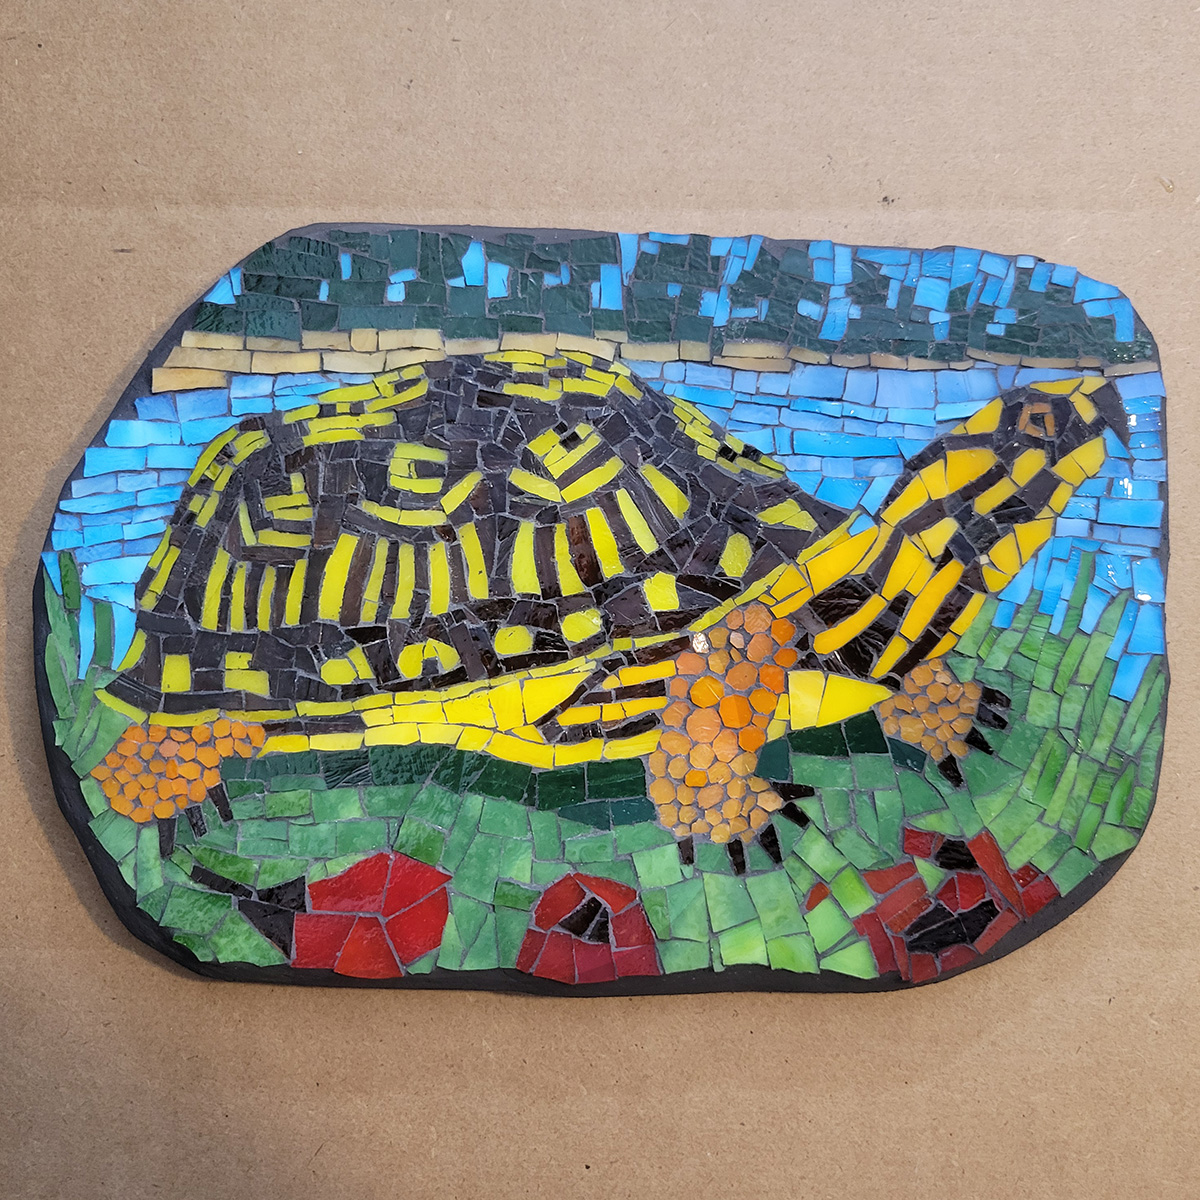
Box Turtle Mosaic
This mosaic was made on a temporary surface of clear contact paper. I looked at the shell patterns of countless Eastern Box Turtles. The shell pattern of the turtle in my mosaic is all of them and none of them. I had an interesting problem with the backer for this mosaic. I found a way…
-
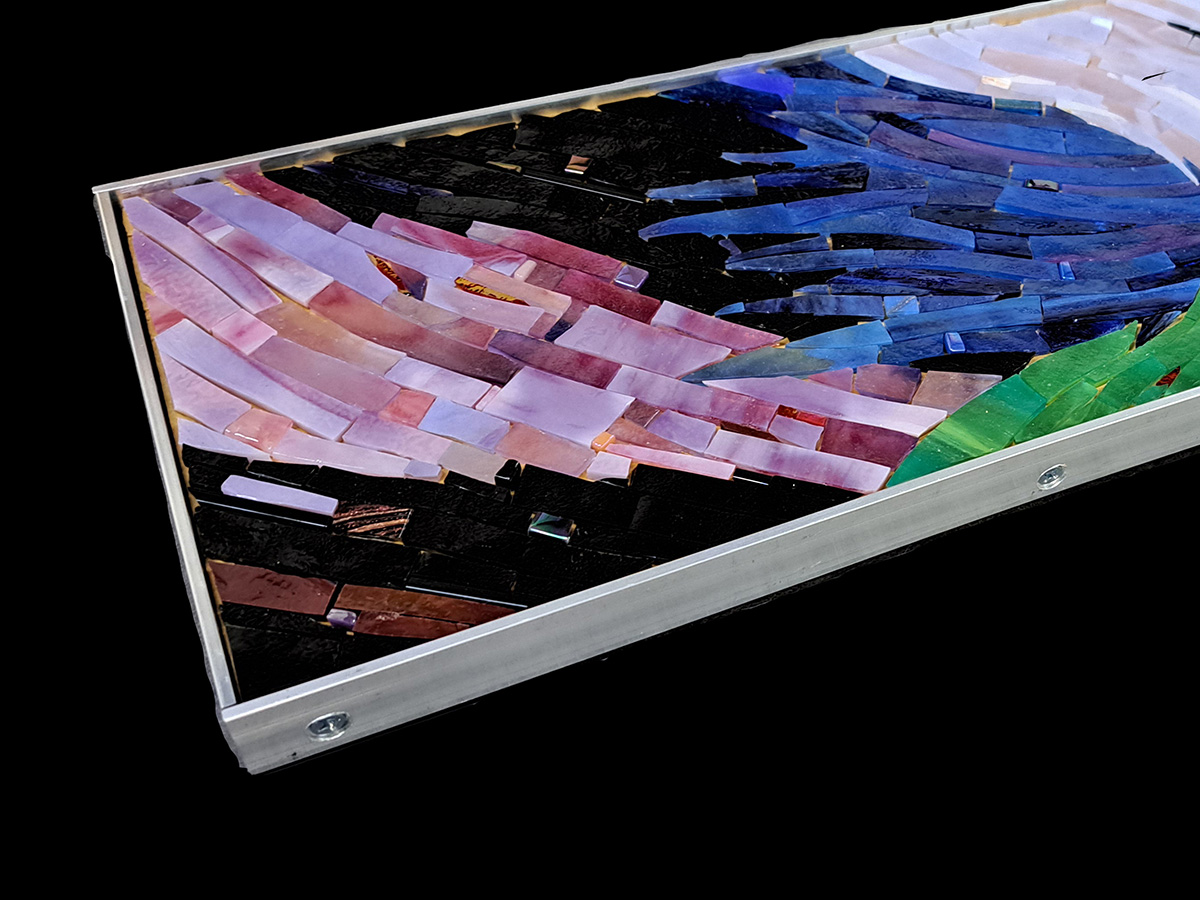
How to Make an Aluminum Mosaic Frame
The aluminum mosaic frame featured in this article was made by artist Natalija Moss from flat bar stock instead of angle stock. Natalija wrote highly-detailed instructions for making a mosaic frame from aluminum angle-stock that should be consulted for step-by-step details and fastener specifications. I wanted to feature her new mosaic in an article because…
-

Vinegar Cleaning Grout Haze and Pit Stains
Glass mosaic tile, particularly vitreous glass tiles have sometimes have a few tiny pits in their surface, and these tiny pits can get stained with grout. Fortunately the pit staining can be prevented by applying a product called grout release before grouting, which is what installers use for large architectural tiling jobs. You can also…
-
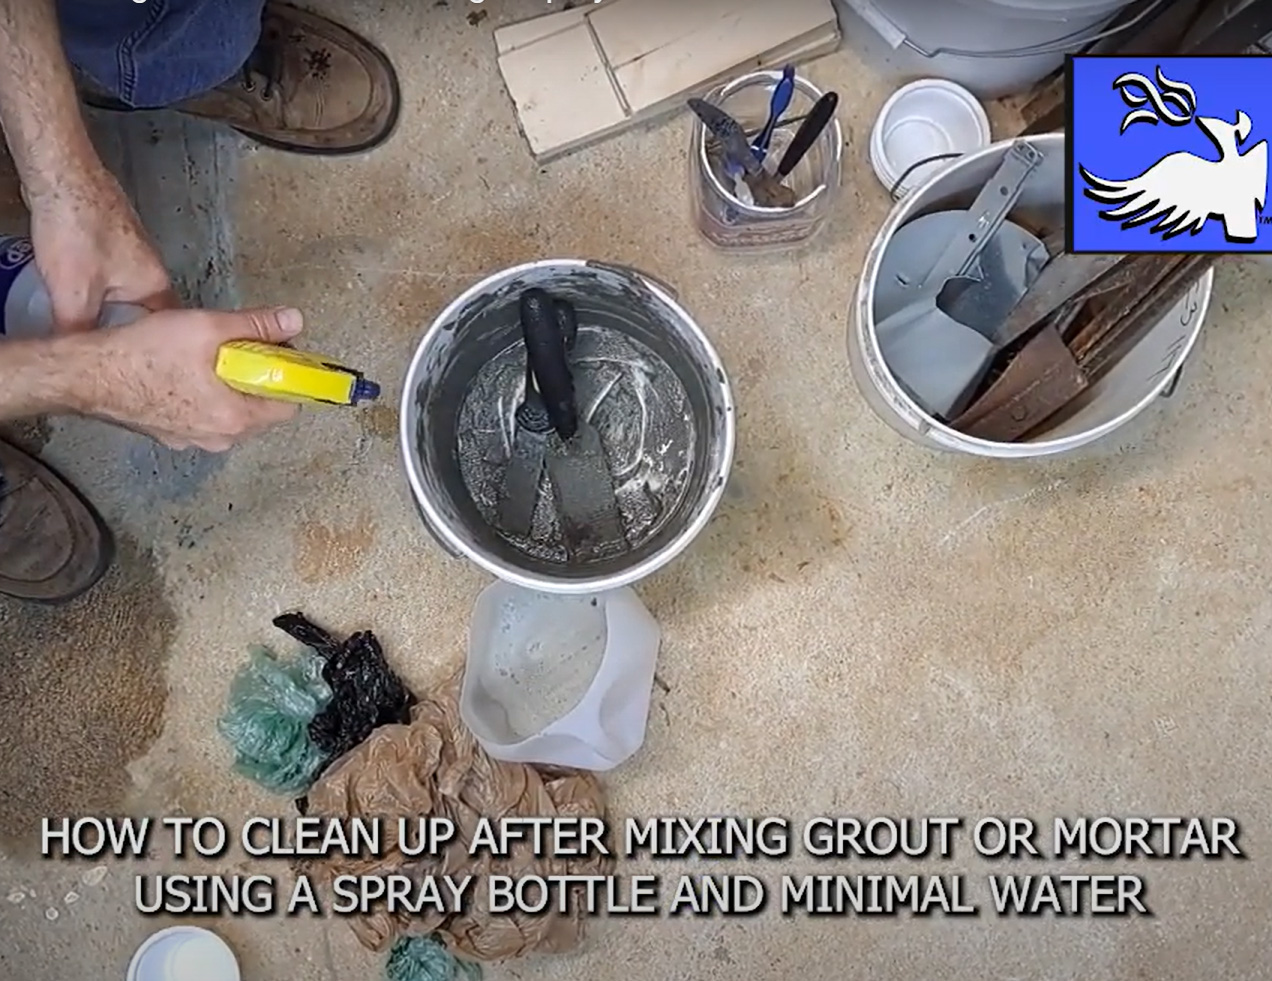
How To Clean Up After Mixing Grout Or Mortar
I made a video showing how to clean up the spreading tools and bucket after mixing up grout or thinset mortar. My method only requires a cup or two of water from a spray bottle and some downcycled plastic grocery bags.
-
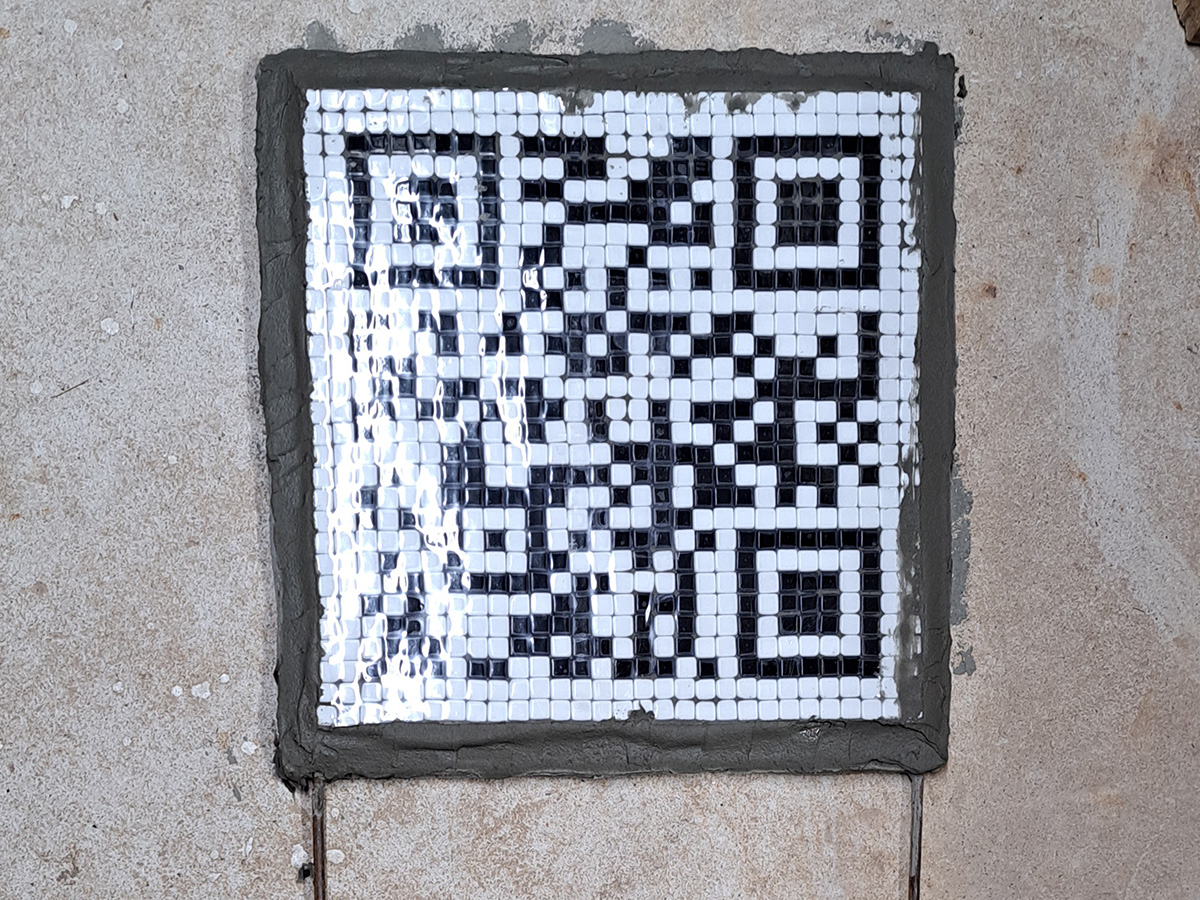
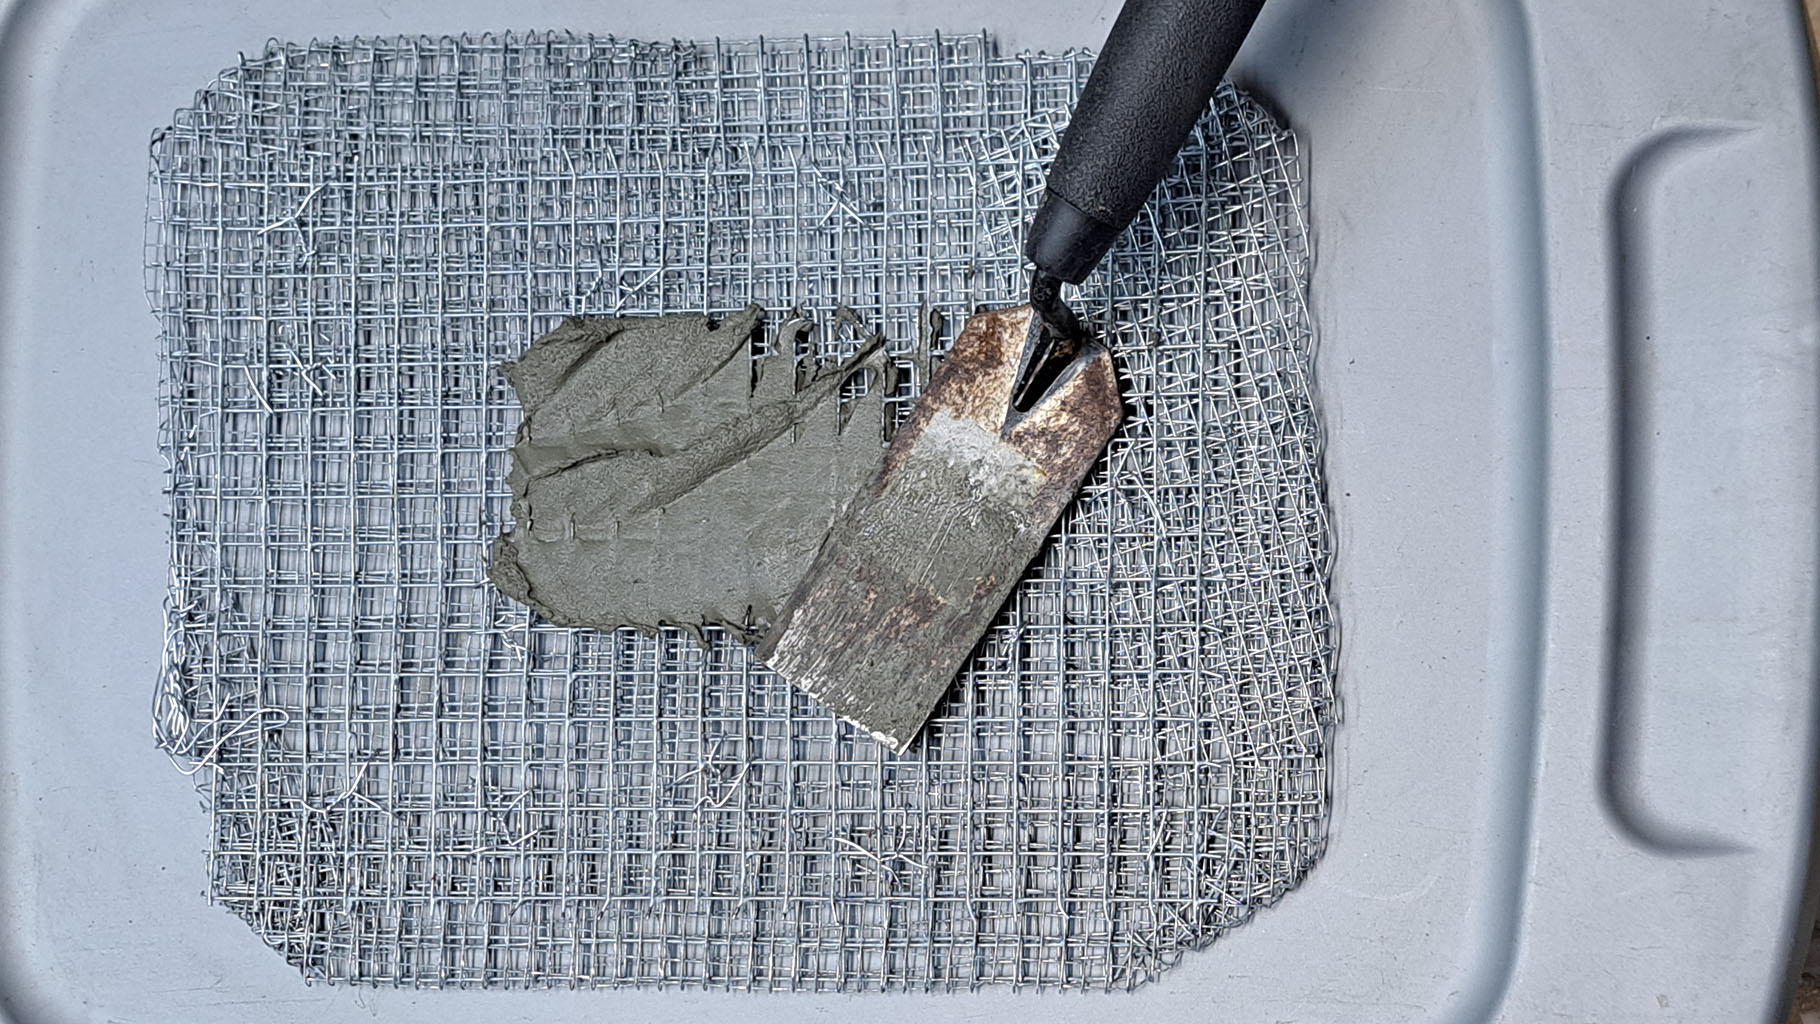
How to Mount a Gapless Mosaic in Thinset Mortar
I just made a video that shows how to mount a mosaic without a grout gap in a bed of thinset mortar. The project task used for the video was mounting the QR Code Mosaic to an outdoor sign backer that made from mortar and hardware cloth. The Video Here’s the video: video: How To…
-
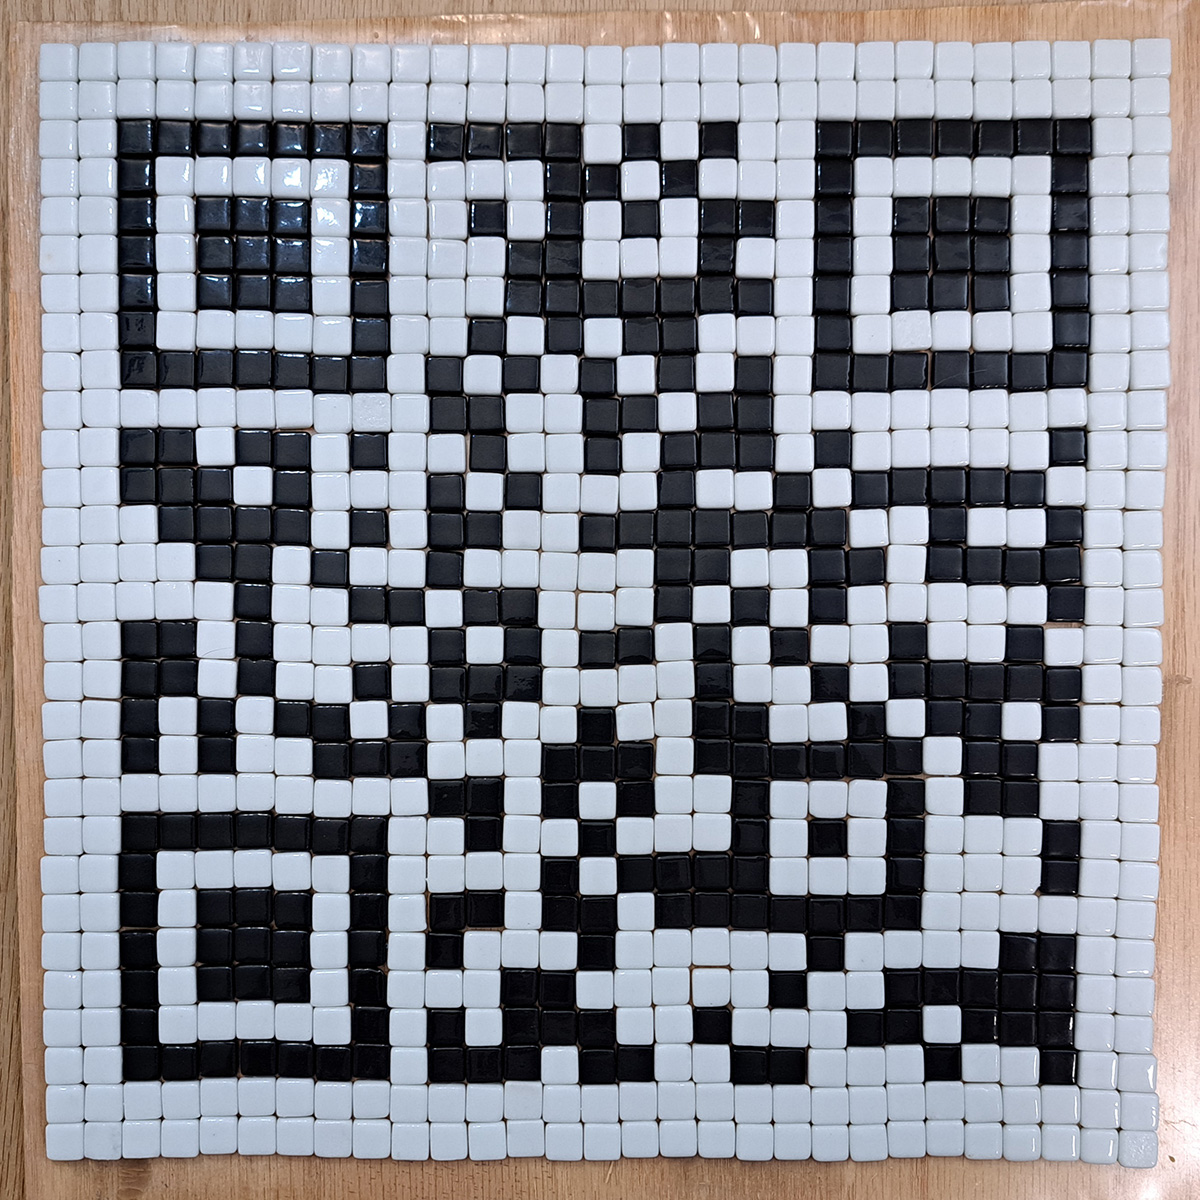
QR-Code Mosaic Sign
I needed to make a QR-code sign for my yard to tell my neighbors about the native pollinator meadow seedlings I have for them this year. I’ve converted my lawn into a native pollinator meadow, with all sorts of amazing results in terms of butterflies and hummingbirds and native ecology, and I am trying to…
-
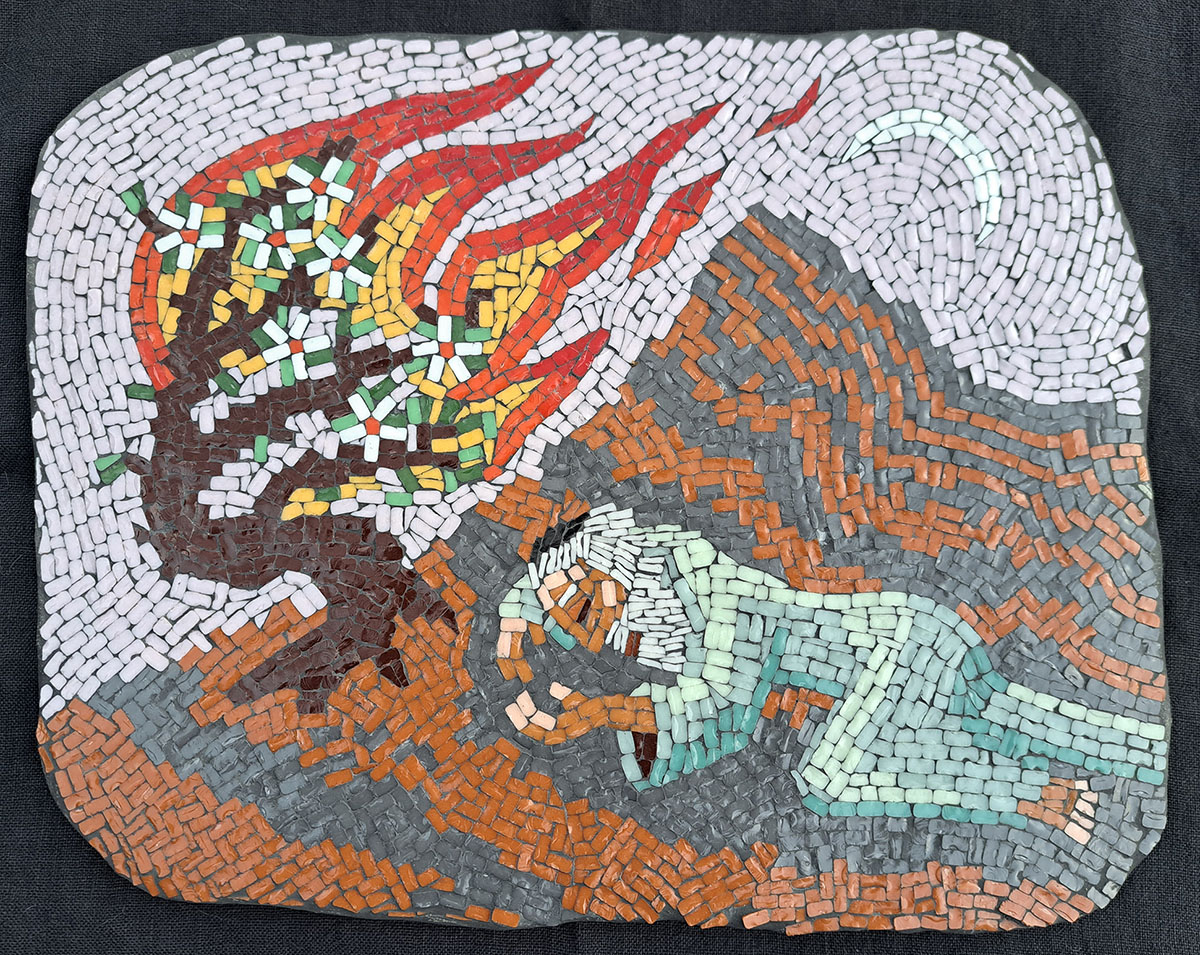
Mounting and Grouting Moses Mosaic
I have mounted my mosaic Moses Dreaming on Sinai on an irregularly-shaped backer and grouted the mosaic. I have made videos of the mounting and grouting processes.
-
Backer for Irregularly-Shaped Mosaic
I have made another mosaic of Moses dreaming on Mount Sinai, and this version also has an irregular shape. I like making sacred relics and visual artwork that “goes past the frame.” I wanted this mosaic to be on a stone tablet like the original decalogue.
-
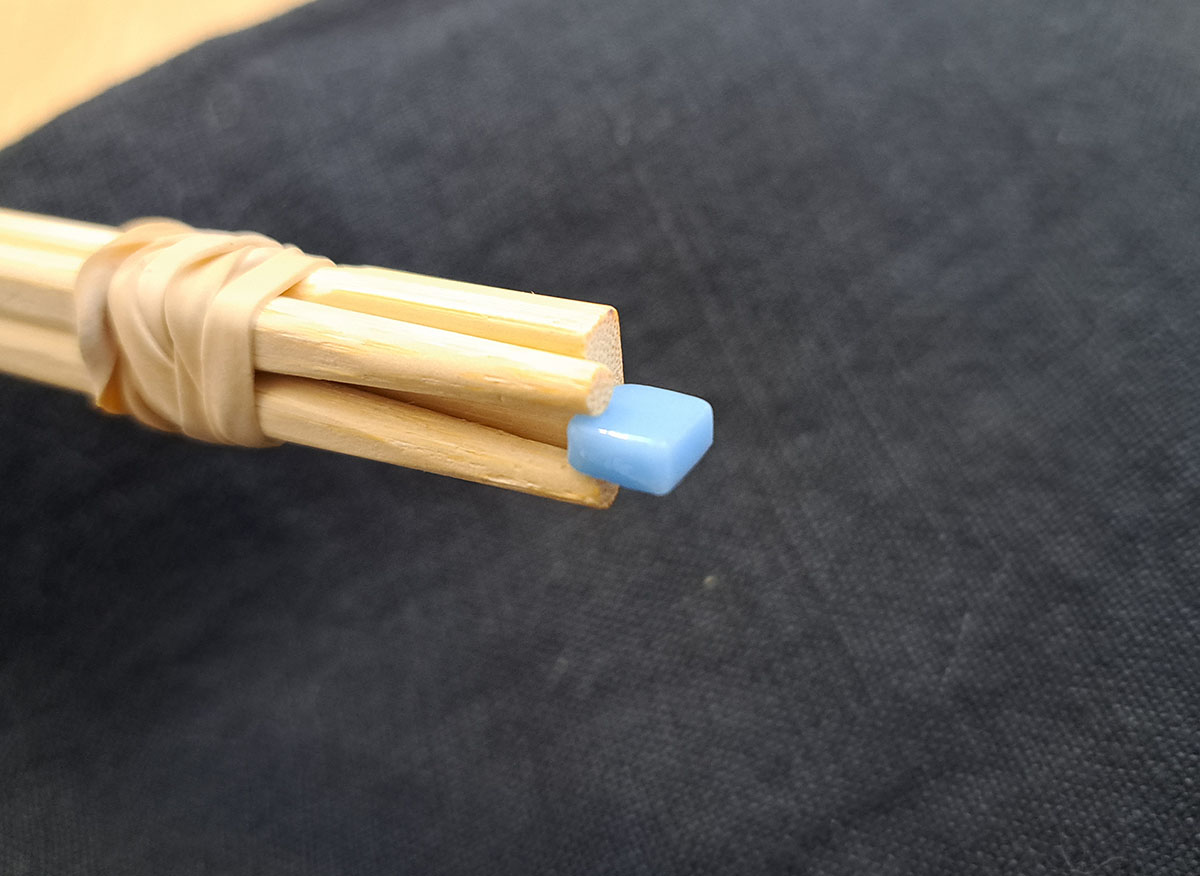
Mr. Pinchapotamus 2.0 Improved Tile Cutting Fixture
Yes, your wildest dreams have come true. Mr. Pinchapotamus, your favorite tile cutting fixture has been redesigned to make it even more efficient. After tens of thousands of hours of research at MIT, CERN, and Cal Tech, scientists have finally found a way to make Mr. Pinchapotamus easier to load with a tile. This breakthrough…