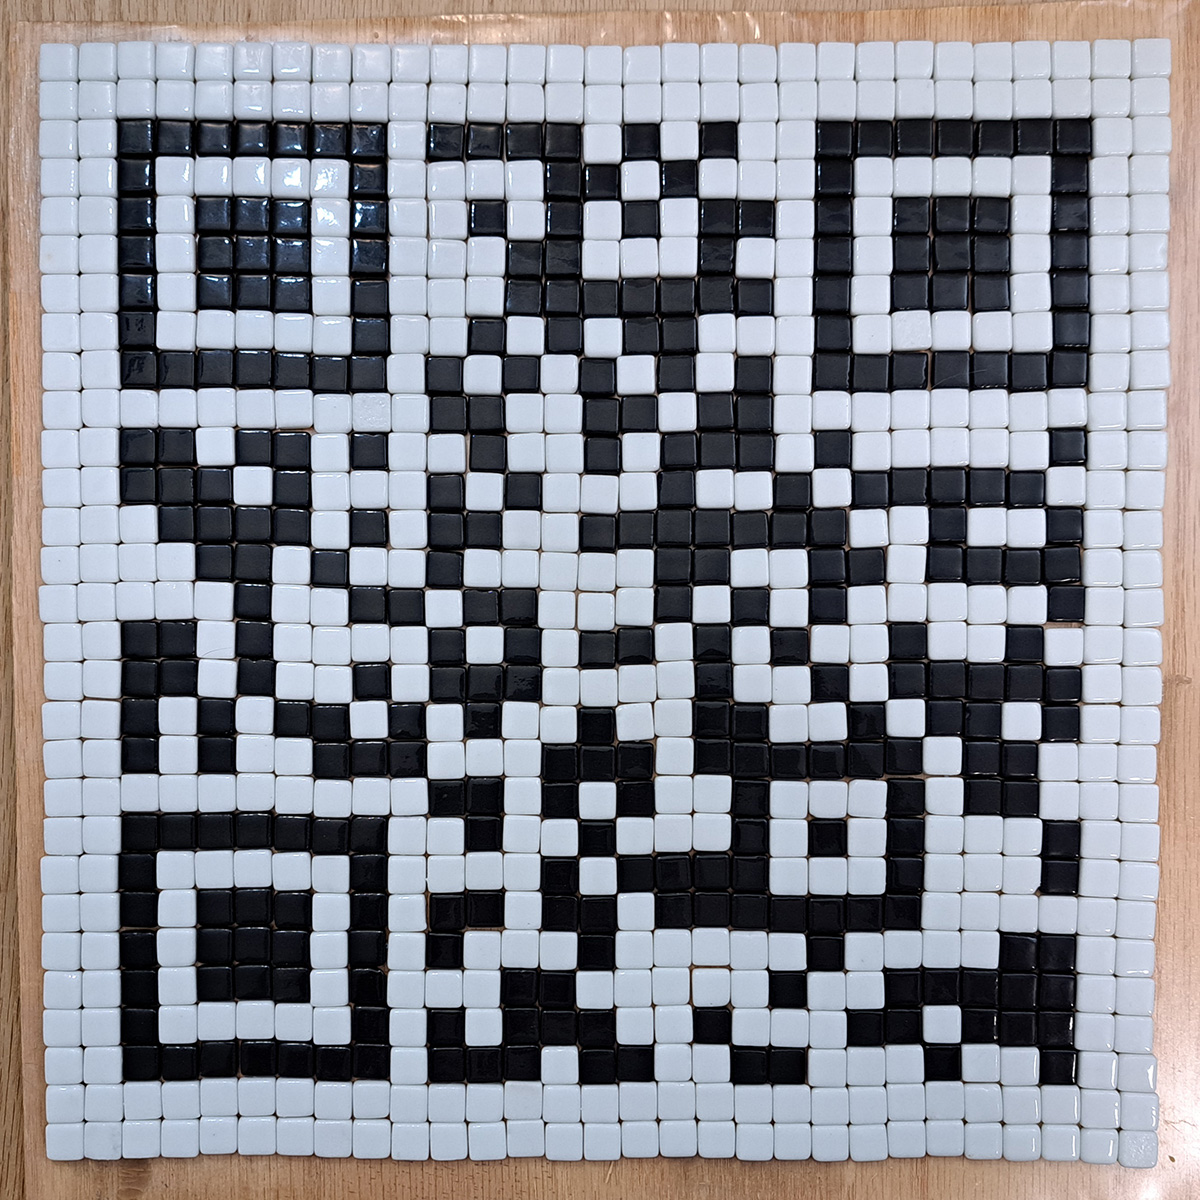
I needed to make a QR-code sign for my yard to tell my neighbors about the native pollinator meadow seedlings I have for them this year.
I’ve converted my lawn into a native pollinator meadow, with all sorts of amazing results in terms of butterflies and hummingbirds and native ecology, and I am trying to get my whole neighborhood to make the change.
Giving away these seedlings to my neighbors will hopefully be effective in a way similar to Johnny Appleseed.
Anyway, I decided to make the QR-code sign from mosaic and to make the backer heavy enough to not blow down or walk off very easily.
Video of Laying Tile
To make this mosaic, I decided to use my usual method of laying out all the tiles on a temporary surface of sticky contact paper and then picking up the mosaic using Mosaic Mounting Tape.
I made a video of laying out the mosaic:
The main take-away of the video is that even with a grid of whole tiles, it still makes more sense to start tiling at the center and build outwards.
The video also explains how to compensate when one color of tile is slightly smaller than a second color even though they are both the same nominal size.
A slight difference in size between colors is not uncommon, but it isn’t an issue for most users because they are using a grout gap or cutting the tile or doing both.
In the QR code mosaic, I have a grid of whole tiles without any grout gap, and compensating for the black tiles being slightly smaller than the white tiles took some artful fudging.
This fudging took the form of making a slight gap between the black tiles.
Outdoor Mosaic Backer
I couldn’t decide how I wanted to mount the mosaic QR code sign.
One option was to mount the mosaic on a piece foam-core tile backer board and hang this lighter version of the mosaic from a post.
The second option was to make a backer from hardware cloth (steel mesh) and mortar backer and include built-in legs of thin steel rods intended to be pressed into the ground to a depth of at least 12 to 18 inches.
The foam-core backer board option would need some sort of frame to protect the edges and provide points of attachment.
This frame requirement makes the wire-and-mortar option with built-in legs more attractive.
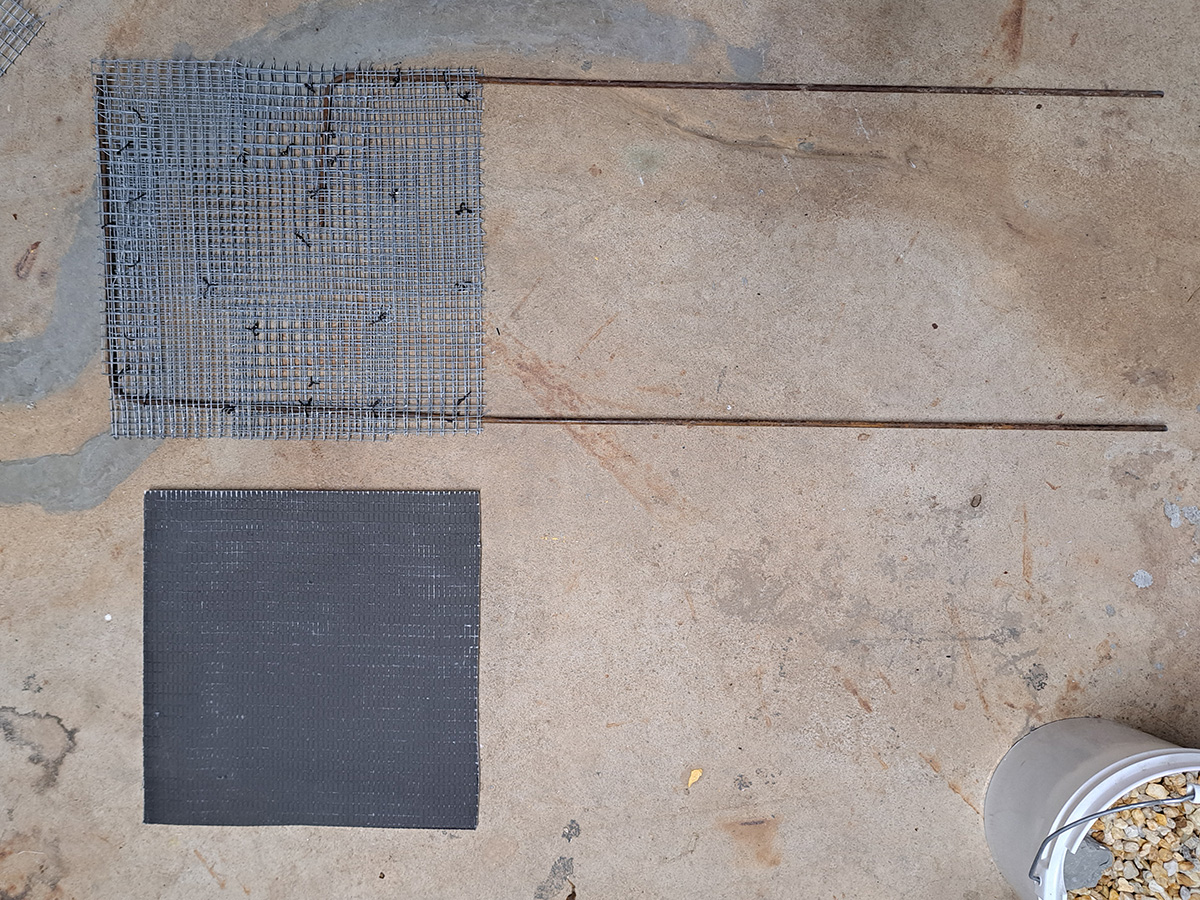
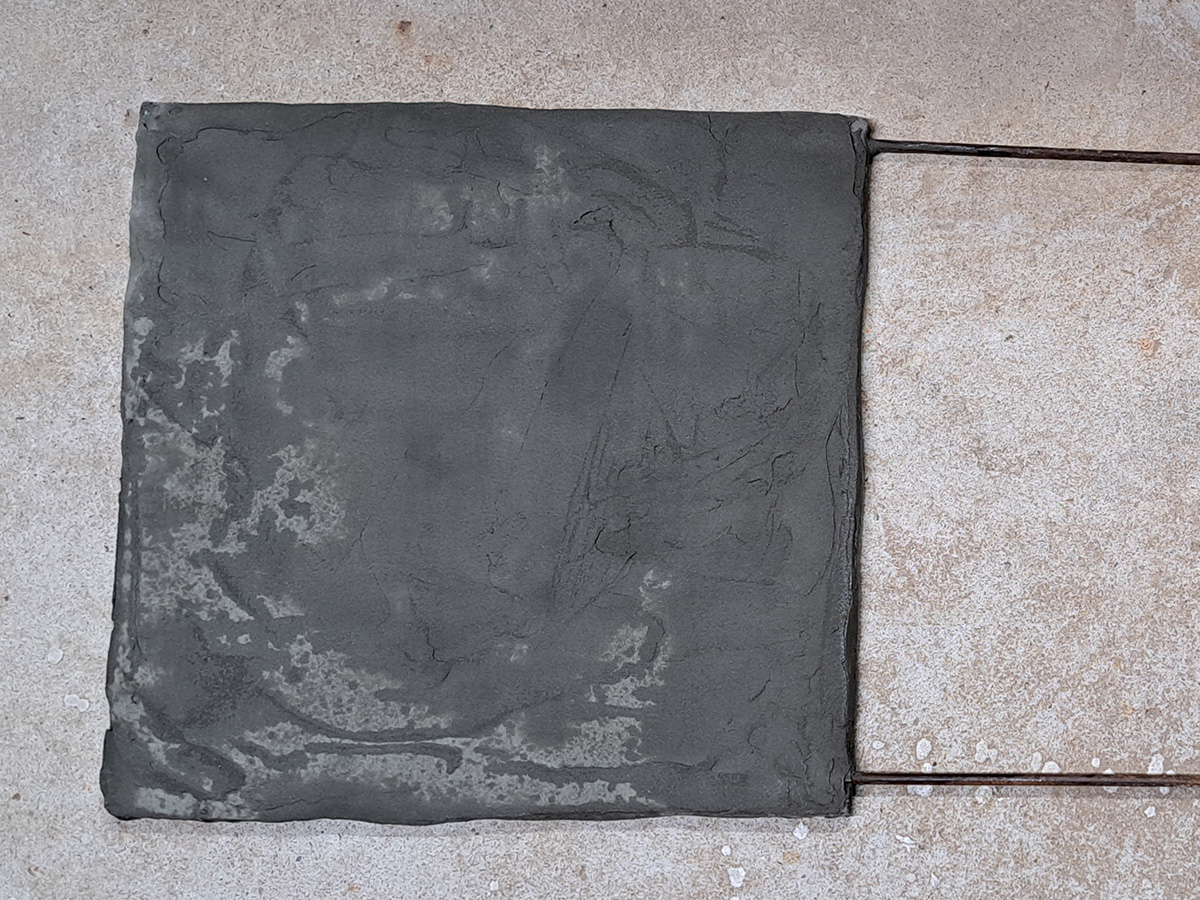
Spoiler alert: I made the wire-and-mortar backer too heavy for it’s spindly legs.
I can press this backer deeper into the ground to make the thin legs less of a problem, but that means the sign will be relatively low and subject to being hidden by vegetation.
Materials and Methods
I made the skeleton with hardware cloth (wire mesh) and Versabond brand thinset mortar and some thin steel rod I had on hand.
Normally I would have welded a frame from the thin steel rod, but my welder was at the Mosaic Art Supply warehouse, and I didn’t want to leave the house.
In lieu of welding, I tied the hardware cloth tightly to the rods using bailing wire.
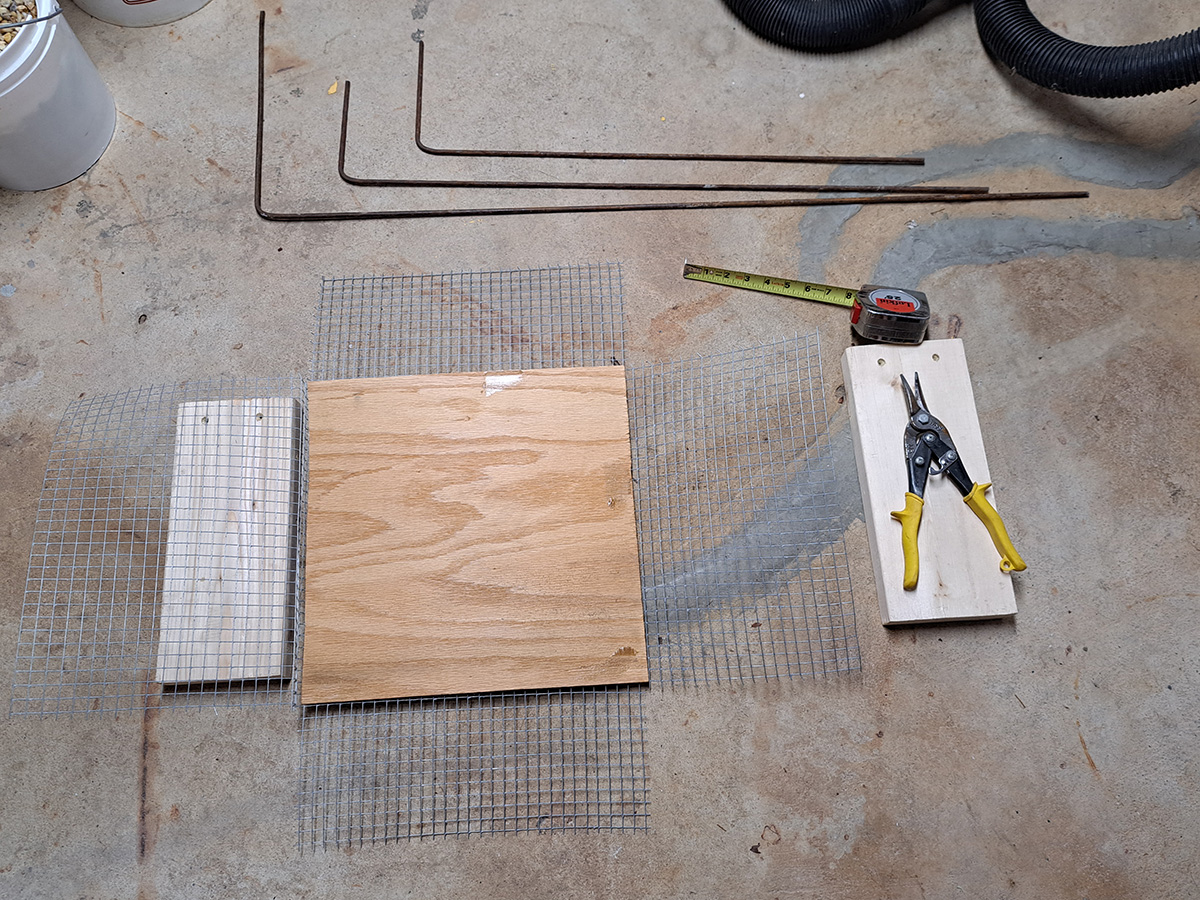
In the photo above, I am using a plywood template to crease the hardware cloth so that I can fold it around the steel rods, which I bent into L-shapes.
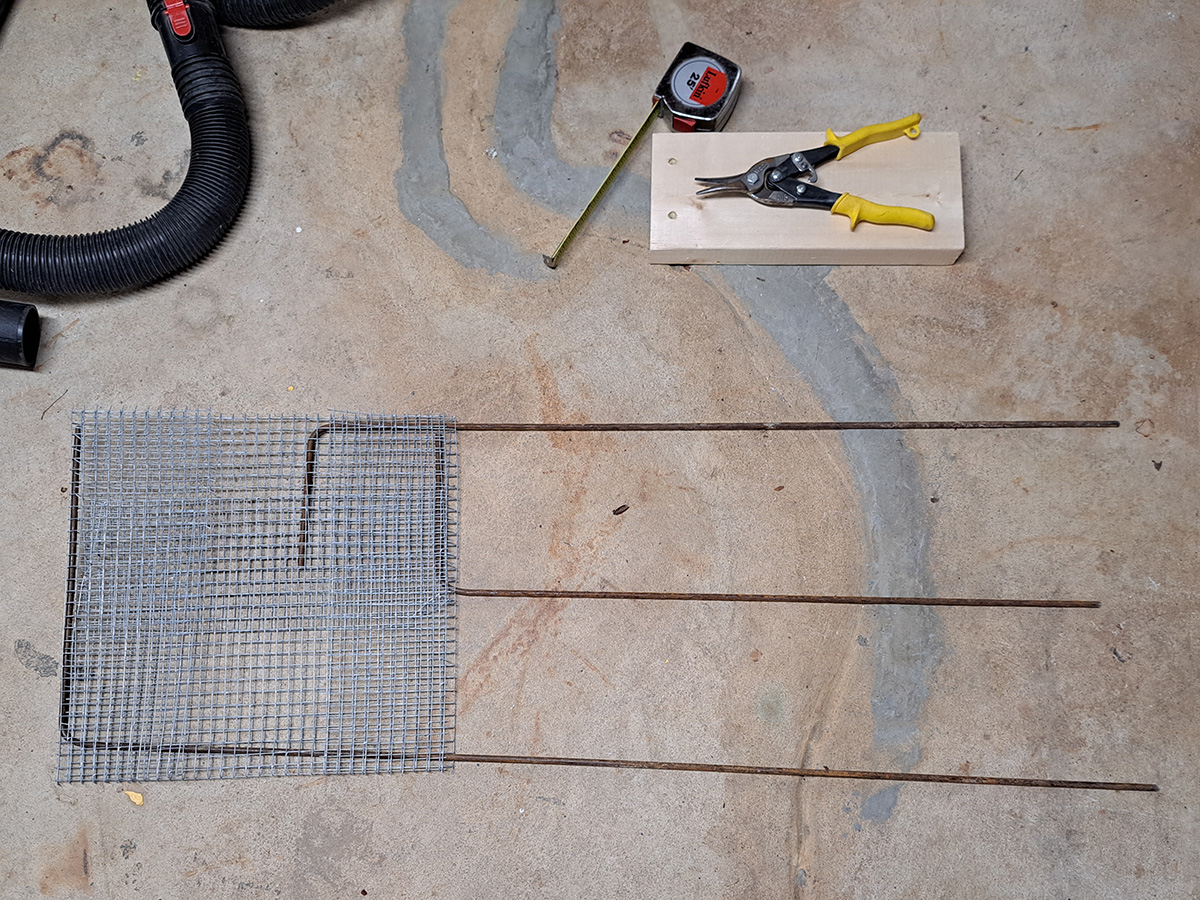
The photo below shows the assembly after the flaps are bent down over the L-bends of the steel rods:
Note that the L-rods had to be inserted into the crease of the fold before the fold was pressed down flat.
Note the third leg in the middle, which I decided to remove before continuing. It would have been a design flaw because only one part of the L-bend was between the hardware cloth.
The photo below shows the assembly after bailing wire was used to tie the hardware cloth down tightly around the rods:
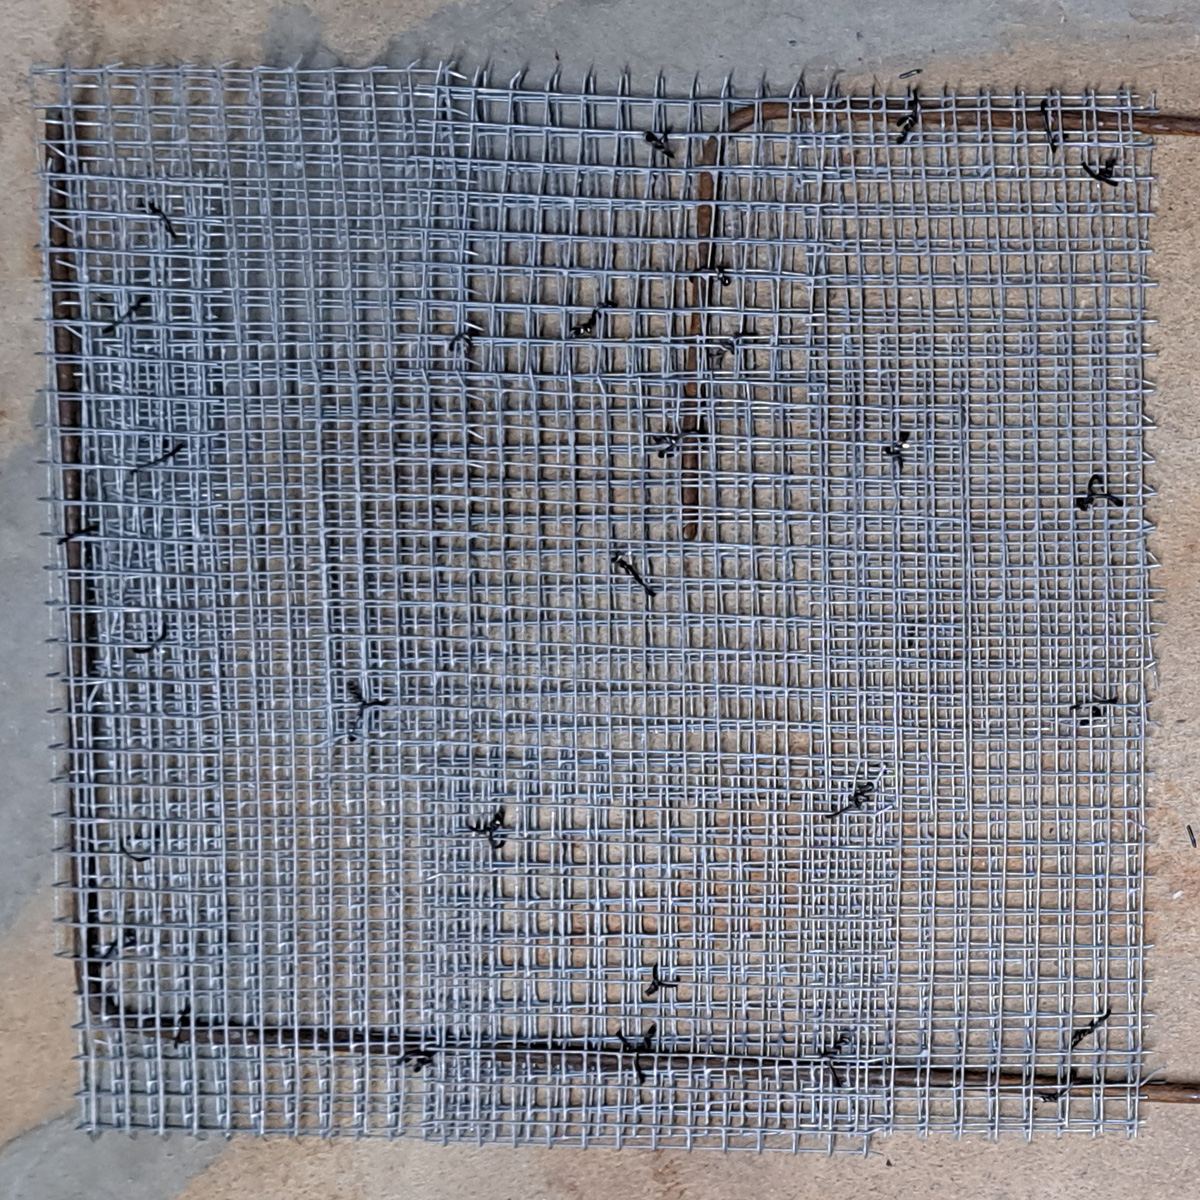
Of course, the mesh was pounded flat using the end of a piece of 2×4 so that the wire ties could be as tight as possible.
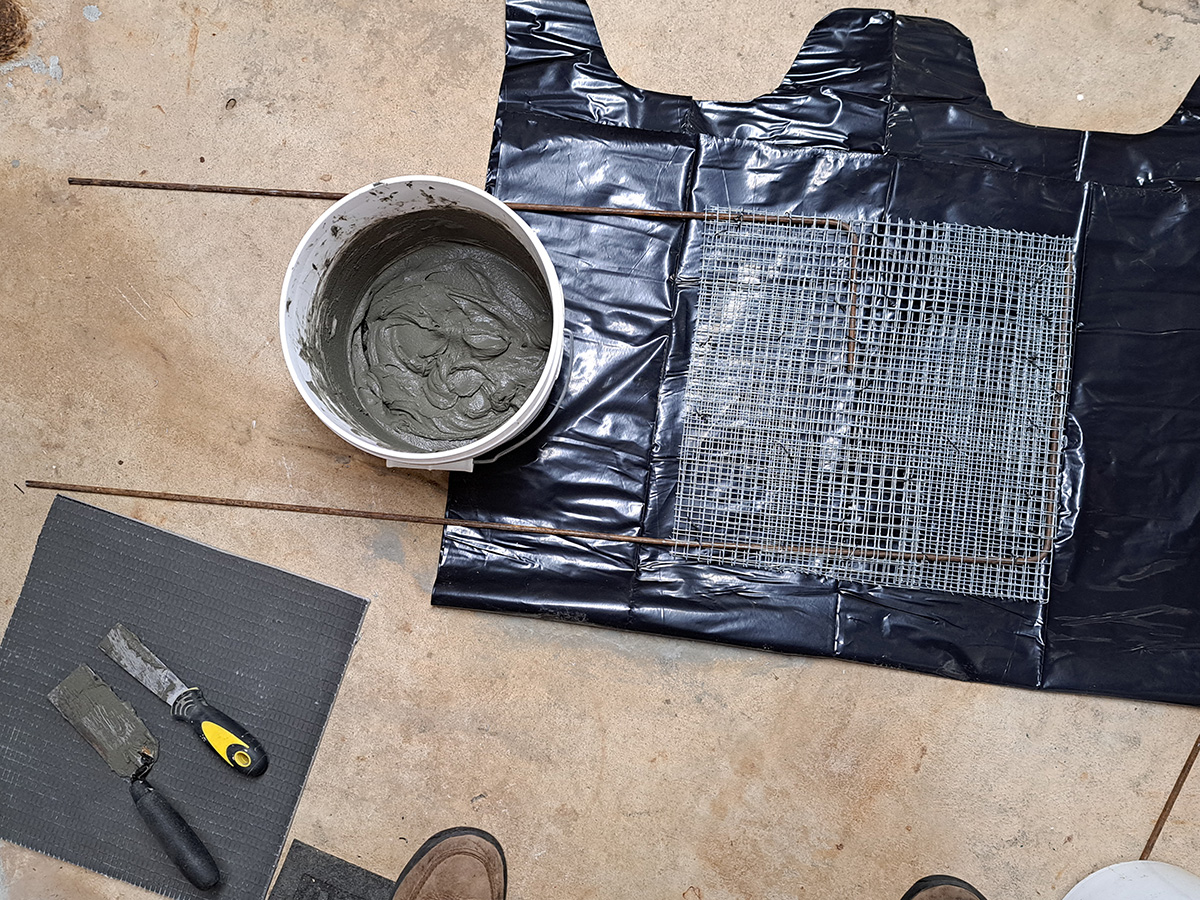
The photo below shows the assembly after the first coat of mortar:
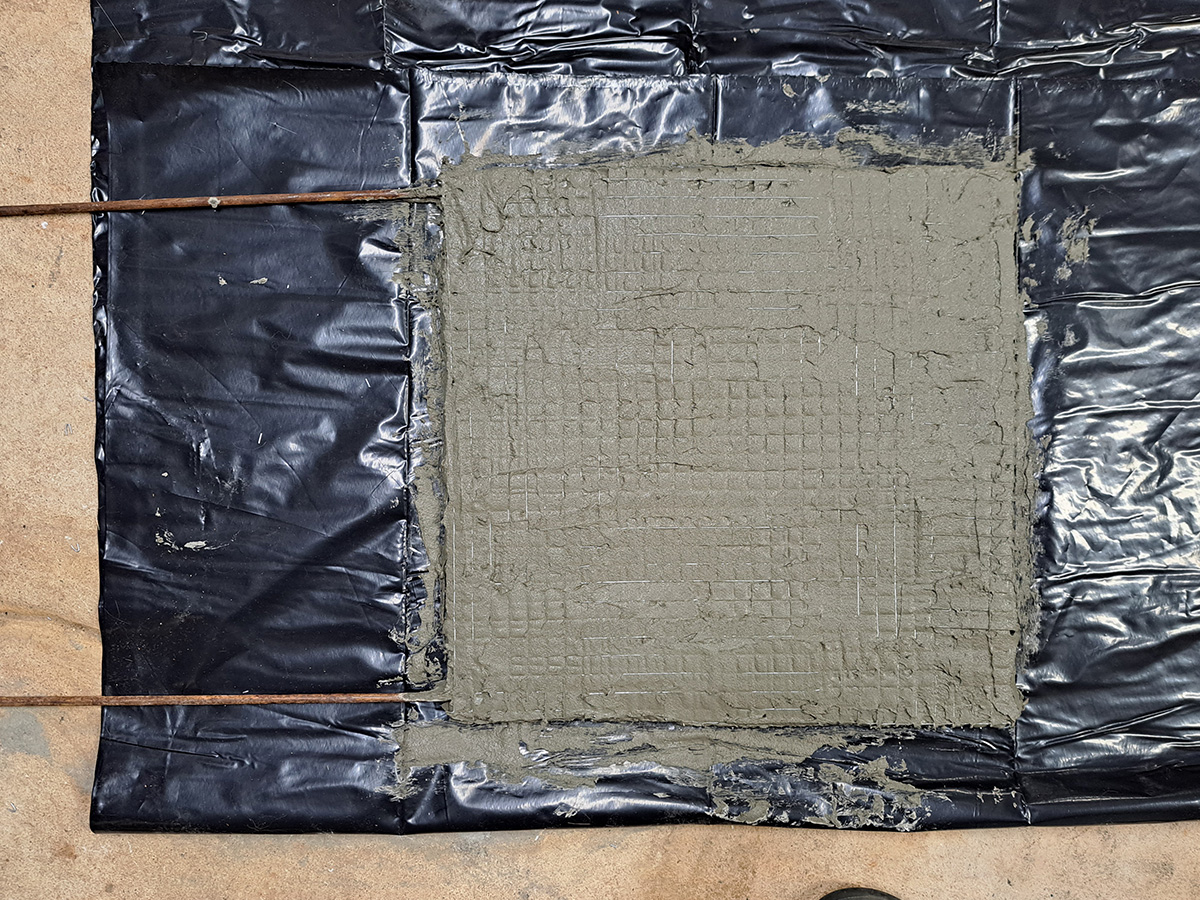
The photo below shows the outdoor mosaic sign backer after the second application of thinset mortar has hardened.
Mosaic Sign Status
I have yet to decide on a mounting, and so the mosaic isn’t yet installed. I will publish an update when I mount the mosaic.
Here is the unmounted mosaic:
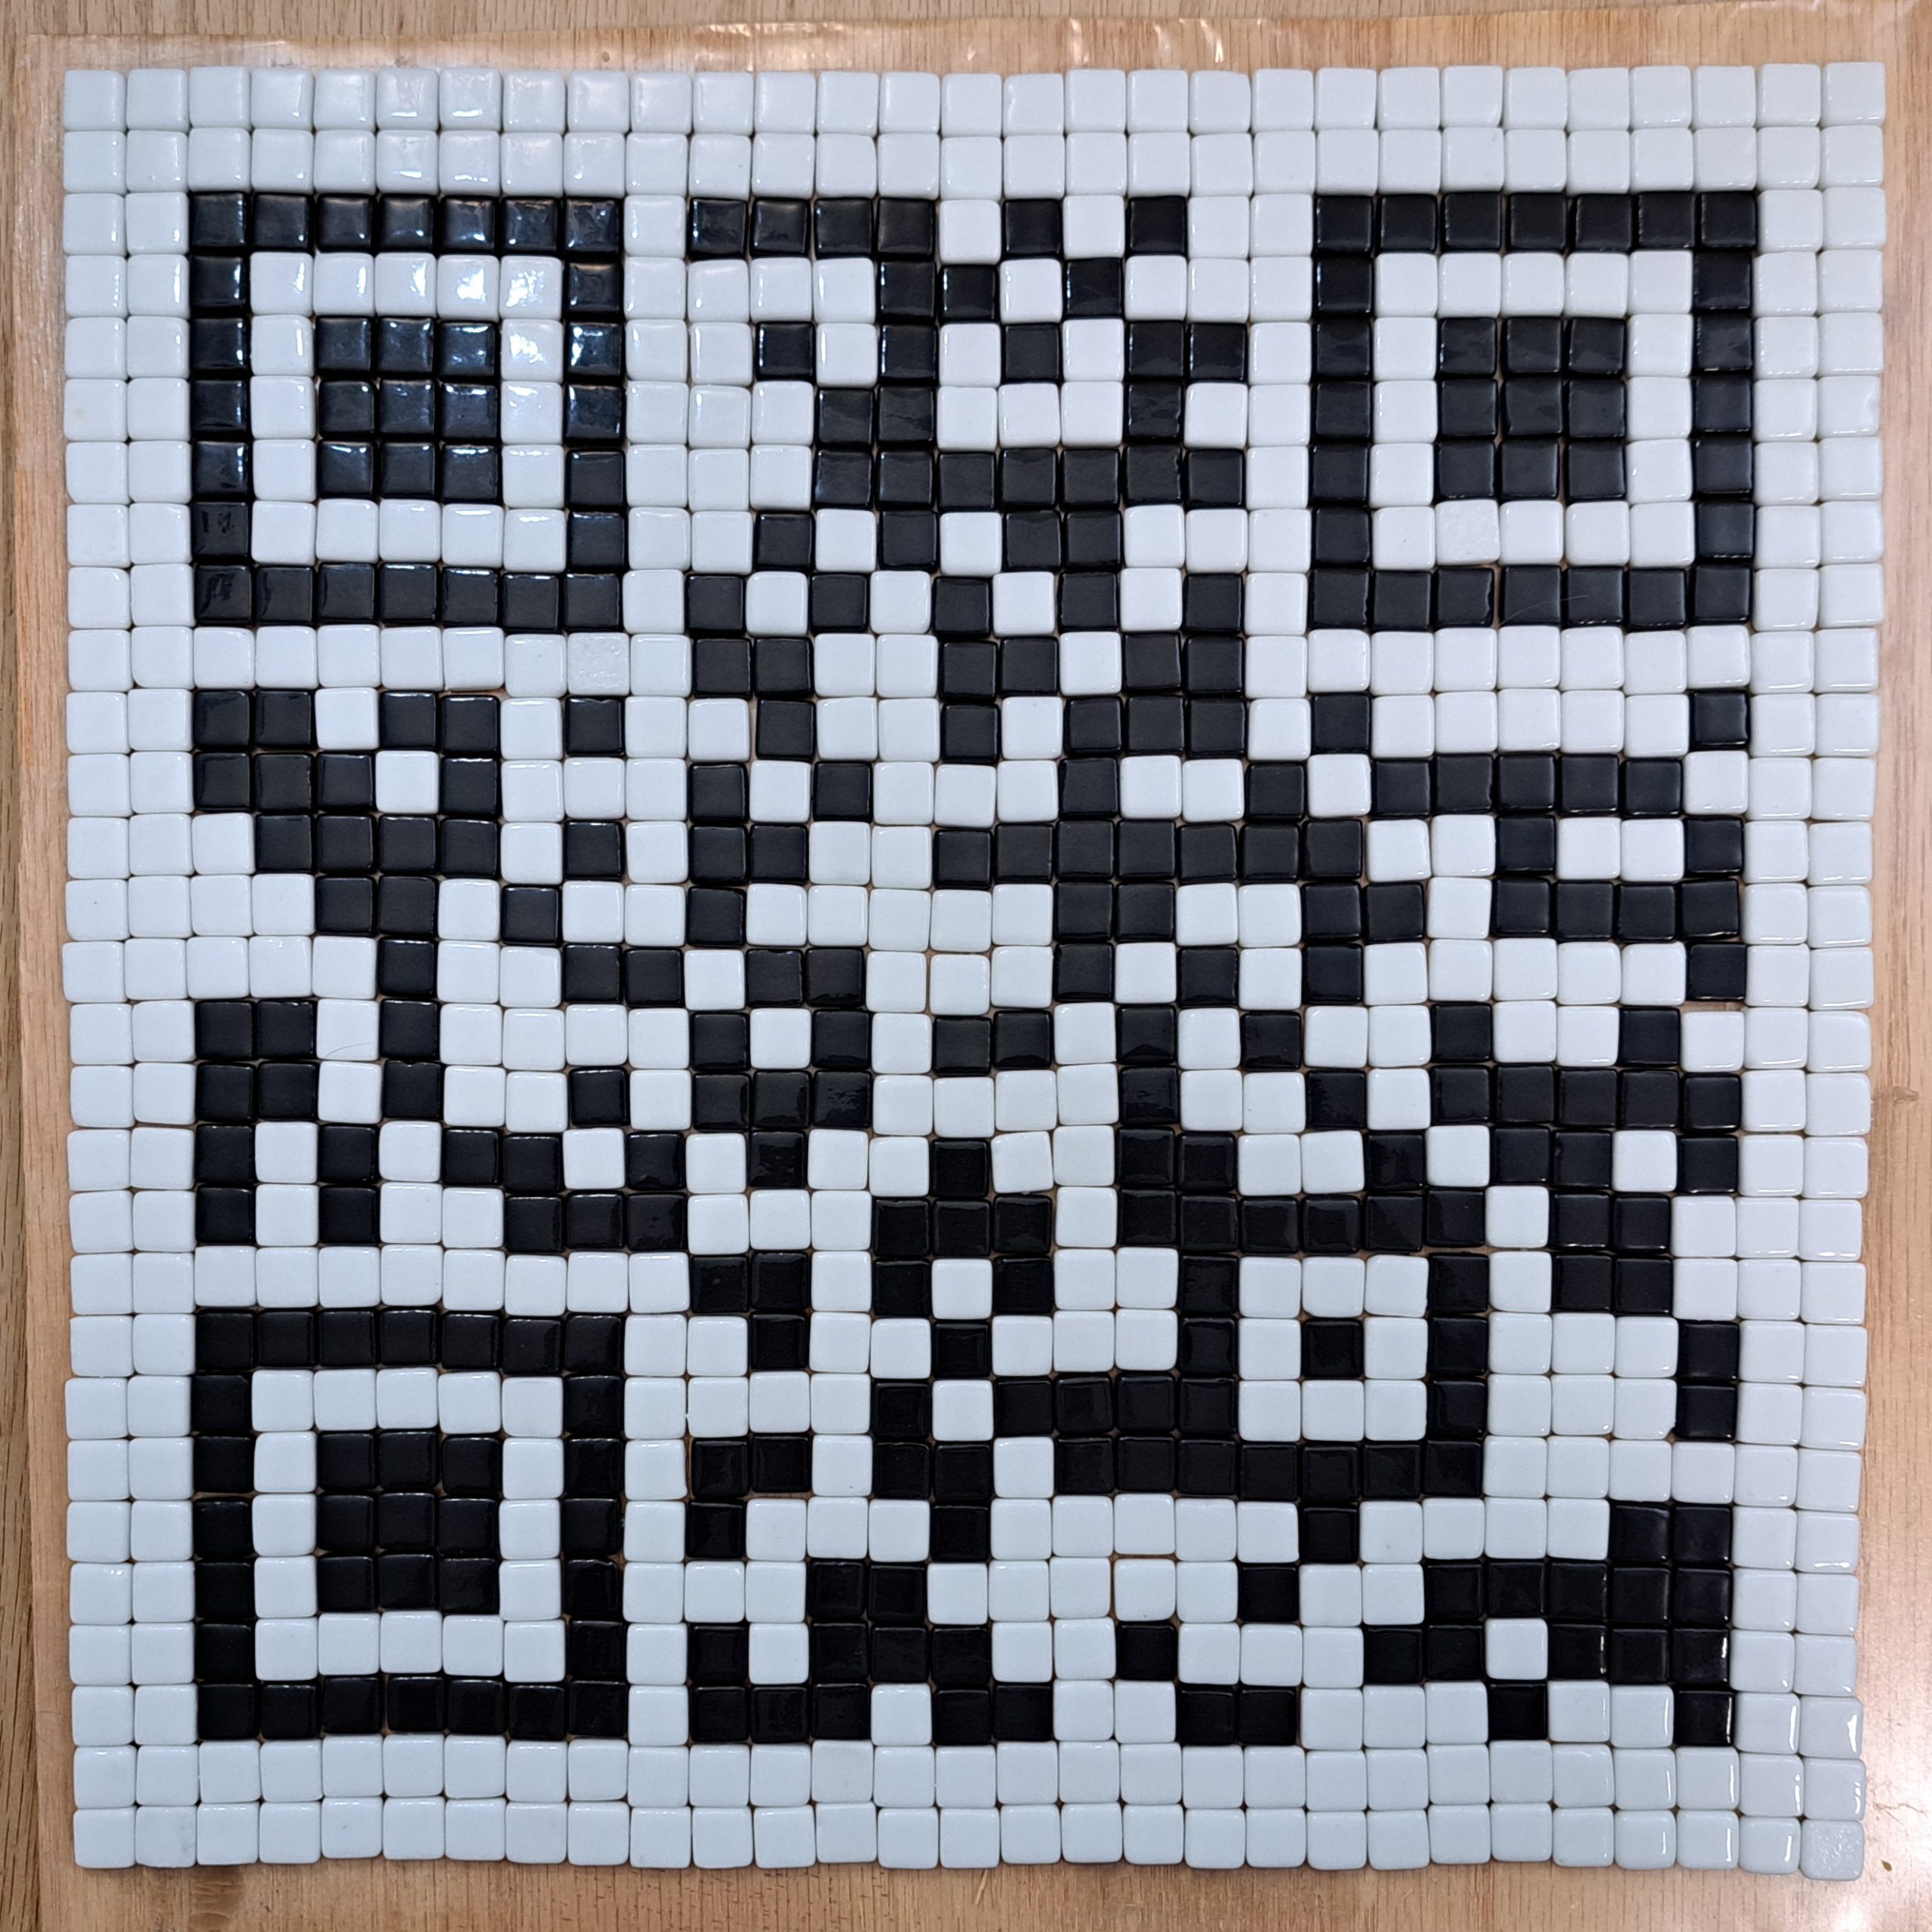
Here is the backside of the mosaic, which is currently face down on Mosaic Mounting Tape:
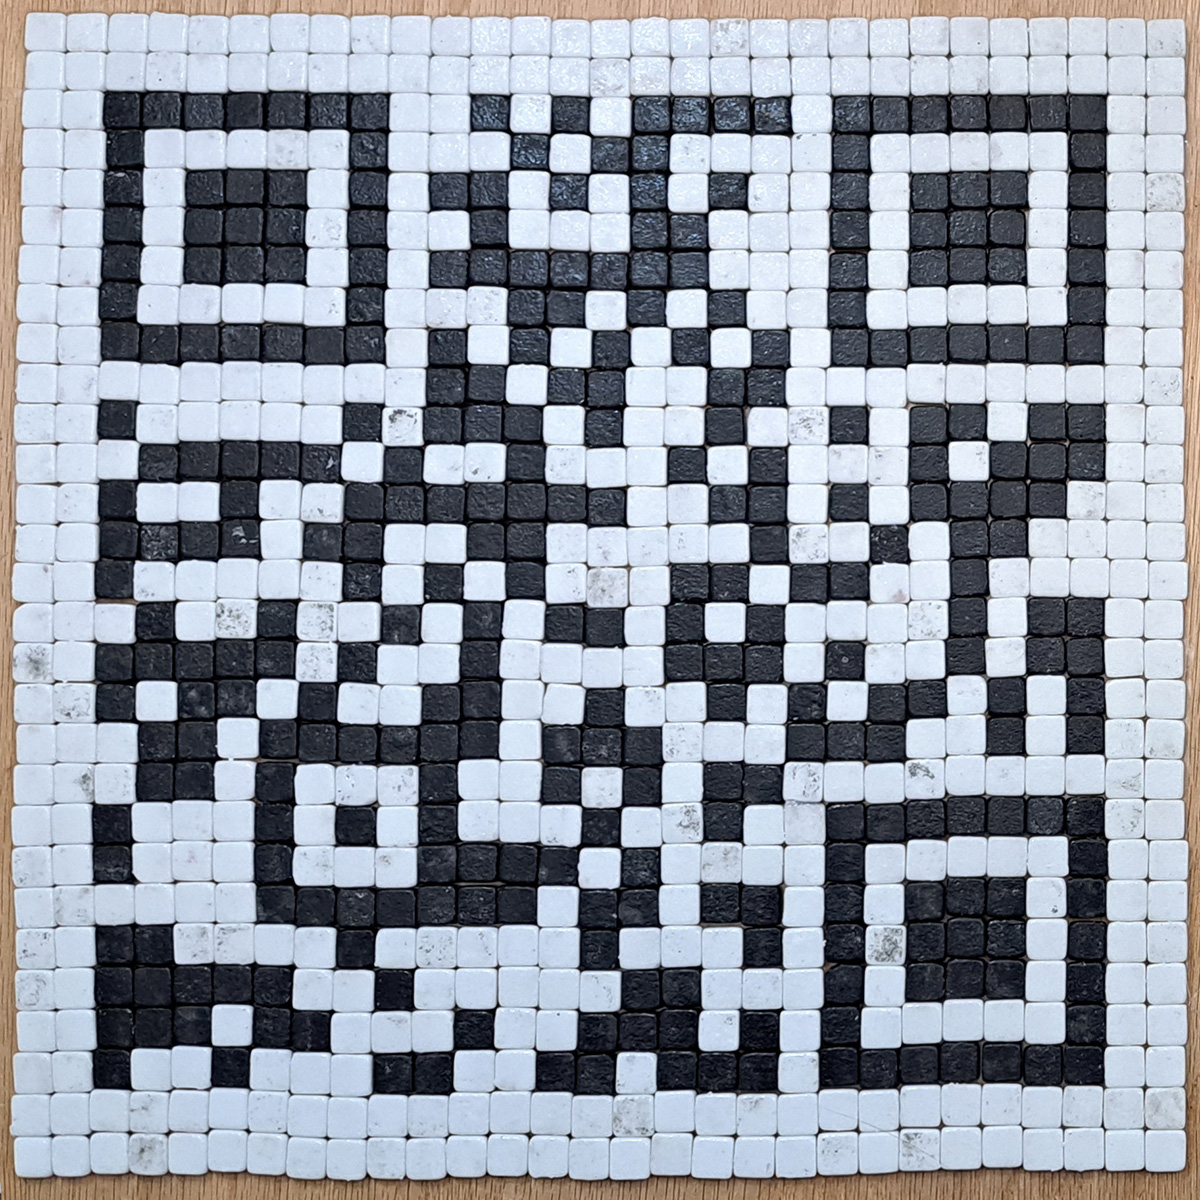
QR Code
Here is the QR code I used as a model for the mosaic:

The link for this QR code is:
Leave a Reply