I just made a video that shows how to mount a mosaic without a grout gap in a bed of thinset mortar.
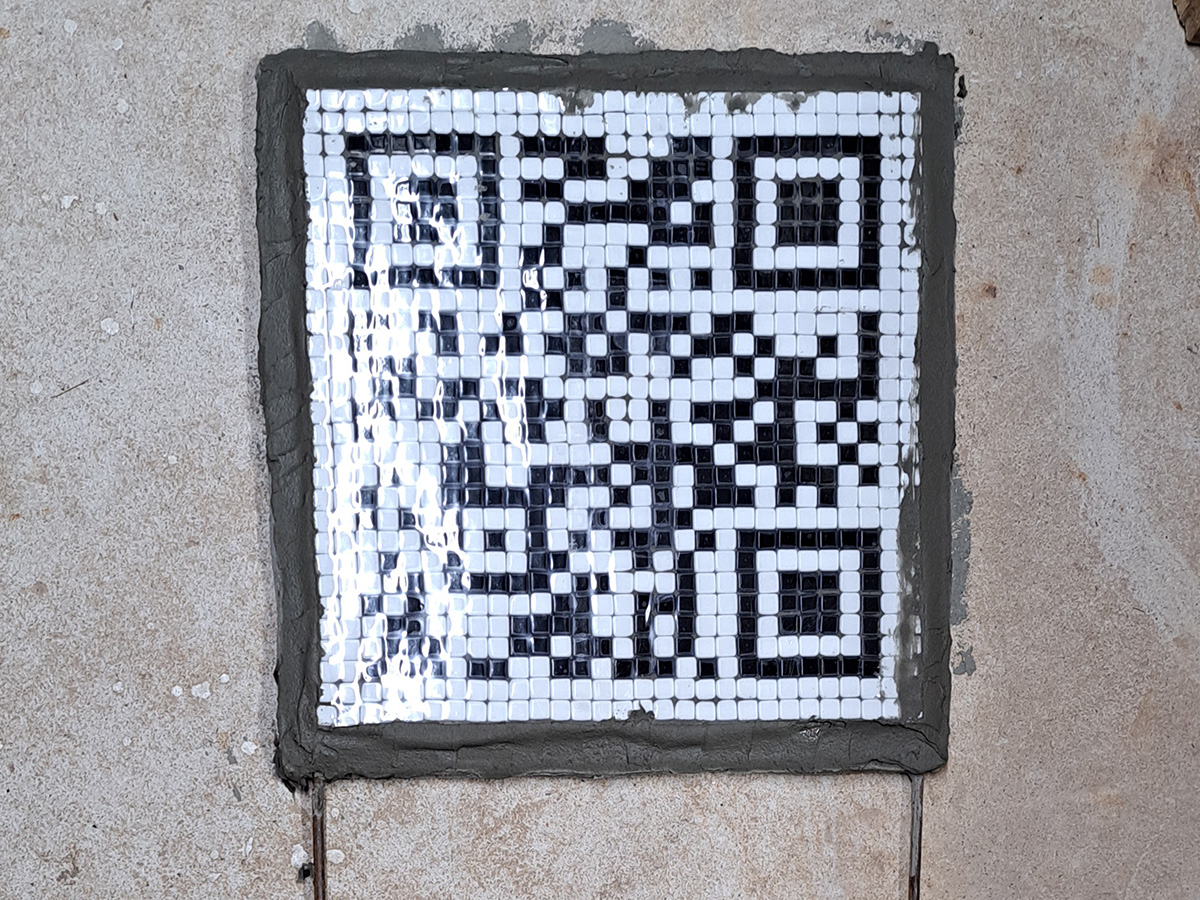
The project task used for the video was mounting the QR Code Mosaic to an outdoor sign backer that made from mortar and hardware cloth.
The Video
Here’s the video:
The Captions
The captions for this video are:
This method is for a mosaic with NO grout gap.
A mosaic with a standard grout gap requires a Notched Trowel to spread an exact amount of thinset.
I am not doing that here.
Instead of spreading a controlled amount, I am going to spread a “thick” (<3/8 inch) layer of thinset mortar.
The “thick” layer means that mortar will squeeze up between the tiles any place they aren’t touching each other.
This mortar between the tiles will function as the grout in any incidental gaps, which saves a step.
Any excess mortar that gets squeezed up over the corners of the tiles can be scraped off when hardened.
Notice that I am scraping the mortar back and forth across the surface of my backer.
This is done to make sure the mortar is making intimate contact with the backer and is pressed into tiny pores and crevices.
Otherwise, the bond to the backer can be relatively weak, especially if the surface was relatively dusty, which is the norm for concrete and stone.
I need to make sure I get the edges wetted with mortar before I concern myself with leveling the mortar’s thickness anywhere.
As always, I using spreading tools in PAIRS so that I can use one to scrape the other clean.
The video speed is now fast forward. I am spreading the mortar more slowly and more carefully than it looks.
I am putting an emphasis on spreading the edges and sides because these areas tend to get neglected in terms of being thoroughly wetted with mortar.
These same areas also take the most impacts and abuse compared to the rest of the mosaic, and so they need to be the strongest.
The thinset mortar I am using is Versabond brand from Custom Building Products (CBP), which is their general-purpose thinset.
CBP actually recommends their Glass Tile Thinset for mounting glass, but I think that is mostly because it is white to make translucent glass more vibrant.
I like the Versabond brand thinset because it is hard and strong and works well for sculptural projects.
The backer I am mounting this mosaic on was made from hardware cloth and Versabond thinset mortar.
Note that I made the backer a few days in advance of mounting the mosaic to make sure it was adequately hardened.
Now I am using two boards to flip the mosaic right side up.
It has clear Mounting Tape on its face holding it together.
I use the board to position the mosaic and then slide it off into the mortar.
Then I gently pat the mosaic all over with my fingertips to seat the tiles down into the mortar.
I take care not to press too hard.
I have excess mortar under the tiles that needs to stay there instead gushing out the sides.
Now I am sculpting a shoulder around the mosaic that is flush with the face of the mosaic and tapers off at the edge of the backer.
I forgot to take my N95 mask off from mixing the mortar earlier, but a mask isn’t needed for this task.
The Mounting Tape is still on the face of the mosaic, and so I don’t have to worry about getting mortar on the mosaic.
I let the mortar harden for 24 hours before peeling off the Mounting Tape and cleaning the face of the mosaic with a dental pick and wire brush.
Subscribe to our Morjo™ How To Mosaic channel for more insight into how to make art with tile.
@MorjoMosaicTile.
Morjo™ Glass Mosaic Tiles, Mosaic Glass Cutters, and other mosaic tools can be purchased at our website.
Pronounced “MORHO.”
Leave a Reply