Tag: thinset mortar
-
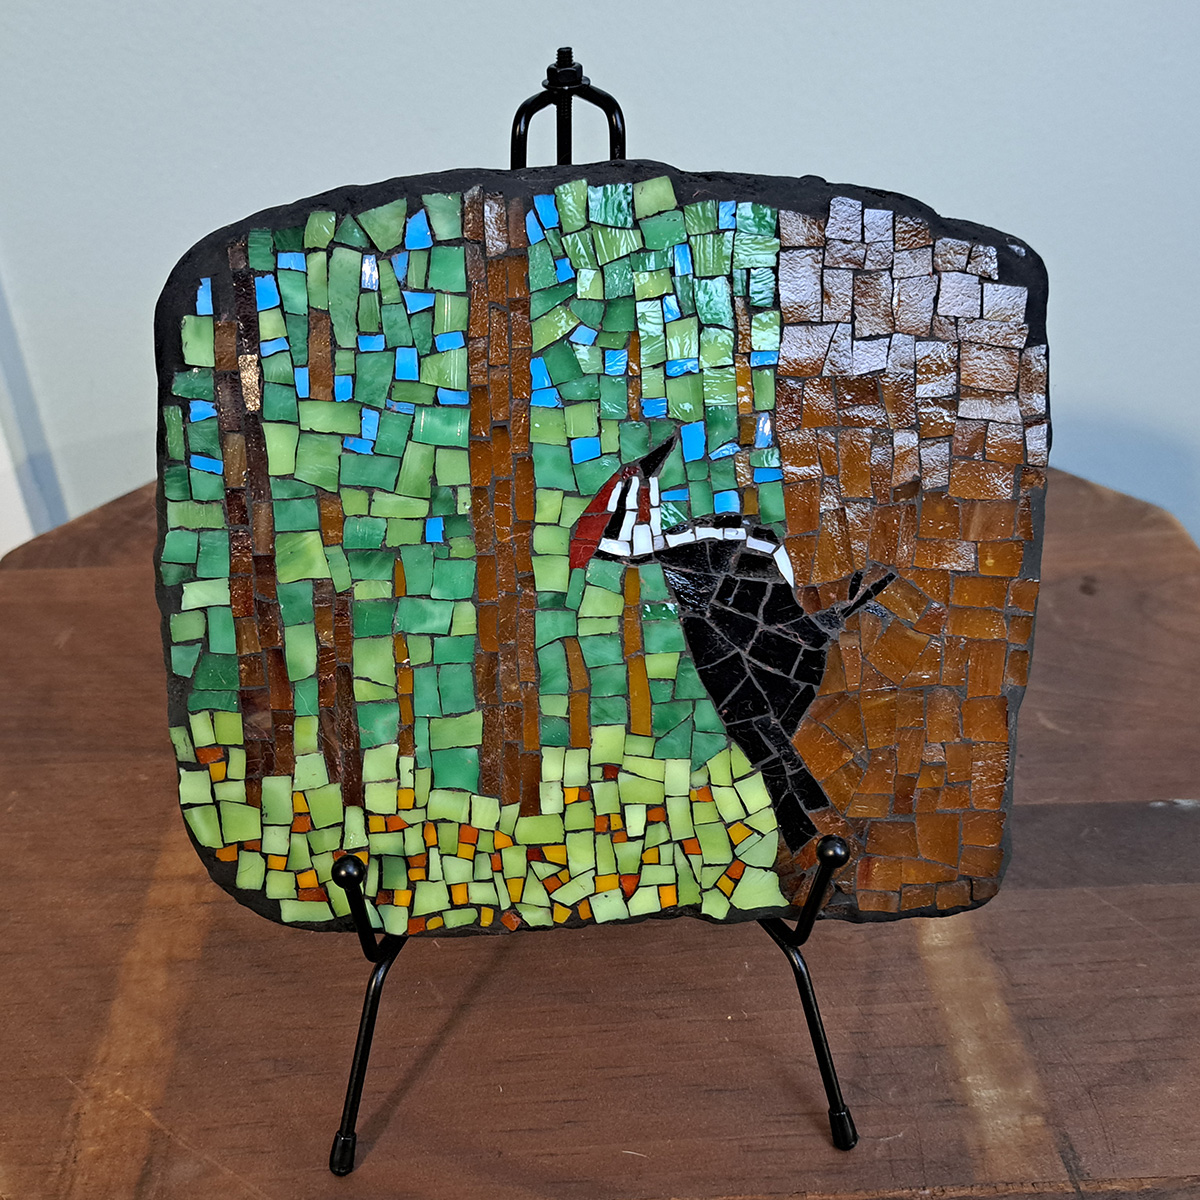
Fundamentals of Mosaic Composition
I recently completed a mosaic titled Woodpecker Forest, which shows a pileated woodpecker on the side of a pine tree in a forest carpeted with capensis flowers. I think this composition is a good teaching example because it demonstrates several fundamentals of visual art. There is strong value contrast (light-dark) contrast in both the figure…
-
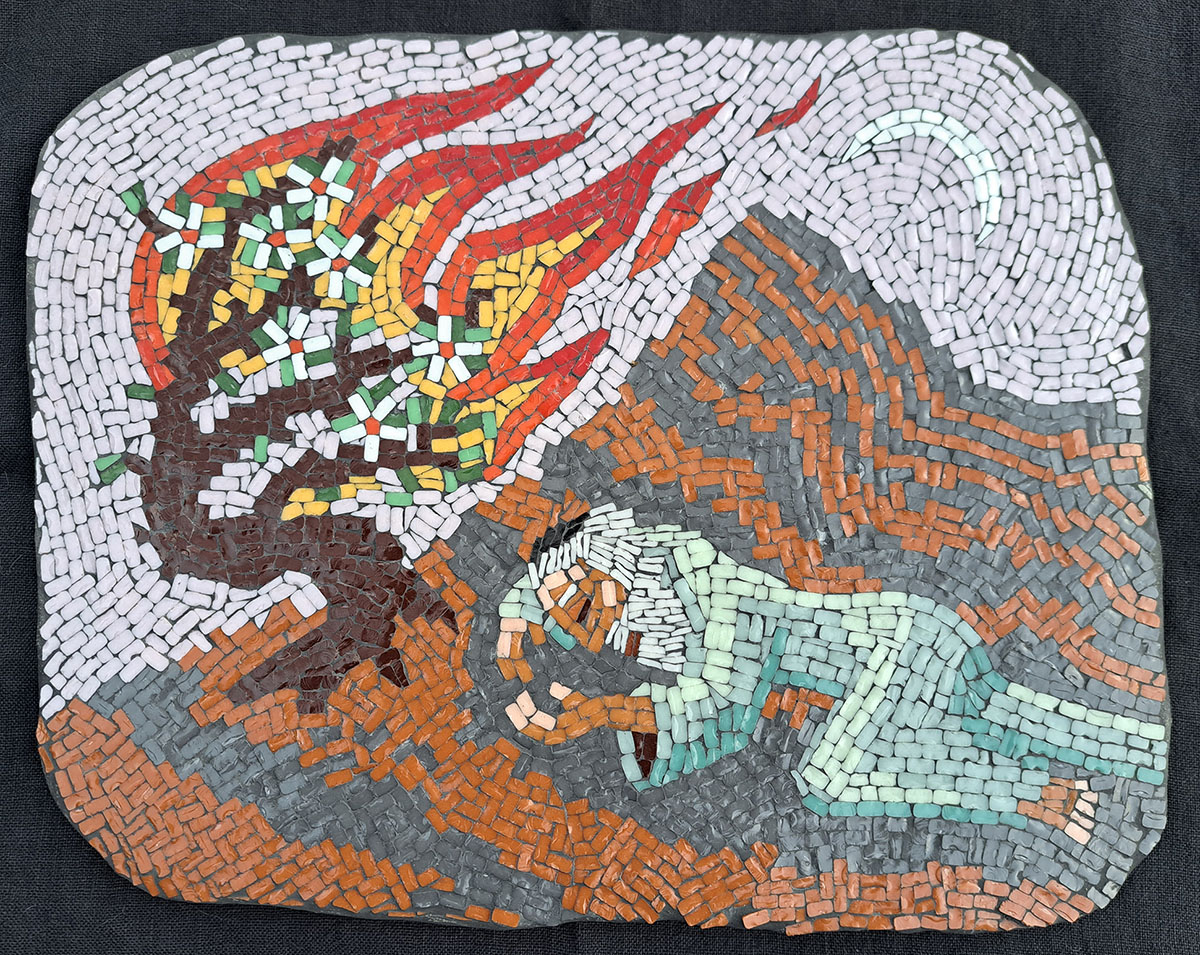
Mounting and Grouting Moses Mosaic
I have mounted my mosaic Moses Dreaming on Sinai on an irregularly-shaped backer and grouted the mosaic. I have made videos of the mounting and grouting processes.
-
Backer for Irregularly-Shaped Mosaic
I have made another mosaic of Moses dreaming on Mount Sinai, and this version also has an irregular shape. I like making sacred relics and visual artwork that “goes past the frame.” I wanted this mosaic to be on a stone tablet like the original decalogue.
-
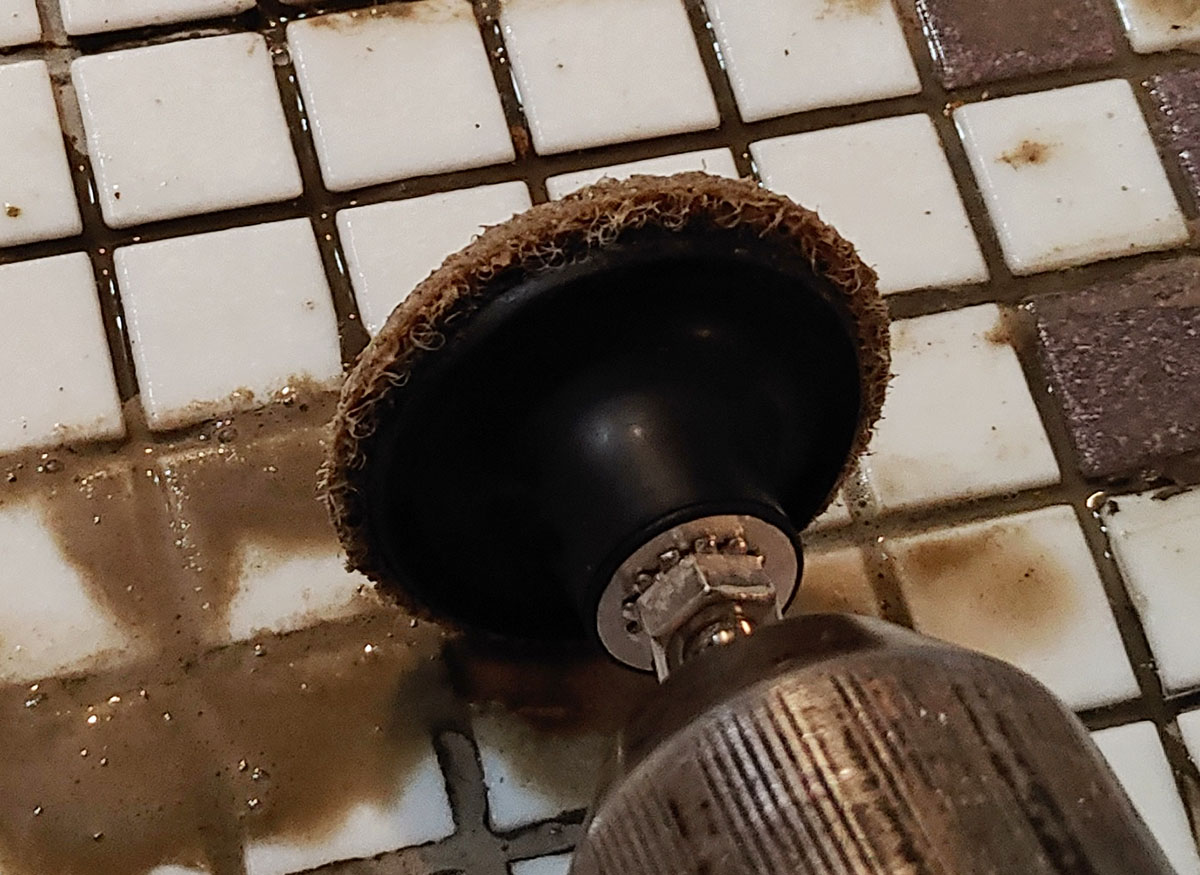
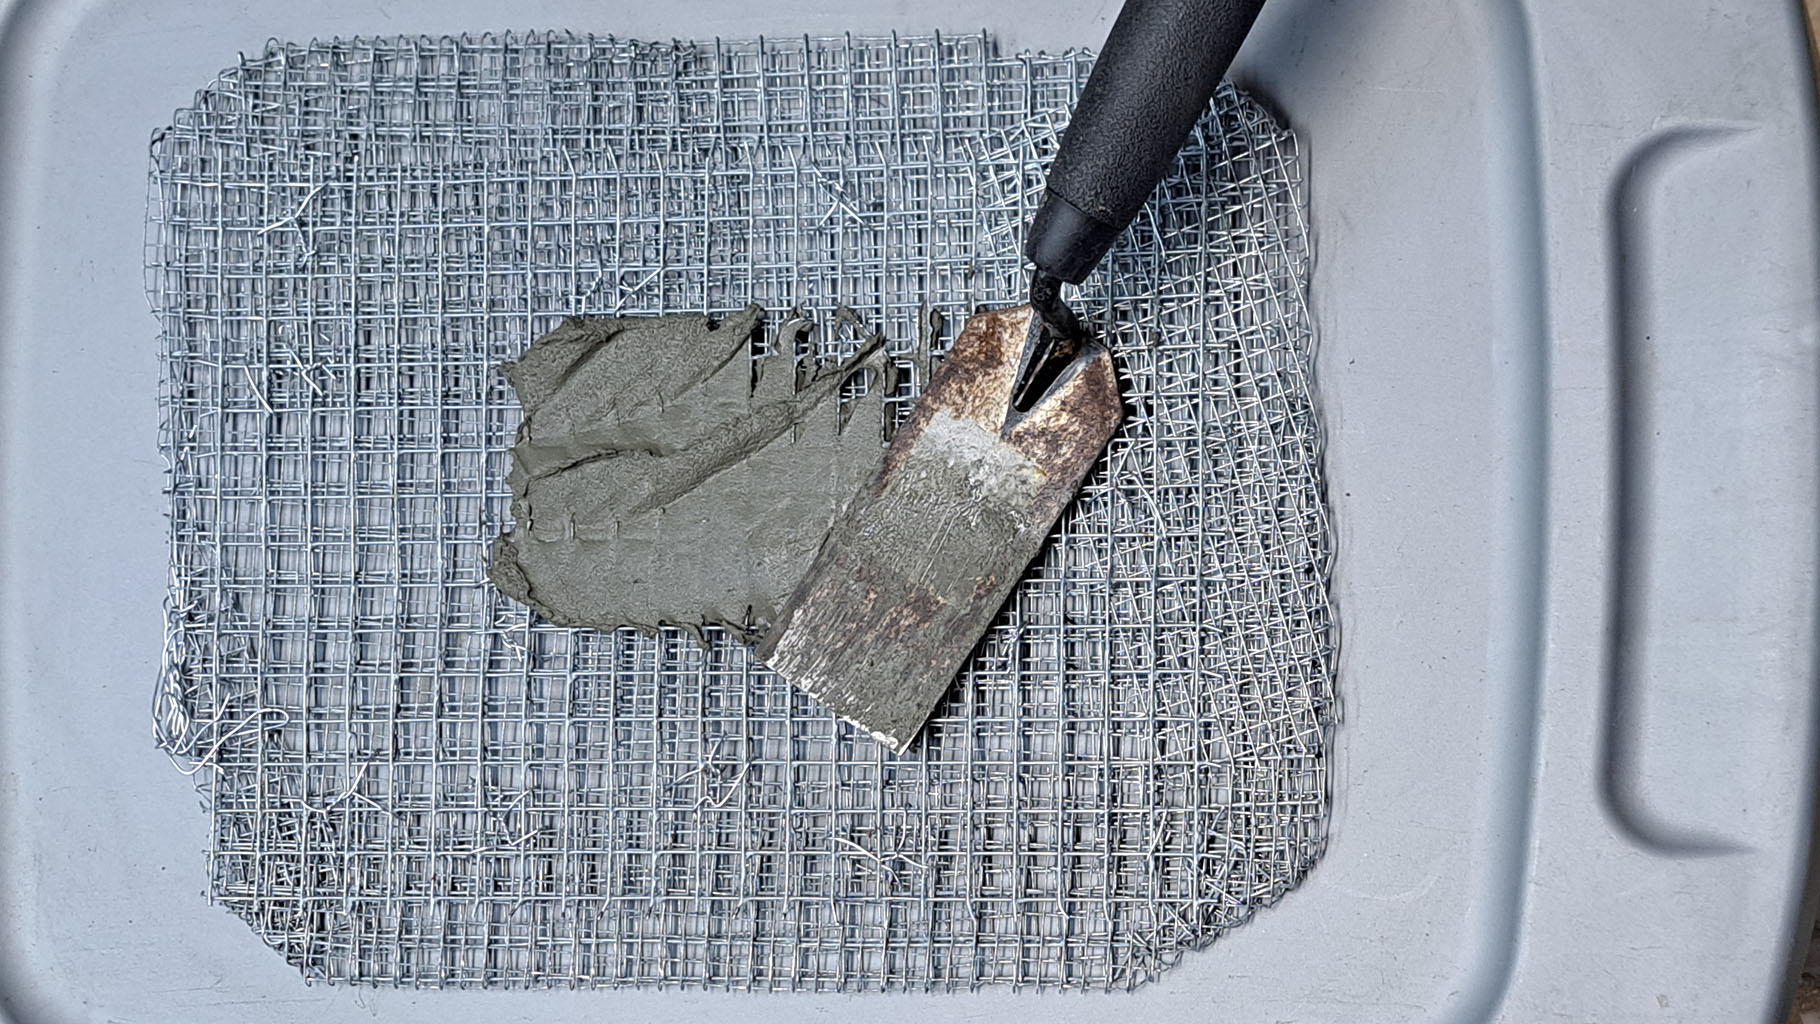
Nonstandard Method for Removing Mortar in Gaps
Natalija reminded me that she used her cordless drill with a mesh disc to remove the hardened mortar, and that cordless rechargeable tools exist. Either we didn’t have cordless rechargeable tools on my home planet, or I was having a stress-induced boomer episode yesterday. One of those two things is true, maybe both.
-
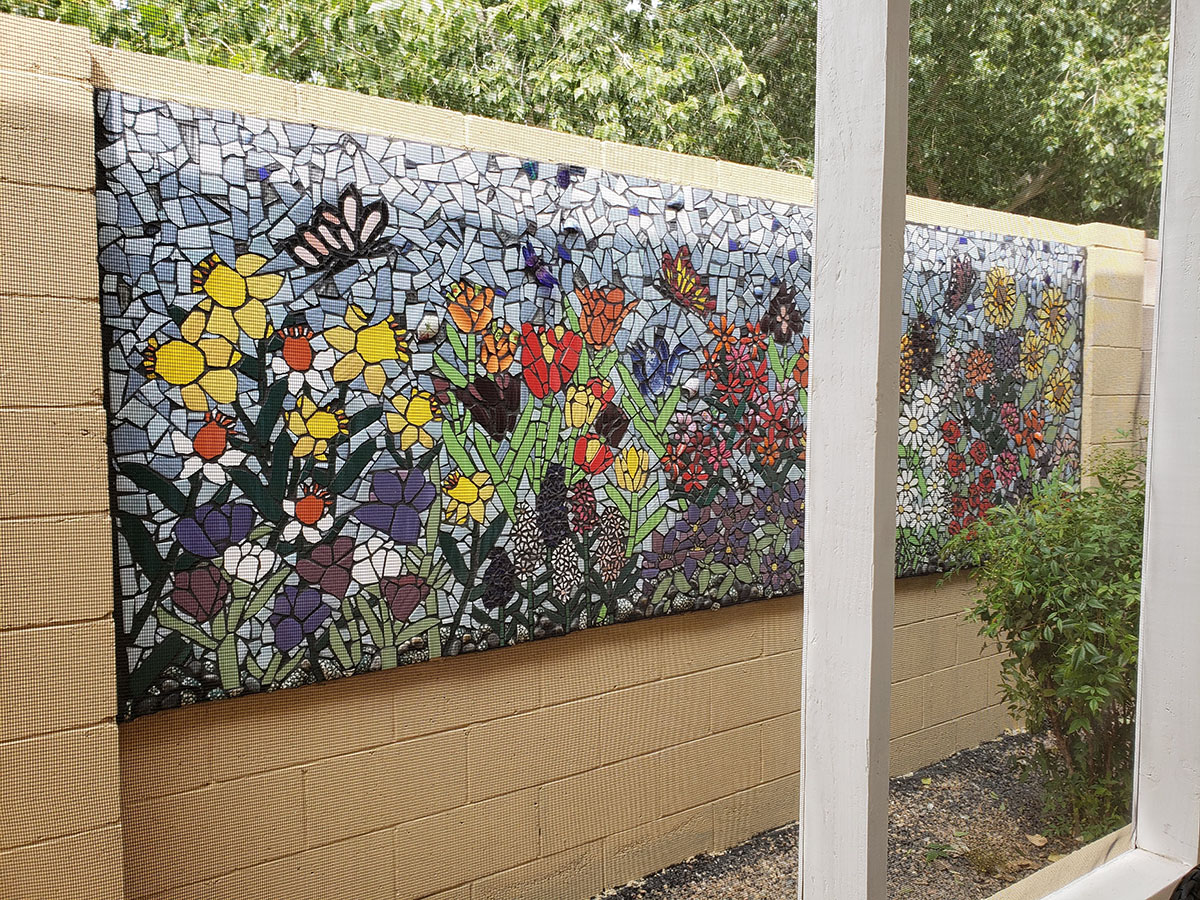
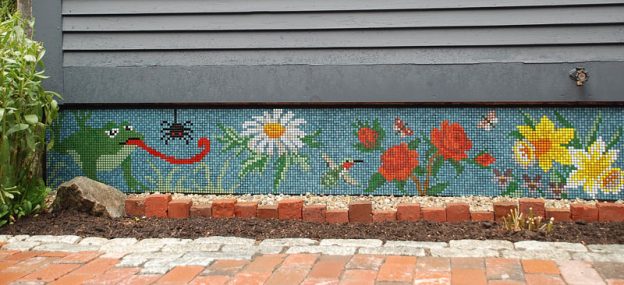
Mosaic Mural on Tile Backer Board
Artists Patricia Cream and Leah Mitchell recently completed an outdoor mosaic mural mounted on foam-core tile backer board, and they took excellent photos of the work in progress. Each major step in the process is shown, including the french-cleat hanging brackets used to mount the mosaic to the cinder-block wall. The mosaic mural is also…
-
Mosaic Mural Surface Preparation
The best way to mount an outdoor mosaic mural is to use thinset mortar and mount it directly to a brick, stone, or concrete wall. You can make mosaic murals on foam-core backer board and mount these backers onto wooden fences with screws, but that is less than ideal for several reasons, and the weight…
-
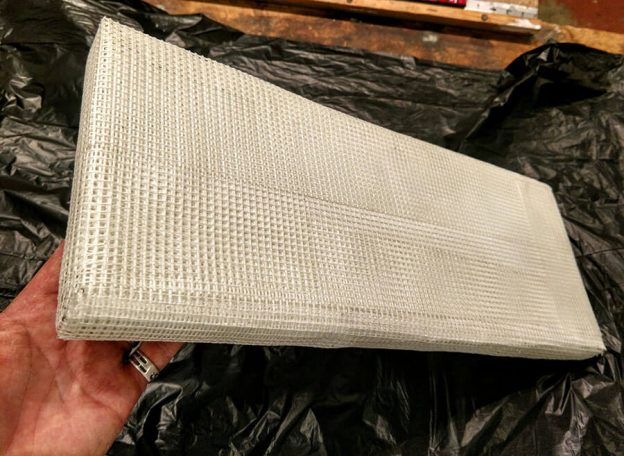
Making Foam-Core Mosaic Backers For Outdoor Projects
Artist Jill Gatwood uses the following method to make water-resistant foam-core mosaic backers for exterior mosaics, such as the Pet Memorial Name Plaques she does for clients who need something that is lighter weight and easier to ship than stone or solid concrete. The method wraps the foam in three or four successive layers of…
-
Why Did My Tiles Come Loose From Thinset?
Recently, artist Jackye Mills emailed me about a problem she was having with her first mosaic project, and it really caused me a lot of angst because the artwork was a strong design that was otherwise well executed. I hated the thought that a first-time mosaicist could do such a good job on something so ambitious only to…
-
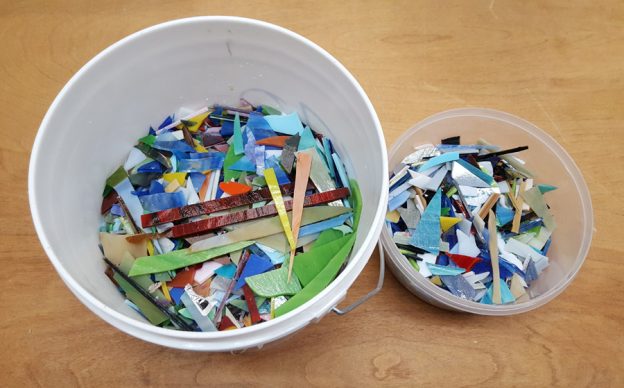
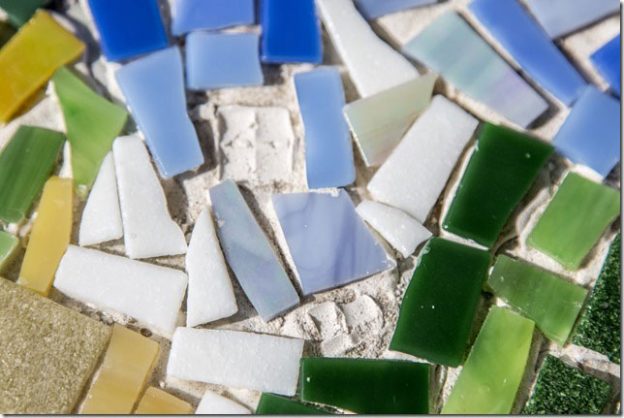
How to Make a Stepping Stone with Scrap Glass
If you work with stained glass over time you can end up with buckets full of scrap. When the pieces start getting too small and irregular, or if there’s just too much of it, you can used them in a stepping stone. This tutorial demonstrates how to make a stepping stone with an abstract pattern.…
-
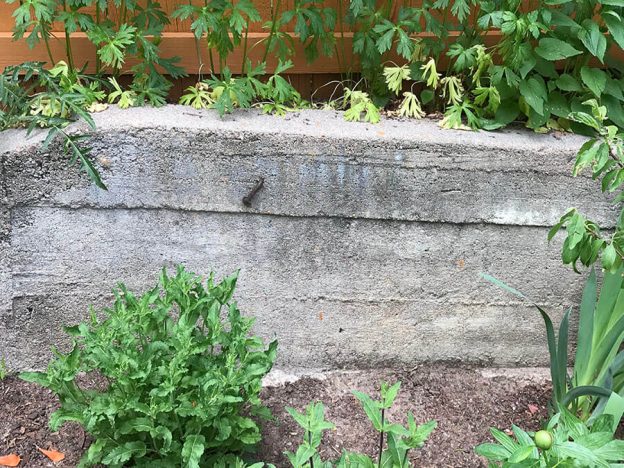
Patio Mosaic Alternatives
Patios are excellent locations for mosaics, but the patio floor itself is not as good a surface for a mosaic as a surrounding wall or brick planter would be. The main reason is simple: metal patio furniture will crack and crush glass tile, and glass is the preferred material because it is frost proof, economical, and comes…
-
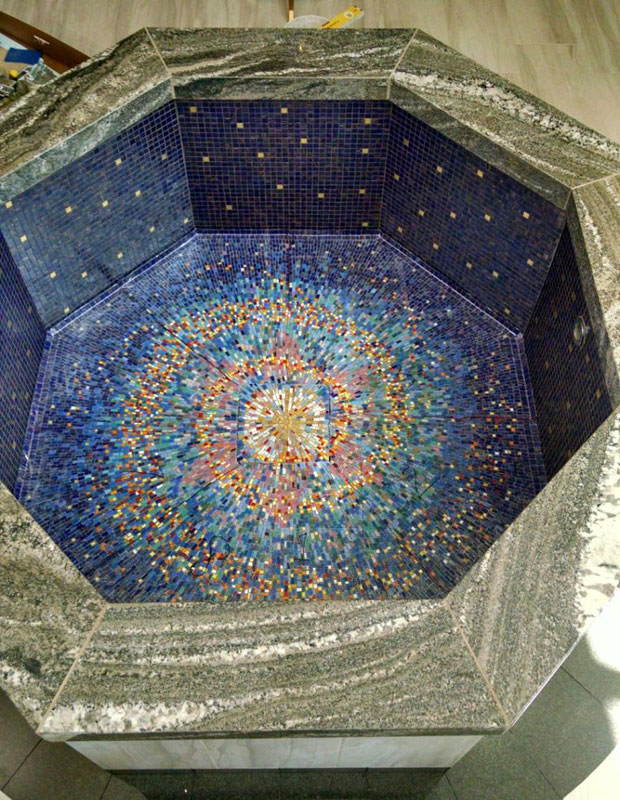
Mosaic Baptismal Font
Artist Sondra Jonson recently completed a mosaic baptismal font for St. James Catholic Church using our gold glass mosaic and metallic glass tile and vitreous glass tile, and it turned out really well. Religious architecture is supposed to be instructive and inspiring, and so Sondra used a spiral galaxy motif for the bottom of the font and a night sky with stars for the…
-
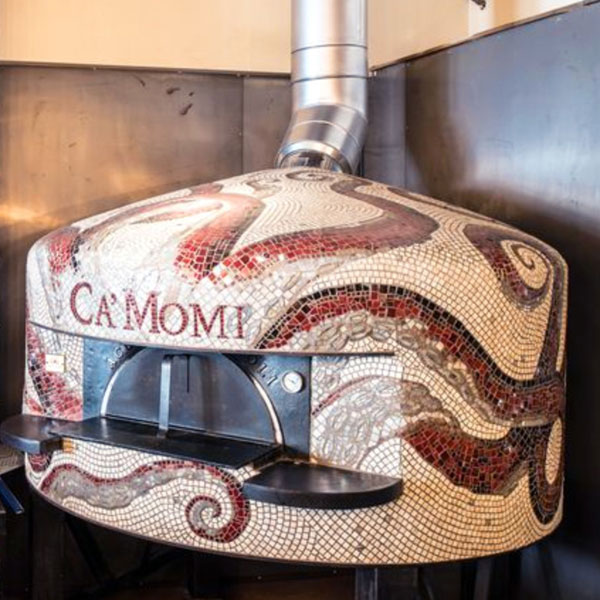
Mosaic Pizza Oven
Mosaic Fireplace and Oven Surrounds: The Basics A couple of years ago, I wrote a page explaining how glass, ceramic, and stone tiles can be used for mosaic fireplace surrounds and how the tiles should be mounted with thinset mortar or white PVA (polyvinyl acetate) adhesives such as Weldbond. But we are talking about the SURROUNDS, not…