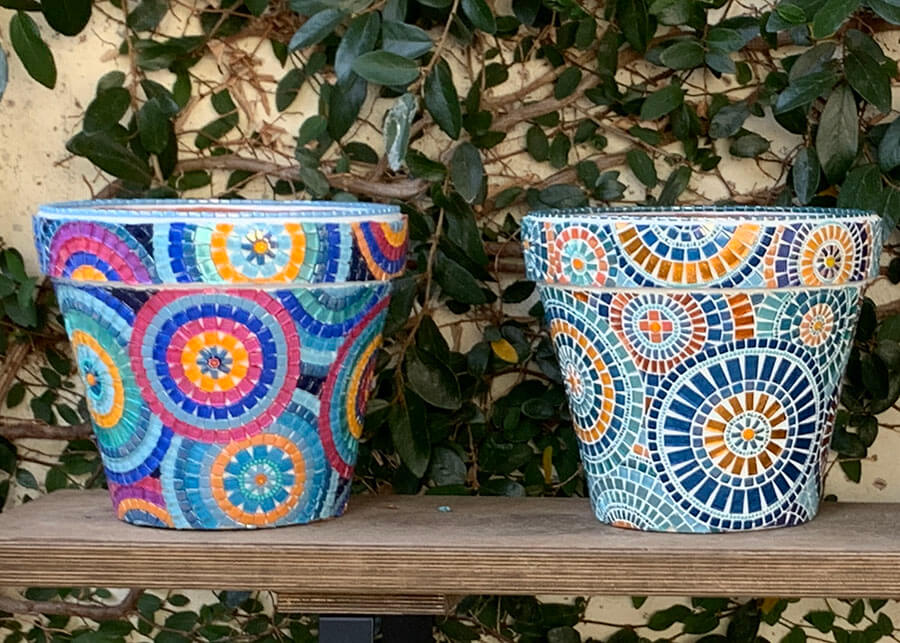
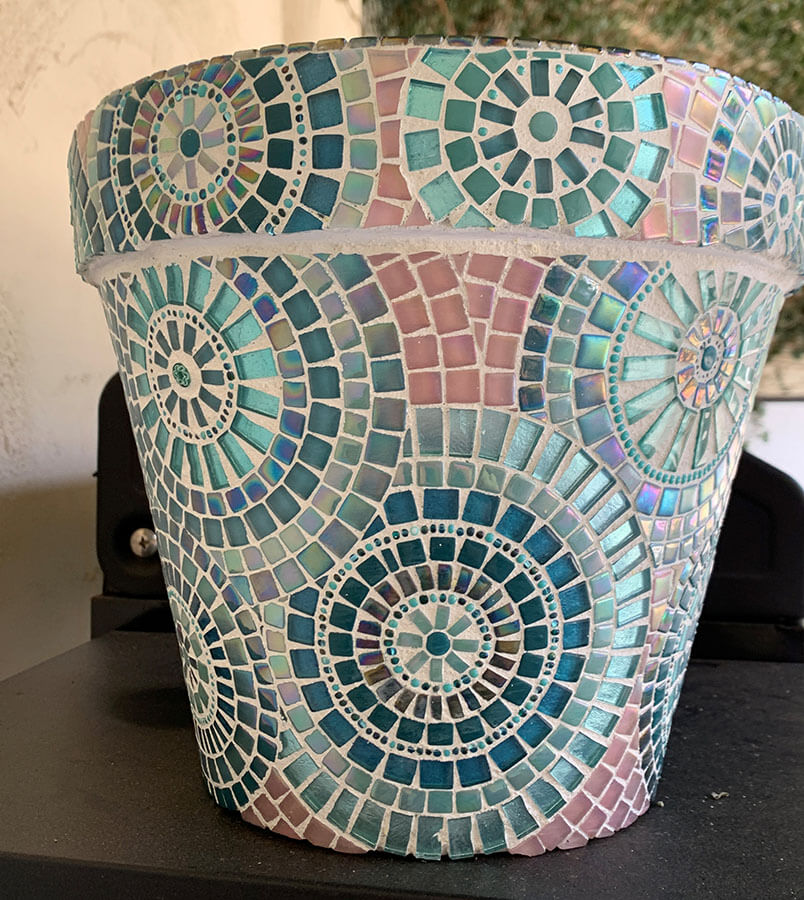
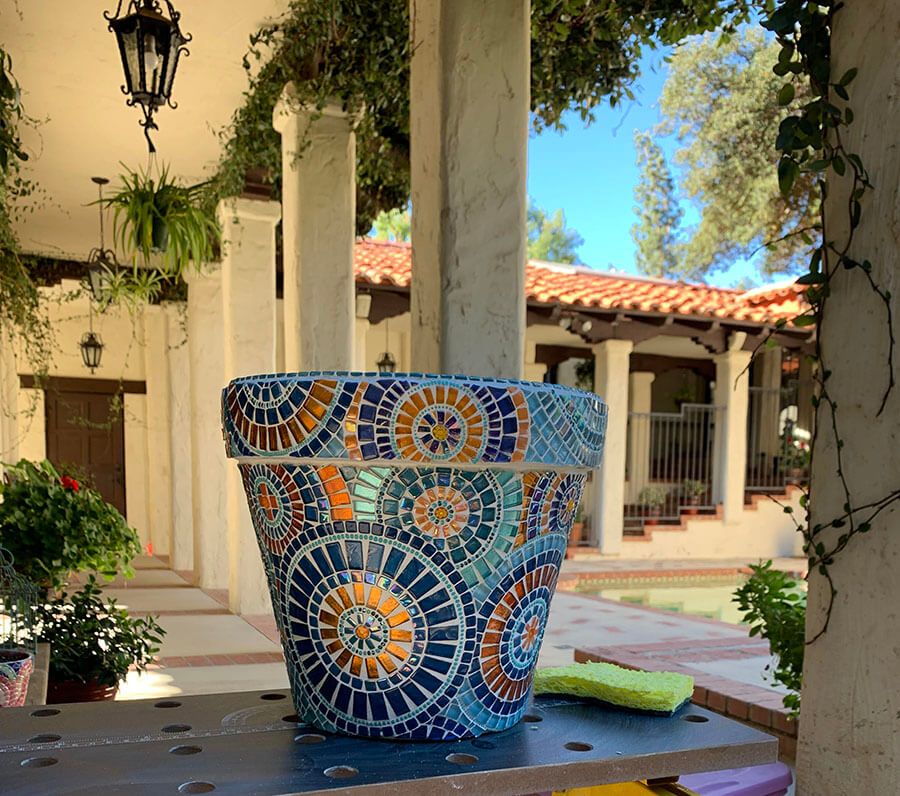
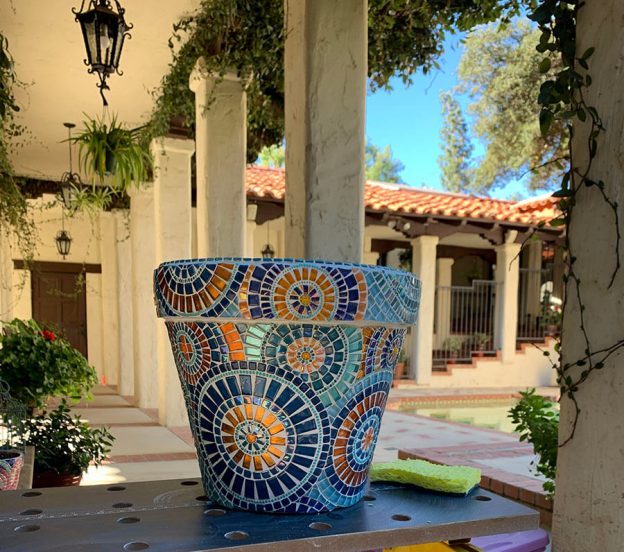
Artist Morgan Halford‘s mosaic flower pot planters are colorful geometric abstracts executed with a spooky level of precision.
I like that they are exceptions to my general recommendation to work in a looser fashion in the uniformity of the sizing, shaping, and orienting of tiles.
TIP: Most people find that they can render images more effectively if they tolerate a little error in each of the pieces. By effectively, I mean they can render an image that is truer to the model while working faster at the same time. Instead of requiring each piece fit exactly, let slight errors be your grout gap. That approach is easier than planning a larger and more uniform grout gap.
Morgan wasn’t rendering an image. She was making abstract geometric patterns, and the uniformity of the spacing was an important part of the design for her. The effect is striking.

A Large Grout Gap
Morgan also use a relatively large grout gap, and that makes the exact positioning of each tile even more difficult.
Notice how widely the rings of rectangular tiles are spaced at their outer edge! I wouldn’t have even tried to lay out those wheels of rectangular tiles without the use of what engineers and machinists call a gauge.
Morgan tells me she just eyeballed where she put the tiles.
For some people, a high level of precision comes naturally.
For many people (including myself) it does not come naturally.
The important thing is to not be discouraged if you do not have a natural precision in your drawing or handiwork. You can learn simple techniques for working more precisely.

Making a Spacing Gauge
A gauge in this usage is a merely a simple spacing tool, with the same general idea as a sparkplug gapper. You insert the gauge and make the gap that size.
To make a gauge to make those wheels of tile, I would have arranged the tile in a wheel pattern on a flat surface and arranged them as best I could in an evenly-spaced circle. (I would have probably used a circular plastic lid to show me how big the inside of the wheel should be.)
Once I got the tile roughly arranged around my plastic lid, I would cut a piece of pasteboard (cereal box) the width of the average gap and then tested it in each gap.
Then I would decide if the pasteboard needed to be slightly wider or slightly narrower. Then I would cut a second piece of pasteboard and test that one, which would probably be good enough to be my gauge.
In factories, spacing gauges are usually plastic or wood (or even metal is scratching the material isn’t important but precision is).
My spacing gauges tend to be pasteboard in the studio and wood in the shop.
Materials and Methods
Clay flower pots are fragile. You can reinforce them with fiberglass mesh and thinset on the inside and out, but that adds weight, as does the mosaic.
Thinset mortar should be used for mosaics on clay flower pots. White PVA adhesives such as Weldbond shouldn’t be used for mosaics that get wet or damp.
Flower Pots as Planters
Thinset mortar functions as a hydraulic cement, and a mosaic installed on a clay flower pot prevents the pot from draining properly and drowns the roots of the plant.
For this reason, mosaic flower pots should be used as planters with a smaller plastic flower pot inside them, preferably with the plastic pot set up on a scattering of gravel on the bottom.


Leave a Reply