Category: Joe’s Rantings
-
How To Choose Mosaic Background Colors and Patterns
Background colors for mosaics should be chosen based on how well they contrast with the colors used in figures. For this reason, most mosaic artists will tile their figures first and then choose their background colors by a trial-and-error process of placing tiles on the mosaic backer and just seeing how they look. The same approach…
-
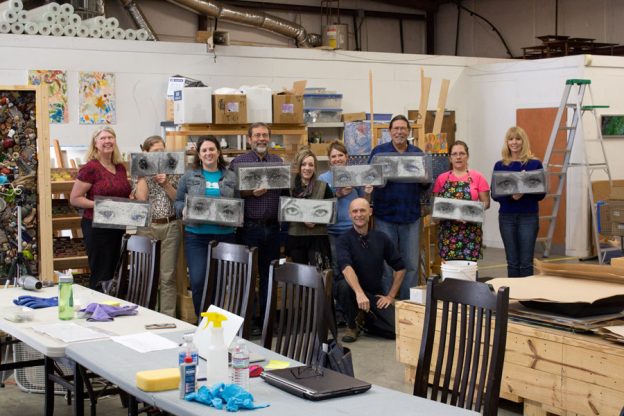
Opus Pixellatum Mosaic Class Photos and Videos
Frederic Lecut’s “Opus Pixellatum” Mosaic Class was a lot of fun, and I think the mosaics were very successful, especially with the improvised tweaking and colorization that students did in phase two of the process. In the photo above, instructor Frederic Lecut kneels in front of the class. When people are in position at the…
-
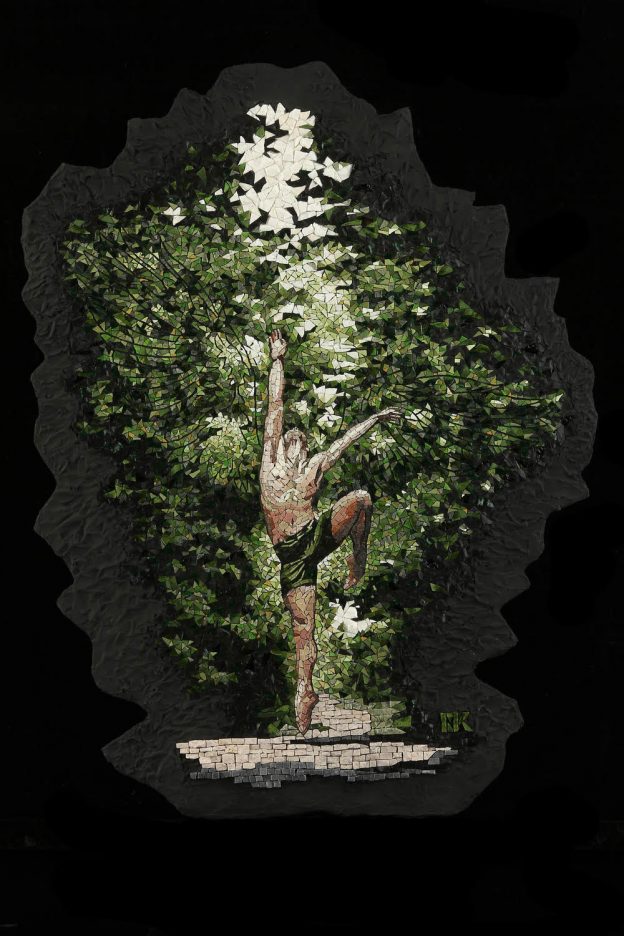
Mosaic Artist Michael Kruzich’s Must-See Work
Mosaic Artist Michael Kruzich has a body of work worth taking a look at, especially if you have any doubts about how well dramatic lighting can be rendered in mosaic portraiture and other figurative mosaic artwork. But that’s not all that you need to see of his work. Michael has also made some mosaic-clad figurative sculpture that is as…
-
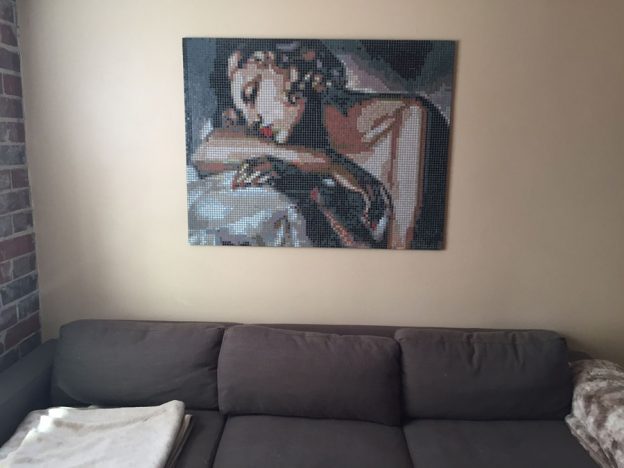
Figurative Mosaic Artwork As An Element of Interior Design
Figurative mosaic art (mosaic pictures) can be used as an element of interior design in the same way that paintings are used. The only difference is that a stronger, more secure way of mounting the artwork to the wall is needed. Natalija wrote an article about using a French cleat mounting system to securely hang…
-
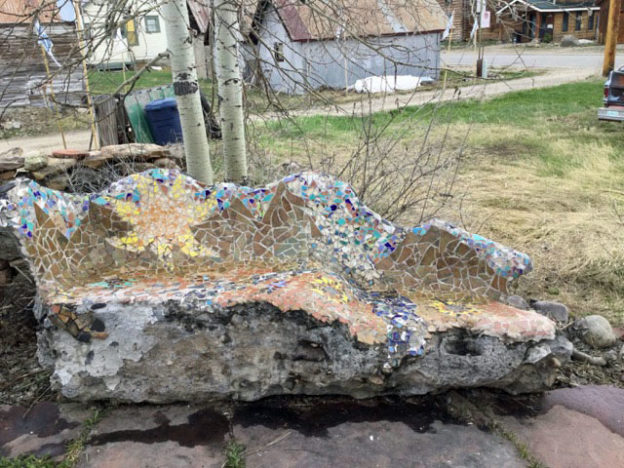
Gaudi Mosaic Bench Freeze Damage
A few years ago, Karen J created a mosaic bench in her backyard using mining debris (large stones), cement, and chicken wire to form the base, which is similar the methods we recommend in our instructions for creating bases for outdoor mosaic sculptures. Karen modeled her bench after those made by the great mosaic architect…
-
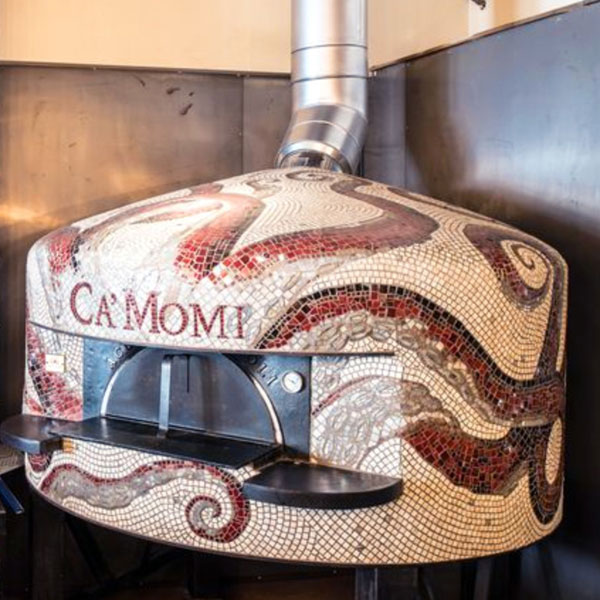
Mosaic Pizza Oven
Mosaic Fireplace and Oven Surrounds: The Basics A couple of years ago, I wrote a page explaining how glass, ceramic, and stone tiles can be used for mosaic fireplace surrounds and how the tiles should be mounted with thinset mortar or white PVA (polyvinyl acetate) adhesives such as Weldbond. But we are talking about the SURROUNDS, not…
-
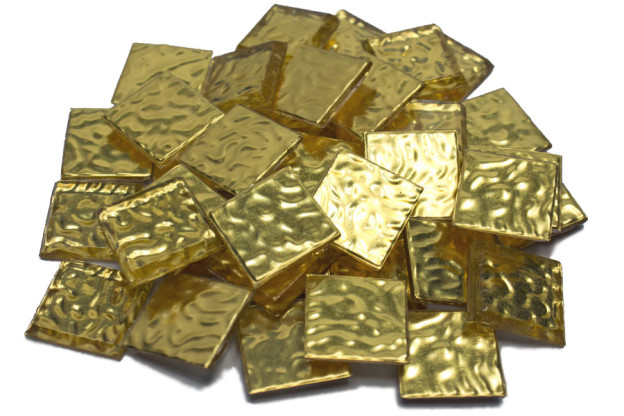
Real 24kt Gold Mosaic Glass For Art
We now sell 24kt gold mosaic glass, and it really is gold and not the brass alloy imitation products that some competitors are rather shamefully selling as gold. We also sell the imitation gold brass foil glass. but we have it correctly labeled and appropriately priced. Real 24 kt Gold Mosaic Glass The real 24…
-
Competitor Product Warning
A competitor is selling crafts-grade tiles that are clear glass with a thin coat of color that scratches off. They have search engine ads that have “Mosaic art supply” in the title of their ads! That is why you think you bought the tiles from us, but they are not MosaicArtSupply.com, and this is not…
-

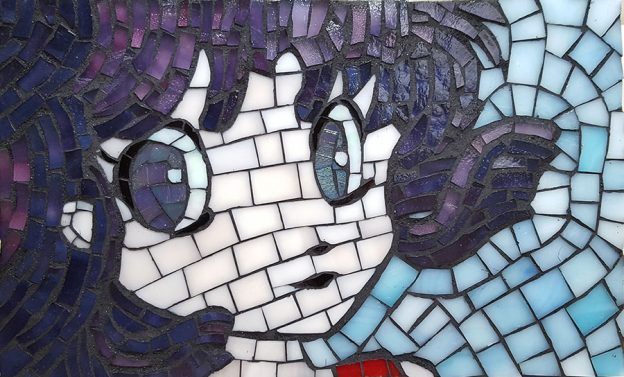
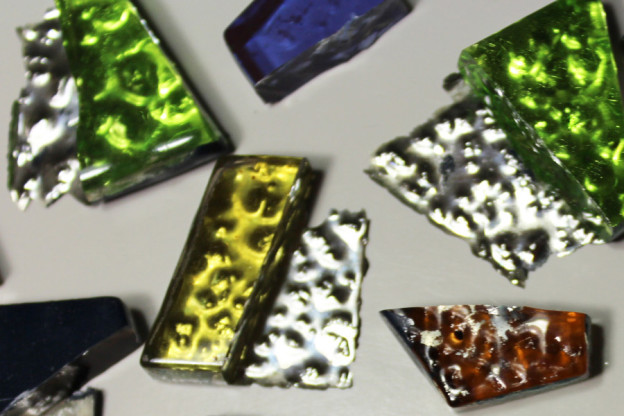
Stained Glass Mosaic Art
Artist and MAS employee Natalija Moss has recently completed a series of mosaics made from stained glass, and they are definitely worth seeing and discussing for several reasons. Natalija’s other artwork and video game plugins can be seen at her Lady Natalya website. “Erza” Stained Glass Mosaic by artist and MAS employee Natalija Moss. Note…
-
Failures In Craft Marketing
Here is an anecdotal case study of how craft kits get it wrong and actually detract from the art experience: This past Halloween, my ex wife hosted her annual pumpkin carving party for our five-year-old son and all his friends, and I helped as usual. The party was the same format as previous years, but…
-
Outdoor School Mosaics
Recently I received an email from an art teacher whose school mosaic project was an outdoor mosaic where each child would create a mosaic on an 8 inch x 8 inch brick paver (paving stone), and then the mosaic pavers would be arranged together in a crazy quilt design similar to what artist Victor Kobayashi…
-
Penny Mosaic Warning
We regularly see questionable information online concerning how to mosaic and how to do other art and craft projects. Mostly this information is questionable because it was written without regard to durability or how the project could have been used as an opportunity to make real art (personal, unique) instead of making clones of something…