I continue to work on this new series of abstract mosaics, and I am loving it.
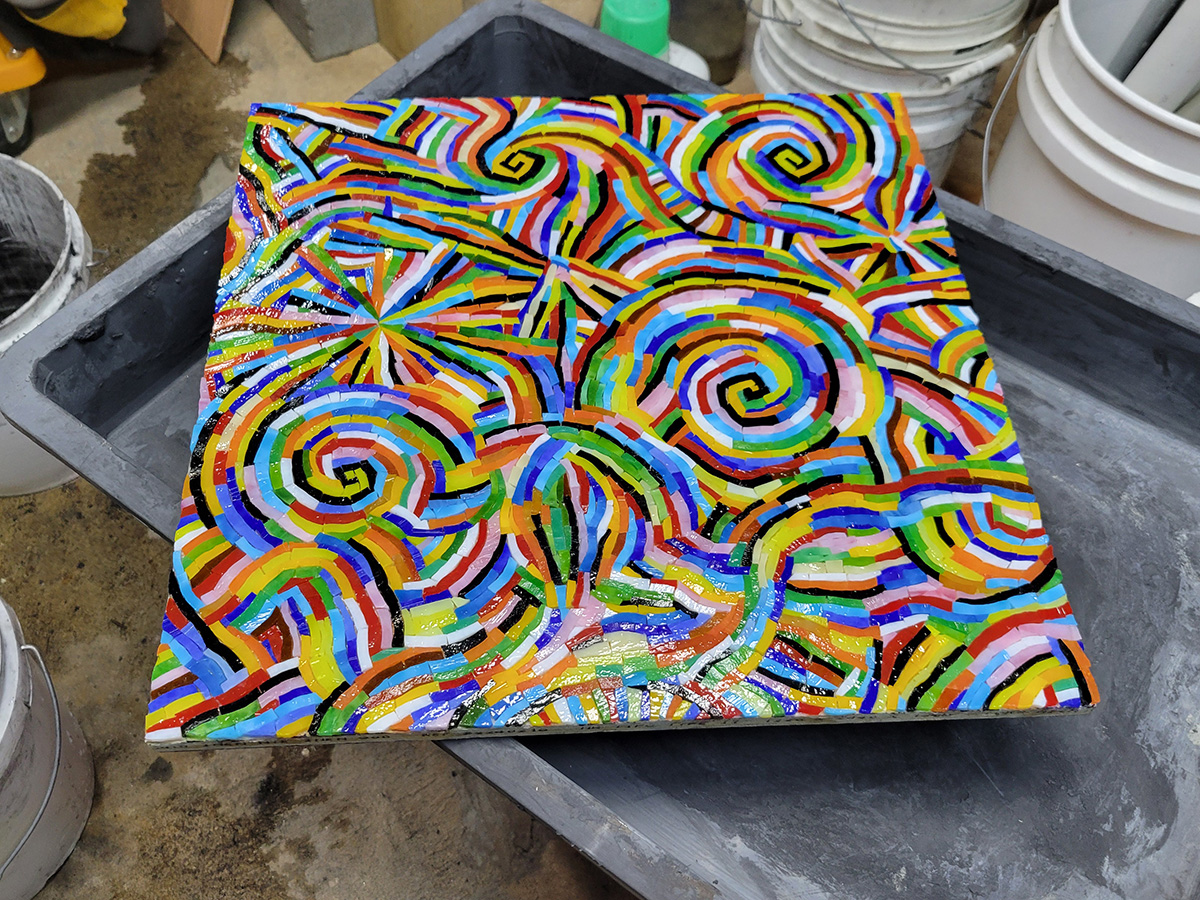
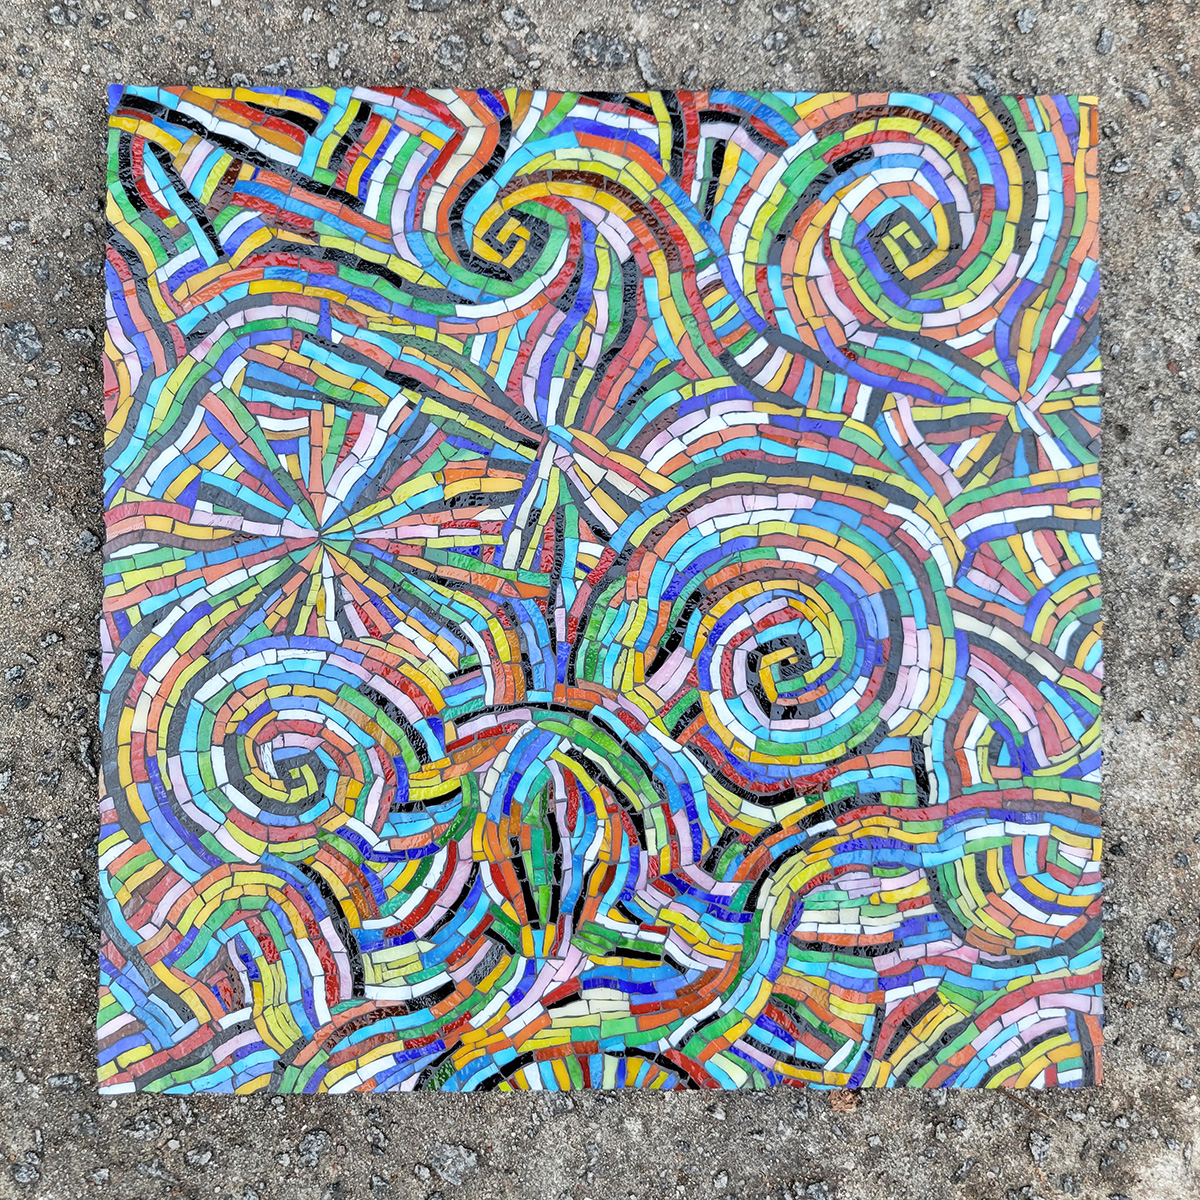
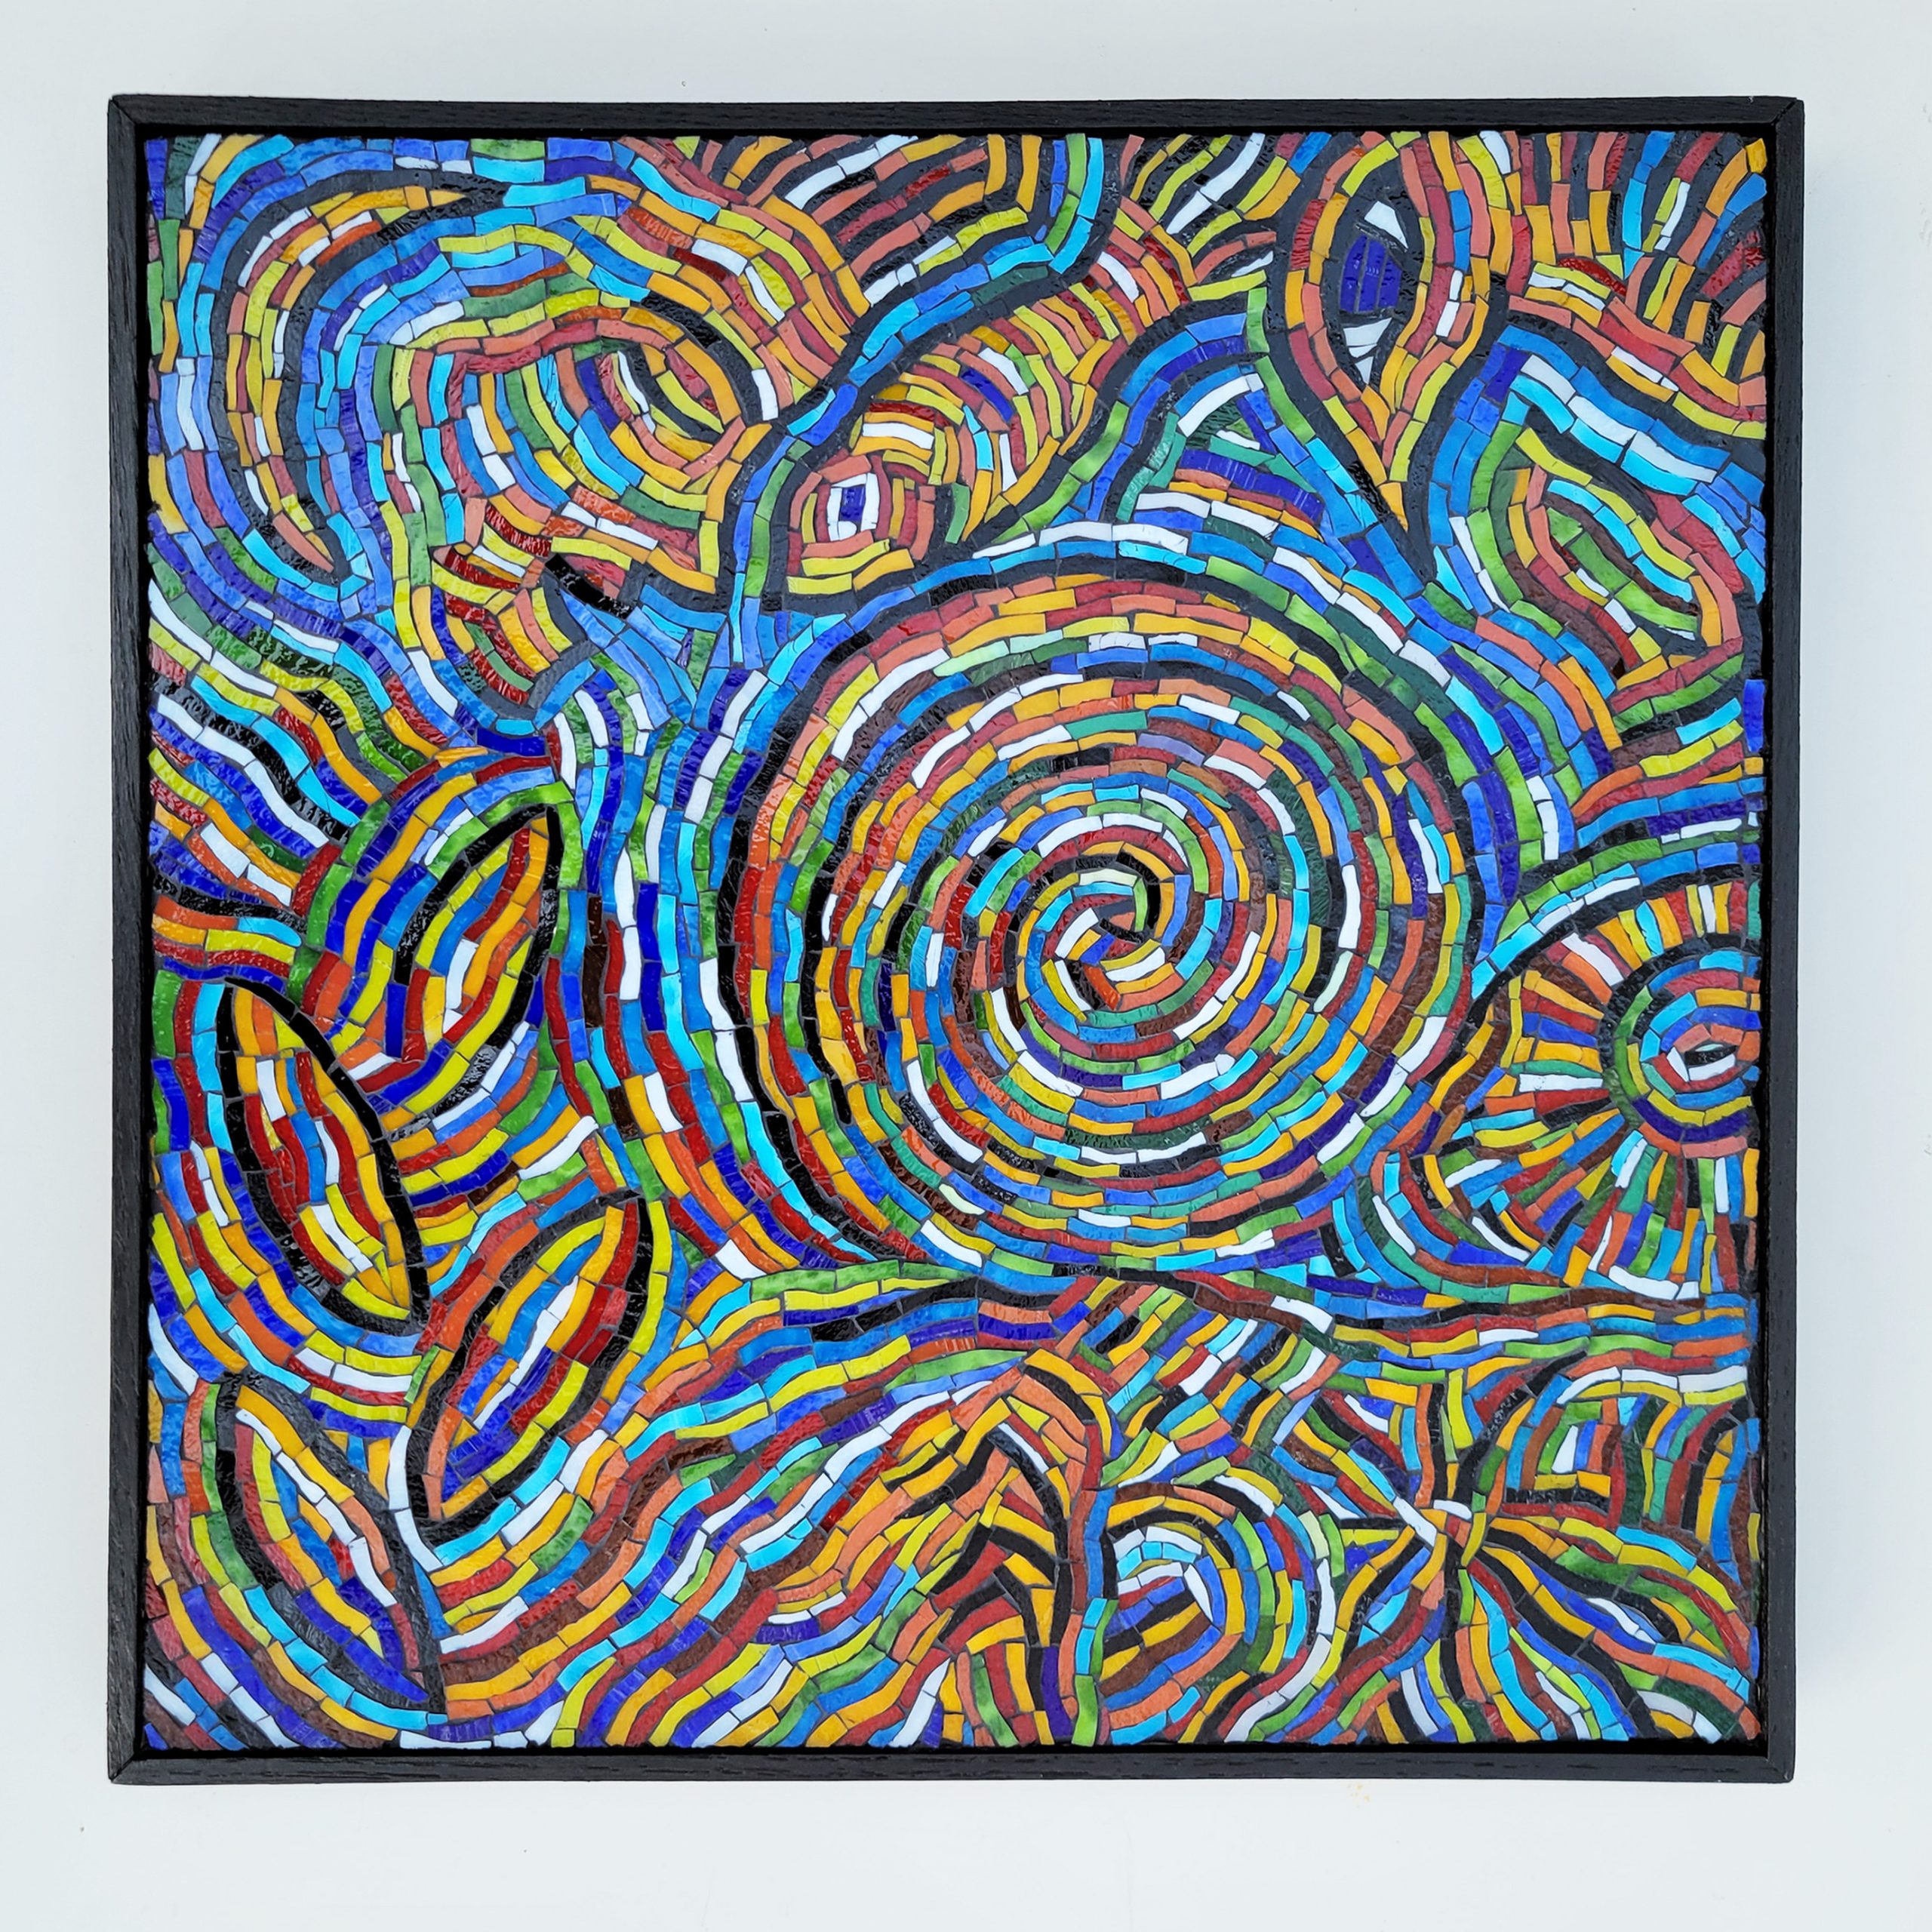
Dancing Color Rhythm is my latest stained-glass mosaic, and it is also 16 x 16 inches and mounted on 1/2-inch plywood and framed with 1/4-inch oak, painted in black.
I’ve developed several improved methods that make the process more efficient.
Pre-cut Tesserae
The first improvement in my method was to precut the tesserae from the stained glass.
Tile is cut over a cutting basin as show below:
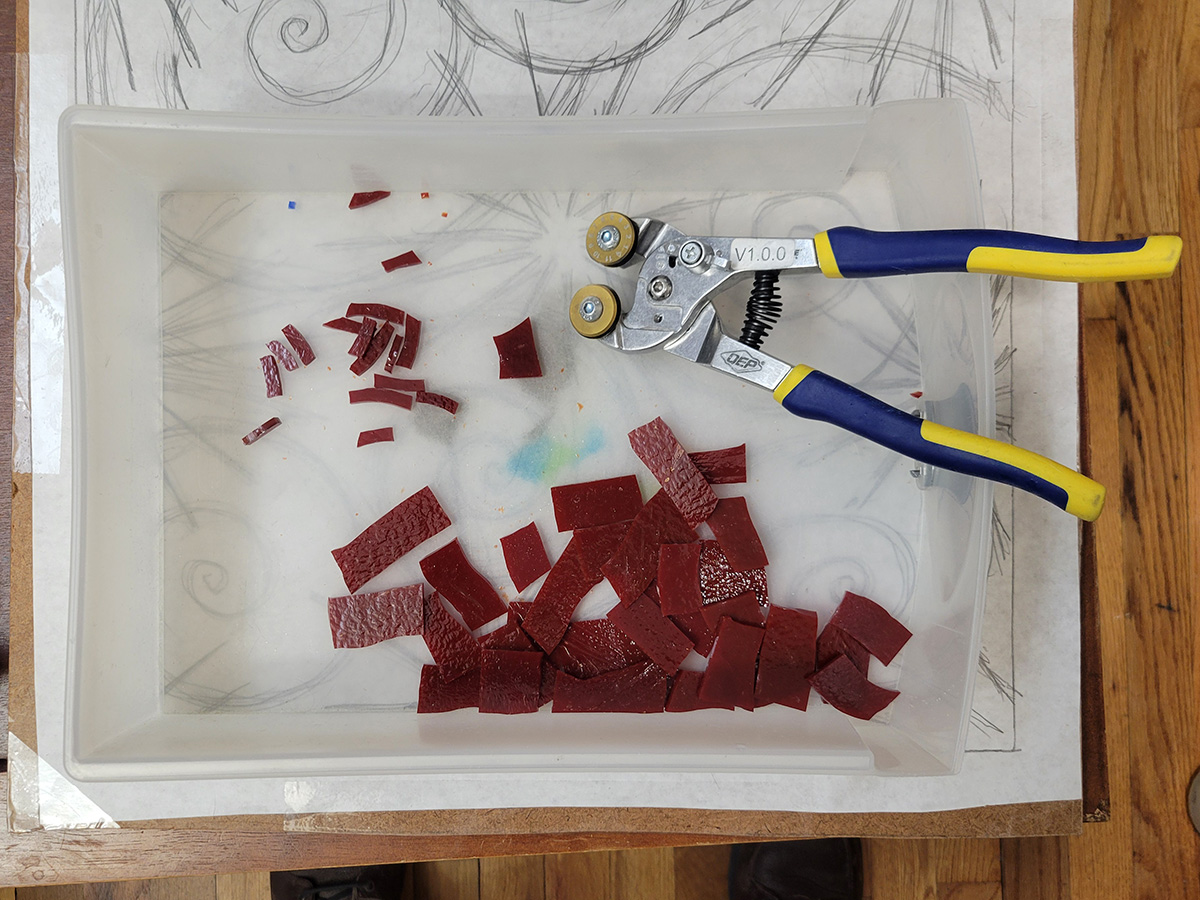
The basin catches a lot of dust and slivers, and this waste is NOT poured with the tesserae into containers. Instead the tesserae are raked out of the cutting basin, leaving the slivers and glass dust behind to be discarded.
Cutting large batches of tesserae BEFORE you start mosaicing is only possible if you have experience and know what width you need. Otherwise you are likely to cut them too narrow or too wide.
I would not pre-cut tesserae for a first-time project or if you are working on a new size, meaning you haven’t just made a mosaic of the same size.
The size of tesserae you need is determined by the size of the backer and level of detail you are rendering. Deciding all that requires some playing around (experimentation) to figure out.
I usually start a mosaic by arranging tile to render the smallest detail in the image.
I do this BEFORE I decide the size of the mosaic and the size of the tesserae.
Incremental Use of Tape
When a mosaic is laid out on sticky contact paper as a temporary surface, there can be problems with tiles staying stuck to the contact paper, especially if the design is large or detailed.
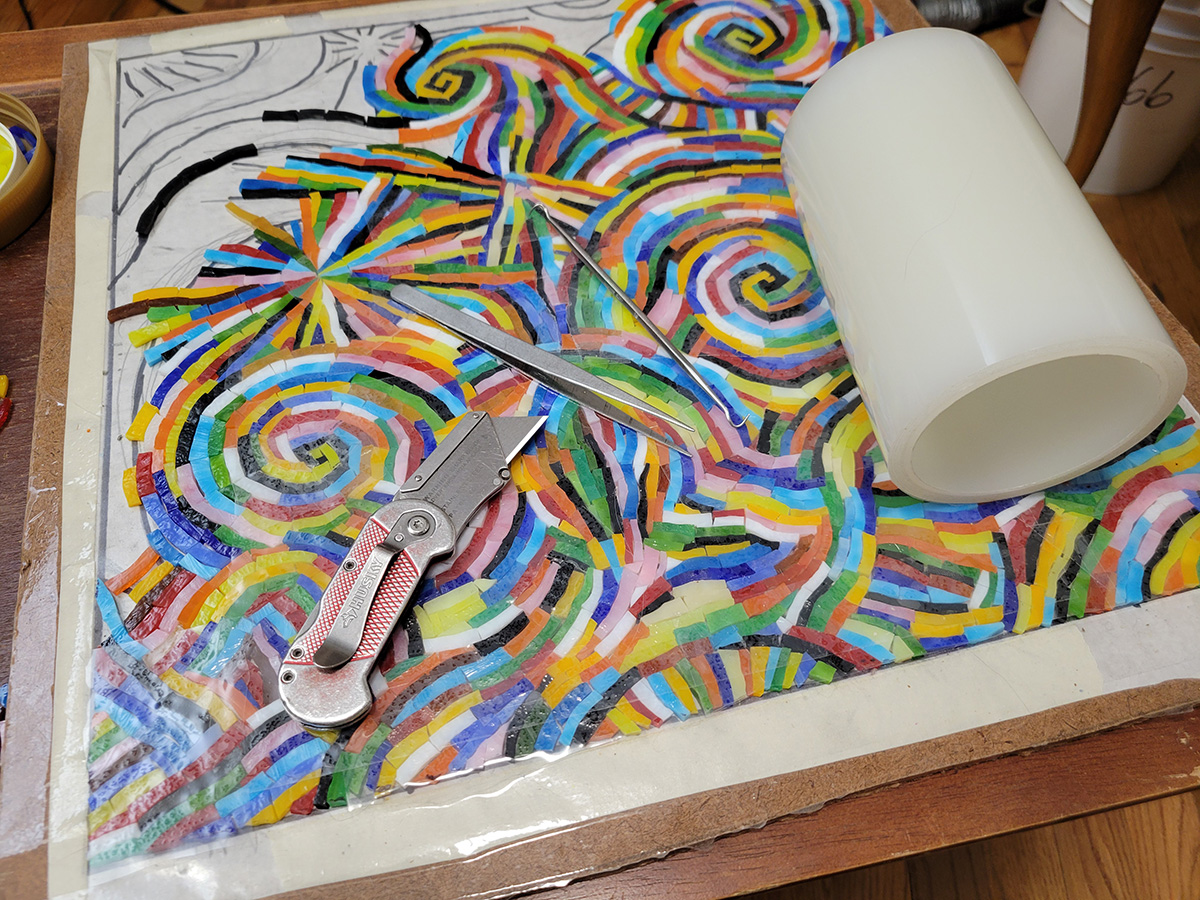
Fortunately, an artist doesn’t have to wait until the mosaic design is fully laid out to start applying Mosaic Mounting Tape, which can be stuck to the face of the mosaic in finished areas only.
One slight problem can happen when you start applying the tape incrementally on finished areas, and that is when you discover that you need to change a tile or two in the areas already taped.
The solution is simple: A box cutter or craft knife can be used to trace the outline of the tile and cut the tape. The tile is then lifted out with tweezers or a dental pick.
Workstation
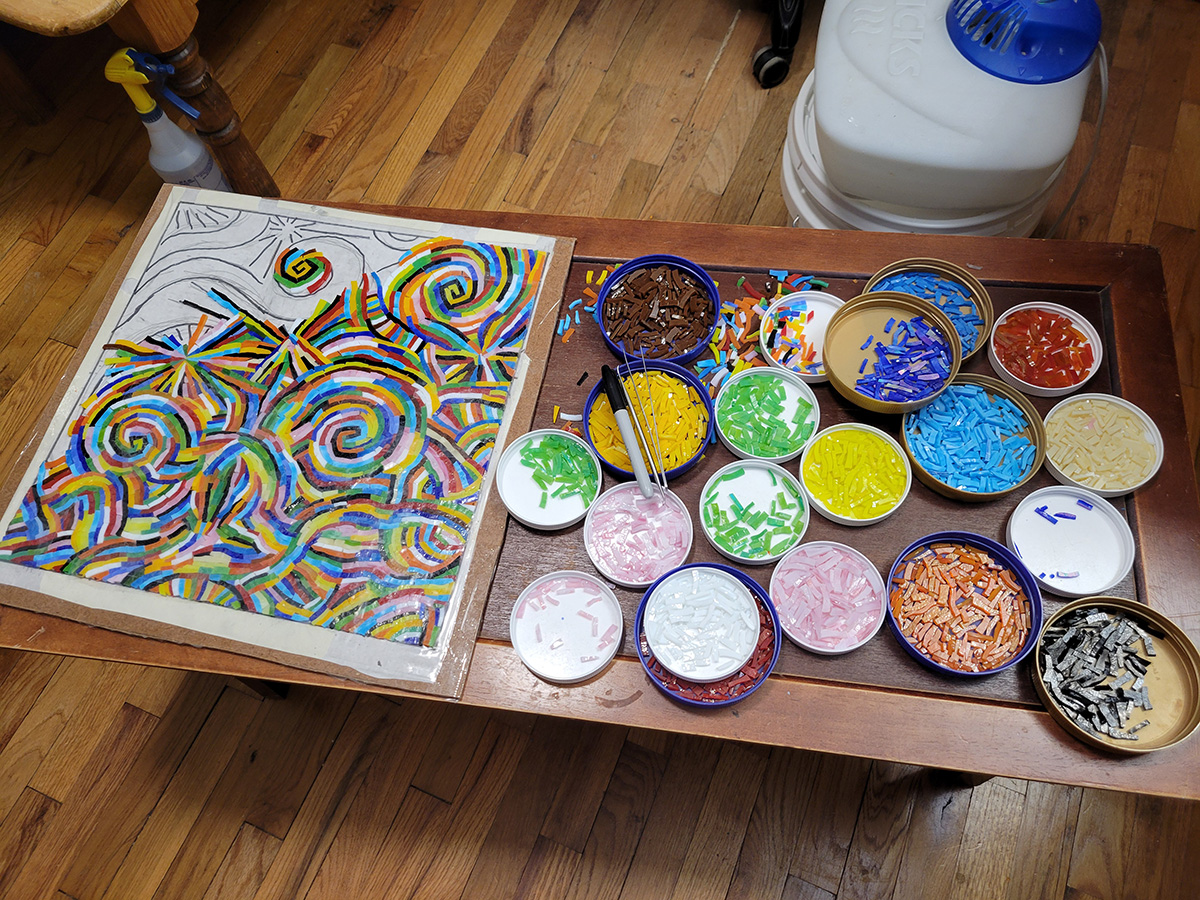
The photo below shows many essential elements of a mosaic workstation plus some useful safety accessories:
- steam humidifier
- low table
- project board
- picking trays
Steam Humidifier
The steam humidifier is a godsend for dust control. Dusts precipitate out of the air much faster in humidity.
I always run a humidifier when I cut glass if the AC or heat are running.
Low Table
Mosaic are best made at the height of a low table such as a coffee table so that the artist can look down and see the mosaic without any foreshortening, which is a problem when the artist attempts to use a desk or table of normal height.
Project Board
It takes multiple studio sessions to make a mosaic of any complexity. Most artists can’t leave all their materials out on their worksurface between sessions, and so they need to plan ahead for ways to clean up quickly.
Taping the temporary surface (contact paper) to a project board instead of a table or desk makes storing the mosaic in progress much easier.
I always pick my project board up at the end of a session and move it to a location where my cats cannot lie or walk on it.
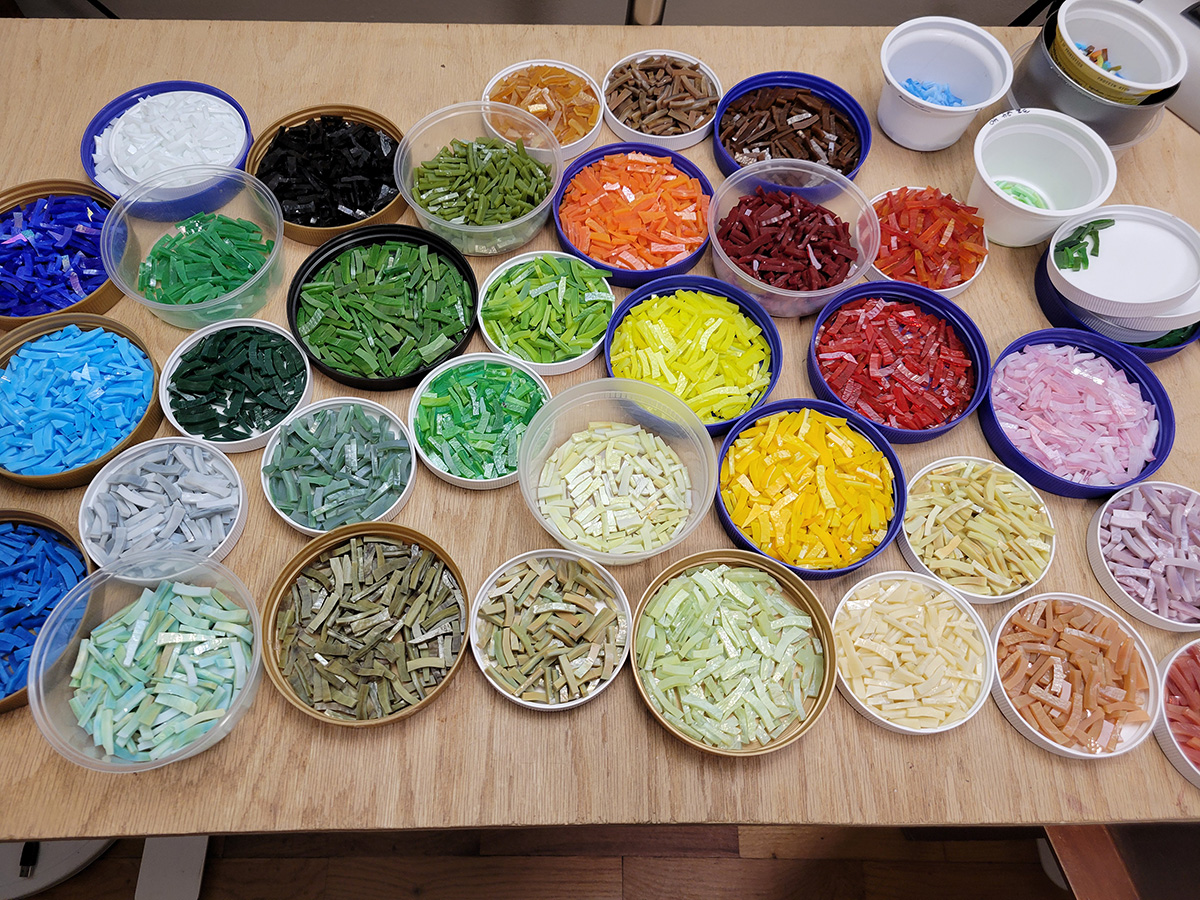
Pick Trays
I use old plastic jar lids as the pick trays for my tesserae.
In Progress
The most revealing aspect of the in-progress photographs is the visual impact of the black grout.

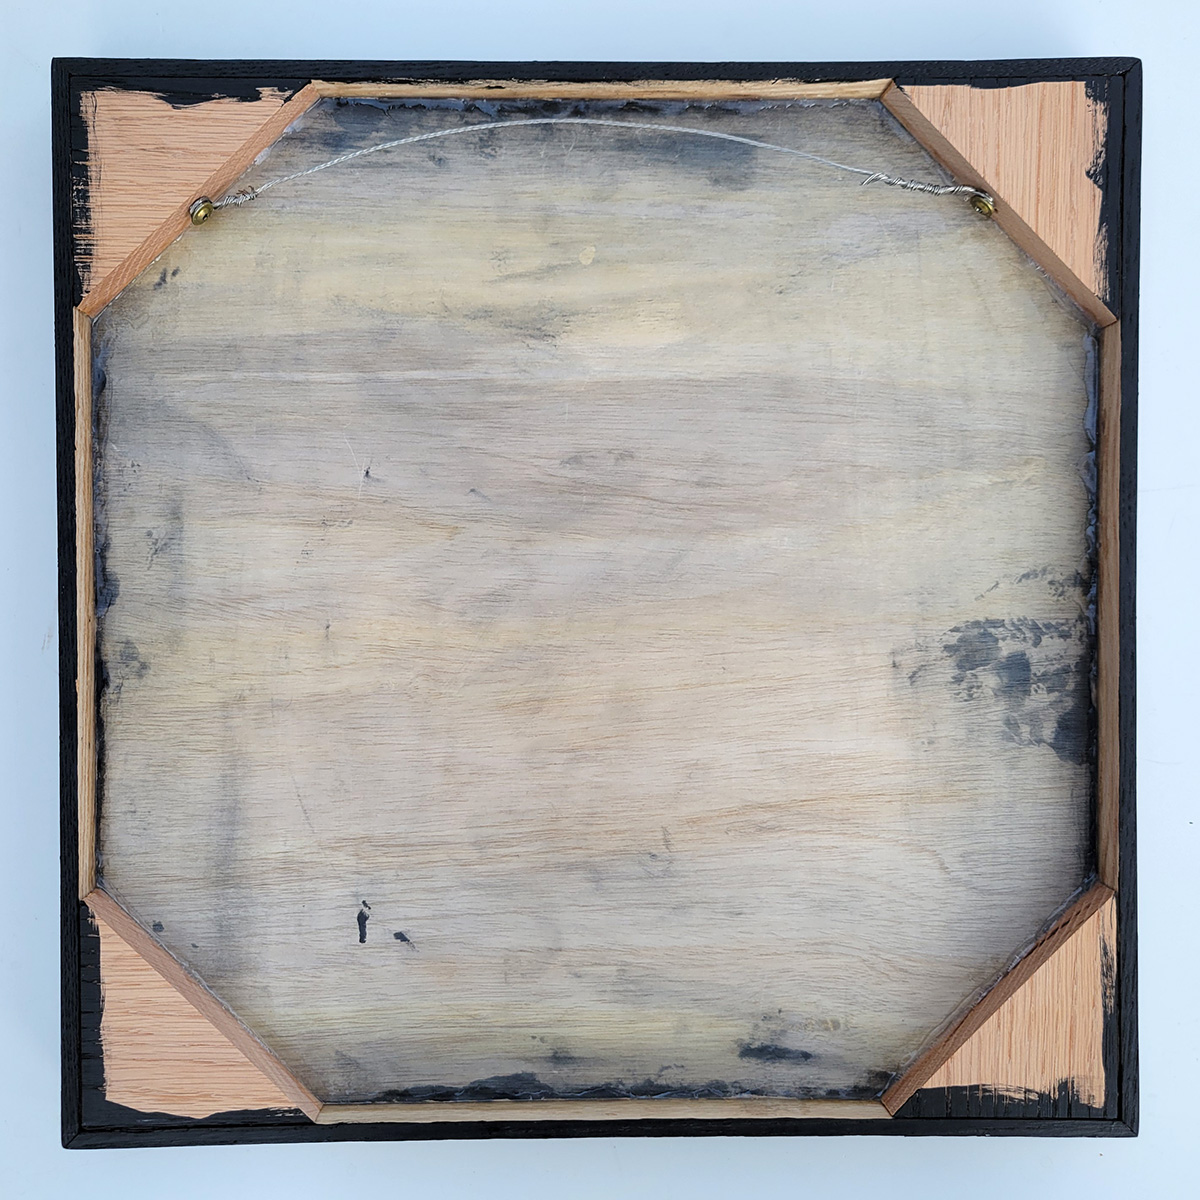
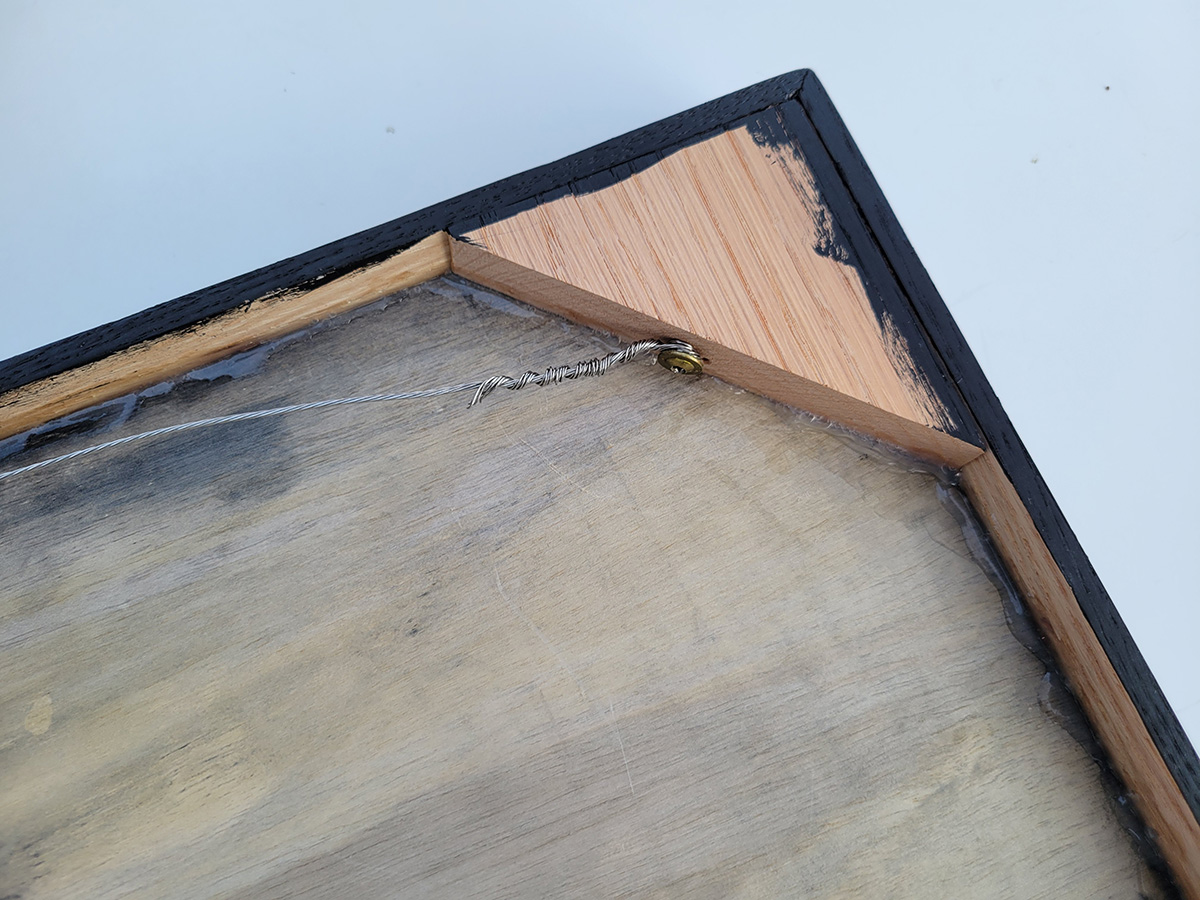
Frame
I made a frame for this mosaic using 1.5×0.25-inch oak and #6 flat-head wood screws 1.25 inch. I painted the fame with black acrylic paint.
Finished Mosaic
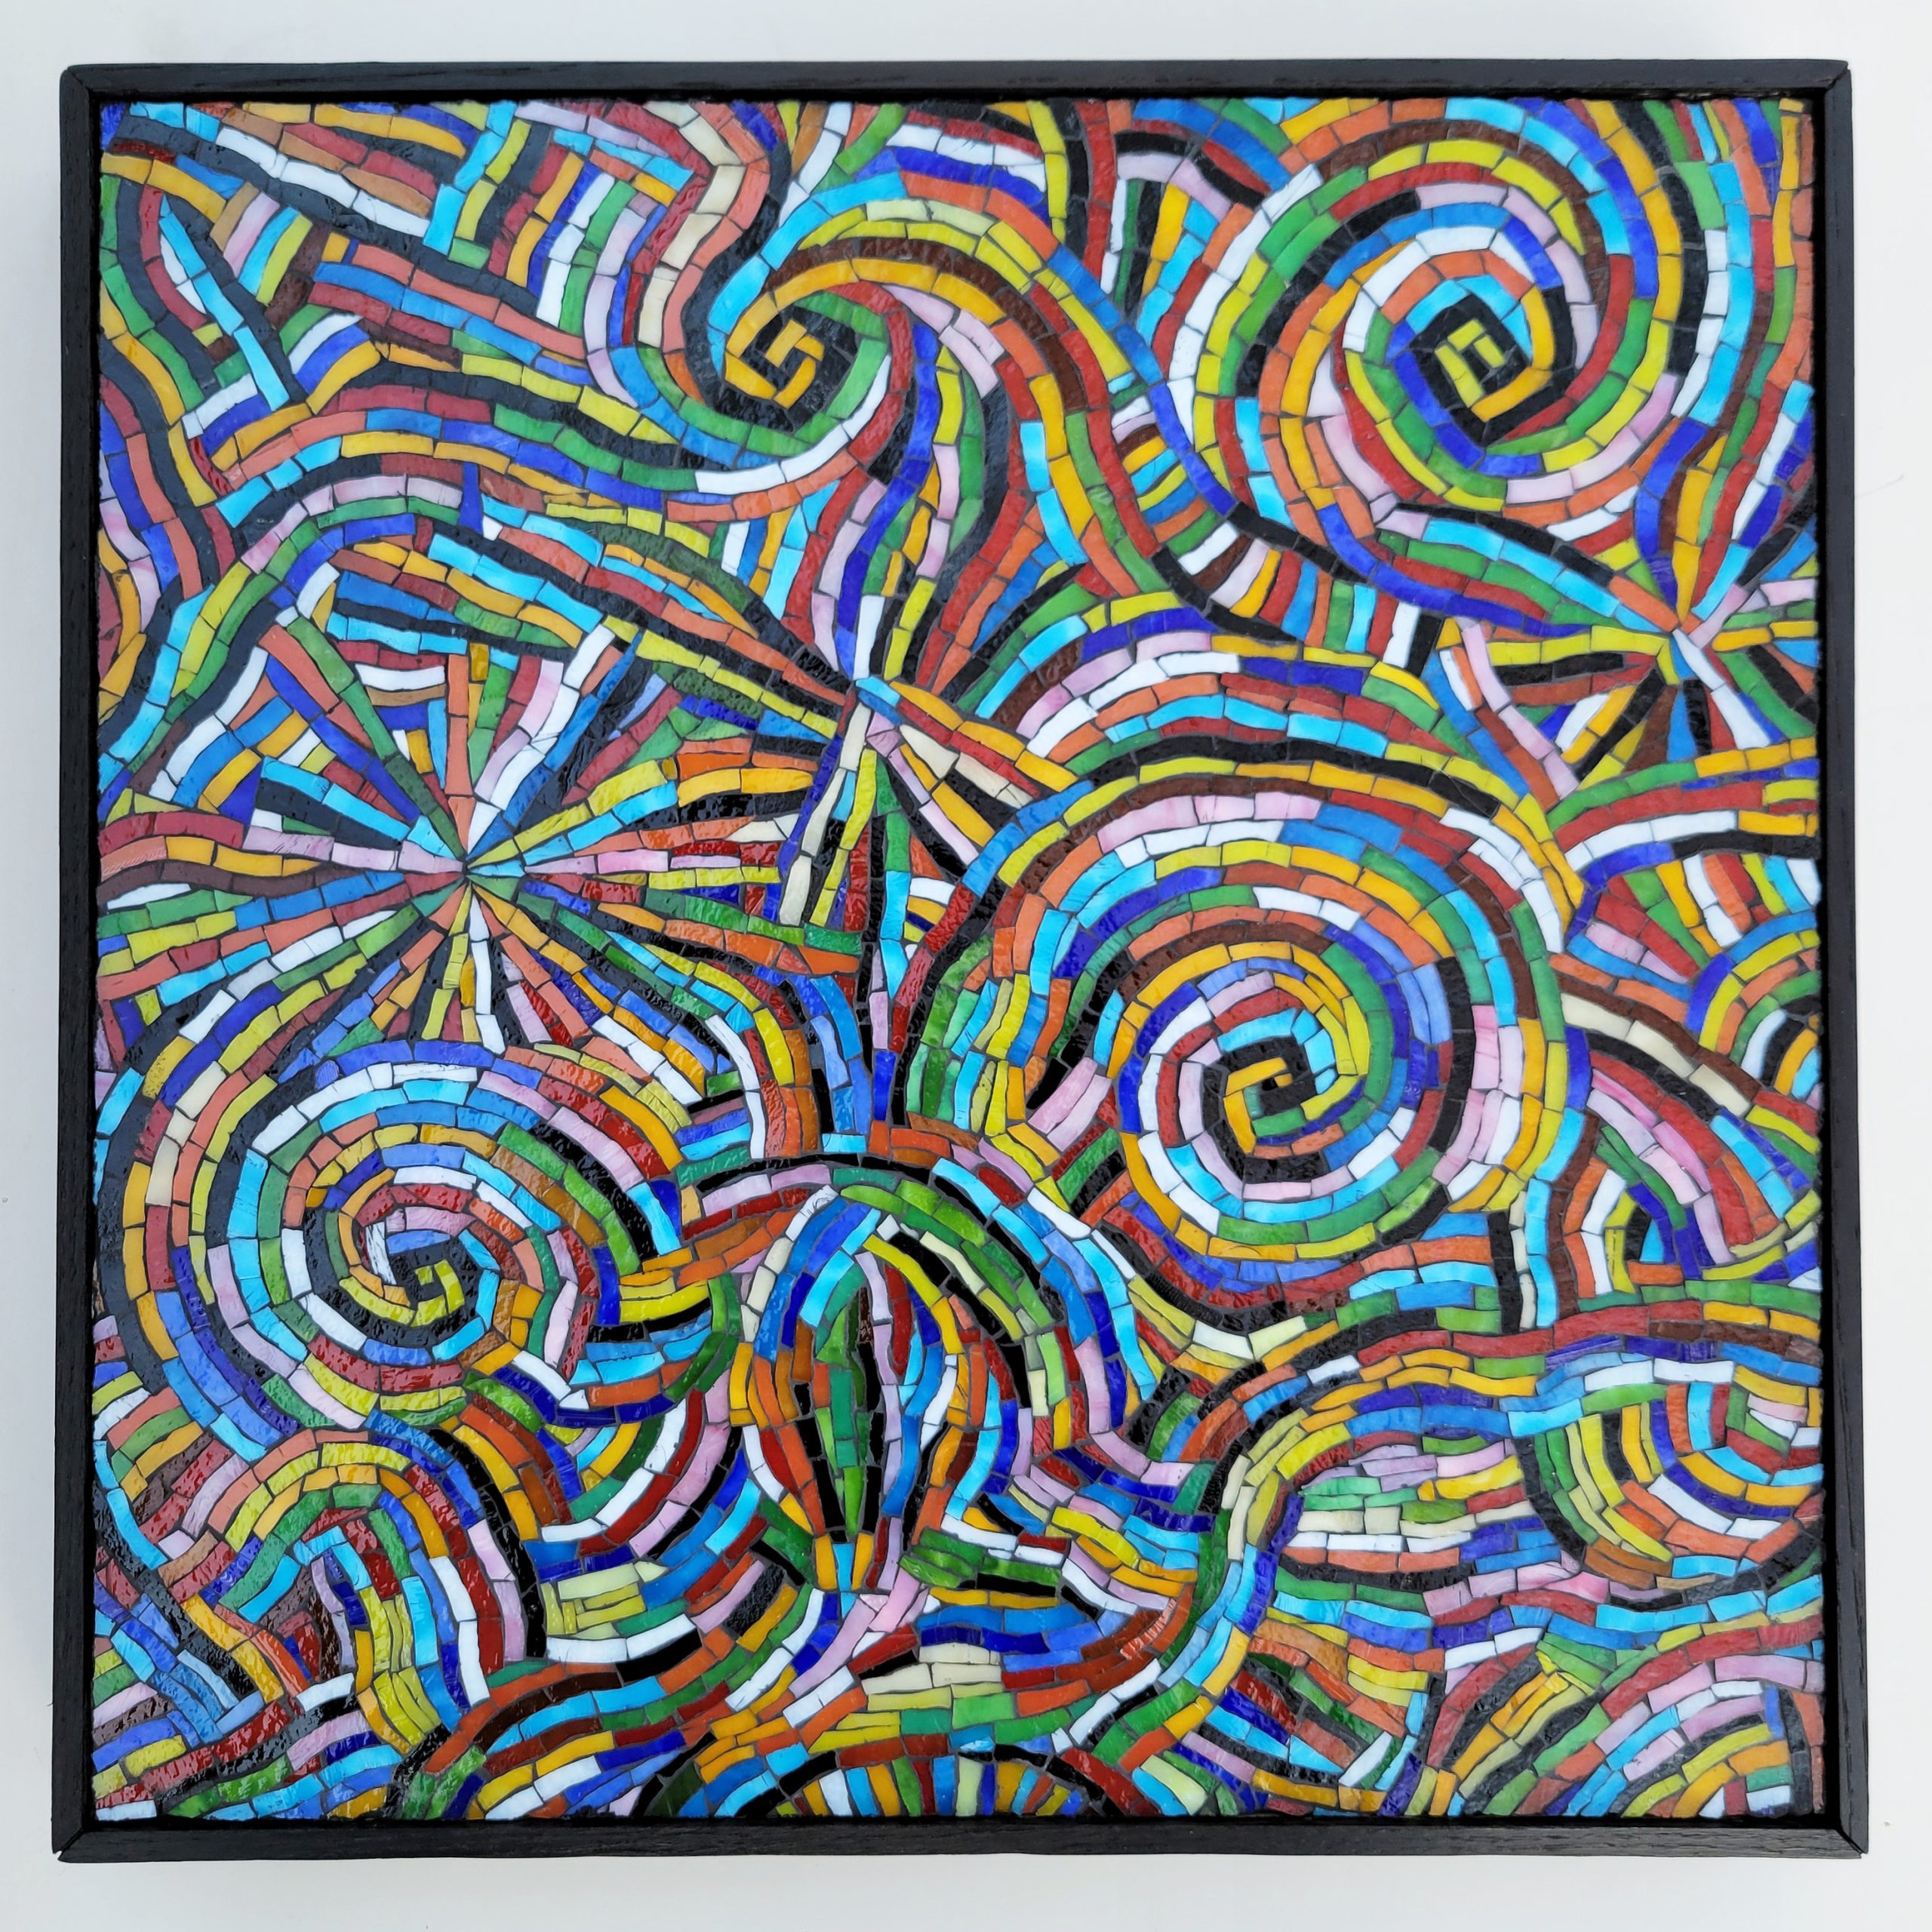
I also framed my Latin Jazz mosaic:
Leave a Reply