I continue to work on a series of miniature mosaics mounted on what I call my “mortar stones,” which are irregularly-shaped backers made by spreading thinset mortar on 3 or 4 layers of hardware cloth (steel mesh).
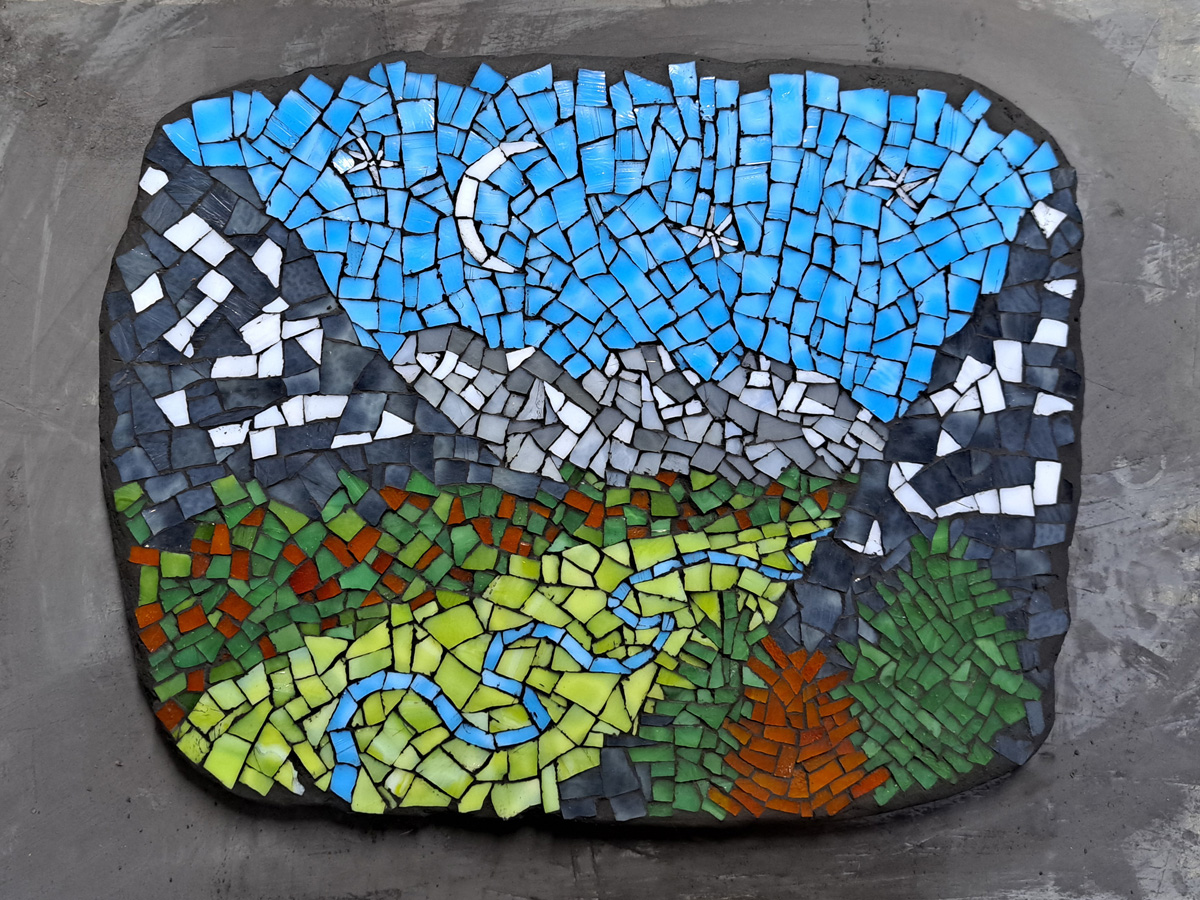
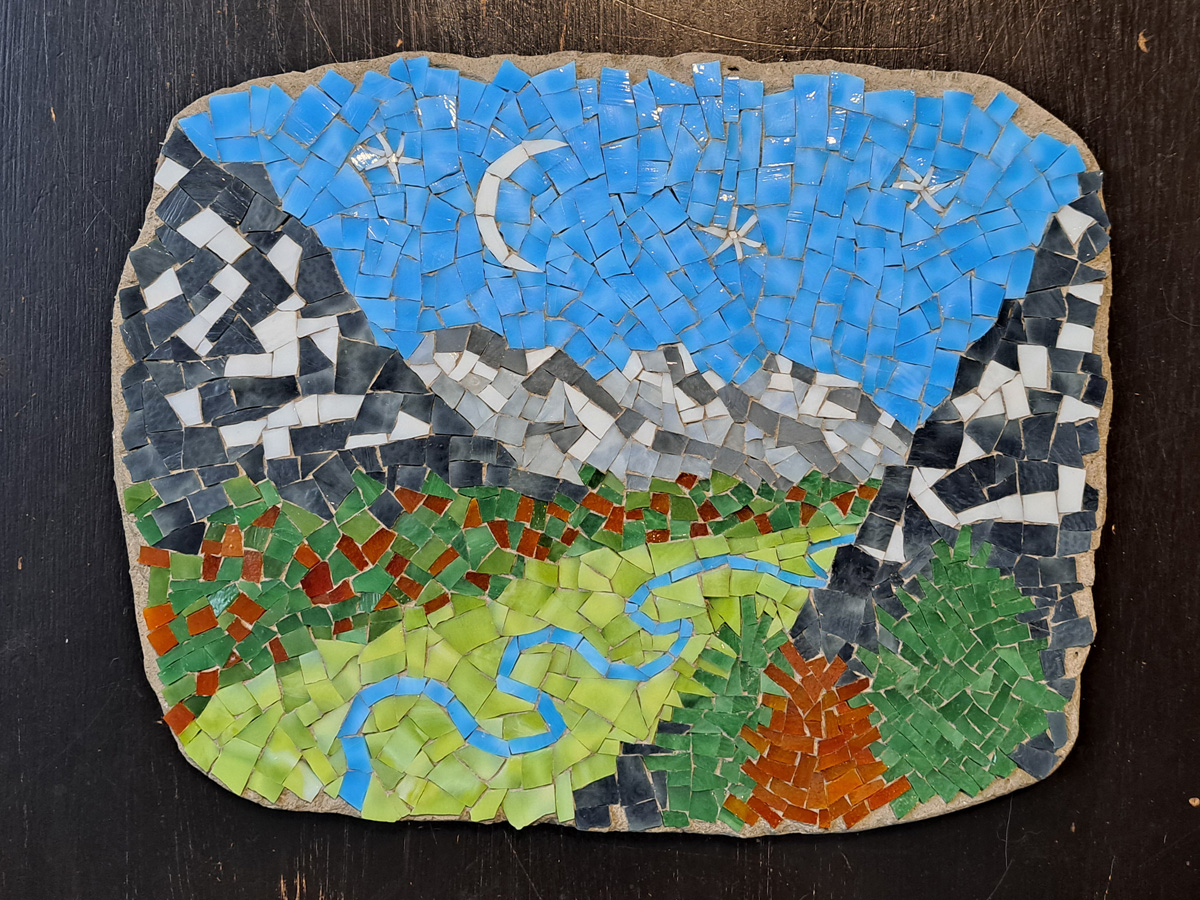
My latest in the series is my mosaic Mountain Valley Twilight, which is 9 x 6 x 1/2 inches and made from our American-made stained glass and black non-sanded grout.
Indirect Method
Here is the photo of the mosaic after the tile was laid out over a pattern and picked up with Mosaic Mounting Tape.
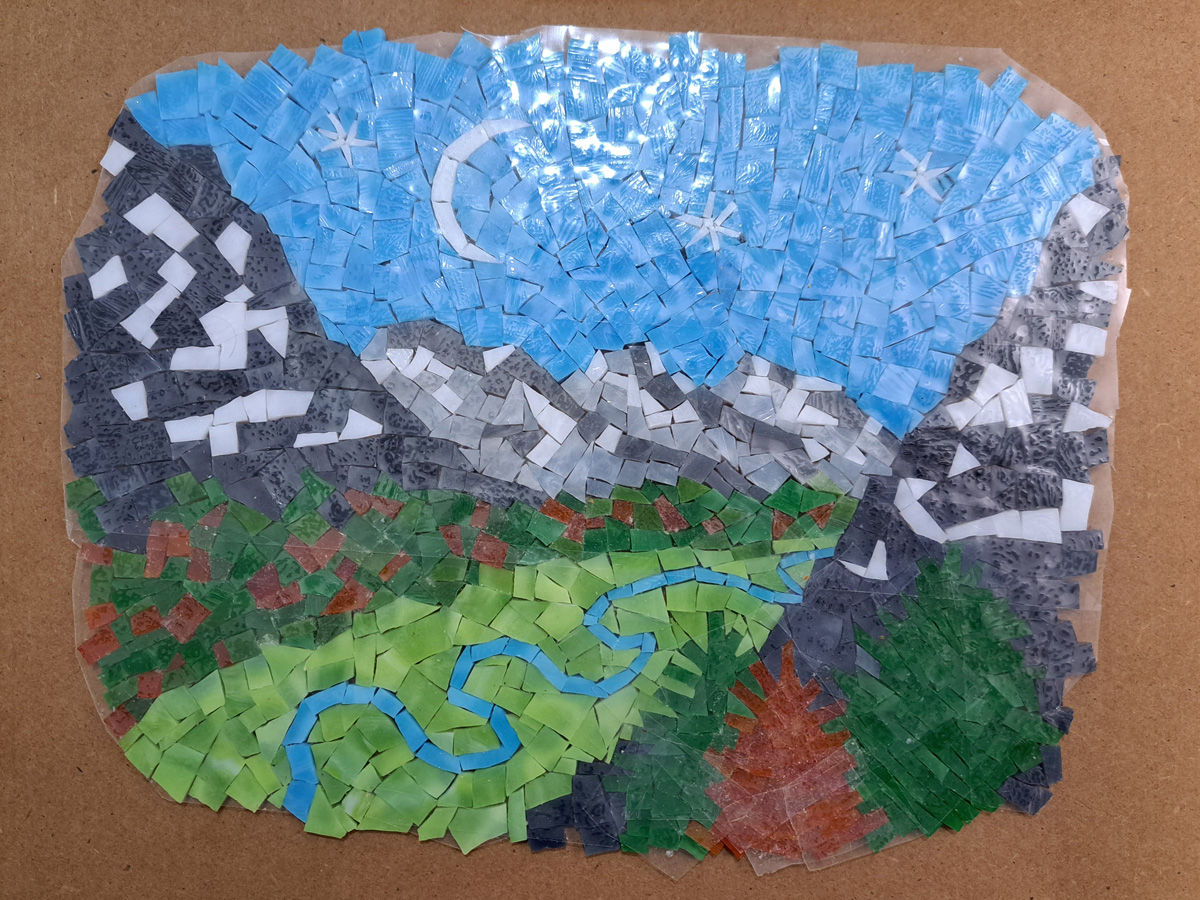
There was clear contact paper taped over the pattern with the sticky side up, which keeps the tiles from sliding out of position as they are arranged
This temporary surface of sticky contact paper allows you to arrange tile by trial and error before glue is involved.
The Mosaic Mouting Tape has a stronger adhesive than contact paper, and so it easily lifts the whole mosaic off the temporary surface.
Or at least that is the case when you are using whole uncut tiles.
When your mosaic is made from smaller pieces of glass, the Mosaic Mounting Tape might not securely grip every little piece.
For this reason, it is safer to flip the whole thing over and carefully peel the contact paper from the bottom of the mosaic while it sits face-down on the Mosaic Mounting Tape.
Mounting the Mosaic
Mounting the mosaic was done by spreading about 3/16 inch of thinset mortar on the backer, and then placing the backer on the back of the mosaic while it sits facedown on Mosaic Mounting Tape.
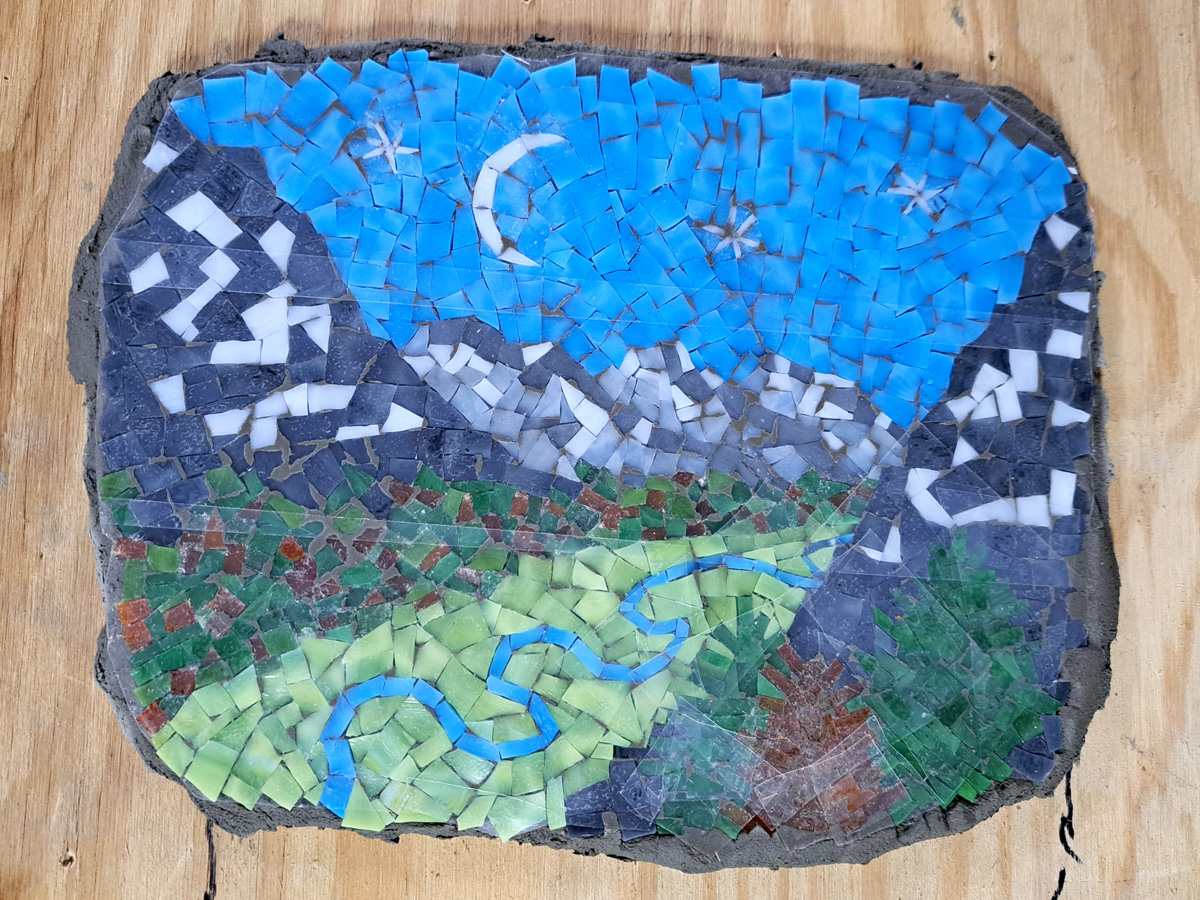
Then the mosaic is flipped face up as shown in the photo above, and tape is rubbed and pressed so that the mortar presses up between the tiles.
The goal of rubbing and pressing the mosaic is to make sure that each tile is embedded in the mortar and
The goal is not to completely fill the grout gaps with mortar, but that happens in places. It’s unavoidable if the mosaic is rubbed and pressed into the mortar sufficiently.
If I don’t see mortar pressing all the way up to the Mosaic Mounting Tape at the tops of the gaps in some places, I can be sure there will be some place in the mosaic where I didn’t rub sufficiently to seat all tiles.
Cleaning Grout Gaps
Before a mosaic can be grouted, any mortar that fills the grout gaps needs to be cleaned out using tools such as dental picks, boxcutter blades, embroidery needles, or some other small metal stylus.
Care must be taken to avoid chipping and flaking the faces of the tiles, which can easily happen if the metal stylus is forced or twisted in tight cracks between tiles.
Before grouting, I also filed away excess backer in places where it extended more than 1/4 inch beyond the edge of the mosaic. For this shaping process, I used a Diamond-Grit File.
Non-sanded Grout
The grout gap was only an incidental gap, meaning whatever tiny irregular cracks that remain after positioning the glass pieces together as tightly as possible. For this reason, the grout I used was non-sanded.
Grout Color
For grout color, I used black as always.
Consider the photo above of the mosaic before grouting. Notice how the light-colored mortar shows in the cracks between the tiles, giving us some idea what the mosaic would look like with a light or medium gray.
I think mosaics look better when those tiny cracks are black, like most cracks in real life.
The black grout line also resembles the lead-channel seams in a stained-glass window.

Leave a Reply