
Artist Karen Kittmer’s mosaics are beautiful works of art. They are also worthy of study for several different reasons if you are serious about improving your own mosaics.
The first reason I recommend Karen’s work for study is that she renders light and shadow with photographic verisimilitude.
The second reason is that Karen isn’t limited to photo-realism but also creates imaginative pieces including mosaic sculpture. There is Art in the art.
Serious students of mosaic technique might also want to take a look at Karen’s work because she uses an indirect method with a photograph or painting as cartoon (mosaic pattern), and she lays the tile out on top of that.
Beginners should be advised that this method requires commitment and artistic skill and isn’t a hack that eliminates either.
Materials and Methods
I suspect Karen has clear contact paper taped sticky-side-up over the photo to keep the tile from sliding out of position. Then the mosaic would be lifted off with Mosaic Mounting Tape in a method something like this indirect method.
Artist’s Eye
Do not be deceived. Having a photo or painting for a pattern does not reduce the level of artistic skill required to create the mosaic .
Mosaic is a different medium, and the image has to be transliterated to appear in the new medium.
Each tile is a brush stroke.
But it is a more difficult brush stroke than one made with paint, which can be blended to match hue and shade exactly.
In mosaic, your strokes are limited what you can cut from the material you have. There is no blending.
An artist’s eye is required. Artistic judgment.
White and Value Contrast
One of the reasons to avoid white grout is that white is a powerful tool for adding value contrast to compositions.
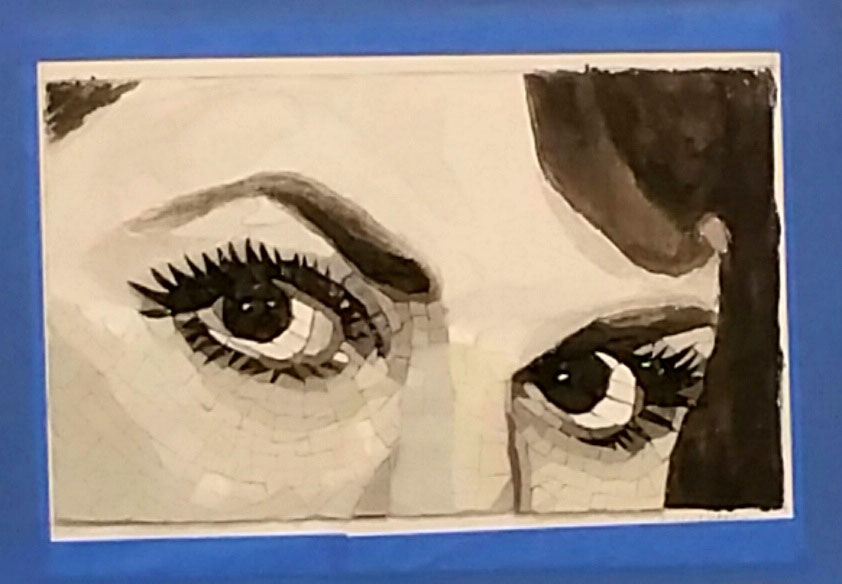
In images that strive for verisimilitude over stylization, white is used for highlights and glares and objects of focus.
Karen makes it look easy. The results are stunning.
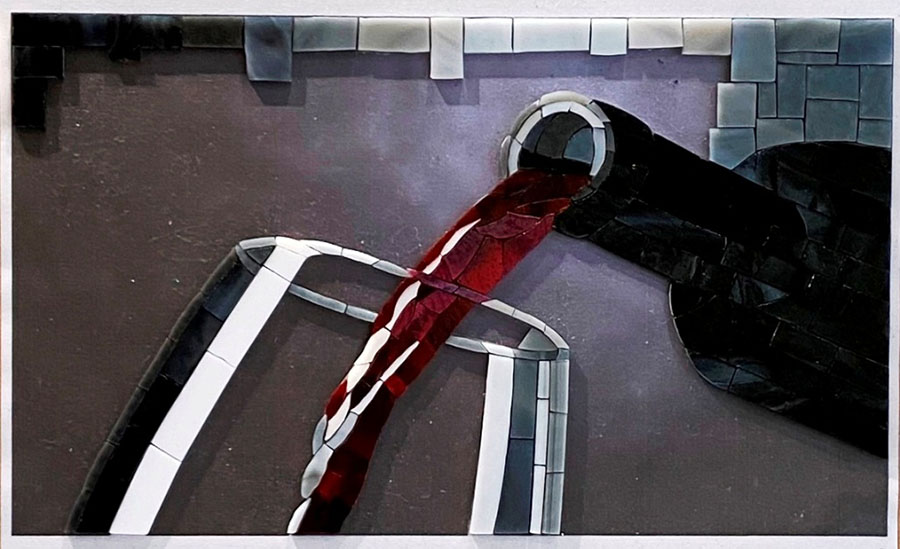
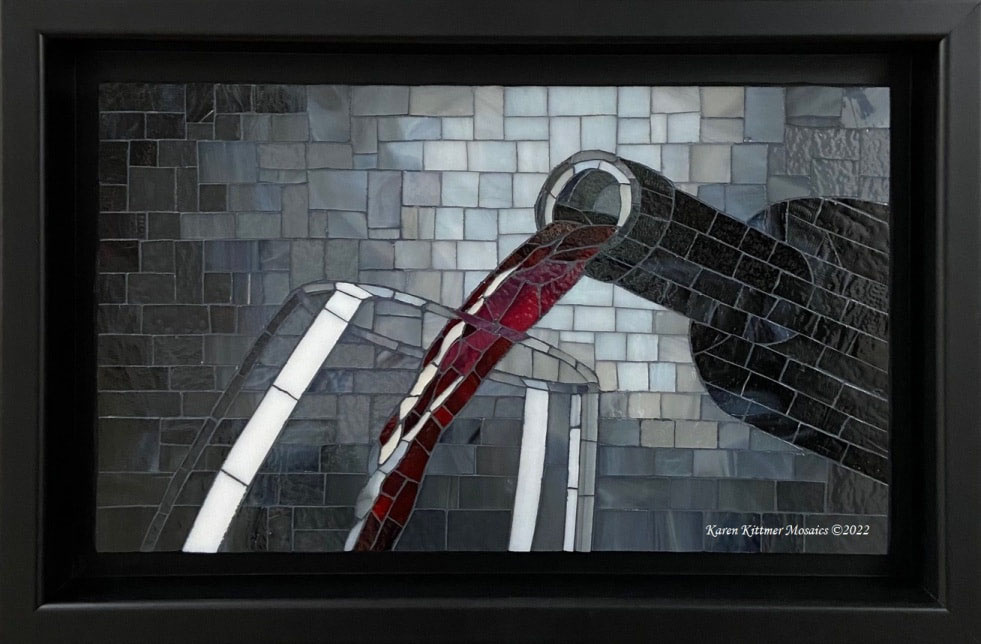
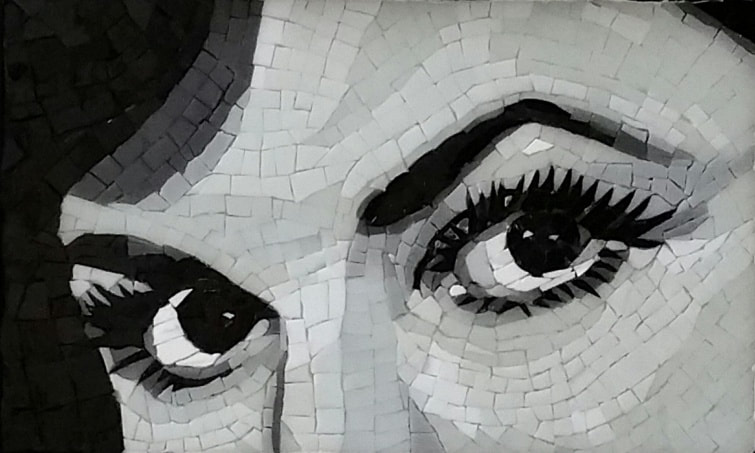
Rendering Light
Notice how powerful an image can be using only value contrast. The role of white and black are essential, but so are the greys of different value.
Making a monochrome or black-and-white mosaic isn’t that easy in mosaic tile because there often isn’t the range of grays available.
In tile, you are limited to small number of hues with maybe one or two shades for half these hues.
Stained glass is the best material for use in photo-realistic mosaic art because of the selection of “grays” that are available in one sheet of glass.
By “grays” I mean the painter’s definition of a mix of any two hues plus white and not merely the simple grays that are made by mixing different proportions of black and white.
But I reiterate the point: Even in black-and-white grays, most tile lines are lacking in grays.
No line of tile or even smalti can compete with what you could cut from a 6-inch sheet of swirled stained glass.
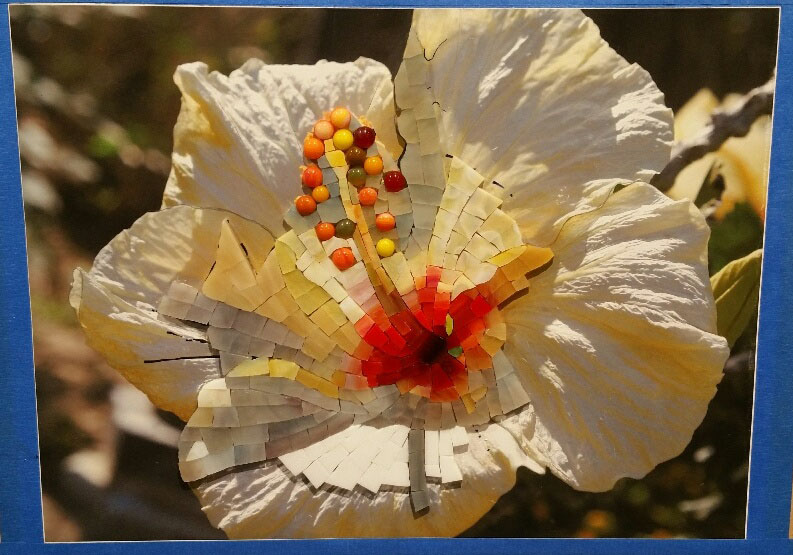
Imaginative Mosaic
Karen also creates mosaics that are more imaginative, and these are great too.
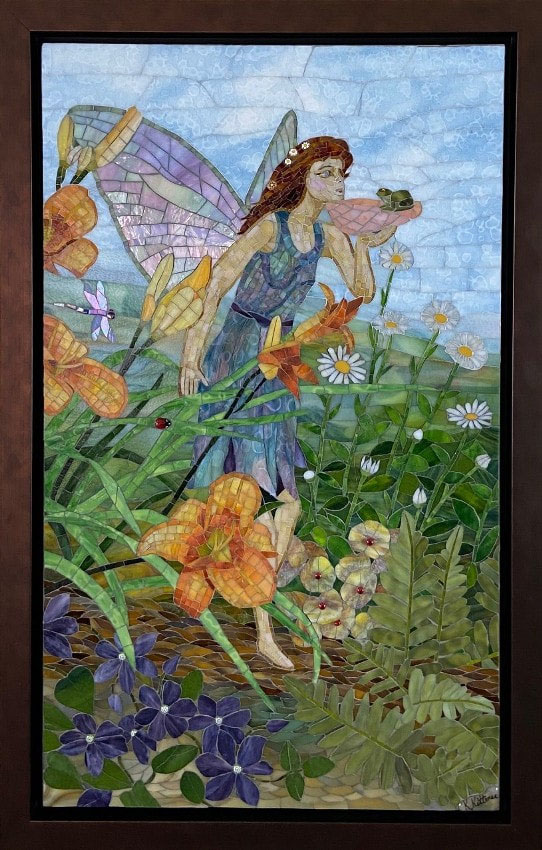
I get lost in the dreamlike space of the blowing flowers in the middle of this one.
Notice the iridescent light on the translucent wings. Wonderful.
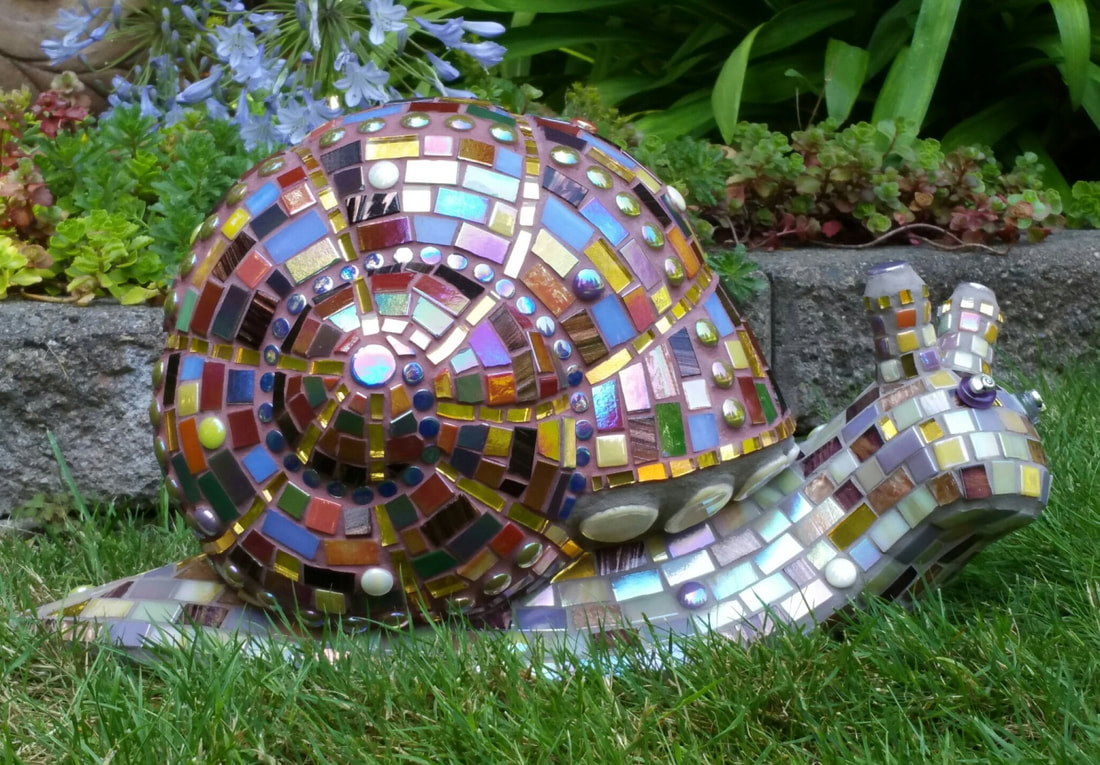
Elton the Kaleidoscope Snail
Because there has to be a section called Elton the Kaleidoscope Snail, that’s why.
Also, Karen has some good work-in-progress photos of creating Elton the Kaleidoscope Snail.
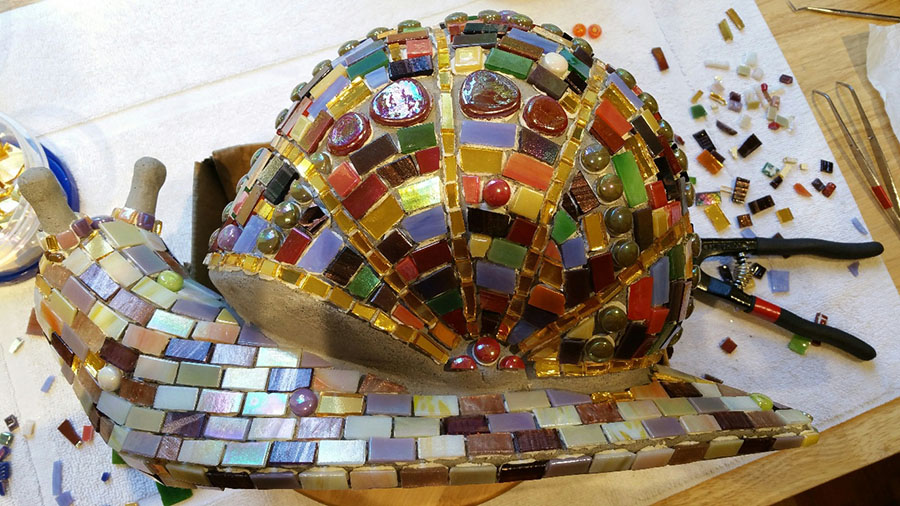
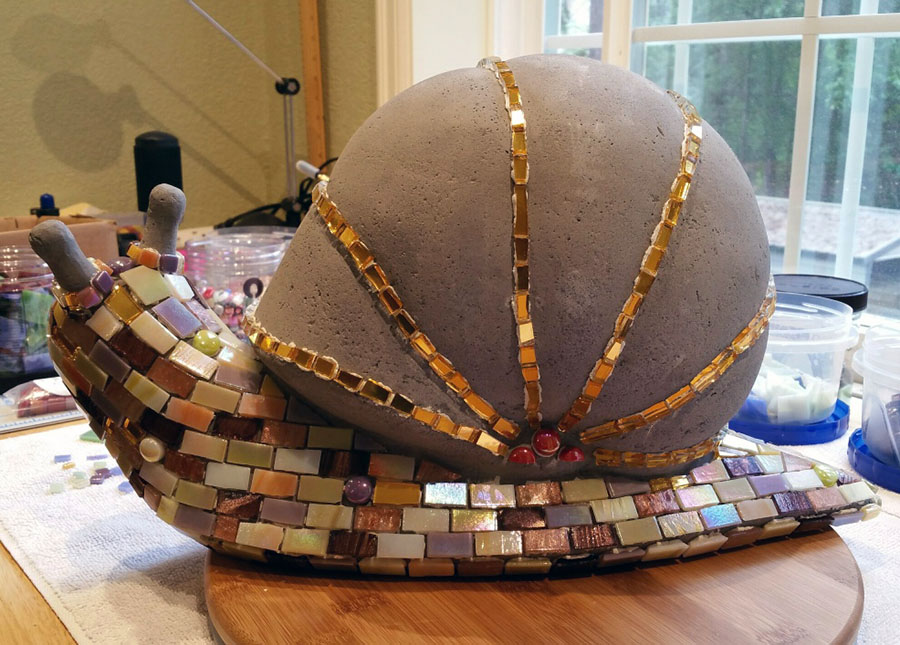
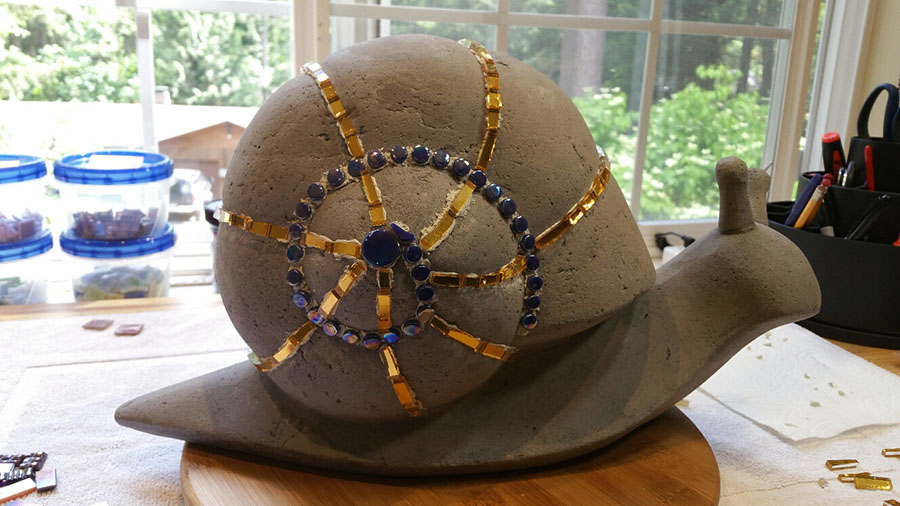
Sculpture Bases
I originally thought that Karen sculpted her own concrete base for Elton, but she tells me that she used a store-bought piece without modification.
Note how different and original the finished sculpture is compared to the base.
People often ask where to get concrete bases for mosaic-covered sculptures or how to make them.
One easy option is to buy an ordinary concrete sculpture from a lawn and garden store and (if desired) plaster it smooth with thinset mortar.
Of course, you should wire brush the sculpture first to remove any sealants. Due the brushing wet to prevent dust.
Even if you don’t smooth the sculpture with mortar first, the sculpture can look radically different when covered in mosaic tile.
That means you can start with a generic sculpture base that you don’t even like and still use it to make a unique creation.
If you use thinset to smooth the sculpture or modify it using a “concrete” made from thinset and fine pea gravel, you aren’t even limited by the shape of the initial sculpture.
Thinset Mortar
Since the sculpture is for outdoors, thinset mortar was used instead of adhesive to attach the tiles.
There is one potential problem with using thinset in tiny increments to attach individual tiles, and that is the mortar drying out before it can harden properly.
There are two things you can due to prevent this.
The first is to soak the concrete in water and allow the surface to dry. This saturates the interior of the concrete with moisture so that it doesn’t suck the water out of the tiny increments of thinset.
The second thing you can do to prevent the problem with desiccation is to run a humidifier near the sculpture while you work.
I also mist the general work area with spray bottle or hose from time to time. The evaporation saturates the air with humidity.
Leave a Reply