Tag: beginner
-
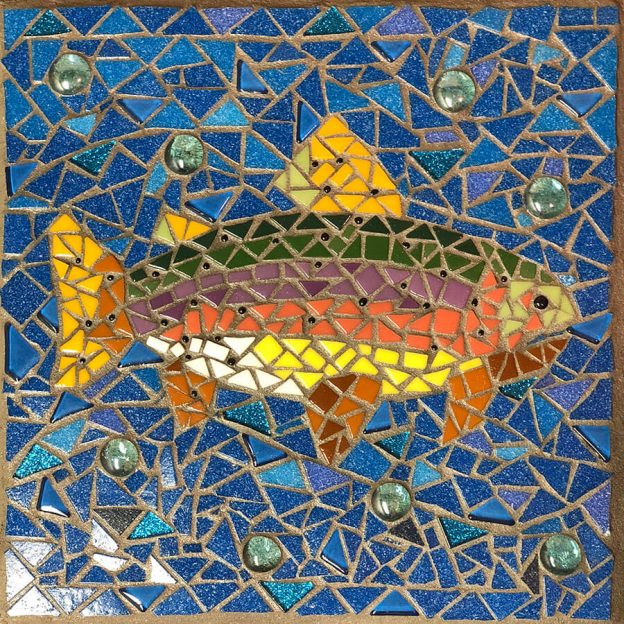
Beginner Mosaic Artwork
Mosaic is a great medium for beginners because it is accessible for people who don’t have much confidence in their ability to draw. Images can be rendered merely by arranging tile by trial and error until you like what you see. Of course it helps to have a simple outline or pattern of the image…
-
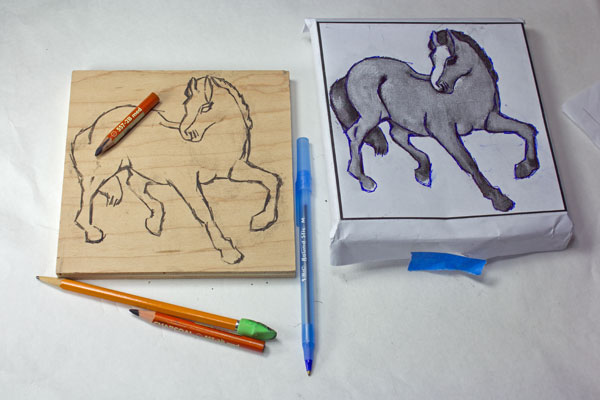
How To Transfer Mosaic Patterns Quickly By Tracing
This article explains how to use a charcoal pencil (or graphite pencil) to color the back side of a paper pattern and then trace over the pattern firmly to transfer it to a plywood mosaic backer board. I have written a separate article explaining why tracing borrowed images is better than drawing for making patterns for small mosaics -even…
-
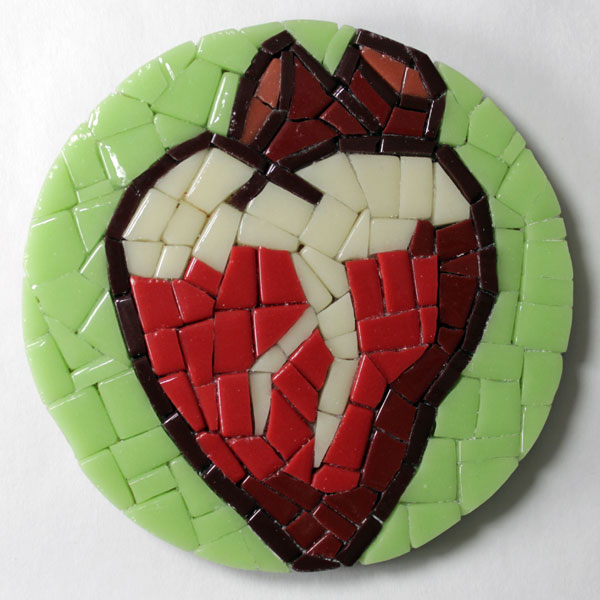
How To Make Mosaic Patterns Without Drawing
You can and should spend more time “drawing” with tile than drawing with a pencil when most of the details in the mosaic are about the size the smallest piece of tile that can be cut. If the smallest details of your design are larger than multiple tiles, then you should draw a detailed pattern, but most mosaic plaques…
-
Failures In Craft Marketing
Here is an anecdotal case study of how craft kits get it wrong and actually detract from the art experience: This past Halloween, my ex wife hosted her annual pumpkin carving party for our five-year-old son and all his friends, and I helped as usual. The party was the same format as previous years, but…
-
Outdoor School Mosaics
Recently I received an email from an art teacher whose school mosaic project was an outdoor mosaic where each child would create a mosaic on an 8 inch x 8 inch brick paver (paving stone), and then the mosaic pavers would be arranged together in a crazy quilt design similar to what artist Victor Kobayashi…
-
New Recycled Glass Mosaic Tile Assortments
Color family assortments of 12mm recycled glass mosaic tile are now available. The 12mm Elementile brand of tile is some of our most affordable tile. It also cuts into extremely small pieces with minimal glass dust, shards or scrap. Recycled glass mosaic tile by Elementile is now available in 12mm color assortments. It is our…
-
The Importance of Small Experiments in Art
In my previous post about how to use found objects in mosaic art, I made the claim that small experiments done before you start a large project do not require any extra time because of the time they save on the project itself. I wish I could emphasize how true this is. Here is how…