Tag: indirect method
-
Partial Taping of In-Process Mosaic
Mosaic Mounting Tape sticks well-enough to whole uncut tile as small as 12mm to allow the sheet to be lifted and dangled and handled without tiles falling off. This is also true of whole uncut tile as small as 8mm, although the sheet can’t be handled as casually. But what about using Mosaic Mounting Tape…
-
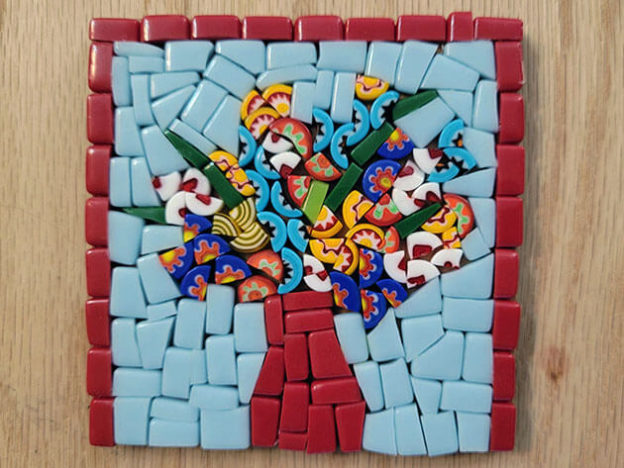
Broken Millefiori Mosaic Coaster
I made a mosaic bouquet coaster using our Broken Millefiori and Morjo 12mm Recycled Glass Tile. I used clear contact paper to lay out my design so that I could improvise without a pattern and make revisions as desired BEFORE glue is involved. I wrapped the contact paper around the backer temporarily so that the…
-
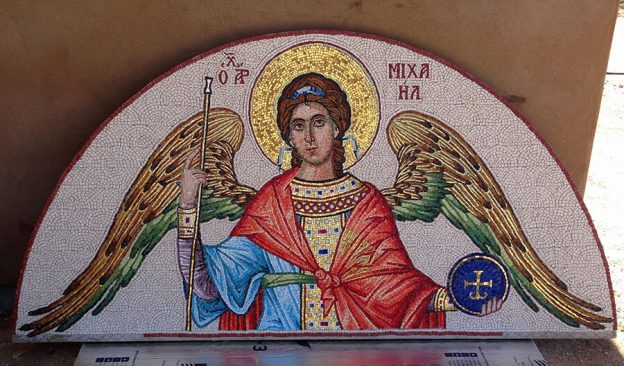
Mosaic Saints, Angels, and Icons
Historically, mosaic icons were made with traditional materials like smalti, marble, and gold leaf glass. Those traditional mosaic materials might be preferred if you are trying to make a reproduction that looks historically accurate, but they are more expensive and more difficult to work with. Do You Need Smalti? If you have any latitude in…
-
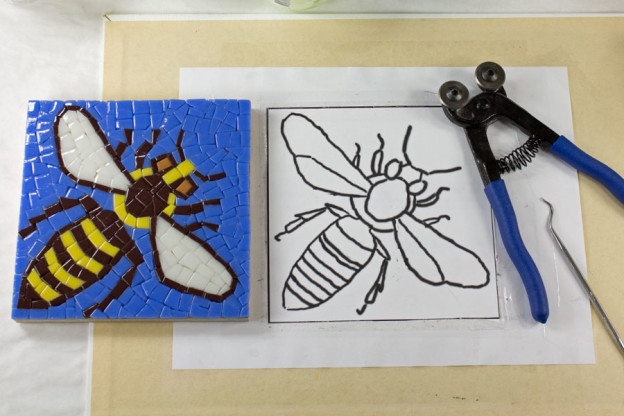
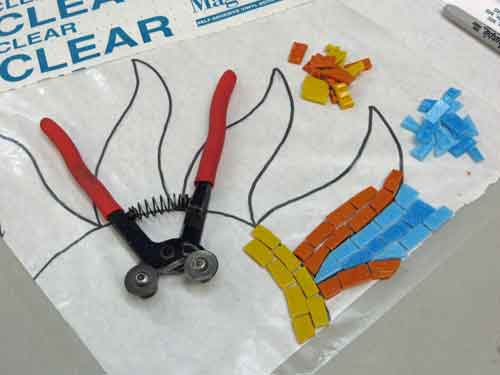
Using Contact Paper to Transfer A Mosaic Design
Choice of Pattern This method for transferring a mosaic design with contact paper works whether you are improvising on a quickly sketched cartoon or carefully following a detailed pattern for each piece of tile. This method reverses the mosaic from left to right in a mirror effect because the tile is laid upside down onto the sticky pattern and…
-
Mounting A Mosaic On Clear Adhesive Film
Clear contact paper can be used to temporarily mount a design of mosaic tile, but it really isn’t sticky enough to be as useful as it should be, and it is better to use the clear mosaic mounting tapes (films) that are specifically designed for that purpose. I have used clear contact paper for small…