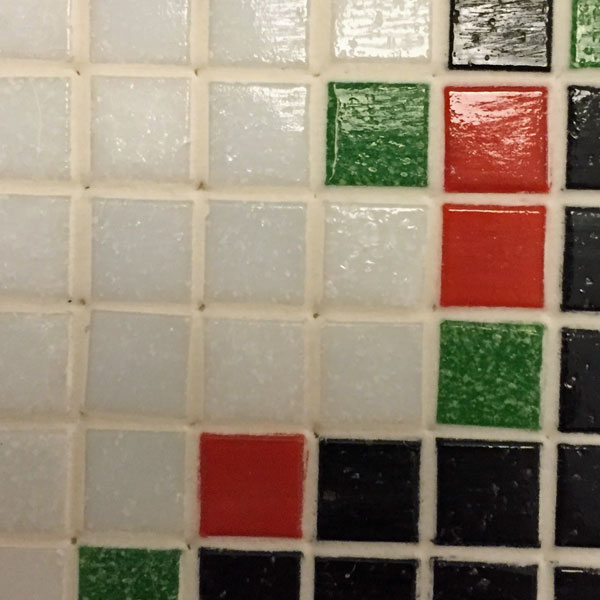
Grout does not shrink, but it is prone to forming voids and bubbles if it is not rubbed thoroughly into the grout gaps. These holes are easily repaired.
My friend Fredrik reported a problem while grouting his mosaic portraits of famous rock icons. He described the grout as having shrank in the grout gap.

Real Grout Doesn’t Shrink
The grout didn’t actually shrink, which isn’t possible with traditional grout made from portland cement, sand, and water. (I can’t speak for the newer epoxy-based grouts because we haven’t used them.) What actually happened was that voids were left in the intersections of the groutlines, and these voids got covered with a thin film of grout that then dried out without curing.
Press Grout DOWN Into The Gaps
When you grout a mosaic, it is important to press the grout down between the tiles, and to rub and press the grout thoroughly. Otherwise, voids and bubbles will be left down in the gaps and get covered over with a superficial layer grout similar to how a thin layer of wind-driven snow and ice will sometimes form over a crevasse in a glacier. That is why pressing down is important, and you shouldn’t just rub tangentially across the surface.
You can also “pull” voids into grout by rubbing it repeatedly in the same direction. That is why it is best to rub in circles and to vary the direction of the rubbing randomly.
Avoid Dry Air: Use Humidifiers
Fredrik reported that he wasn’t able to able to spend very long pressing the grout into the gaps because it started to harden almost immediately. It takes grout a while to harden, and this hardening happens by binding water not by drying out, but grout can become prematurely stiff and difficult to manipulate if it starts drying out. Since Fredrik was working in Sweden in February, I suspect the air was very dry due to the heat running, not to mention the already low humidity of the winter air. You can avoid this problem by running a humidifier near your mosaic and by doing the grouting away from heater vents. You can also cover the grouted mosaic with plastic kitchen wrap such as the Saranwrap brand.
How To Fix Holes In A Groutline
The good news is that it is possible to grout voids and holes and bubbles in a mosaic that is already grouted. The only caveat is that the old grout can suck the moisture out of the new grout before it can properly cure and harden. To prevent this, mist the mosaic thoroughly with water before you begin so that the old grout is saturated with water. Note that the mosaic should not be coated with water because droplets of water or a thin layer of water could interfere with intimate bonding. It really helps to have a humidifier running near the mosaic, and you should start the humidifier an hour or so before you grout so that the old grout isn’t bone dry.
Before you regrout, you need to expose all the hidden voids and bubbles. You can do this by pressing on the grout with a small screwdriver and vacuuming out all the loose crumbles. Of course, you need to do this in places that look like there is a problem, and but you also need to press in places that look deceptively fine. You don’t want to have to grout a third time.
I prefer to press straight down instead of dragging the screwdriver because I want to avoid scratching up grout that is fine. If you do get some scratched up grout from your probing, use a stiff bristle brush and a little water on the finished mosaic to buff out the scratches and make them less noticeable.
If you notice that your grout is crumbly in general, you should scrape it all out and regrout. In that case, you might want to use the grout removal tool.
Mixing Up Small Amounts of Grout
One objection to fixing small grout problems is that people don’t want to mix up a whole container of grout and end up wasting almost all of it. The good news is that you don’t have to waste any or at least very much, and you don’t have to be paranoid about whether or not you are adding the right amount of water. You can easily mix up a small amount using a few rules of thumb:
- If you have a small postal or kitchen scale, use 1 part water by weight to every 4 parts dry grout.
- If you don’t have a small scale, add a little water and mix thoroughly. Stop adding water when the grout has the consistency of dough.
- Once you have enough water in the grout, mix it thoroughly to ensure even consistency with no tiny lumps of dry material. These can sabotage the grout hardening process.

Leave a Reply