Tag: grout
-

Fleur-de-Louisiana: A Study in Subtle Colors
Artist Sharon Thomassie emailed me a photo of her mosaic in progress and asked for advice about choosing color(s) for the background.
-
The Beauty of Cheating in Art
As artists, we are often hypercritical of our own work and can only see the flaws in our art. Often times these “flaws” are details not even noticed by the viewer, and when the are noticed, they aren’t even perceived as flaws. However, sometimes we really do screw up a detail in an otherwise perfect…
-

Vinegar Cleaning Grout Haze and Pit Stains
Glass mosaic tile, particularly vitreous glass tiles have sometimes have a few tiny pits in their surface, and these tiny pits can get stained with grout. Fortunately the pit staining can be prevented by applying a product called grout release before grouting, which is what installers use for large architectural tiling jobs. You can also…
-
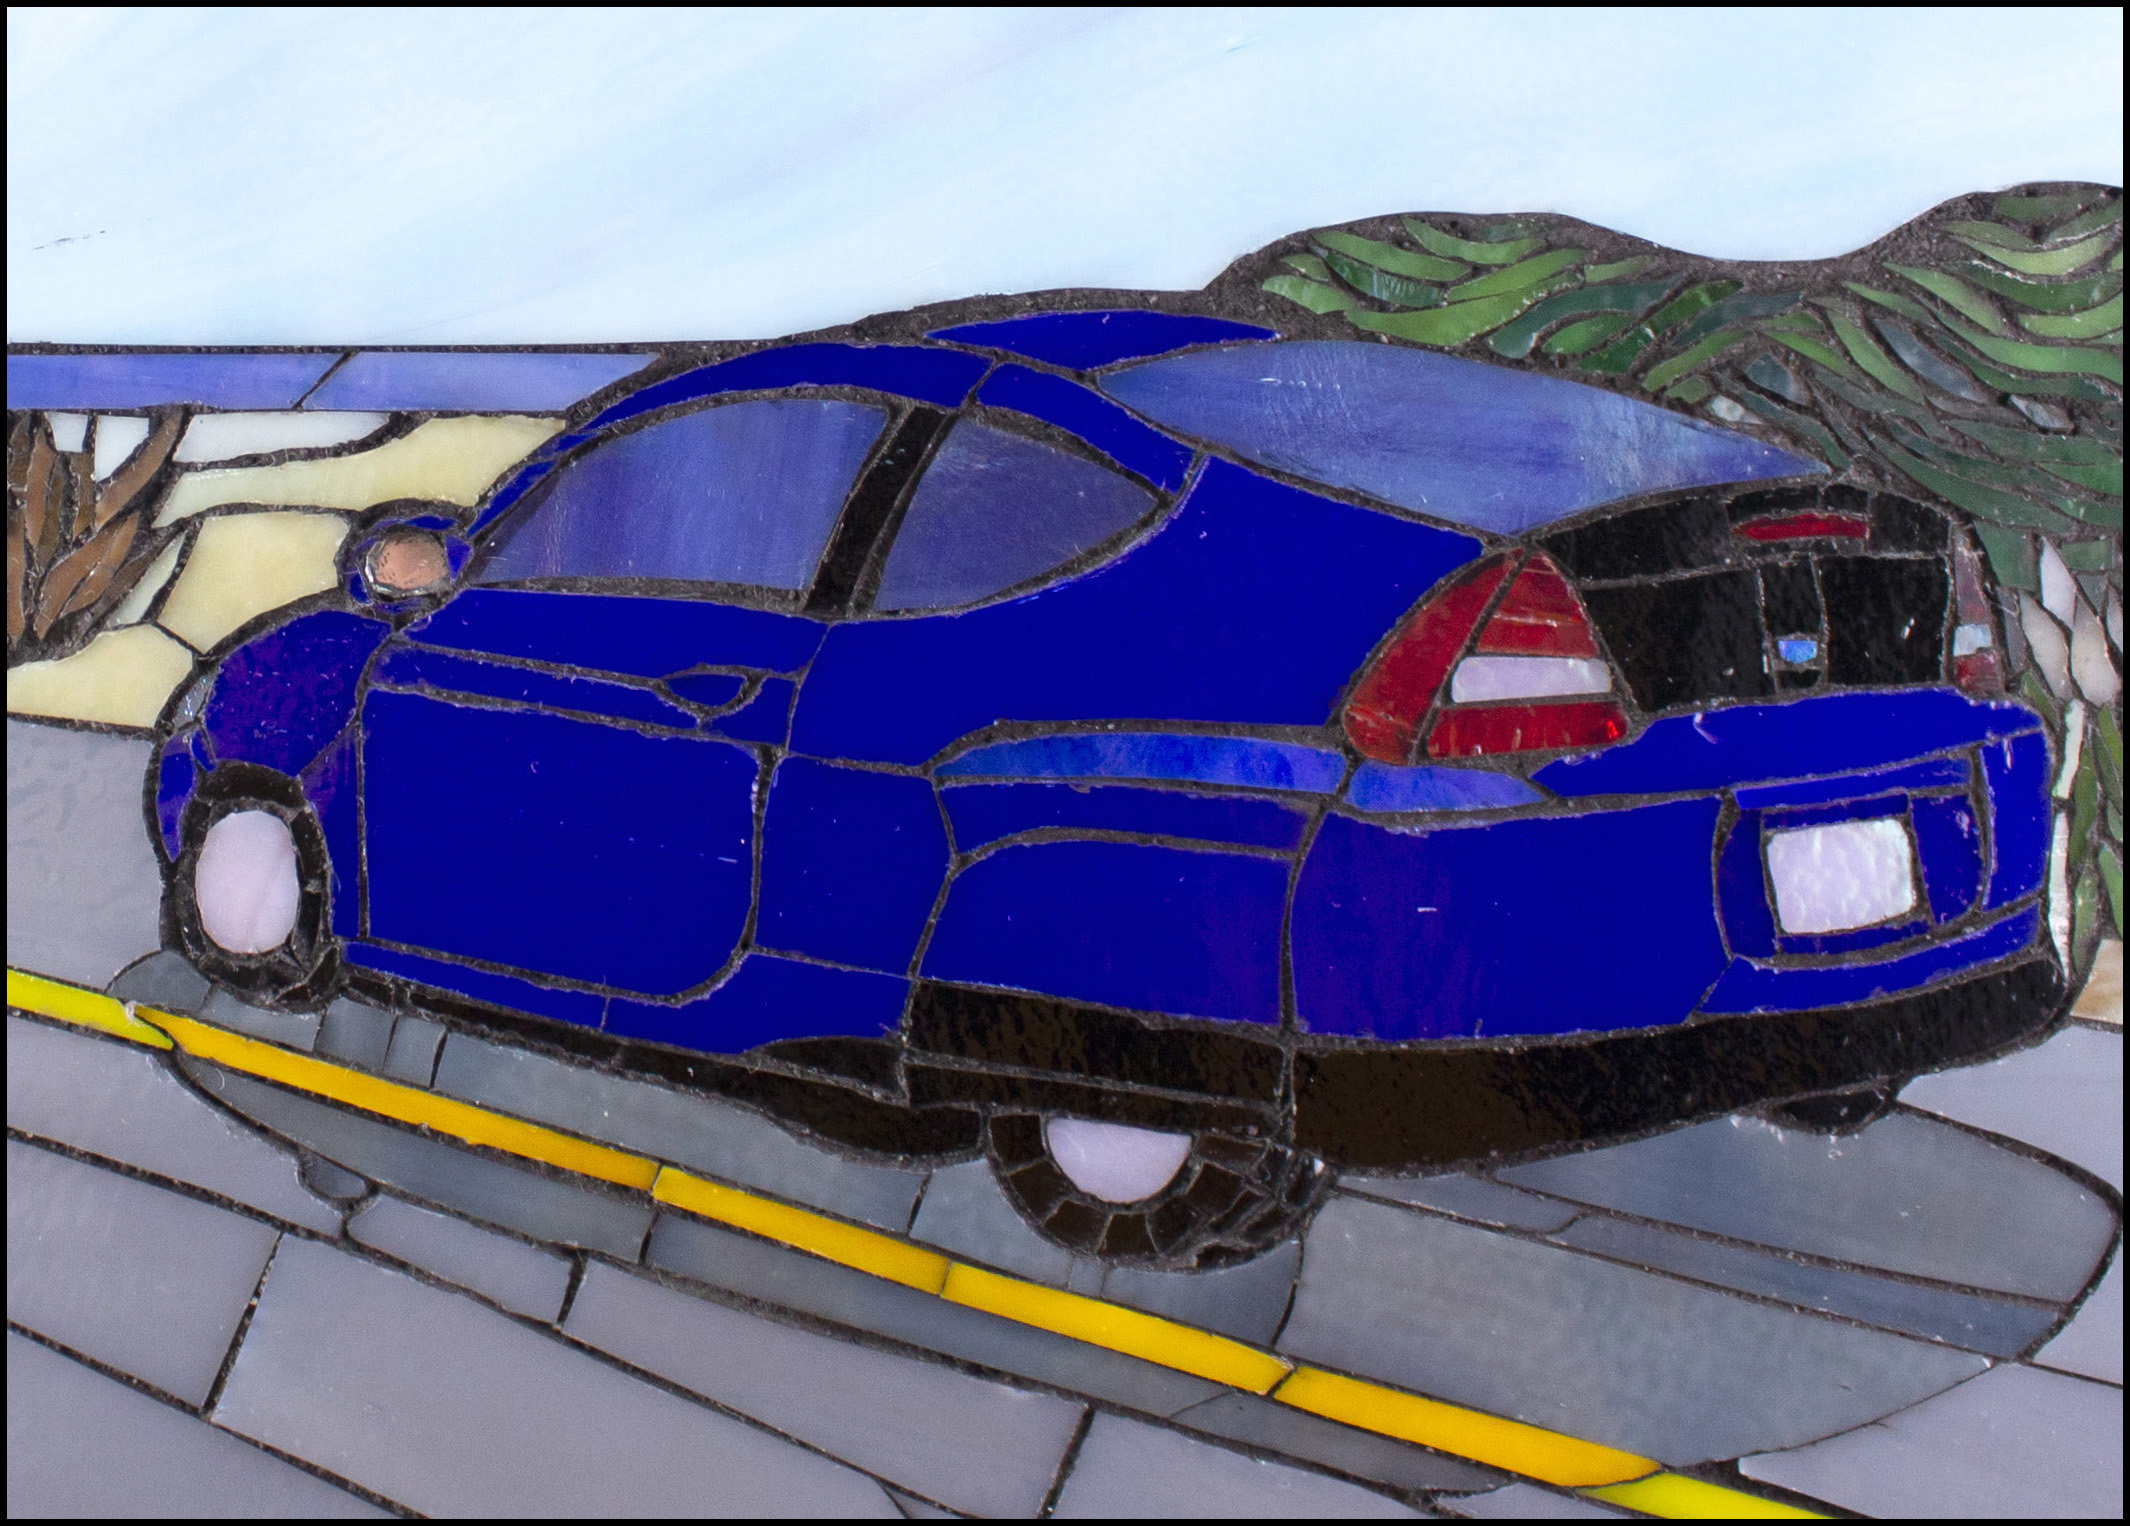
Grout Line as Design and Figurative Element
Natalija Moss’s latest Honda Insight mosaic is a great example of stained-glass mosaic where the grout line is used as a figurative element and as an element visual framing. Natalija is a self-taught artist and mosaicist just like me, and she also rebuilds Honda Insights by restoring interiors and rebuilding the battery system with newer…
-
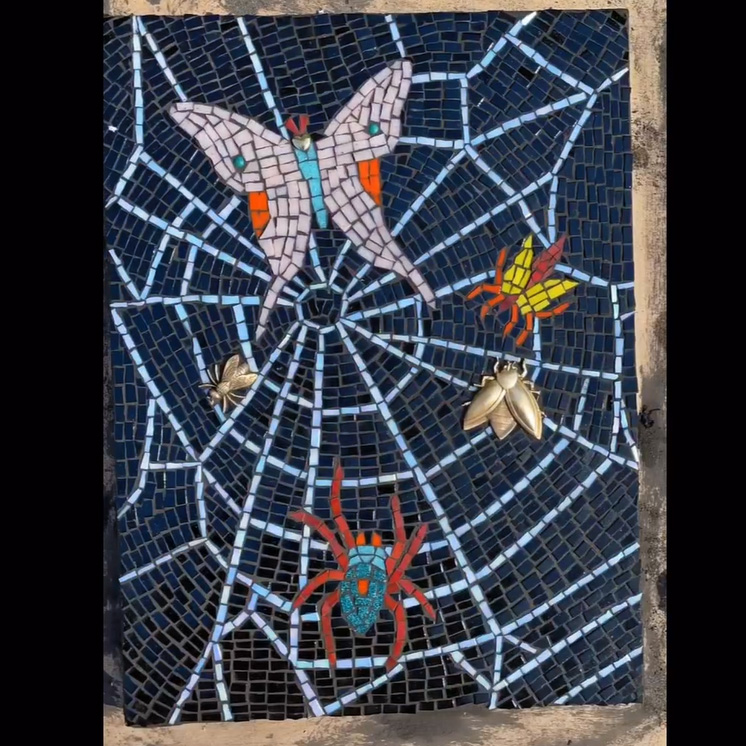
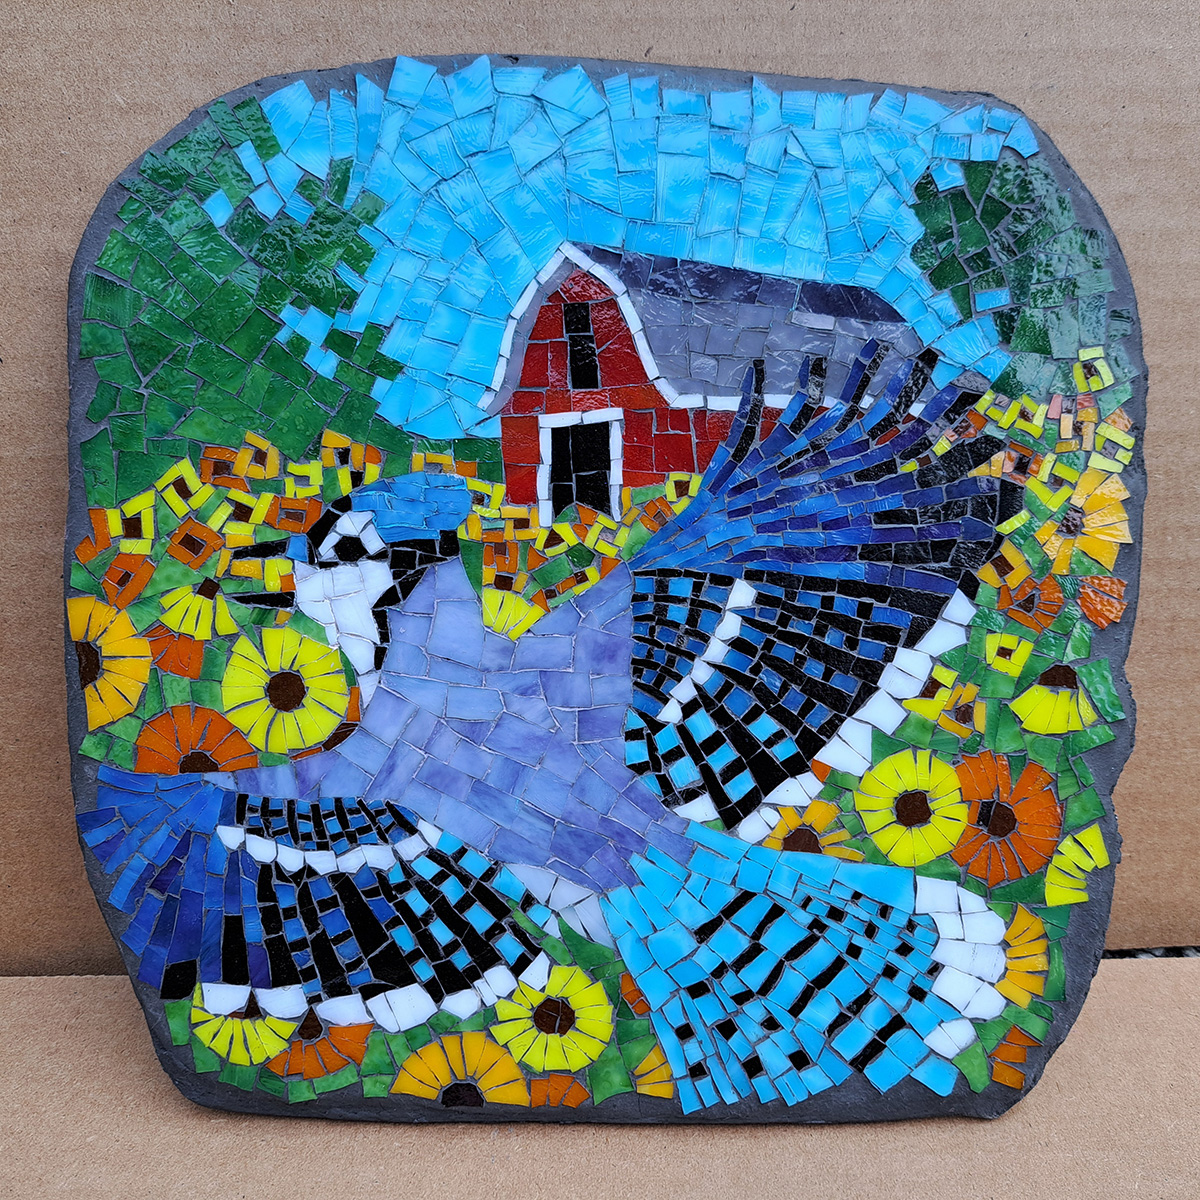
Grouting Dorothy’s Spider Web Mosaic
Artist Dorothy Stucki made a fast-motion video of the process of grouting her mosaic Goddess in the House of Night, from dumping on the wet grout to buffing and hazing. The grouting video is on Dorothy’s Instagram. Dorothy’s mosaic is a spider web complete with spider and ensnared moths and insects.
-
Case Study: Non-Sanded Grout for Mosaics with Incidental Gap
For better glass mosaic images, tiny incidental gaps are the way to go. Just forget about grouting and fit the glass as tightly as possible. Or better yet, cut the pieces less precisely and use the slight errors in shapes to form an incidental grout gap. I highly recommend this latter mode of working because…
-
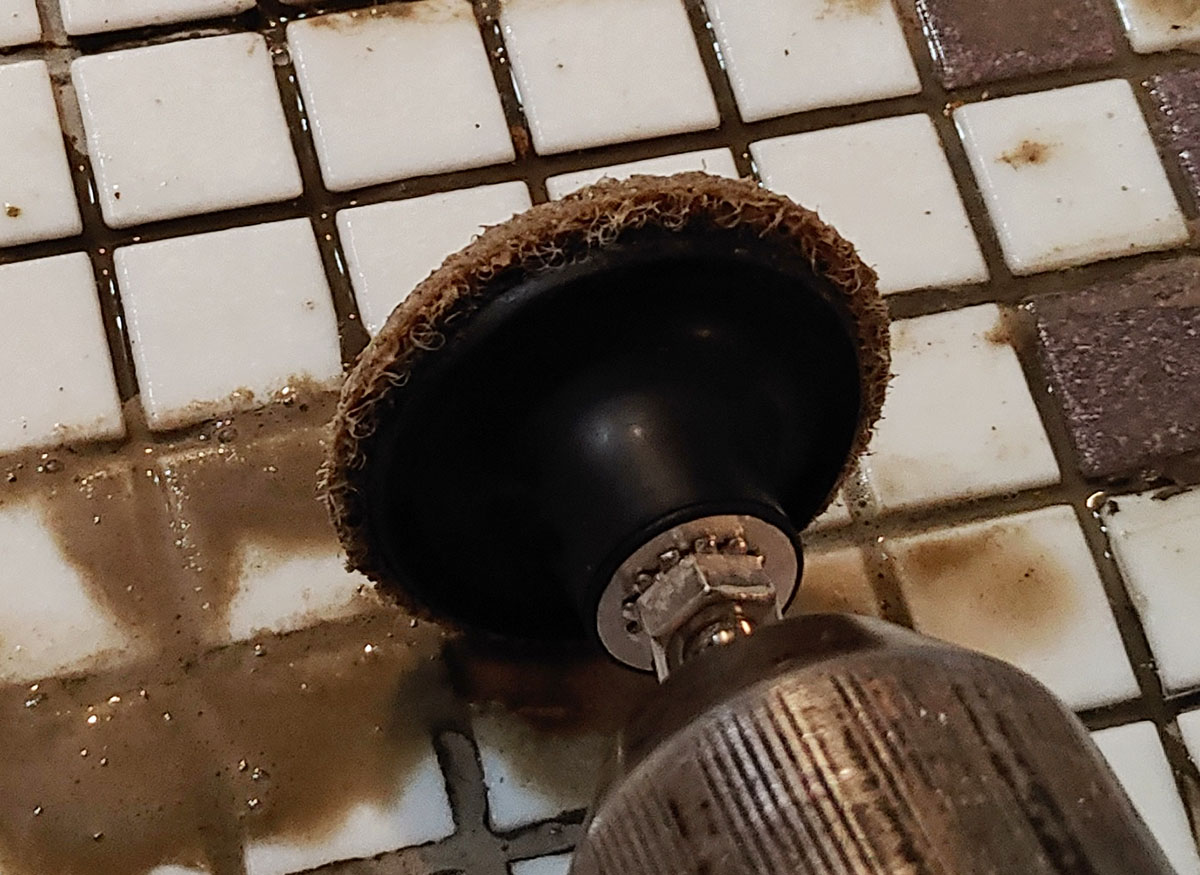
Nonstandard Method for Removing Mortar in Gaps
Natalija reminded me that she used her cordless drill with a mesh disc to remove the hardened mortar, and that cordless rechargeable tools exist. Either we didn’t have cordless rechargeable tools on my home planet, or I was having a stress-induced boomer episode yesterday. One of those two things is true, maybe both.
-
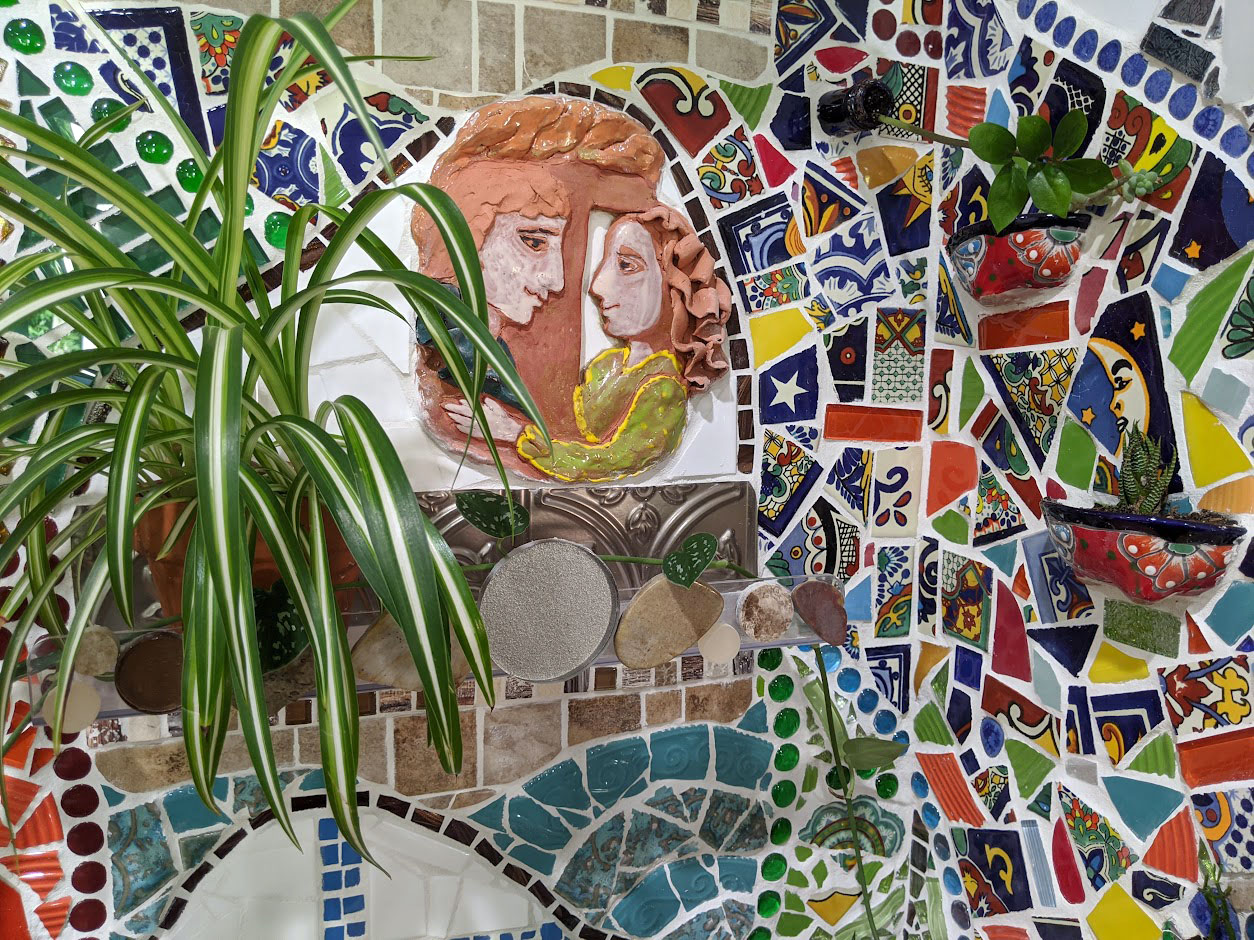
White Grout: The Floral Print Aesthetic
Artist Masha Leder‘s mixed pique-assiette architectural mosaics using white grout are so good I wanted to name this blog article “In Praise of White Grout.” I have been hoping more people would email me some photos of their white-grout mosaic artwork ever since I started posting about avoiding white grout in mosaic images, meaning figurative…
-
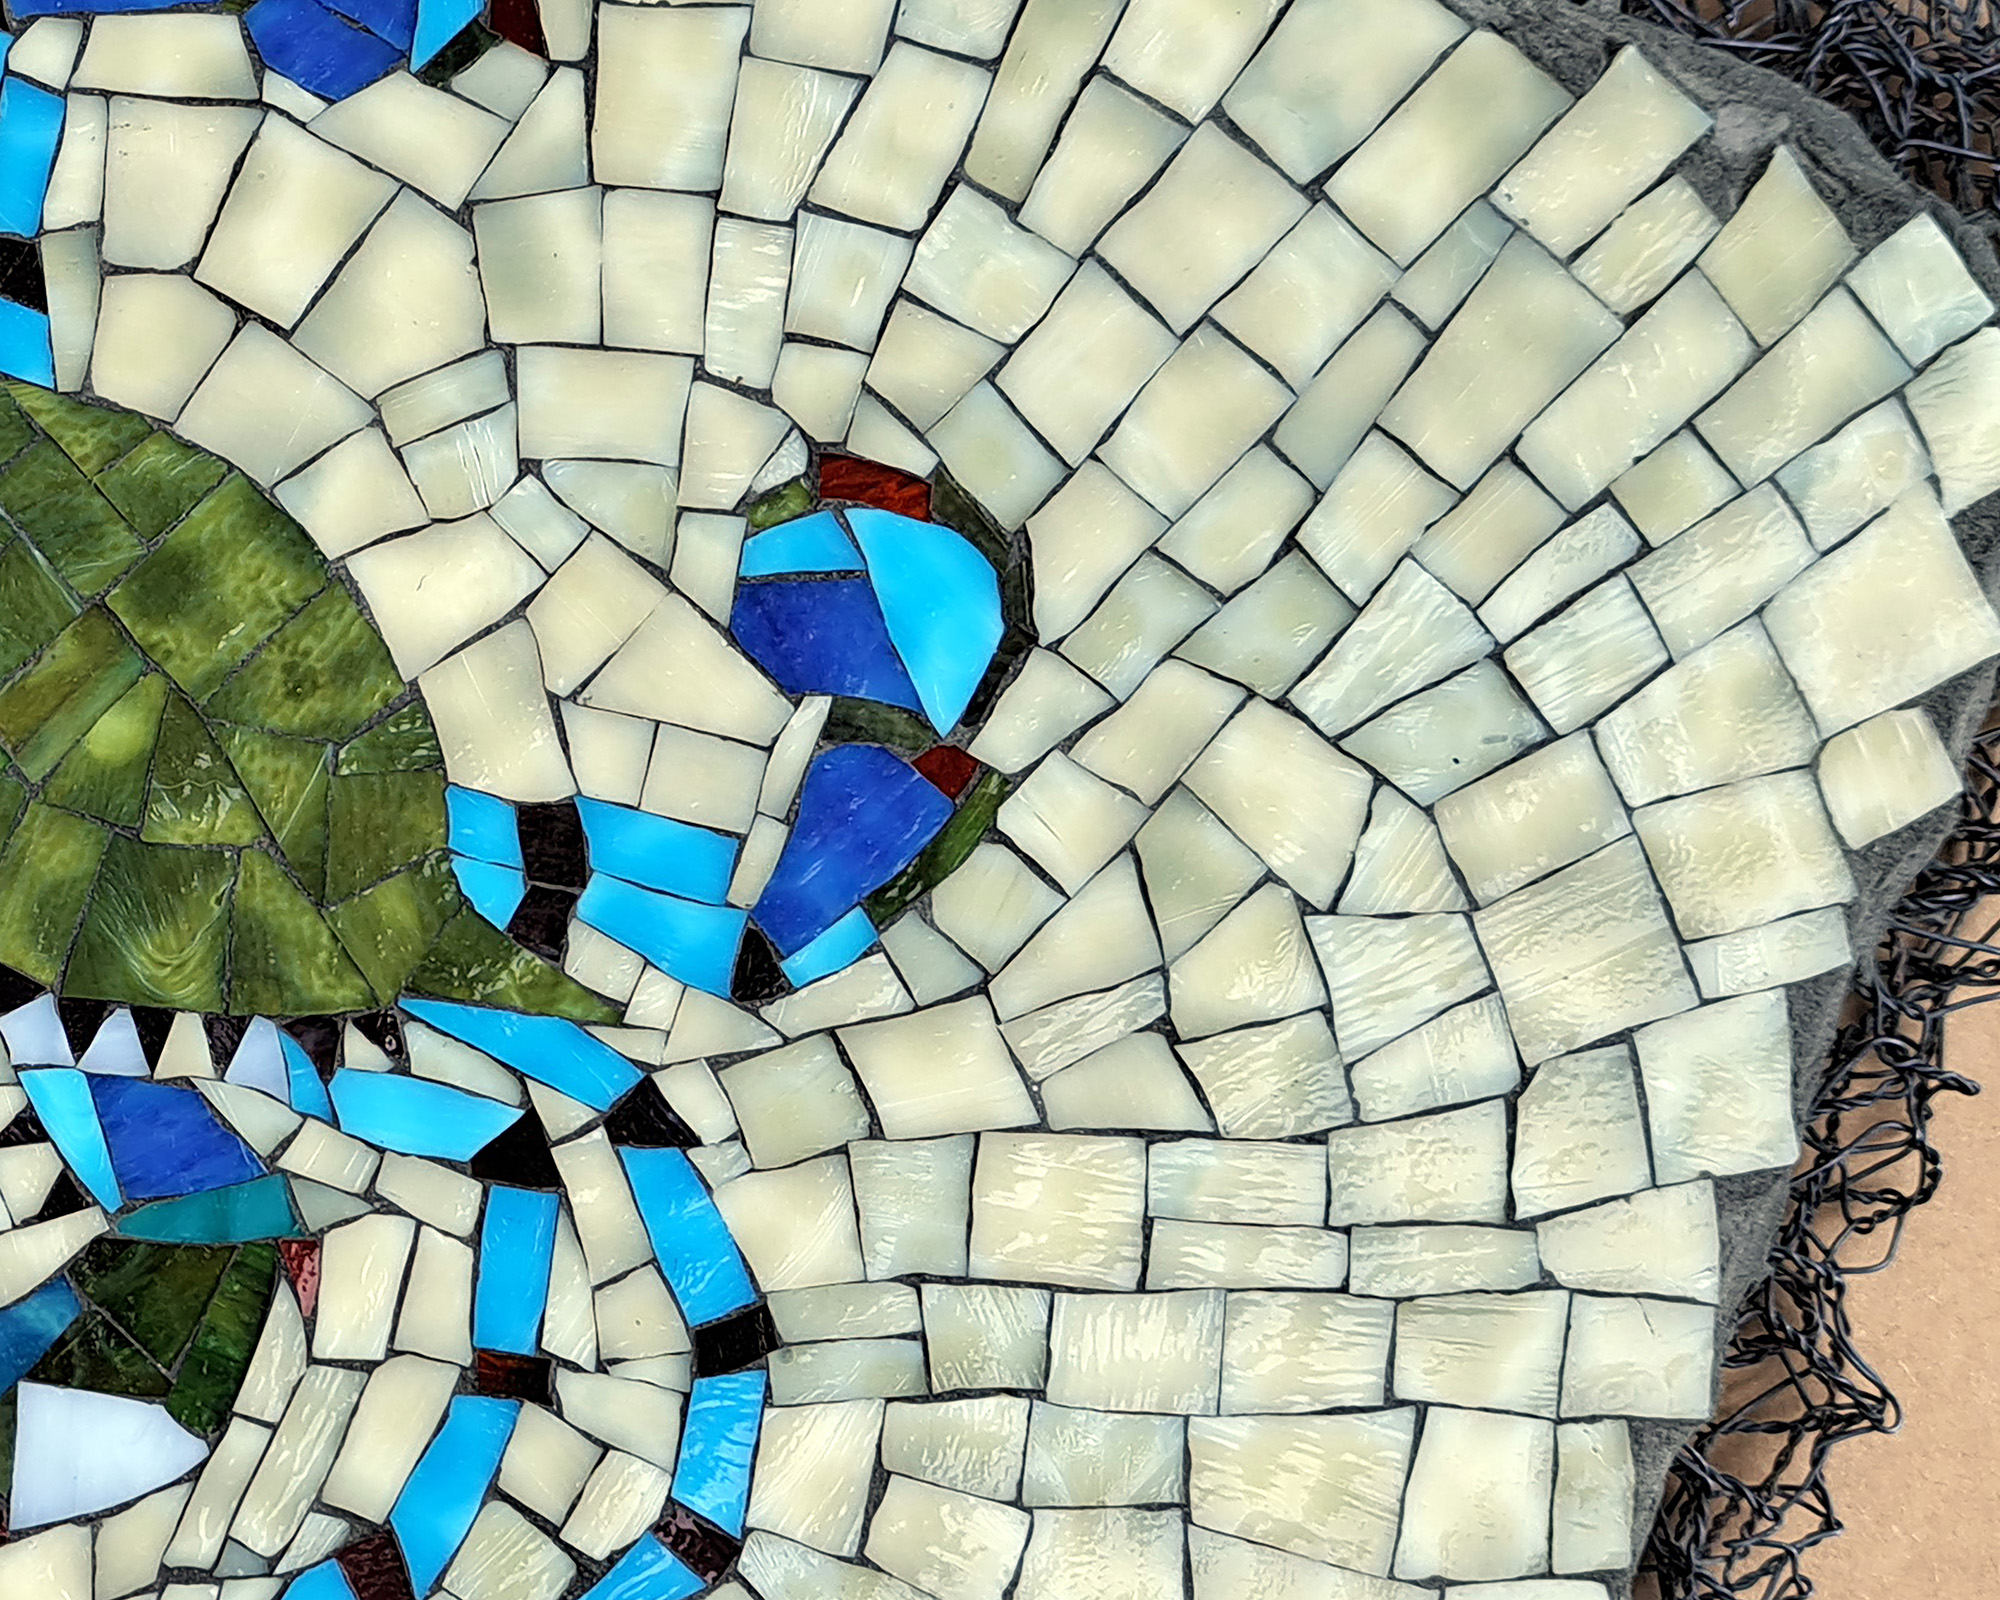
Imperfection as Grout Gap
The Blue Crab mosaic I recently completed is a good example of how to create a grout gap by making use of imperfect cuts instead of spacing the tiles intentionally. The “imperfect cut” method makes the process of creating a mosaic faster, easier, and less tedious -first in the cutting and placing of tiles but…
-
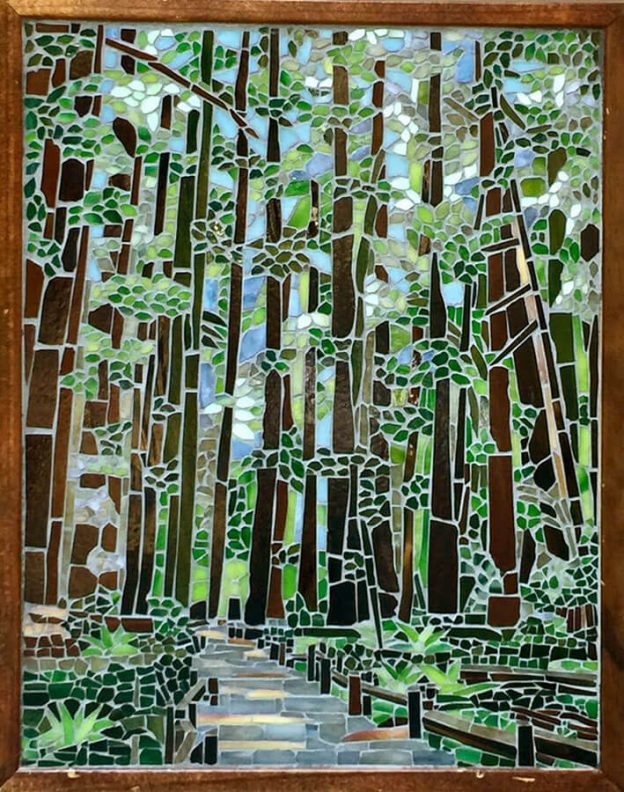
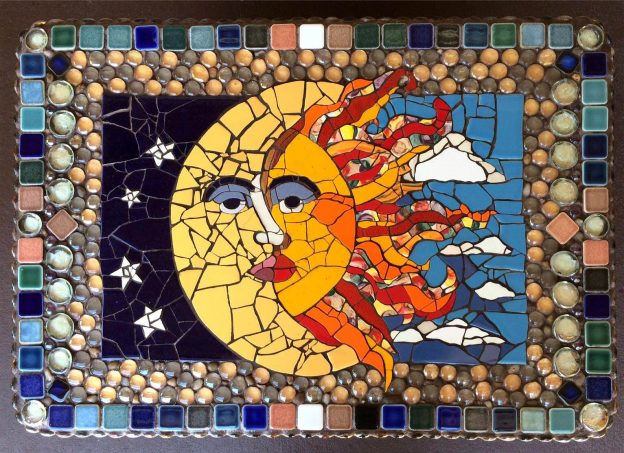
Choosing Grout Color Using Tile Test Swatches
Tracy Kaplan recently emailed us a picture of her FIRST mosaic, and it is nice solid work, impressive even, especially considering that her instructor gave her some problematic advice concerning the grout color. Tracy’s teacher had recommended a chocolate or nutmeg colored grout, but Tracy wisely considered how a dark brown might cause adjacent tree…
-
Staining Grout With Acrylic Paint
Mosaicists sometimes mix in artist acrylic paint to create custom colors from white grout, but you can also use acrylic paint to “stain” grout after it has hardened (for dry indoor mosaics). Like the process of staining wood, “staining” grout with paint is a process of wiping on and wiping off. The paint sticks to…
-
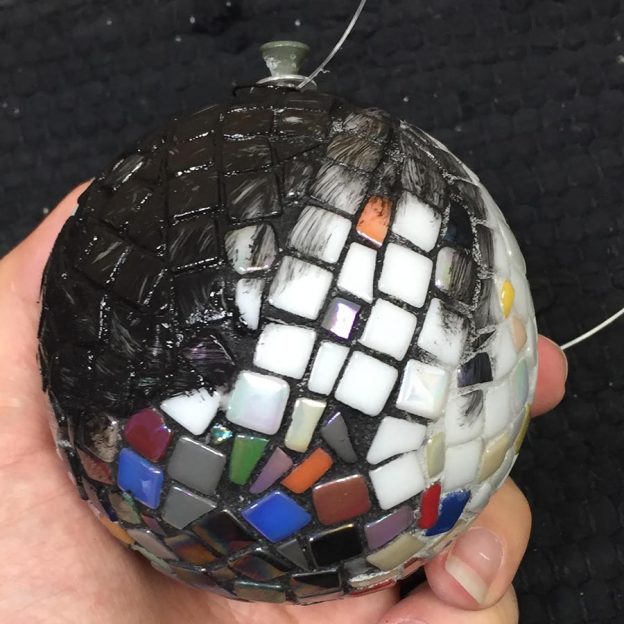
Consistent Grout Gaps
In my recent blog article about black and white grout, I wrote the following tip for minimizing the width of grout gaps and working a little faster at the same time: If tiles only touch at points but not along the length of their sides, then tiles can be positioned very closely and yet still…