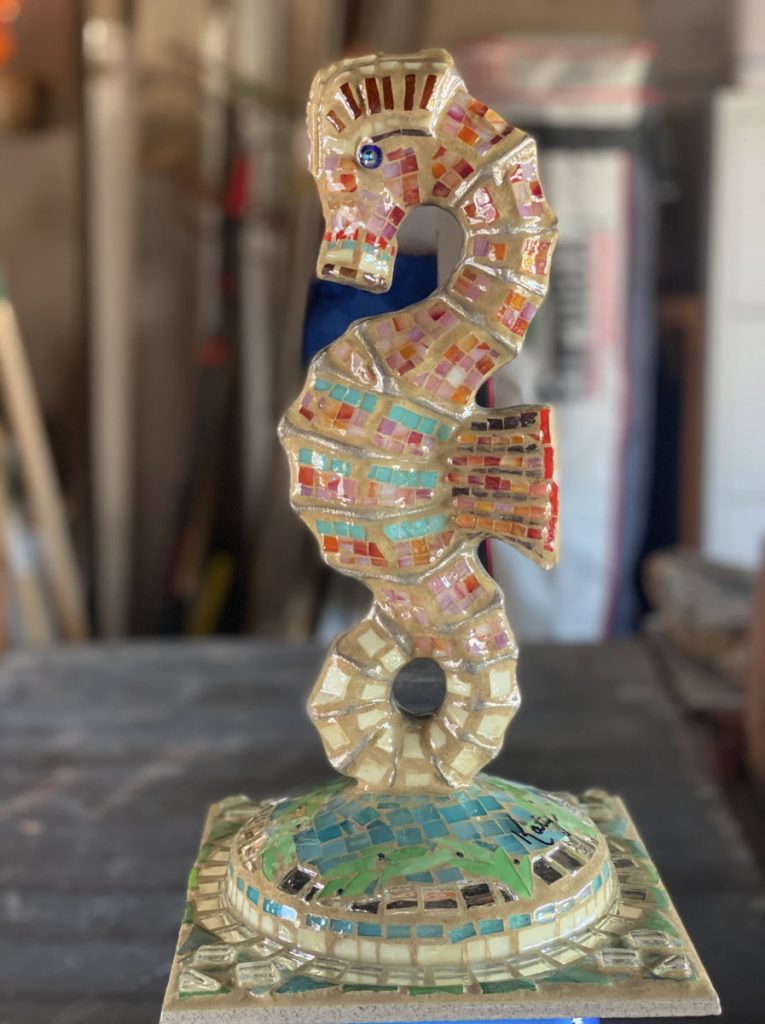
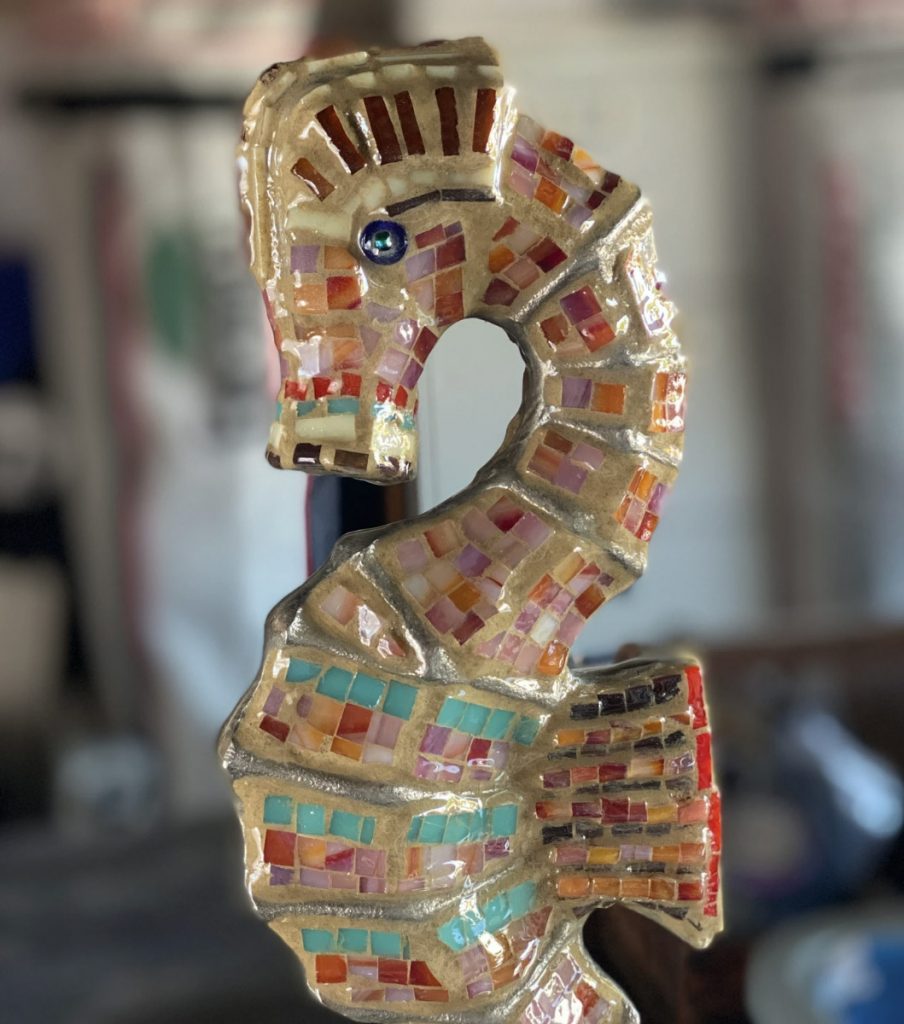
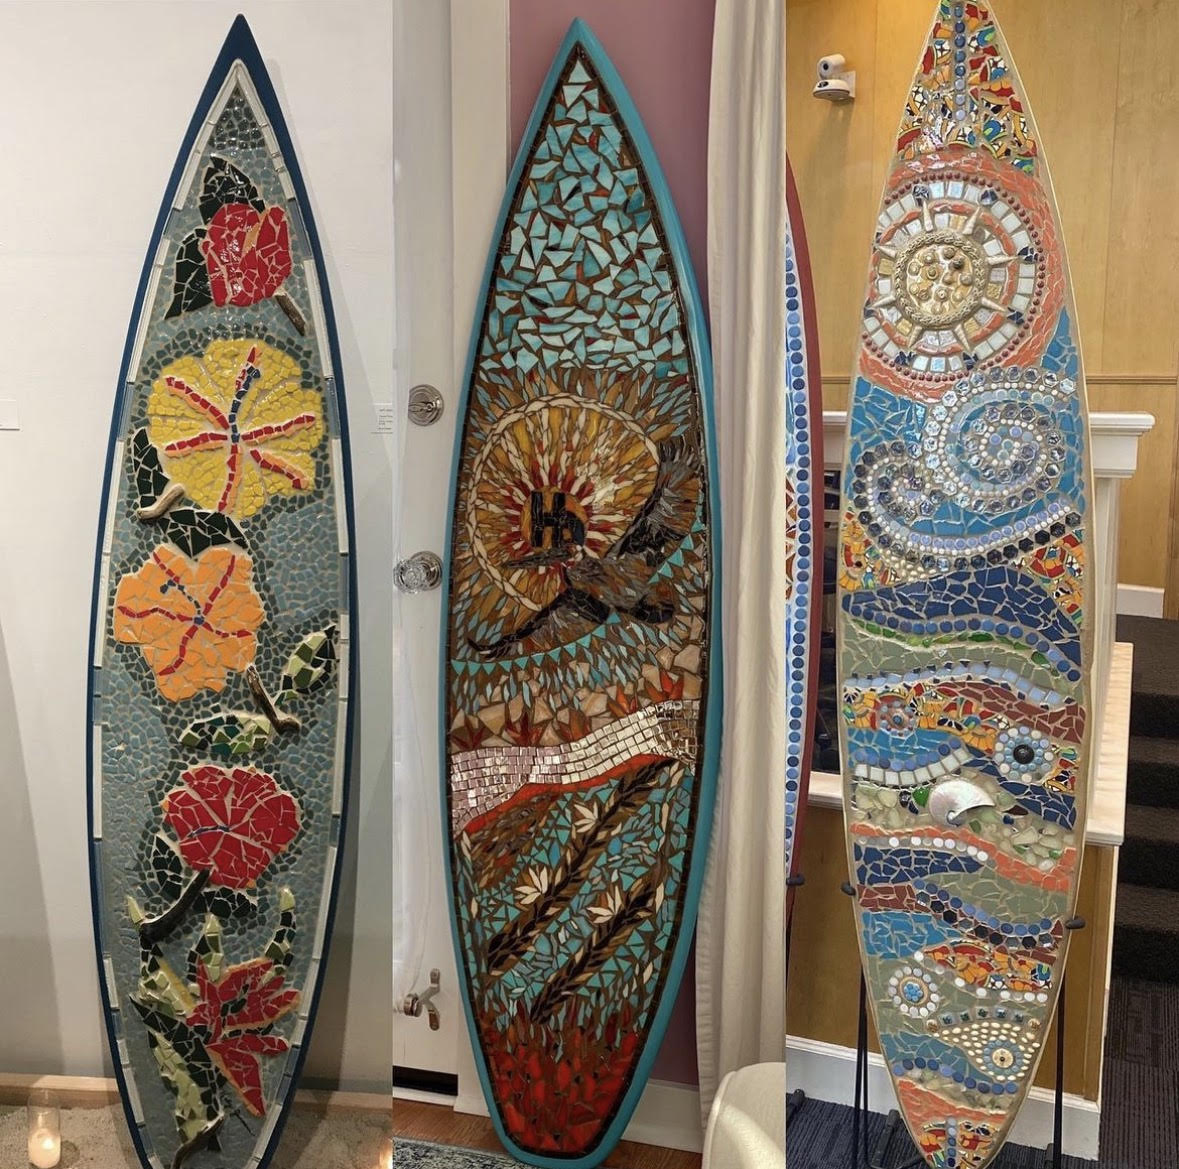
Hermosa Beach artist Katy Jenssen makes mosaic surfboards, and for her, it is a logical choice of sculpture base.
Katy’s family history and ethos are grounded in the local community, a premier beach town and surf destination, part of an area where a lot of Americana was born.
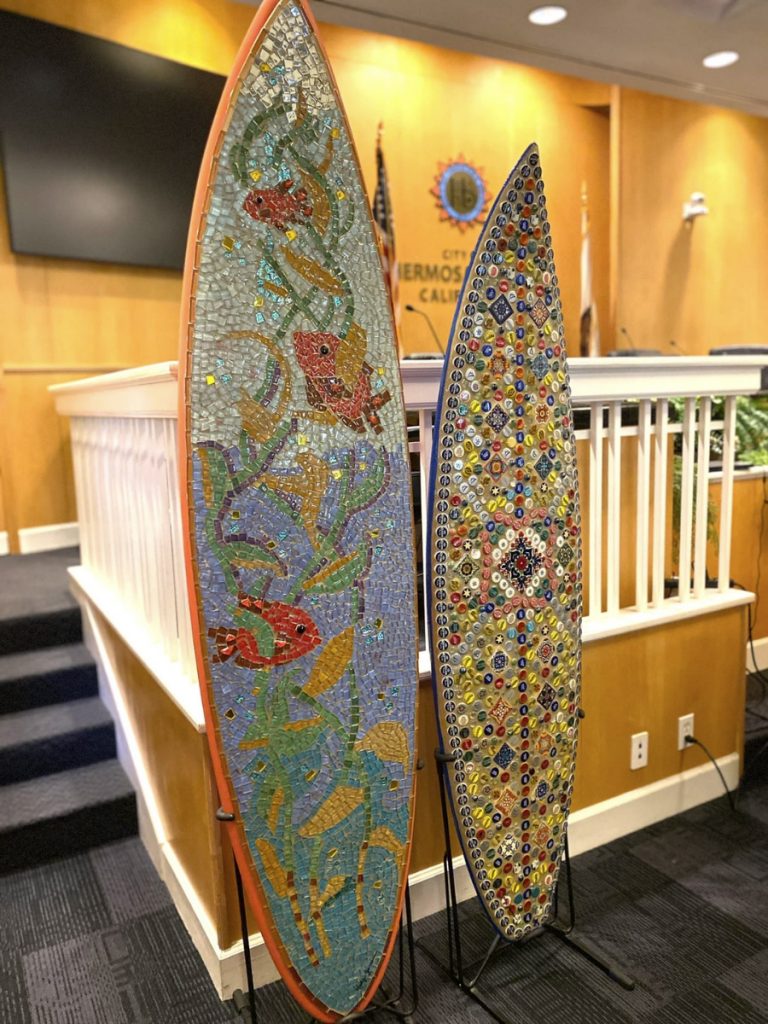
Katy’s compositions fit the shape of the surfboards and are ocean themed.
I also recommend looking at Katy’s work because she uses best practices and correct materials and methods for her mosaic surfboards.
Shape and Composition
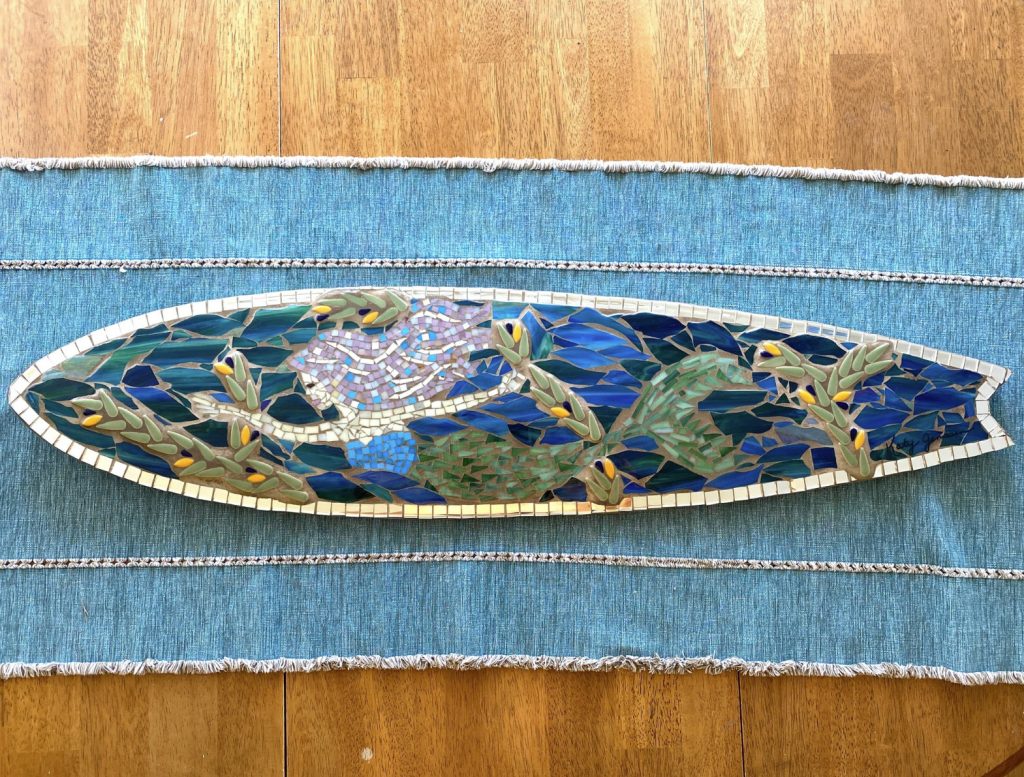
Katy combines figurative and abstract elements into designs that fit the shape of the board, with some pieces including slices of scenes.
Regular shapes with smooth outlines such as surfboards call out for designs that take the shape of the backer into account.
When elements are cropped by the edge of a backer, it takes more work not less to insure that the composition looks right.
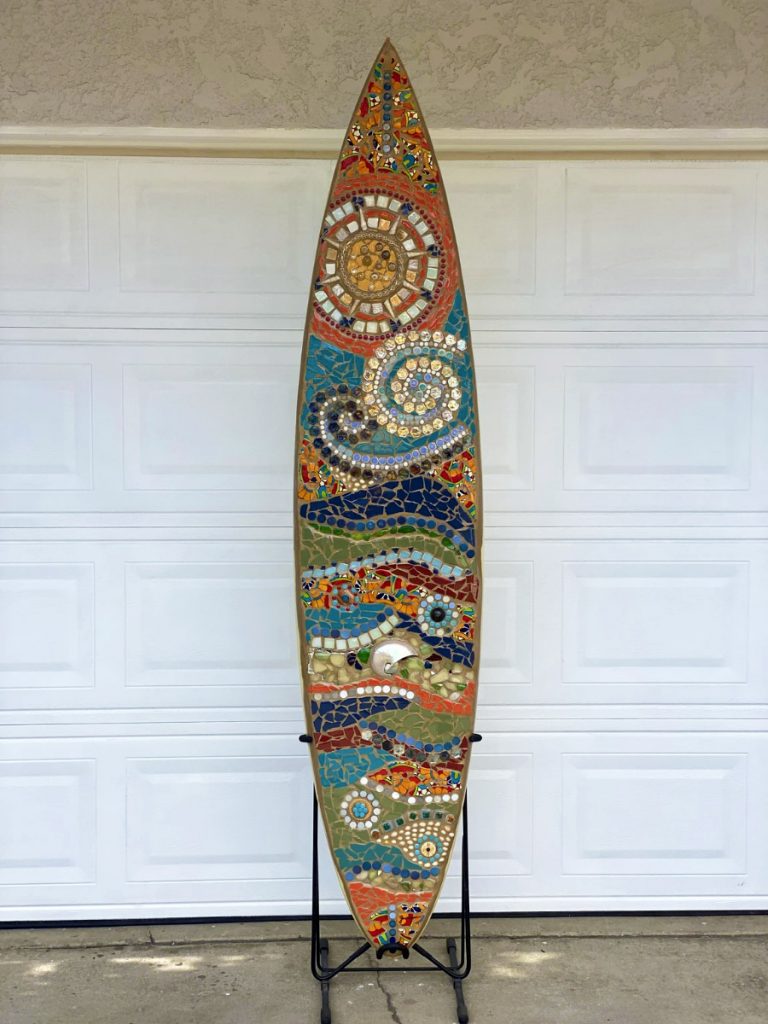
In the mosaic above, notice how the circle of the sun is cropped by the left edge of the surfboard. Notice how the sun circle on the left is balanced by the wind spiral to the right and how this dynamic balance creates a sense of motion.
Think about how much easier (and less interesting) it would have been to have both the sun and wind centered like figures on a totem pole.
Think about how flawed this design would be if too much of the circle of the sun had been cropped.
Planning Area
I’ve noticed that many first-timers attempting a mosaic sculpture using a found-object as a base will skip a step and not try to “marry” their design to the shape of the object aesthetically or even verify that the design will fit.
Rather, they begin compositions that run out of room before key elements could be added, and the results look truncated.
Draw a rough outline of the profile of the shape. Make a ROUGH sketch of the design you want to make. Just the rough outline of each figure.
The purpose of this exercise is mainly just to work out if you have enough real estate to fit everything.
If you like, you can still be spontaneous and begin mosaicing right after this rough outline, but I prefer to work more precisely than that.
Improvising Details
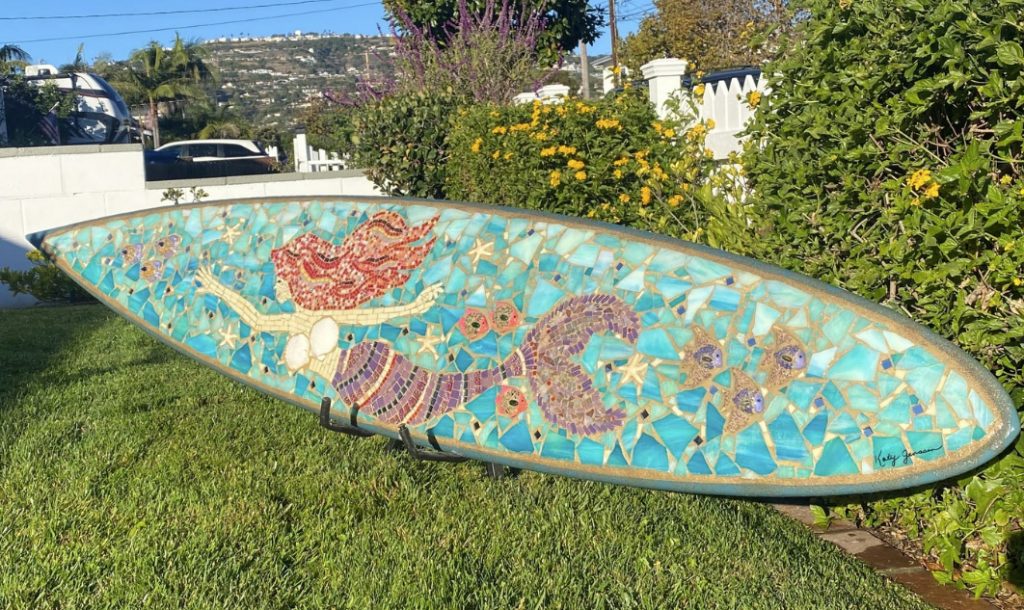
I draw the shape of each figure’s outline as precisely as I can, not the details, but the exact curves of the figure’s outline and key elements.
I don’t draw precise outlines of figures in place of improvising when I mosaic. I do it because I know I will be improvising.
Detail Inflation
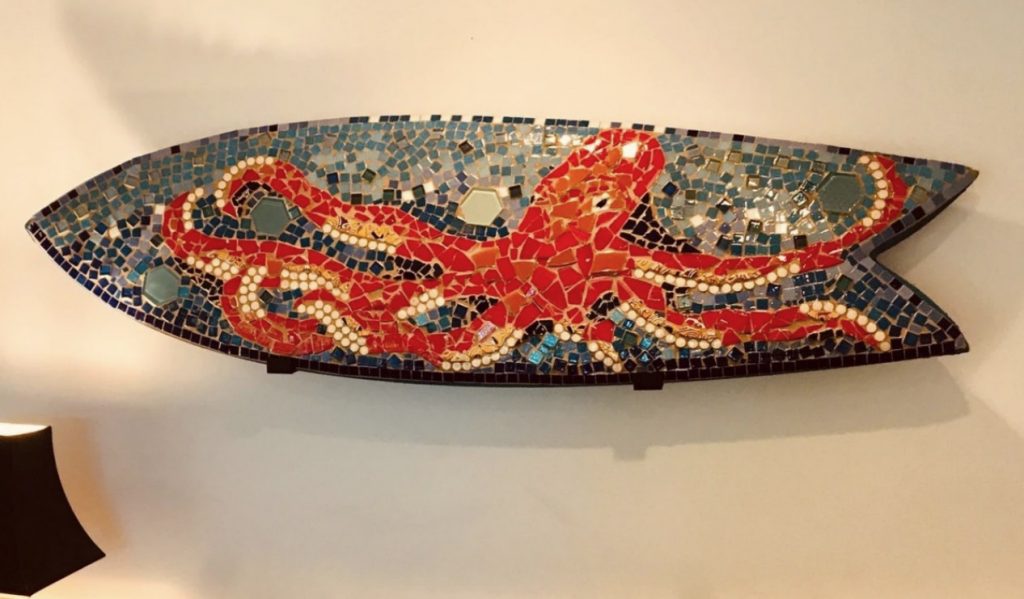
Keep in mind that you have to improvise all the details when placing the tile, and there is a tendency to render difficult small details slightly larger than intended because larger is easier.
These errors add up, and you can work to the edge of the backer and still have elements you want to add to complete the design.
To prevent this from happening, have the boundaries of each figure marked on the backer.
Better yet, lay up your design on a temporary surface, such as sticky contact paper over a pattern, and use Mosaic Mounting Tape to transfer the mosaic to the backer.
Materials and Methods
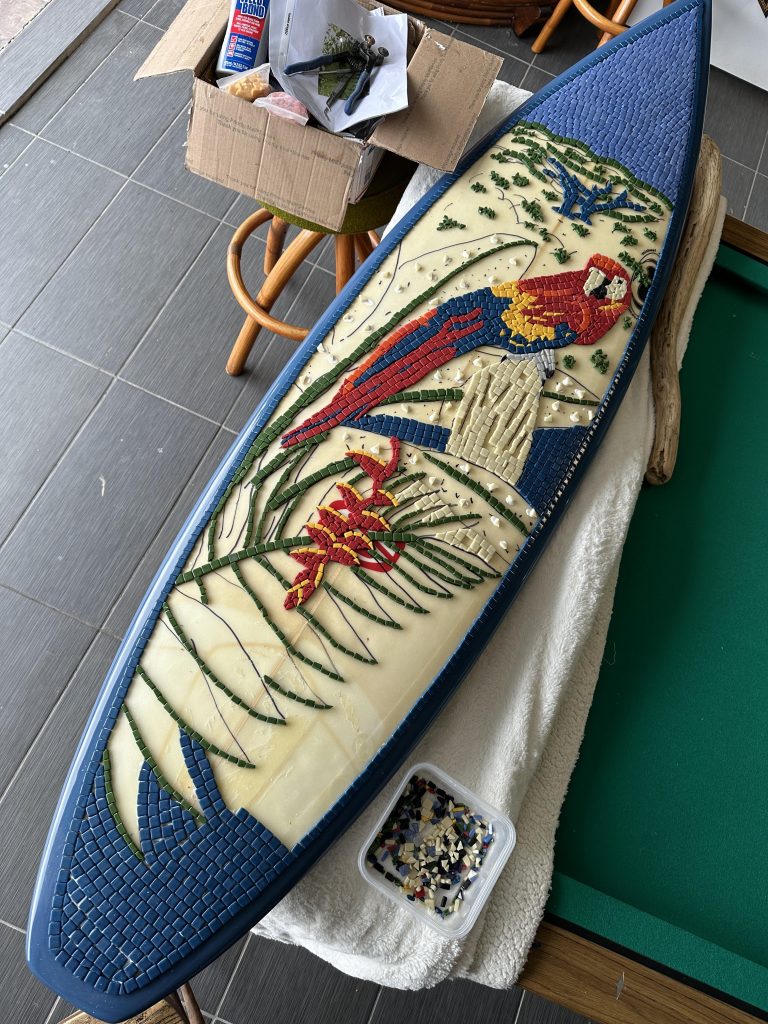
Note that Katy removes the fiberglass and epoxy shell of the surfboard (in the area to be mosaiced) so that the expanded-polystyrene core of the board is exposed.
This allow Katy to use our favorite water-based PVA adhesive (Weldbond) to mount the tiles, which adheres quite well to expanded polystyrene, such as used for mosaic holiday ornaments.
Keep in mind the some surfboard cores might be some expanded foam other than polystyrene, and so always test your adhesive destructively by gluing on a tile and prying off two days later.
Lastly, gluing tiles the fiberglass and polymer shell of an intact surfboard would require silicone or epoxy or some other non-archival adhesive, and is not the best choice.
Why make something that can only last a matter of decades when you can use archival materials like PVA on expanded polystyrene?
Always use best practices like Katy and the other pros.
When you use the correct materials and methods, your work lasts a lot longer, and it usually makes the work much easier than using improvised methods.

Leave a Reply