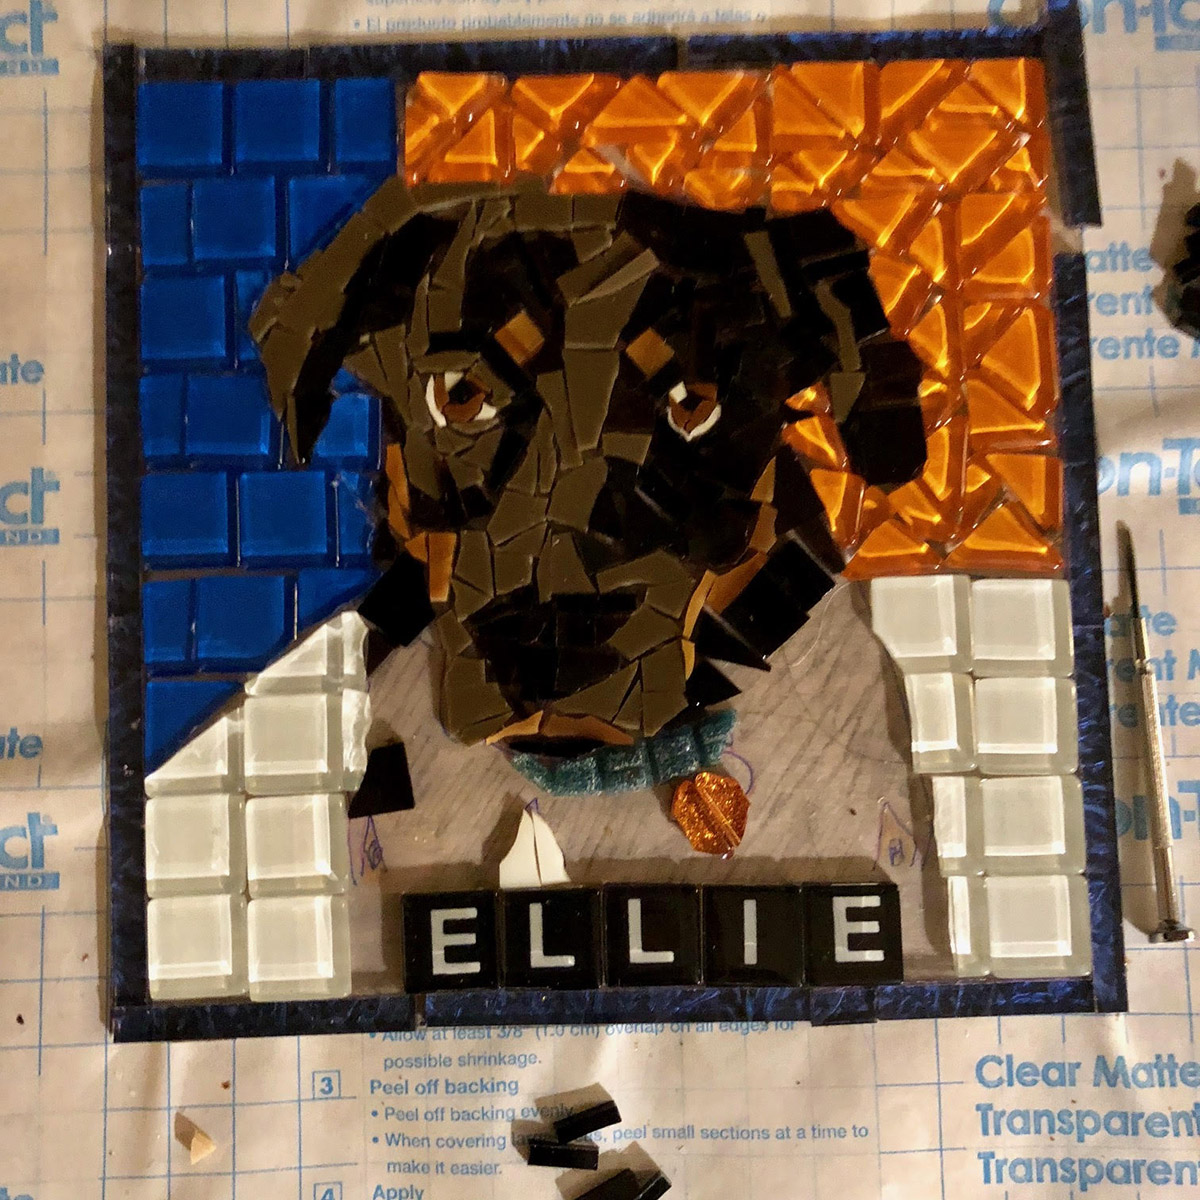
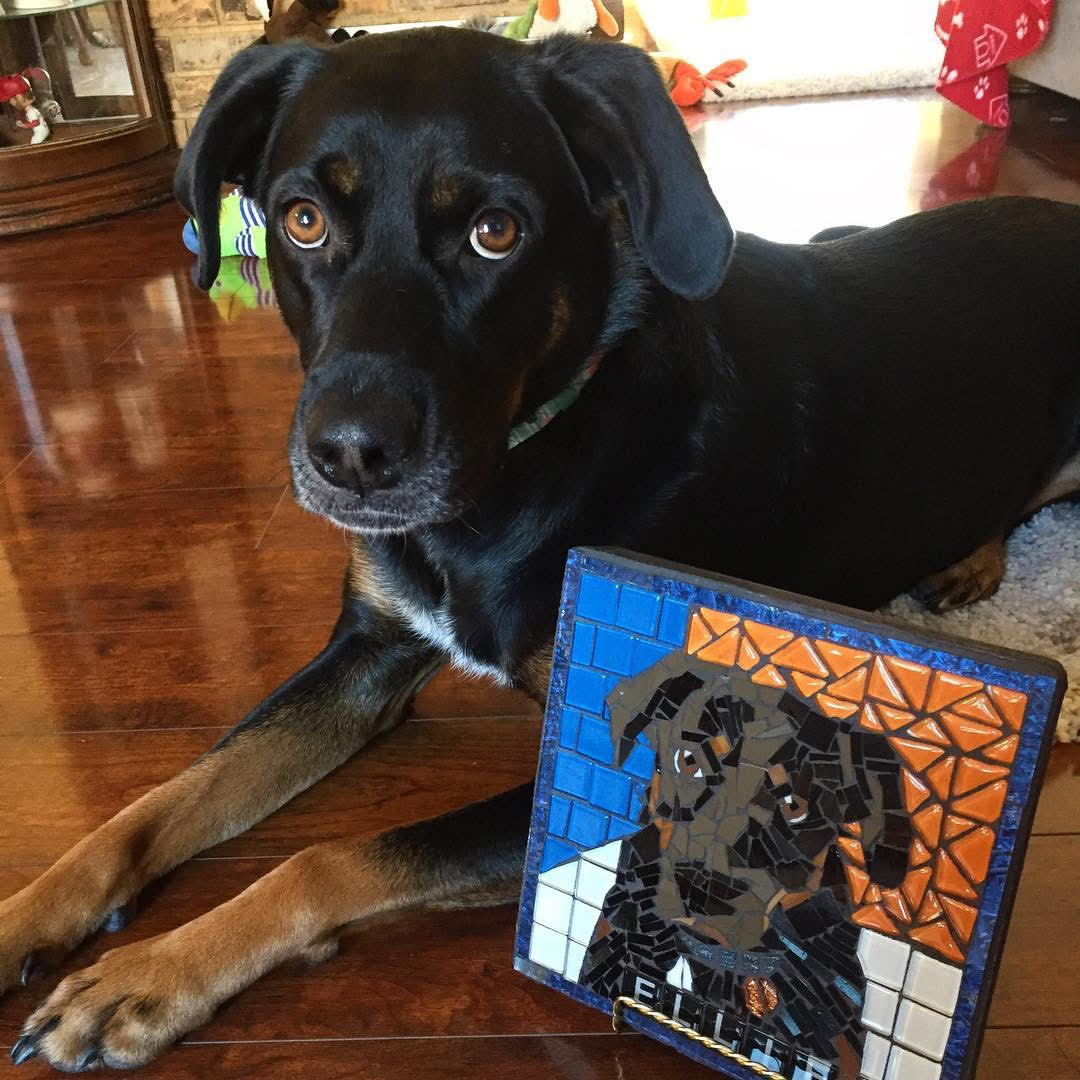
Artist Joan Gummels used our blog to learn how to make mosaic and sent us a photo of the results plus some in-progress photos. I am impressed with the results and thrilled that our content has enabled beginners to learn “advanced” methods quickly.
“Advanced” Method
Using contact paper as a temporary surface for the indirect method might not be rocket science, but it certainly feels that way compared to gluing down one tile at a time.
As an industrial engineer, I can tell you definitively that an operator (worker) is always more efficient when they don’t have to switch between hand tools, such as going from a Mosaic Glass Cutter to a bottle of Mosaic Adhesive and back and forth.
It’s not simply a matter of the time to switch tools in the operator’s hand. The mental shift between tasks is an even more significant source of delay.
The artist is also required to clean glue from fingertips and tools periodically when tiles are cut and glued one tile at a time.
On the other hand, if glue is eliminated during the design stage, the work area stays cleaner and more organized. It is easier to scrape glass dust and slivers from the work surface because there aren’t drops of glue and sticky residue to contend with.
Better Results
When an artist’s methods are more efficient and less tedious, the artist produces better results.
The artist also plans more ambitious designs going forward.
Using a temporary surface is a game changer for efficiency alone, but that isn’t the main reason to work that way. The most important incentive for using a temporary surface is the ease of revision.
Ease of Revision
When an artist glues down one tile at a time, flaws in the design aren’t noticeable until a significant number of tiles are already set in hardened adhesive.
When an artist lays out the entire design before anything is glued down, the artist can see the design as a whole and make changes easily.
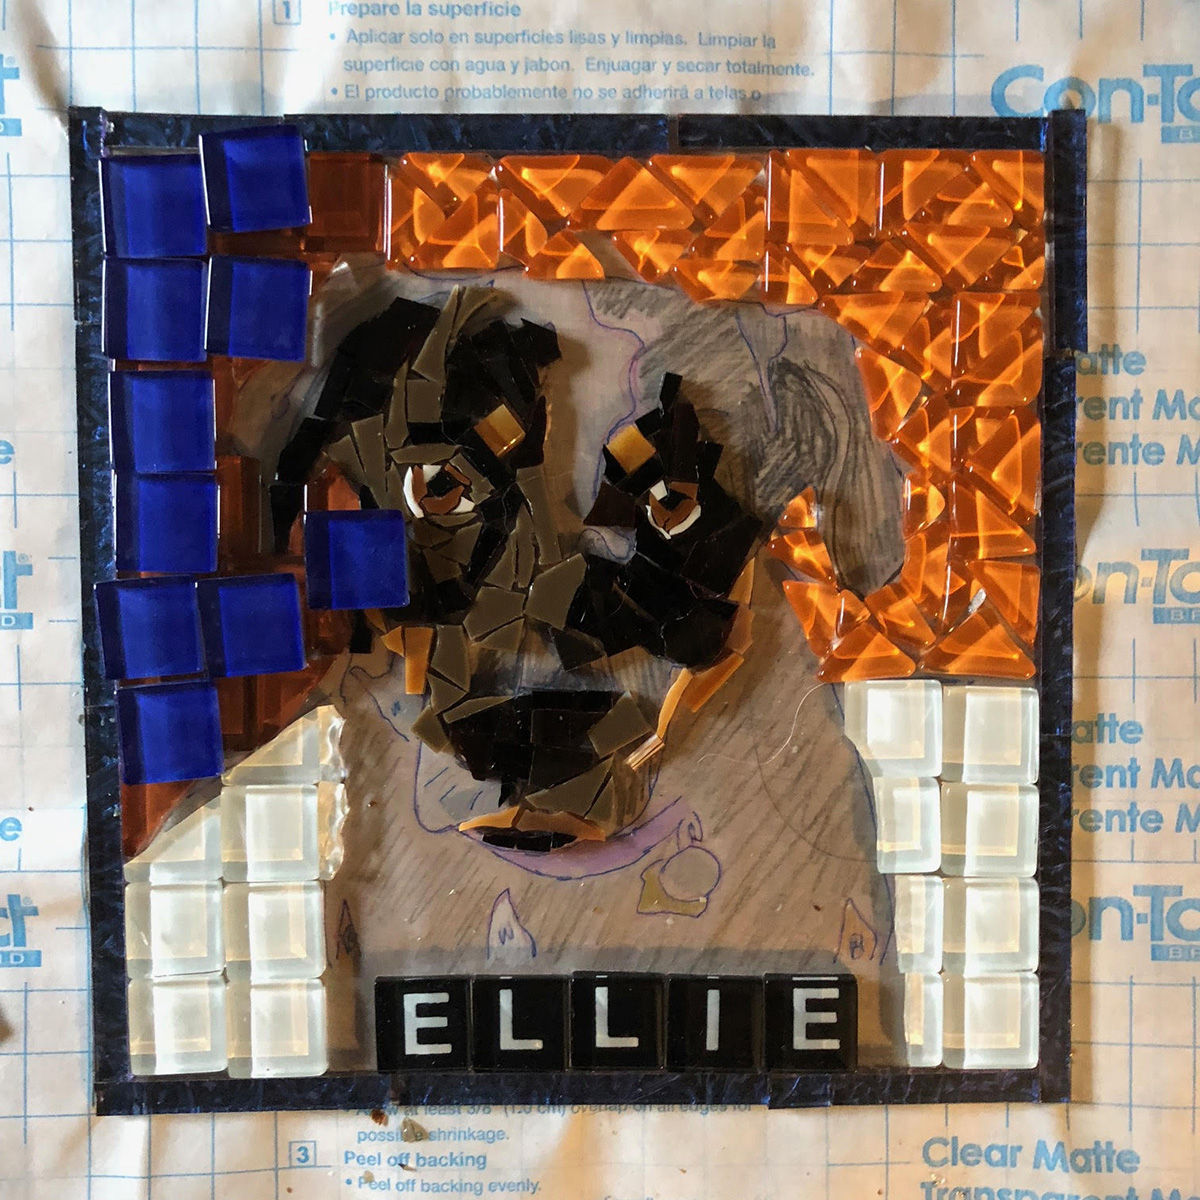
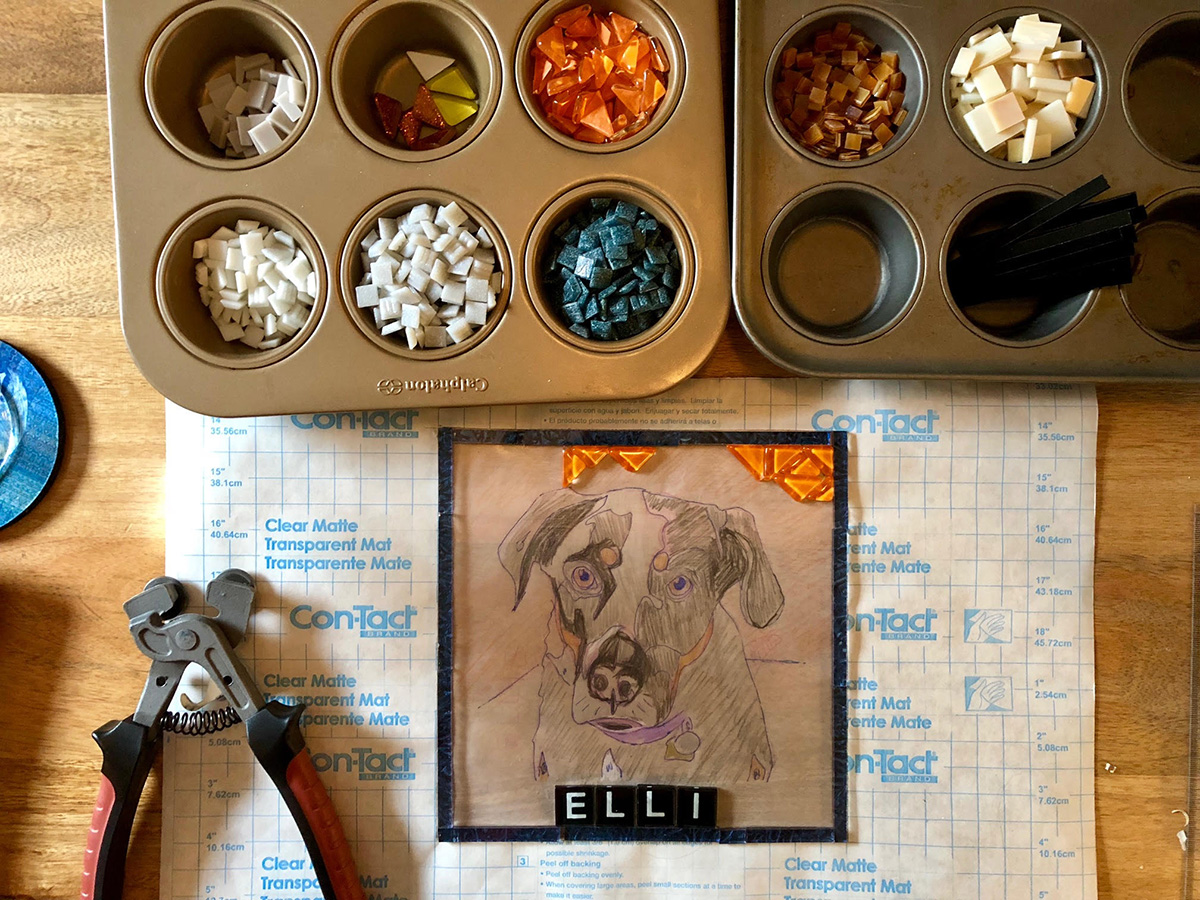
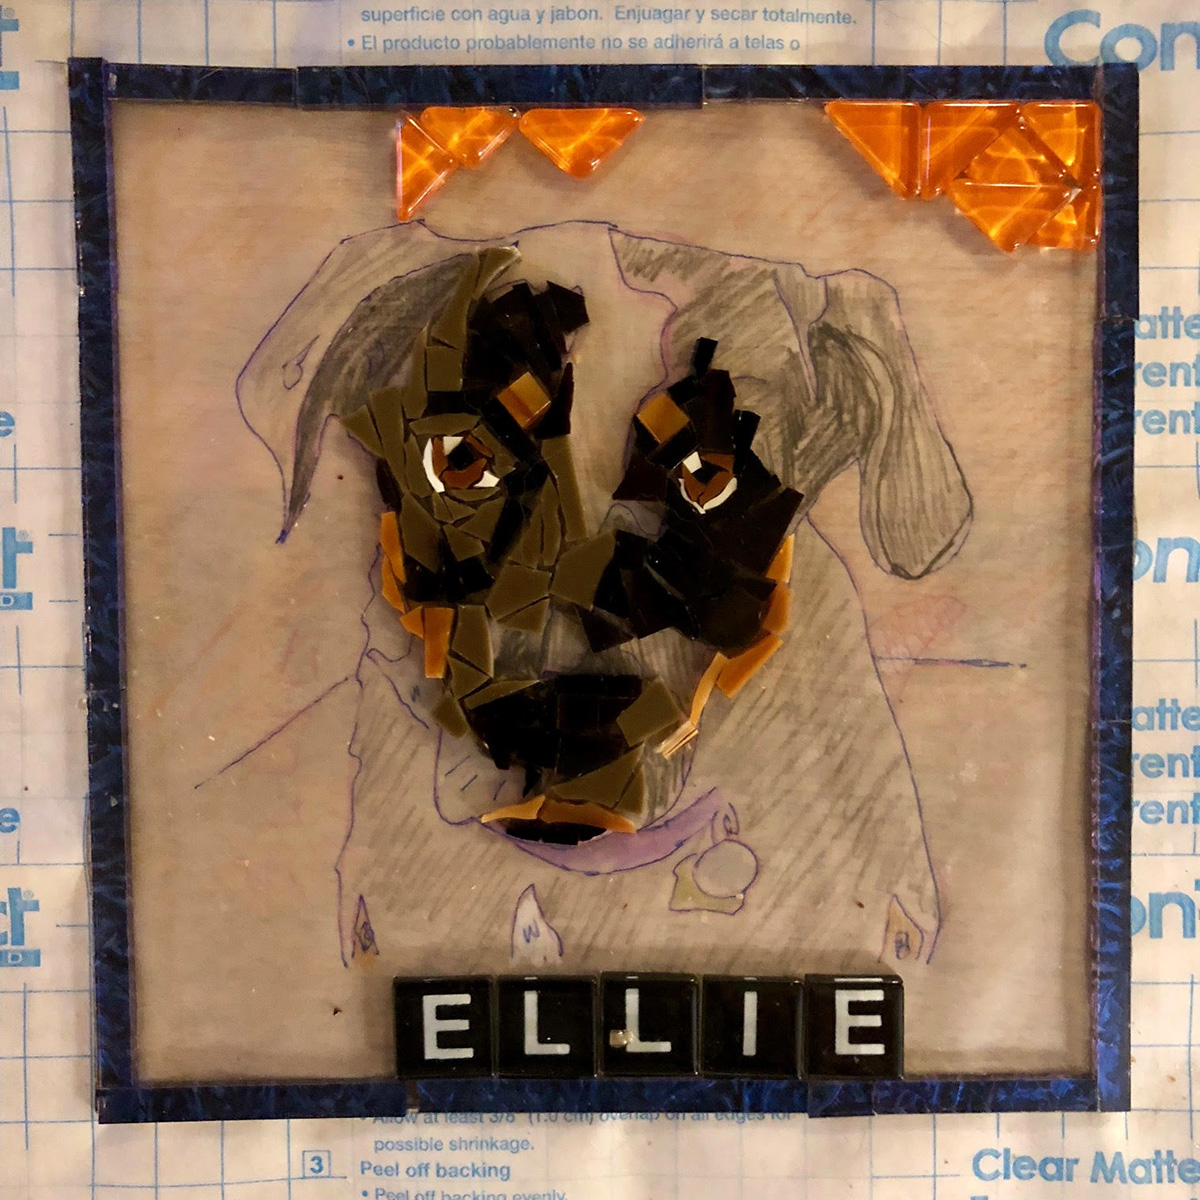
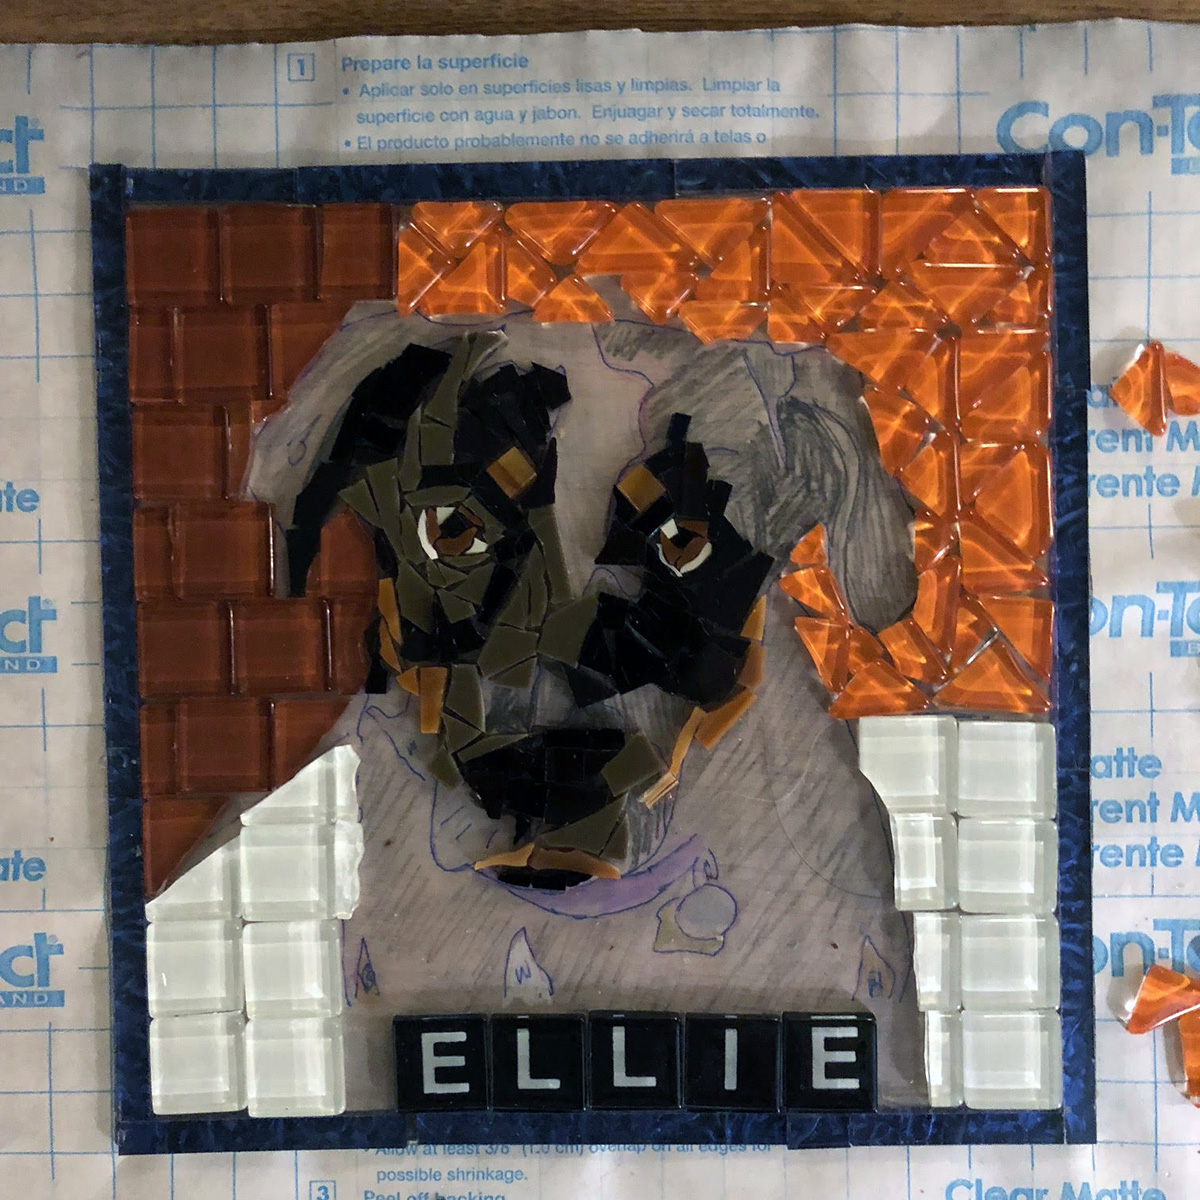
Color Studies
The in-progress photo above shows how Joan made a quick color study merely by laying blue tile on top of the dark brown tile, which didn’t sufficiently contrast the hues used in the figure (dog).
Once Joan saw that the blue tile was a better contrast, she was able to quickly swap out the brown tile in a matter of a few minutes.
Consider how long that revision would have taken had the brown tile already been glued down.
Materials and Methods
After the mosaic design is laid out on the temporary surface (contact paper), Mosaic Mounting Tape is pressed onto the mosaic, and it is lifted off the contact paper.
I usually do this by laying a board on top of everything and flipping it upside down and then peeling the contact paper off the back of the mosaic.
The reason I work this way is that I make very detailed mosaics with tiny pieces, and I can’t count on the Mosaic Mounting Tape adhering securely to the smallest of the pieces.
TIP: Always remember that the tape was designed for rapid installation of architectural coverings made of whole tile and not tiny cut pieces, and so you have to be a little more cautious when using it for artistic work.
After I have the contact paper removed from the back of the mosaic, I spread adhesive on the backer, and then I lower it face down onto the back of the mosaic.
Then I flip everything so that the mosaic is showing under the Mounting Tape, and I gently pat the tape to insure that each piece of tile is pressed into the adhesive.

Removing Mounting Tape
Ideally, the right amount of adhesive has been used, and so the mosaic can be left for as long as needed for the adhesive to harden completely, and then the Mounting Tape is peeled off.
In the real world, the artist usually uses more adhesive than needed, and the glue squeezes up between the tiles all the way to the Mounting Tape.
The reason artists tend to use too much adhesive is that too much is better than too little, which can be disastrous. (Think about tiles popping off during the grouting process.)
Excess adhesive is also a problem because it fills the grout gap, and it can take forever to harden when it is pressed up to the tape.
For this reason, I usually let the mosaic harden for several hours so that the tile at the edges is fairly secure. (The edges dry and harden first.)
Then I start peeling back the Mosaic Mounting Tape at the edges to expose more of the mosaic incrementally.
I carefully pat the exposed area with a damp washcloth that has been wrung free of all dripping water. I do this to remove the excess adhesive that has pressed up between the gaps.
I have to do this slowly and carefully in increments because it is all too easy to shift tile out of place or pull it out of the mosaic if the adhesive underneath is wet.
It is also easy to disturb tiles with glue that is only half hardened, ruining the bond.
Leave a Reply