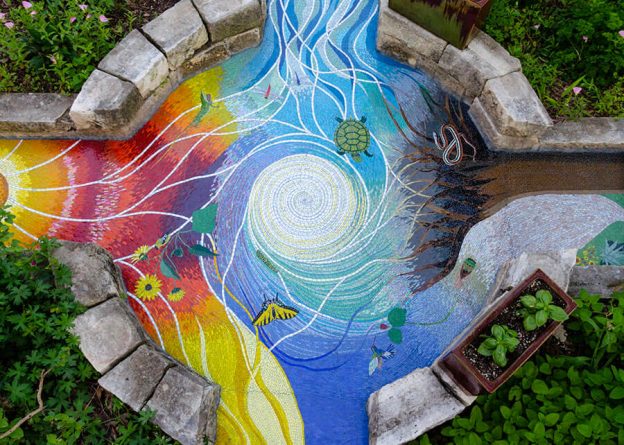
“Amateur” artist Tobin recently completed his Four Elements garden mosaic, and it is amazing for several reasons, the least of which is the fact that it was created over a span of six years with the artist getting up at 5 am to spend 45 minutes on it before leaving for his day job in corporate project management.
Here’s what I find impressive about Tobin’s mosaic:

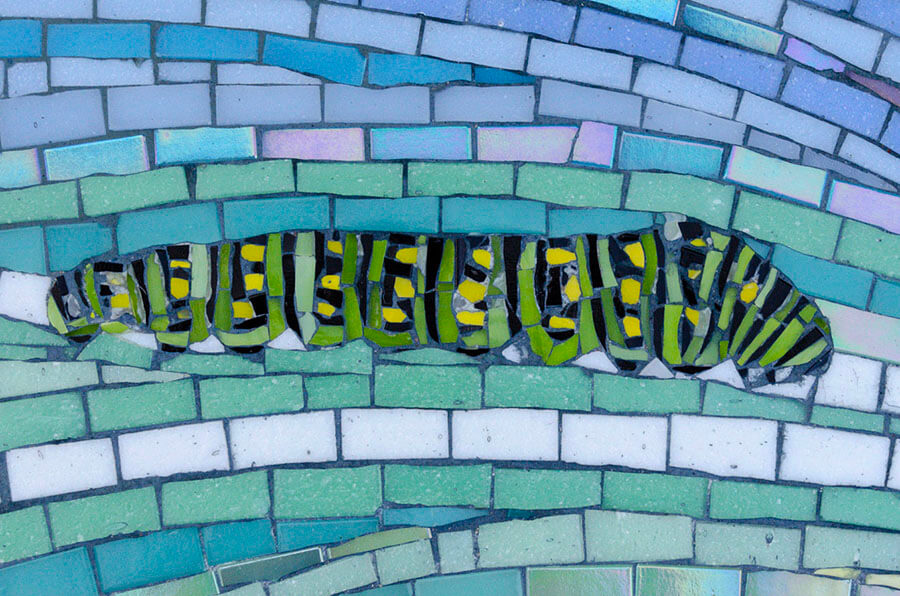
- Each figure is well executed with a level of detail and precision that is remarkable. An experienced artist following a digitally generated pattern couldn’t do much better if at all.
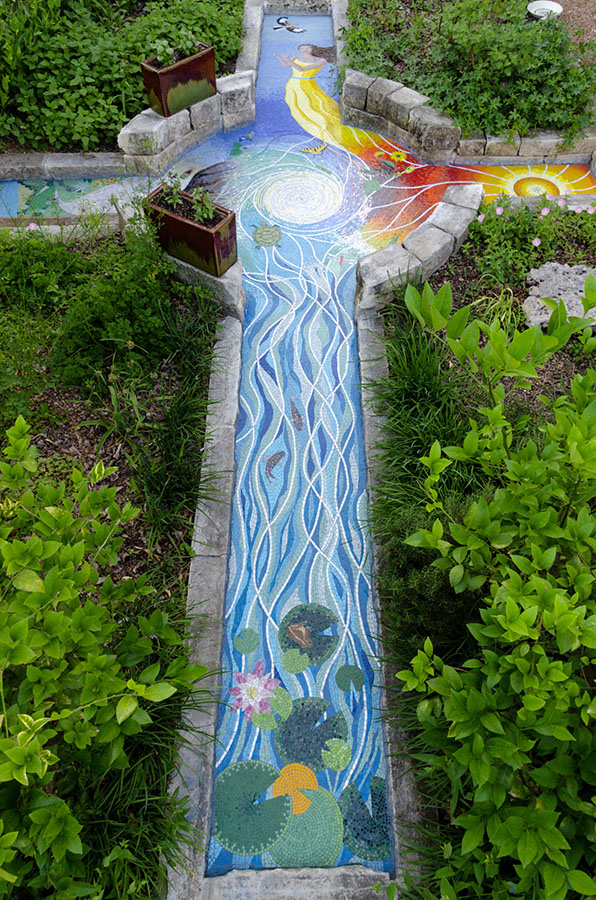
- The composition as a whole is spectacular in the literal sense of the word. The mosaic is large too: The circle is six feet in diameter and the side panels are two feet in width.
- The individual scenes for each element (water, earth, wind, and fire) are are conceptually different instead of being variations of the same design. This makes a statement: Each element is unique
- The mosaic is outdoors and integrated with the landscape.
That last one is particularly impressive, considering that the composition was executed by a first-time mosaic artist over a long period of time and that the design was worked out organically as he went along. Yet the results are on par with that of a professional artist.
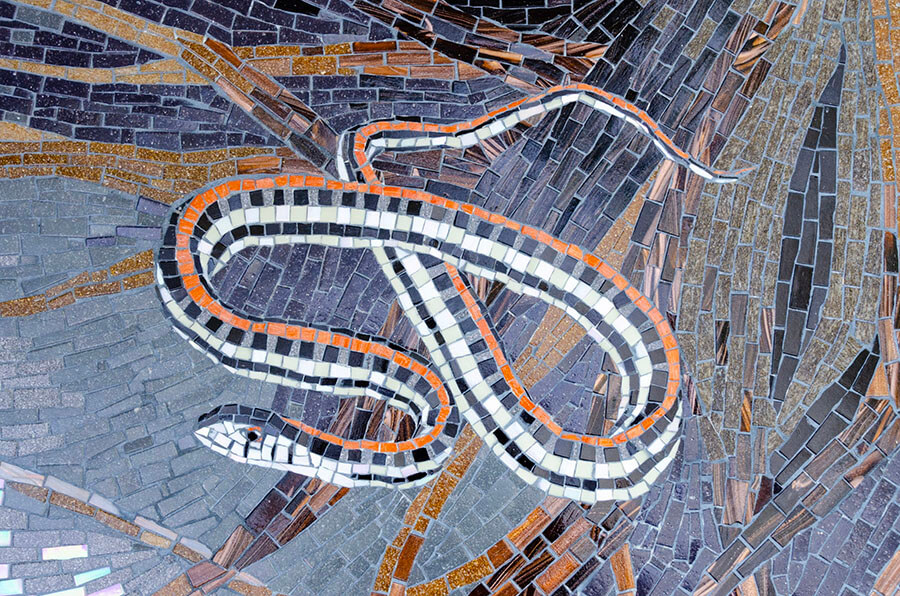
Tobin got help from his wife Eve with sketching the cartoons and working out the color flow of the compositions, and he said that his patient execution made them a good team. I agree.
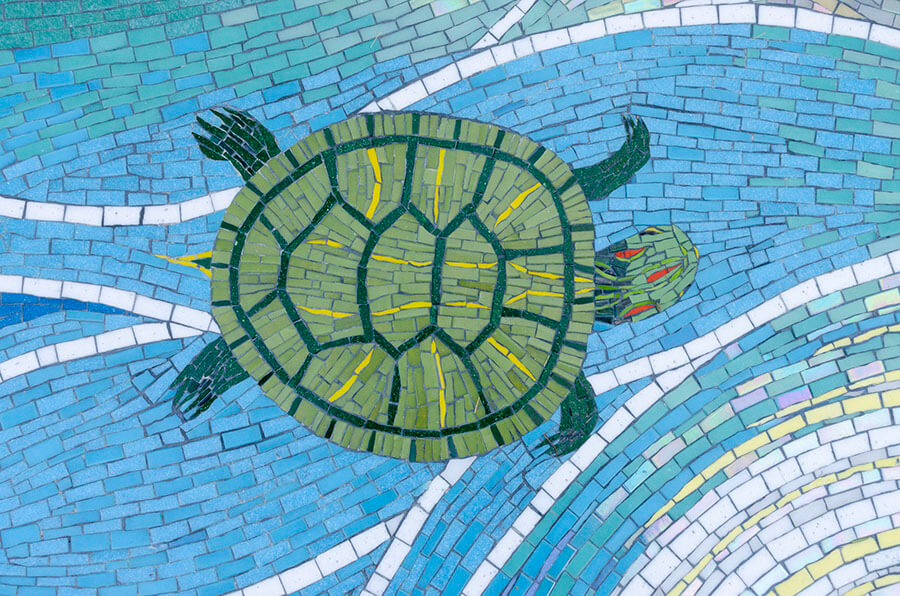
I also agree with Tobin’s observation that the slow extended pace of design and execution made this project much different than it would have been if produced in intense 8-hour sessions.

Outdoor Mosaic Methods
I originally wrote an article about Tobin’s improvised method and how he laid up things on mesh after originally transferring to tape. That is an extra step that isn’t necessary.
I mount directly from mosaic mounting tape into thinset mortar.
I avoid gluing mesh underneath tiles for outdoor mosaics and wet mosaics because the glue is water soluble and a potential weak point. The mosaic is more durable if the bottom of the tile is completely covered with mortar, at least in theory. (If you keep your glue to a minimum and don’t cover the whole bottom of the tile, then it isn’t likely to make much difference.)
TIP: If you thoroughly seal your finished grouted mosaic with a tile and grout sealer from the building material store, you can greatly increase a mosaic’s durability no matter how it was laid up.
Tobin and I both put contact paper over our patterns with the sticky side up and arrange our tile on that.
Here is my method for putting contact paper on top of a pattern with sticky side up. Then I pick the arranged tile up with mosaic mounting tape (or packing tape if I am out) and press them into mortar.
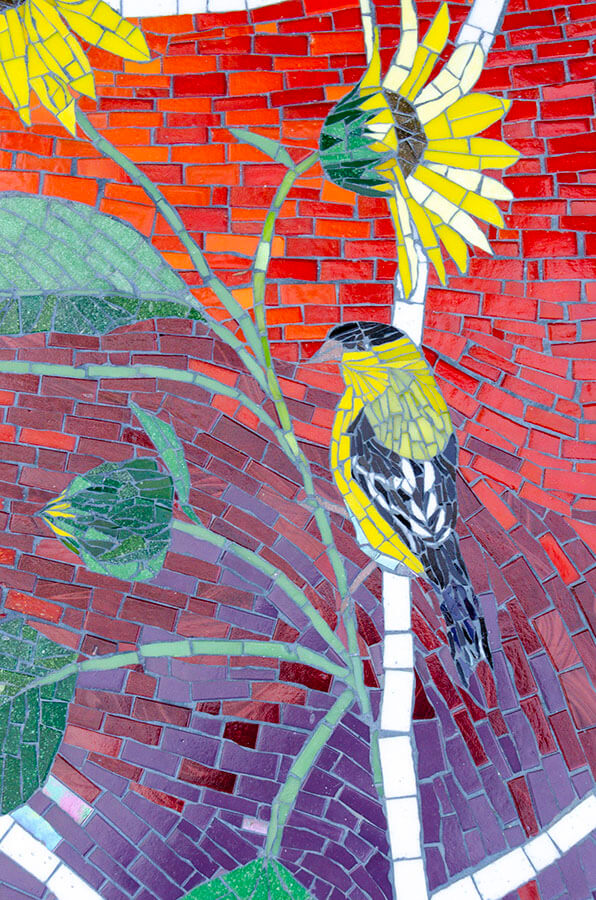
Tobin preferred to lay up his figures on mesh and then arrange them in a collage to work out the larger compositions in different areas of the mosaic. You can do the same thing with figures laid up under mosaic mounting tape because the tape is clear. I love that Tobin improvised his own method originally and just got to work and that he used collage to figure out compositions. That is how I work.

Leave a Reply