My recent mosaic Eastern Tiger Swallowtail Buttefly was mounted on an irregularly-shaped backer. This article summarizes how to use Adobe Photoshop to size and crop the pattern so that it matches the shape of the backer.
Previous articles explain how to make a mosaic pattern from any photo using Photoshop’s find-edges filter and how to make a tough “mortar stone” mosaic backer from hardware cloth (steel mesh) and Versabond brand thinset mortar.
Size and Shape
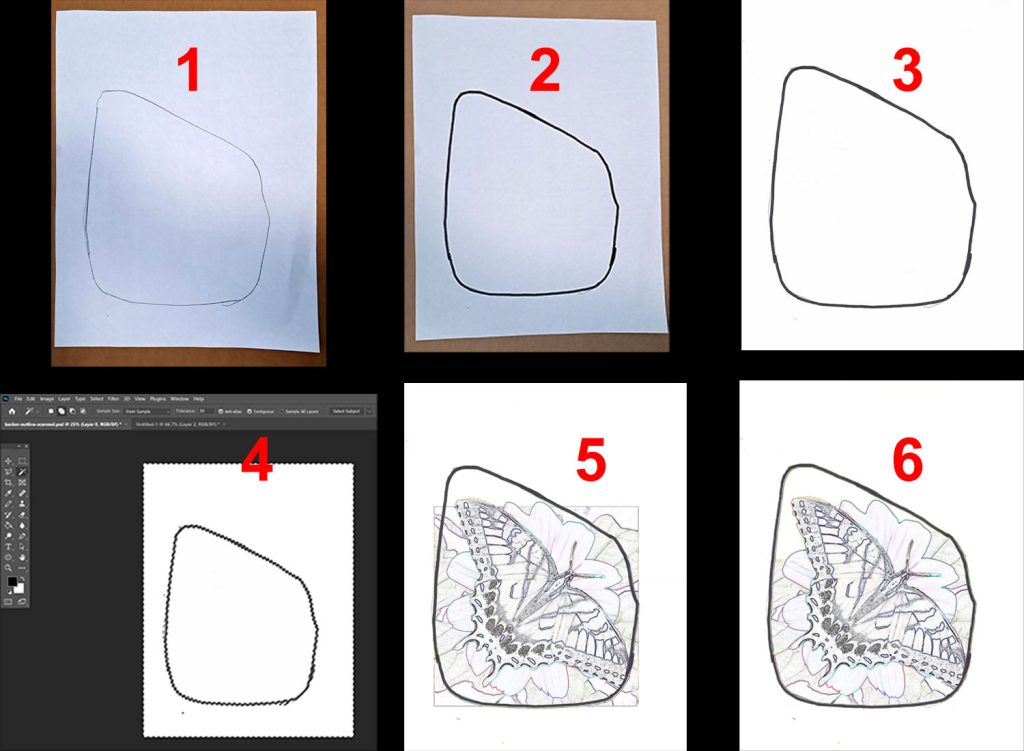
This procedure makes a template from an outline traced around the backer. By scanning in the tracing of the backer, you can capture the size and the shape of the backer:
- Trace the backer with a pencil on an 8.5 x 11 inch piece of printer paper.
- Use a marker to darken the pencil line.
- Scan the traced outline to create a digital version.
- Open the traced outline scan in Photoshop.
- Verify size is 8.5 x 11 inches.
- Use Photoshop’s magic wand selection tool to delete white areas.
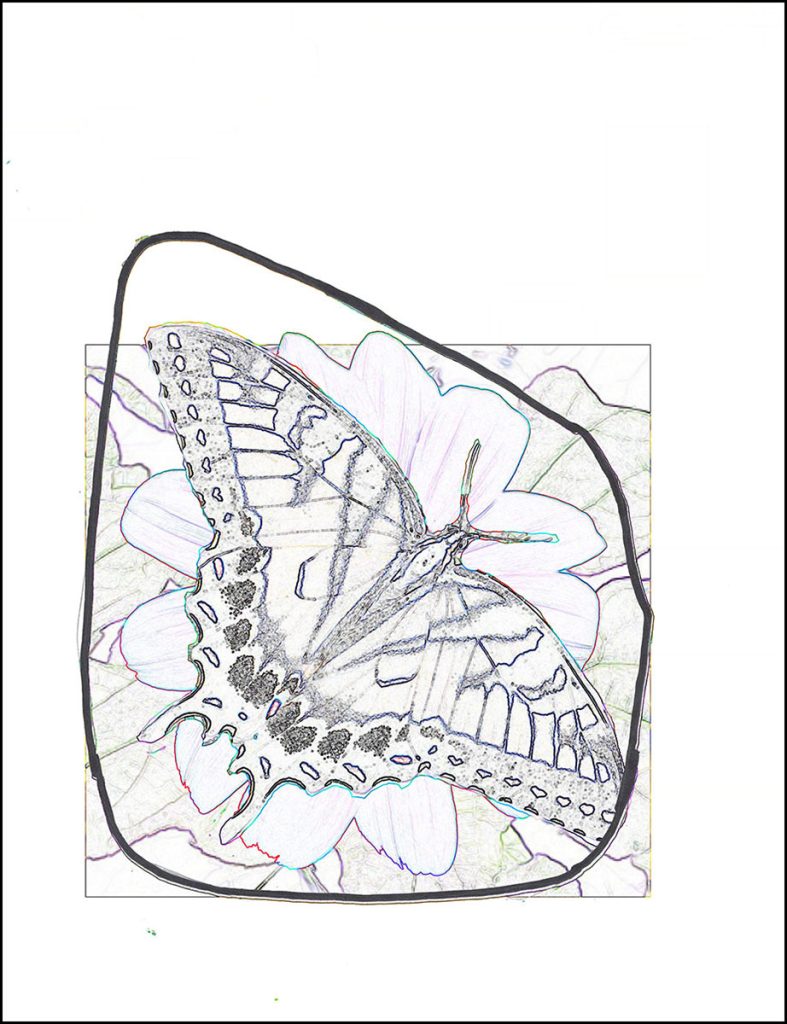
- Open digital pattern and copy it’s layers into the digital traced outline.
- Put the outline layer on top.
- Rotate and size the pattern so that fits the shape of the backer.
- Use a layer mask to hide the part of the pattern that falls outside the outline.
Photos as Mosaic Models
Photoshop and other photo-editing programs make it easy to create photo collages.
Online it is easy to find many photos of a figure in the exact pose I need, and I usually have to flip a coin to decide which one I actually use.
Even if I could only one photo in that exact pose, I would still look at many different photos of the particular plant or animal I am rendering.
Why is that?
Coloring and pattern varies by individual of course, but it goes beyond that.
In translating an image into the mosaic medium, many different details have to be approximated.
If I stick to one photo as the model, I might struggle to render details that are specific to that one individual.
If those details don’t help suggest the iconic nature of the figure, they might easily be ignored without decreasing verisimilitude.
Of course if you are reproducing a particular image at a high resolution to make it look like a particular photo using exact color matching, that’s a different type of mosaic, more mechanical than art.
Here I am writing about mosaic at a scale where exact likeness to a particular photo isn’t practical and the color scheme has to be approximated.
These limitations are opportunities for demonstrating style and cleverness that make the mosaic be Art with a capital A, Art that shows character and the hand of the artist.
That is why it is possible to use a pattern and still produce Art that is anything but paint by numbers.
How To Use Pattern
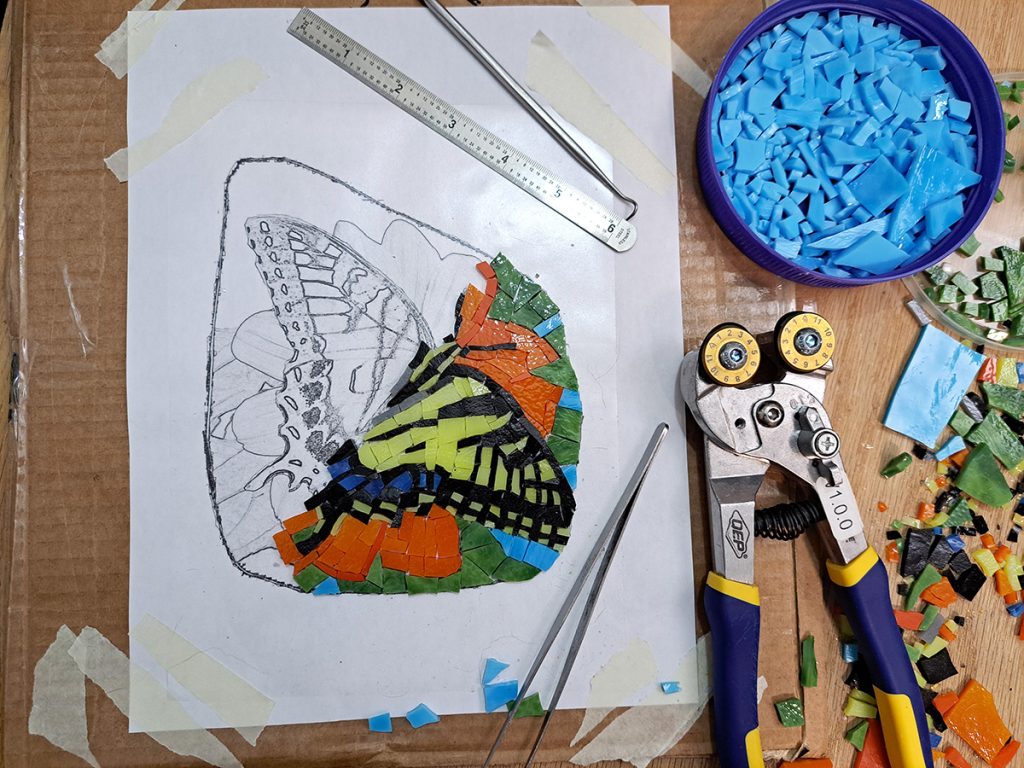
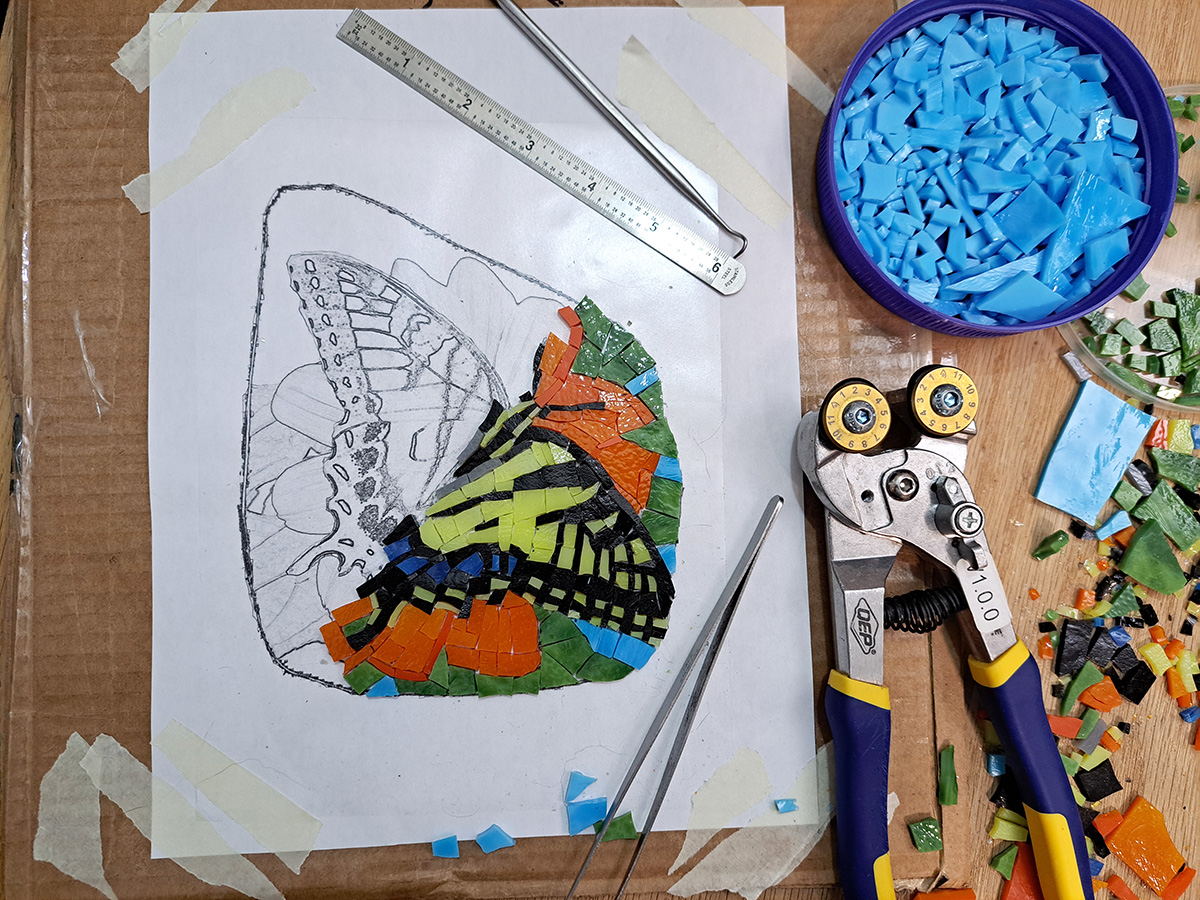
The pattern is used by taping clear contact over the top of it with the sticky side up.
The contact paper creates a temporary surface where the artist can improvise over the pattern, following its details as closely or as loosely as desired.
Mosaic Mounting Tape
After the mosaic is laid out on the temporary surface, Mosaic Mounting Tape is pressed to the face of the mosaic, and it is lifted off the contact paper.
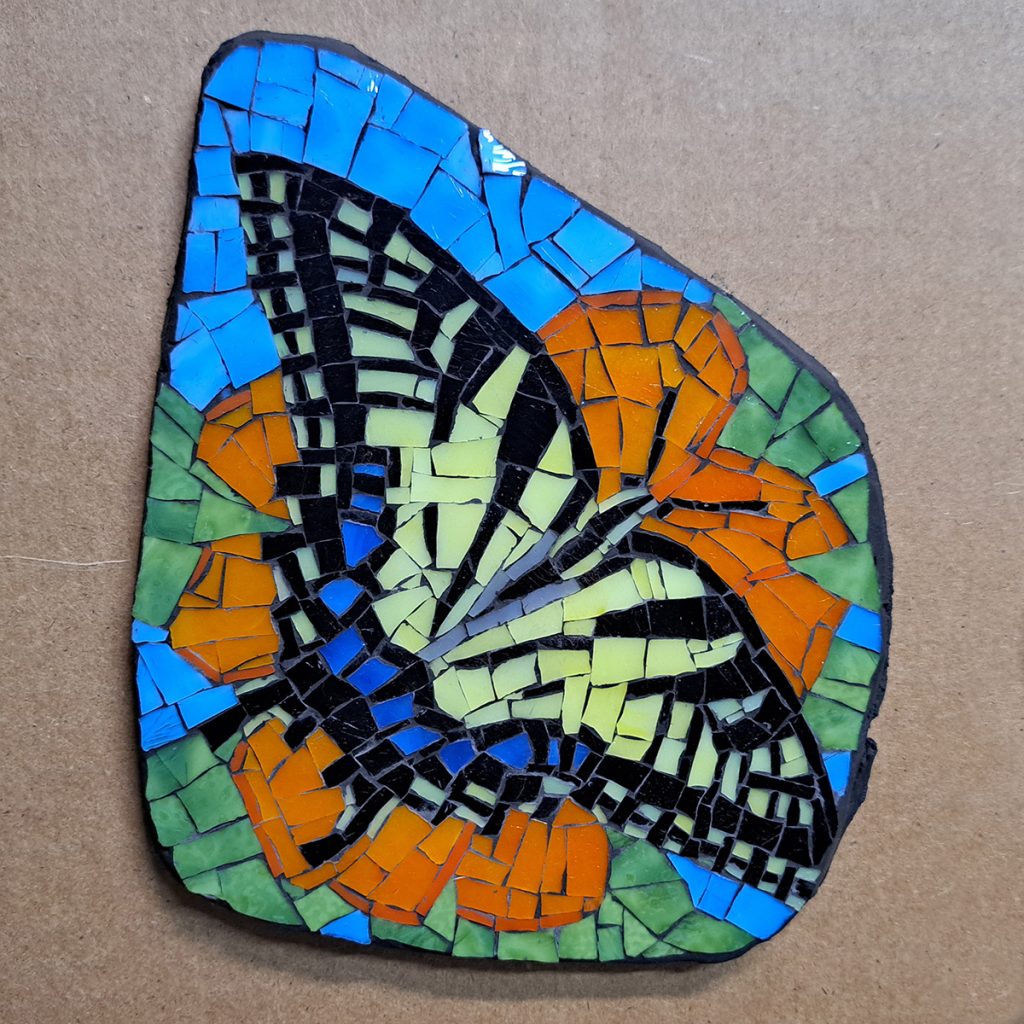
This mosaic was mounted in Weldbond mosaic adhesive instead of thinset mortar because there we so many tiny pieces of glass, similar to my Blue Jay mosaic.
This mosaic was also grouted using non-sanded grout with a charcoal black color.

Leave a Reply