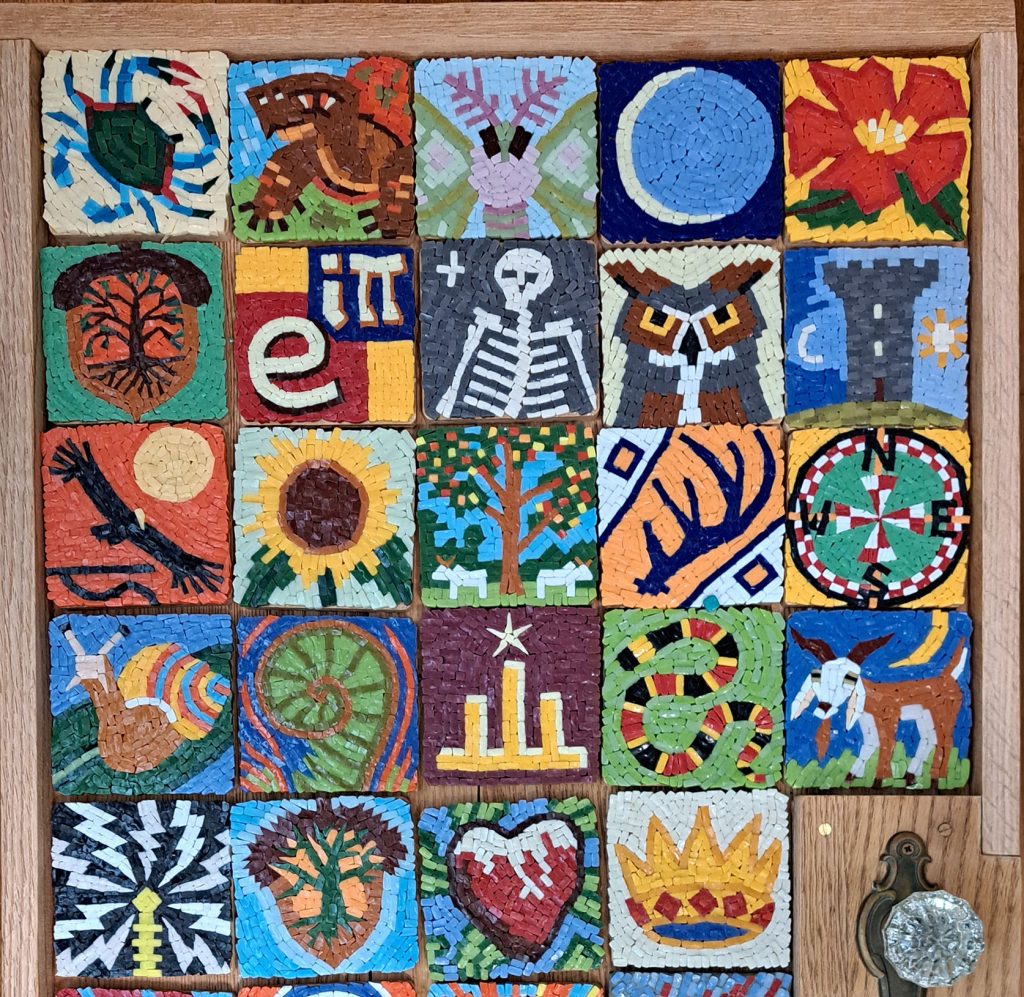
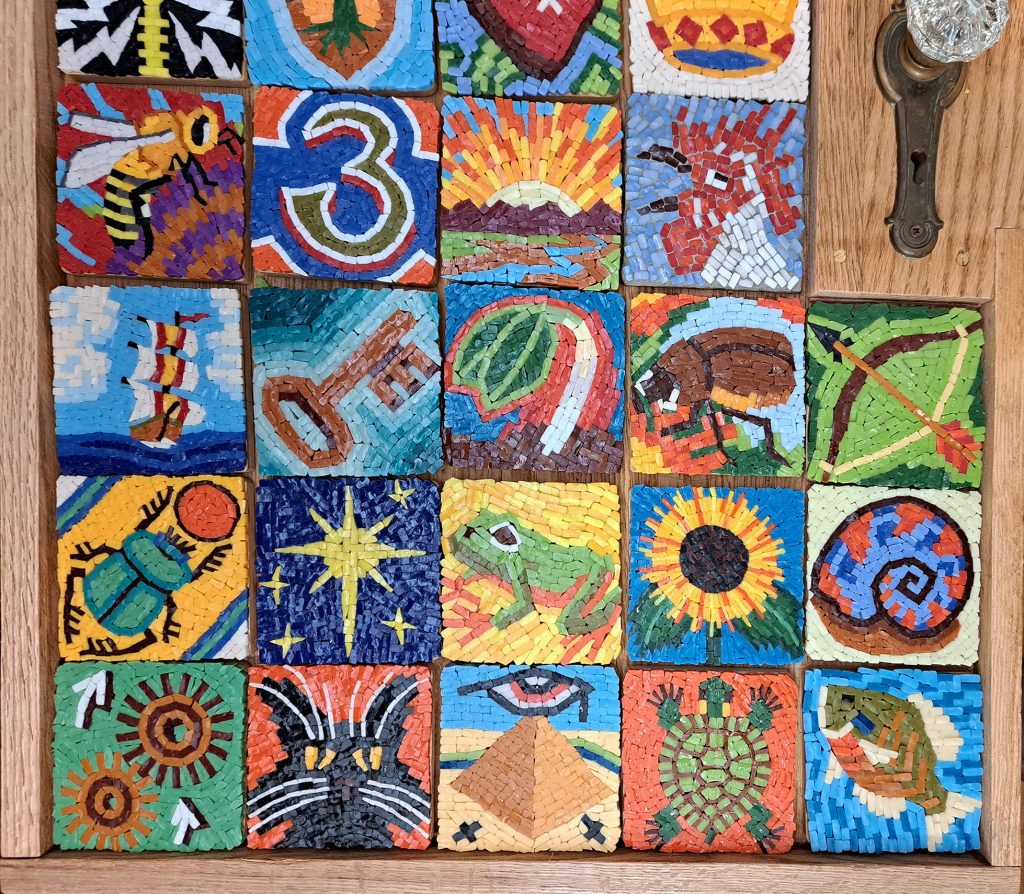
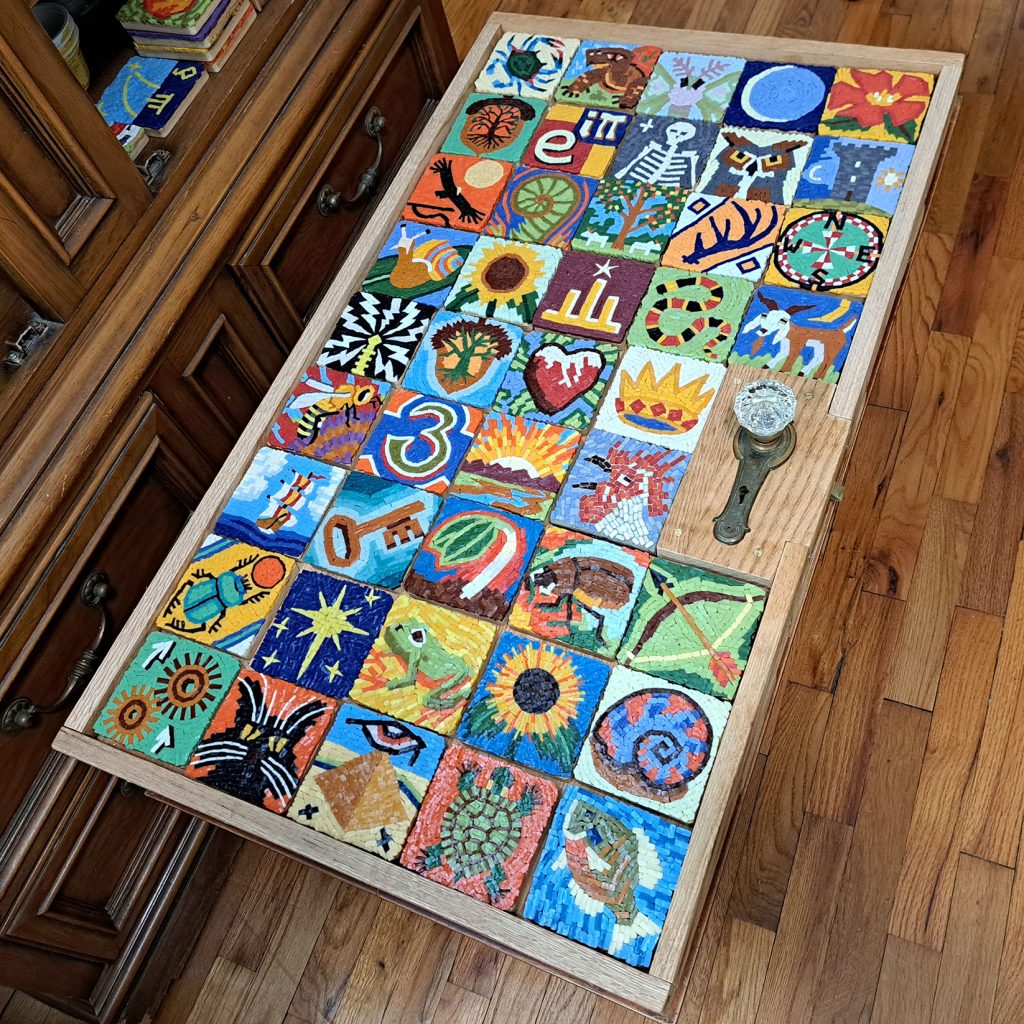
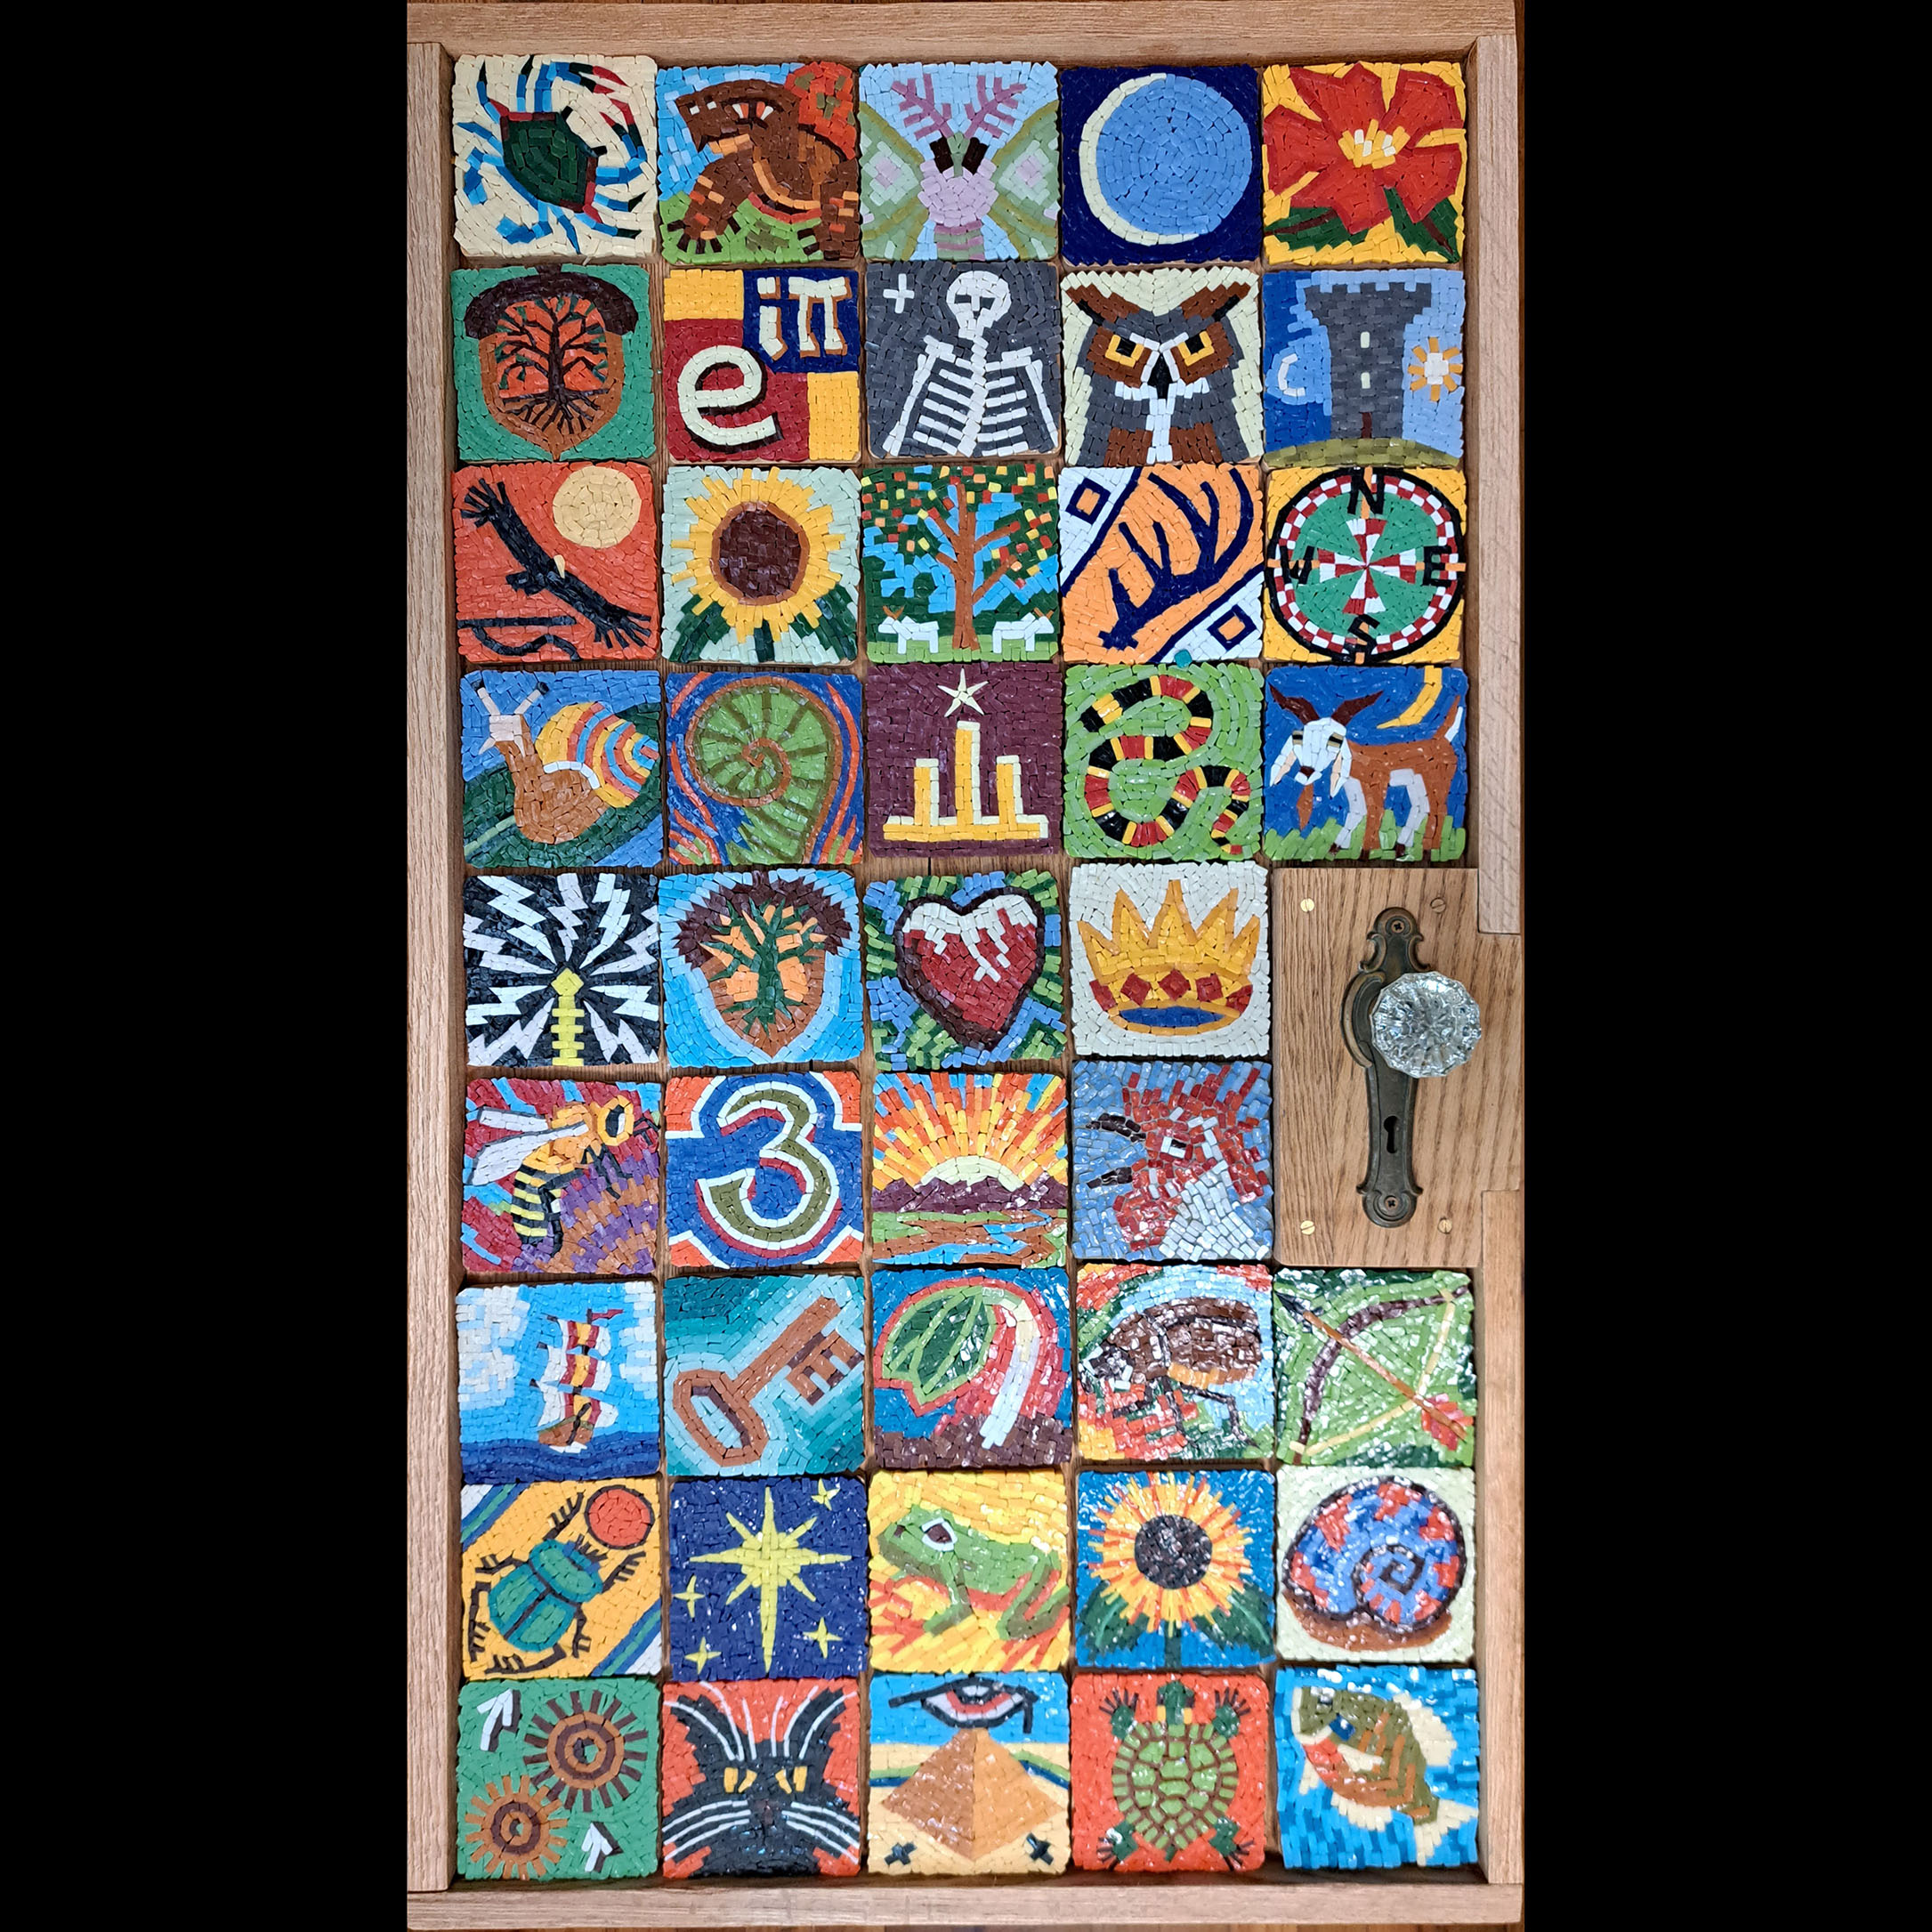
My Mosaic Door Project was something I had never done before: combining a work of art that was being made for magical/spiritual reasons with a commitment to FINALLY start doing a good job of photographing my artwork as I work and creating good teaching examples.
I’m the guy that has never photographed vacations and wilderness trips and important peak experiences. I am too busy experiencing things to document it.
Needless to say, creating art is one of those times I am too engaged to with what I am doing to be photographing things, at least at the best times or stages for a good how-to photo.
With this project, I think have done a decent job of taking photos for some key concepts, such as how patterns can evolve during execution and value contrast, but still not enough photos of the mosaics during construction.

Not Done Yet
This is only the first FULL revision with all available slots filled. I will be replacing at least four or five of these mosaics. I have already replaced six different mosaics to get to this stage.
In addition to replacements, I will also rearrange the icons into many different configurations before gluing in place, even though I feel like it is already converging on a final form. Some of the current harmonies and contrasts are too good to disrupt.
A Series of Smalls
This “series of smalls” allowed me to become comfortable at working at this specific size, which was tiny and difficult. It also allowed me many different opportunities to make decisions about color schemes and composition.
If the door had one mosaic image instead of this composite design, then there would have been only one opportunity to decide on a color scheme and a composition.
A series-of-smalls allows you to throw out your flawed early attempts.
If your design is one large composition, what do you do when you realize the first section you created looks naive or clumsy compared to the sections you executed before you got your rhythm worked out?
I highly recommend a series of smalls as the fastest way to learn painting or mosaic.

A Bad Teaching Example
In one important sense, the Mosaic Door project is a bad teaching example for most people: The size is too small for most people to do much less enjoy doing. It requires too much careful placement of tiny pieces.
Pro Tip: Work in a larger size. Be kind to yourself.
A good “small” size for a mosaic is a 10 or 12-inch board. You could make something of similar complexity to my icons or greater using whole 8mm tiles on a 12-inch board. With cut pieces of 8mm, you could have mottled color fields at that resolution.
For projects over 12 inches, I use pieces cut from 12mm glass tile.
There is a second way I made these a difficult example for beginners:
I used the cut-face of tiles stood on edge. That requires the extra step of cutting all tiles more or less equally in half BEFORE you cut them to whatever shape you need. I also had to stand the pieces of tile on edge, including the thin pieces prone to falling over.
That extra difficulty isn’t required if you lay tile flat in the conventional way.

Next Steps
First I need to finish making the mosaic icons and decide final placement.
Then I need to remove them temporarily and age the patina of the wood by fuming with ammonia.
Then I need to grout the individual mosaics with a dark gray grout.
Then I need to mount them in the door.
Then I need to grout the finished door with black grout.


Leave a Reply