Tag: public art
-
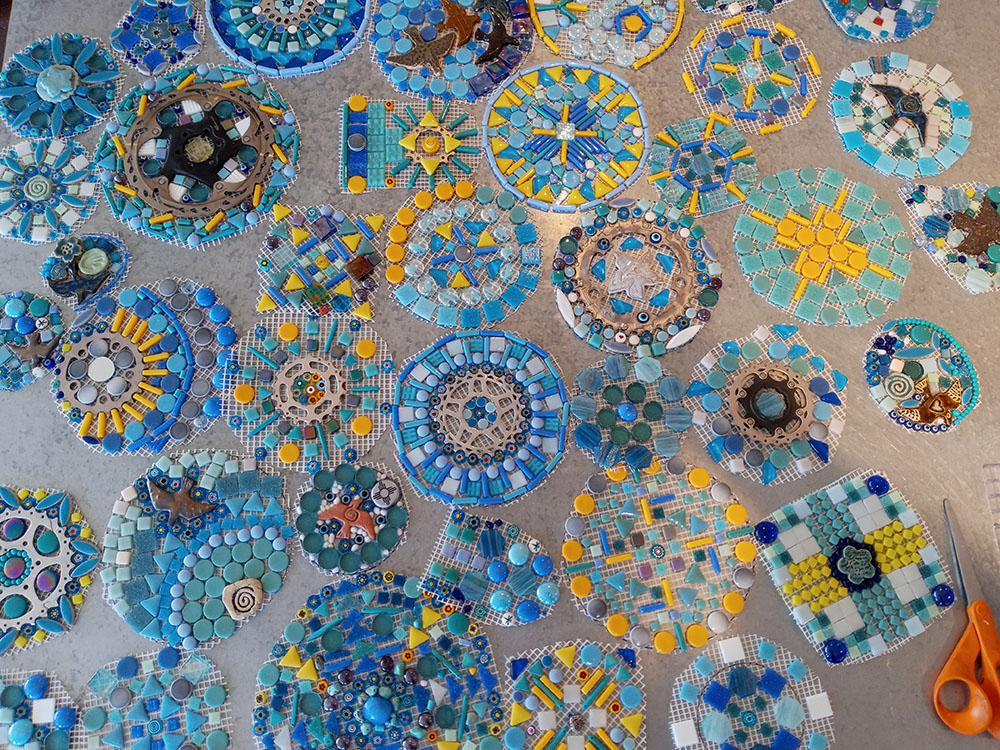
Santa Fe Rail Trail Mosaic
Artist Julie Deery is working on a mosaic mural for the wall of the Santa Fe Rail Trail. The location for the mosaic mural is 130 feet of cinderblock wall along the Rail Trail just north of Siringo Road in Santa Fe. The theme of the project is “Generations” with the goal of having community…
-
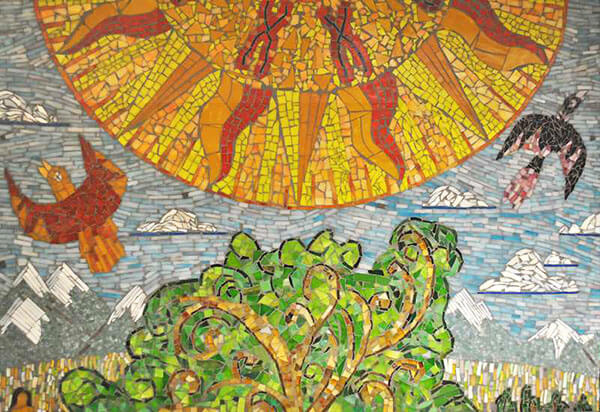
Public Art and Commissioned Mosaics
Artist Steven “Stevo” Sadvary has a broad mosaic portfolio of pet portraits, cityscapes, signage, educational murals and other public art, all solidly rendered. I like public art that inspires people to make their own art, especially children, and I think there are a few things about Stevo’s art that make it optimal in that way.…
-
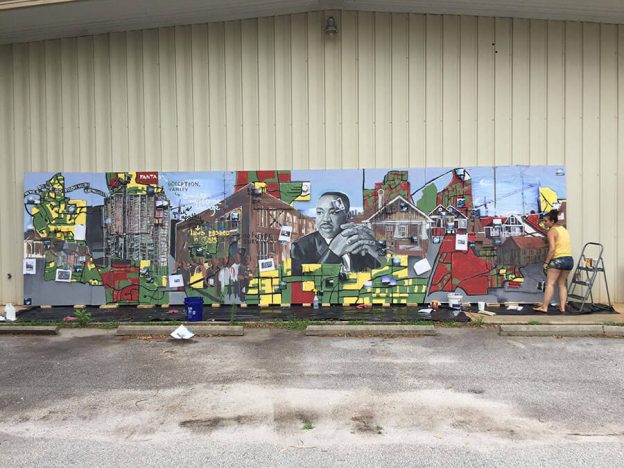
Civil Rights Mural Created At MAS Warehouse
Mosaic Art Supply tries to hire only professional artists from a working-class background, which means people who pursued their art because they were passionate about it and not merely because they had inherited some form of income. This means our workers have various skills and intellectual interests that inform their artwork and make them better…
-
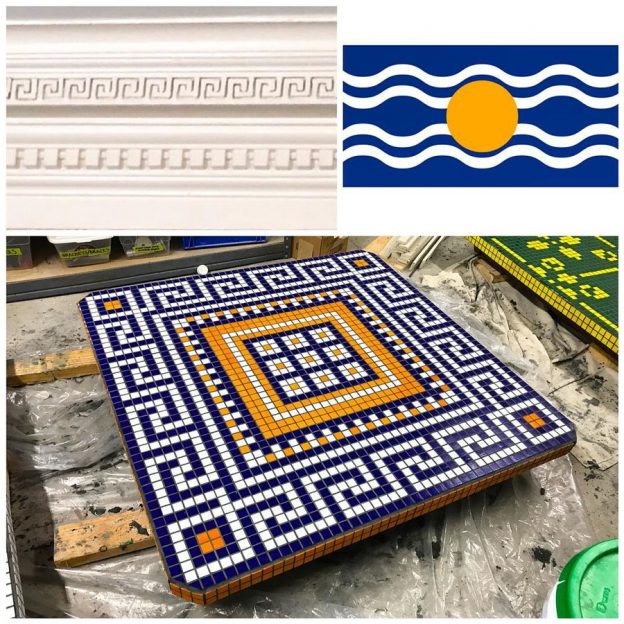
Abstract Geometric Mosaic Table Tops
Inspiring mosaic table tops with abstract geometric patterns were recently created by artist Risa Puno as part of her public art project Common Ground, an interactive sculpture designed to bring people closer together physically. The concept of Risa’s sculpture plays on the metaphor of multiculturalism as mosaic, but instead of the folk or children’s artwork…
-
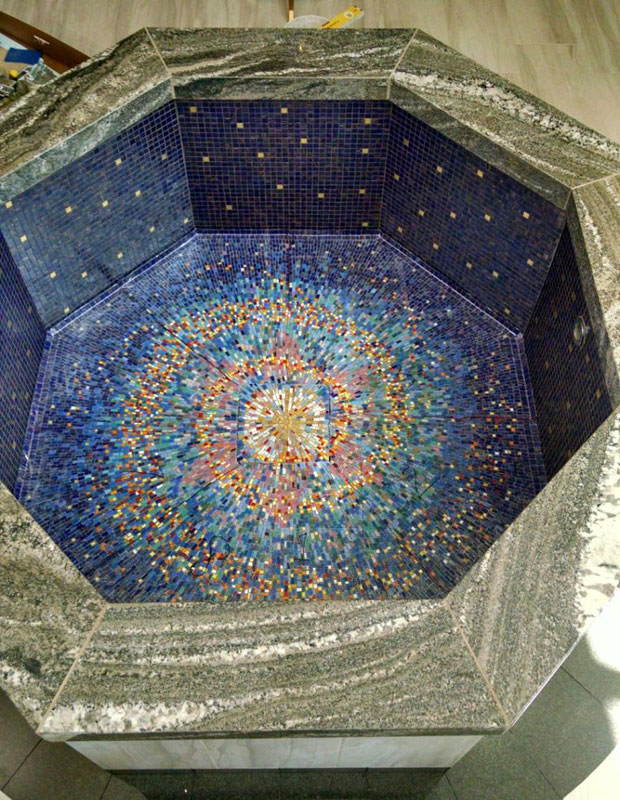
Mosaic Baptismal Font
Artist Sondra Jonson recently completed a mosaic baptismal font for St. James Catholic Church using our gold glass mosaic and metallic glass tile and vitreous glass tile, and it turned out really well. Religious architecture is supposed to be instructive and inspiring, and so Sondra used a spiral galaxy motif for the bottom of the font and a night sky with stars for the…
-
Outdoor School Mosaics
Recently I received an email from an art teacher whose school mosaic project was an outdoor mosaic where each child would create a mosaic on an 8 inch x 8 inch brick paver (paving stone), and then the mosaic pavers would be arranged together in a crazy quilt design similar to what artist Victor Kobayashi…
-
Mosaic Stepping Stone Instructions
Mosaic stepping stones are great first projects, but they don’t have to be cheap and cheesy or dangerous. Keep in mind that if you totally cover the surface of the stone with large pieces of stained glass, it is likely to be slippery when wet. If you leave sharp edges of glass exposed, or allow…
-
Mosaic Concrete Lawn Sculptures
There are two options for bases for making a mosaic sculpture for your lawn: Buy an unfinished concrete sculpture from a lawn and garden center or a store that specializes in concrete lawn sculpture. Make your own concrete sculpture using cement and chicken wire and pea gravel and similar reinforcing materials as discussed on various…
-
Architectural Mosaic Safety Issues
An architectural mosaic can cut someone if sharp edges are left exposed or crush someone if it’s not mounted securely. Even a small mosaic plaque is significantly heavier than a painting or photograph of the same size and should not be hung with light gauge wire or fasteners. Preventing Cuts Would You Glue Razor Blades…