Tag: studio space
-
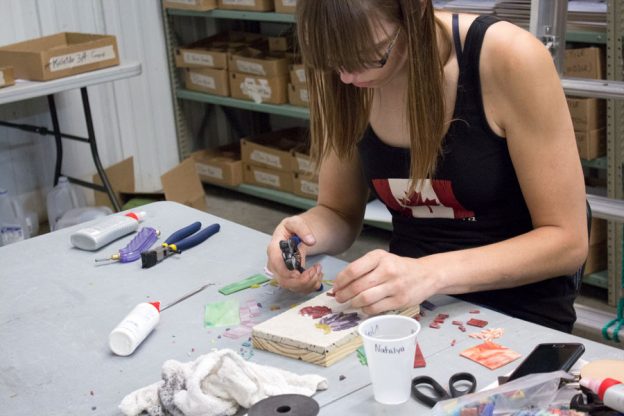
Artist Studios at the MAS Warehouse
The Mosaic Art Supply warehouse is filled with artist studios in appropriated spaces: the loading dock, the office, the reception area, and mixed-use tables in the middle of the warehouse itself. In my most recent blog post, I discussed how purchases from Mosaic Art Supply support the arts in a real and direct way. In…
-

Vacuum Attachment For Removing Dust From Small Parts
The new SPARDUSTER™ Small Parts Dust Remover looks like a simple vacuum attachment, but it is actually nothing less than a revolution in studio and workshop cleanup. With this simple tool, cleaning up a work surface covered in mosaic tile goes from 45 minutes of tedious sorting to a few minutes of casual effort. You can…
-

Van Gogh Self-Portrait Mosaic
Recently Doug Harris of Elementile sent me some photos of a mosaic rendering of Vincent Van Gogh’s 1889 self-portrait, and it is definitely worth seeing. I think some of the best examples of how to use adamento in mosaic to convey a sense of motion are actually demonstrated in Van Gogh’s painting, and this self-portrait was a natural choice for mosaic…
-
Small Glass Mosaic Instructions
These instructions explain how to set up and make a small mosaic from glass mosaic tile. I use our new hardwood mosaic coaster bases with 12mm Elementile recycled glass mosaic tile as an example, and I show how to set up your studio work space in ways that control dust and sharp splinters of glass.…
-
How To Make A Home Mosaic Art Studio
Avoid Studio Obsession Setting up and organizing your studio or corner workspace can become an end unto itself and just one more thing that keeps you from working on your art. Keep in mind that great works of art have been created under terrible working conditions and with minimal tools and equipment. The most important…
-
How To Lay Out A Home Art Studio
You have to build the factory before you can make the product, and that includes when you work sitting on the floor of a hotel room while on business travel like I did for years. Your factory can be as simple as a small plastic tote or gym bag with all your materials and tools…
-
The Importance Of Repurposed Downcycling In Art Studios
In my previous article about how to cut cement board for use as a mosaic backer, I explained how I didn’t buy carbide-grit jigsaw blades for this because I re-used my worn-out wood blades for this once they became to dull for wood, and that it didn’t matter that cutting the cement board destroyed them…