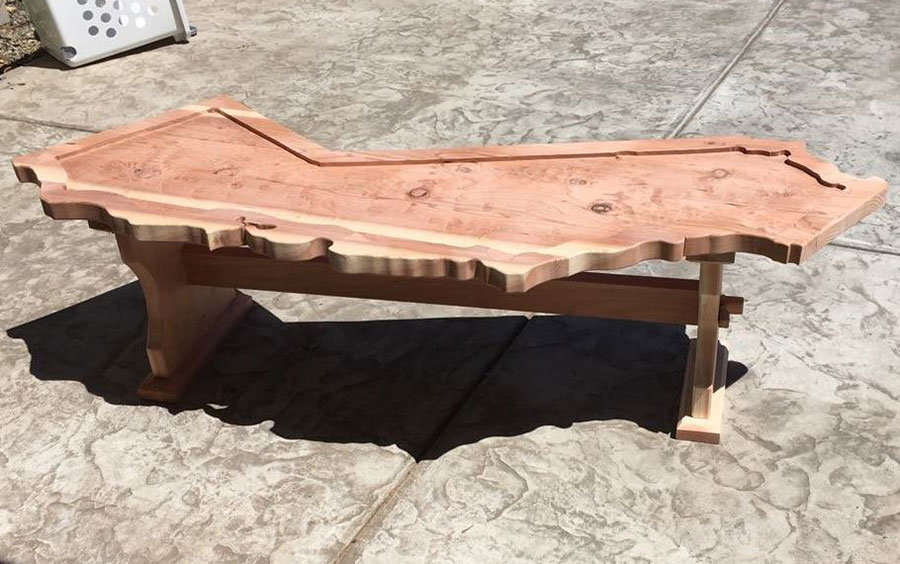
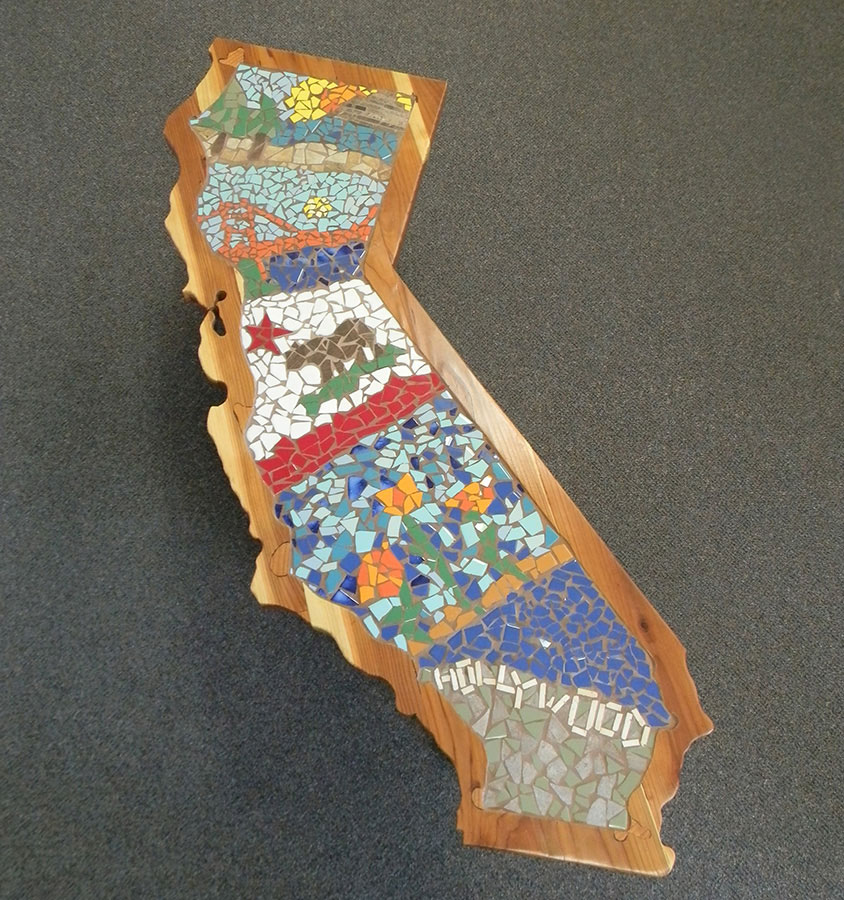
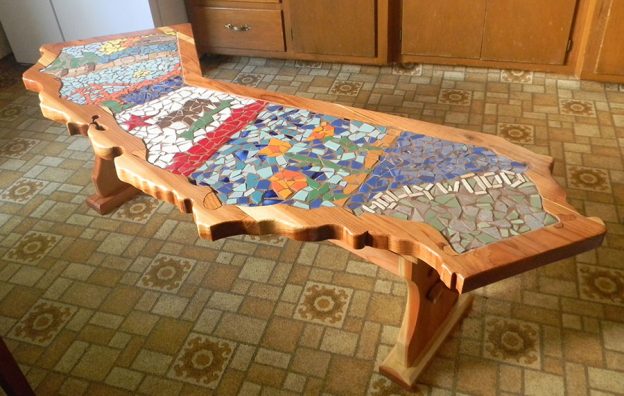
Keira Miller recently made a mosaic bench in the shape of the state of California with a class of 4th, 5th, and 6th graders. The mosaic bench is made from California redwood and is to be auctioned off as part of a fundraiser to benefit their Montessori school.
Note that we do NOT recommend wood as a backer for outdoor mosaics, but if this mosaic had to be placed outdoors, some of the drier regions of California would be ideal. I think the mosaic would do well on a covered porch, and it would be a great addition to a family room or den.
Why No Wood Outdoors
Wood is NOT a suitable backer for mosaic because it slightly swells and contracts with daily changes in humidity, and these small changes are enough to make tiles and grout pop off even if the wood doesn’t warp or split in a way that is noticeable.
Wood can be sealed to minimize exposure to humidity in the air, but no seal is perfect. For this reason, I would recommend annual cleaning and resealing of a wood piece such as this, and I would have realistic expectations. (You might not have made a mosaic before, but you have seen how wood fairs outdoors in your local climate.)
For my annual resealings, I would use a silicone-based tile and grout sealer, which are invisible pore sealers that can plug any tiny holes or cracks that have formed. Water-based silicone tile and grout sealers are quick and easy to apply. Just wipe on and wipe off. They shouldn’t interfere with any stain or varnish already in place, and you can reseal the mosaic at the same time.

An Alternative Solution
Keira had a volunteer carpenter use a router to recess the area for the mosaic inlay. Her class then mounted the mosaic directly to the wood. A more robust solution would be to route out the wood a little deeper and then glue down a piece of 1/4-inch concrete backer board into the recess and mount the mosaic to that. Keep that in mind if you want to make a wooden table or bench for outdoors and want to add a mosaic inset.
Mosaic Method
When wood is used as a backer, we normally use Weldbond Glue for the adhesive, because it is the best for dry indoor mosaics, and thinset mortar only improves moisture resistance if it is used on a concrete or masonry surface (not wood). Keira asked if she needed to score the wood to improve adhesion, but that wasn’t necessary in this case because the wood had been freshly routed. If you suspect your wood is slick with rosin or superficial traces of oil, you can score it with 80-grit sandpaper.
Keira used my method of contact paper and packing tape to lay up the mosaic designs and transfer them to the backer.

Keep Art In Your School’s Art Project
I think it is extremely important that children be allowed to execute their own designs (real art) instead of just being a worker bee on a teacher’s design. Sure, students can learn technical skills by making a master copy, but if there is any chance that the project in question might be the only art the students get to make at school, then it is important that the project involves self expression and some amount of independent design. Art should be art, not visual engineering, at least when the artists are young and experiencing things for the first time.
If you are planning a mosaic mural for your school, consider a “quilt” pattern where each child gets to make their own design instead of one master design. The results are often more impressive visually, and they are definitely more inspiring.
Needless to say, I liked the California mosaic bench project because it was made from component designs made by different groups of students.
Grout Color
This mosaic was made from chunkier pieces of stone and ceramic tile, and consequently the grout gaps are a little larger than mosaics made from thinner glass tile. Mosaics made with wider grout gaps are more heavily impacted by grouting, and so it was critical that the grout color be right. Since the “frame” for this mosaic was redwood, I recommended a terracotta grout that matched the color of the wood.


Leave a Reply