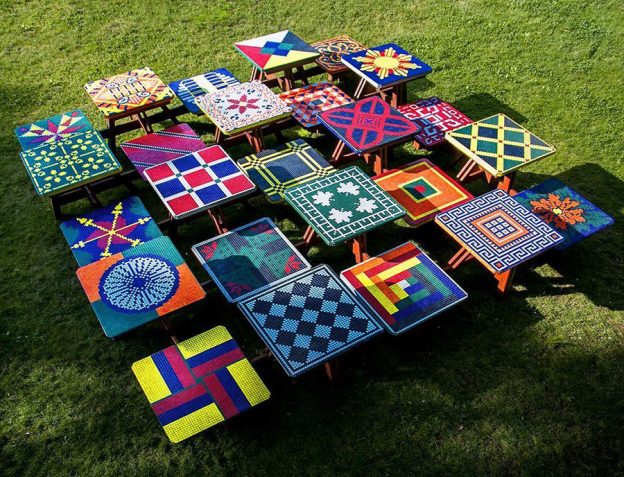
Artist Risa Puno recently completed her interactive mosaic sculpture Common Ground for Rufus King Park in Jamaica Queens, NYC, and the project is a great example for discussing materials and methods for mosaic table tops.
No Plywood Backers Outdoors
Plywood is never an acceptable backer for outdoor mosaic table tops.
Humidity in outdoor air can cause plywood to swell, contract, and warp, and even if the displacement is too small to be noticed, it can still cause grout to crack and tiles to pop off. Once grout has hairline cracks, moisture can penetrate underneath, and then there isn’t any hope for the mosaic lasting after that happens.
If you have a wooden table that you want to mosaic for outdoors, then attach a piece of 1/4-inch concrete backer board over the top of the wood and mosaic on that.
Seal your finished outdoor mosaic with a tile and grout sealer and reseal it each fall. Silicone-based gout sealers are wipe-on-wipe-off and easy to apply. Most of the work is buffing off the excess so that the surfaces are slippery.
Custom Mosaic Table Top Backers

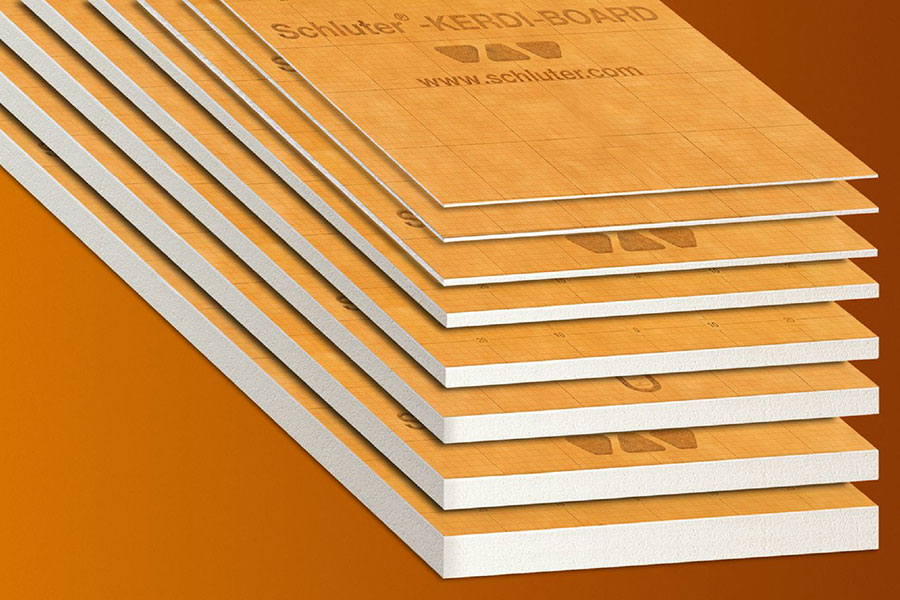
Foam Core Board
One option for outdoor mosaic table tops is to use a piece of foam-core board such as used to fabricate bathroom surfaces. This hard expanded polystyrene board is water resistant and can be cut quickly by scoring with a box cutter and snapping. Brands of foam-core backer board include Durock and KerdiBoard.
The issue with these foam-core boards is what to do about the edges. Since you will be using thinset mortar to mount the tiles, you could use thinset with hardware cloth (metal mesh) or fiberglass mesh to plaster over the top and wrap around the edges. Of course, this work would need to be done a few days before mosaicing to allow it to harden because thinset contracts or “shrinks” slightly as it hardens.
I think Risa decided not to use foam core board for her project because she didn’t have time to fully evaluate how flexible it was and how it might need to be supported. Also, she wanted to make sure the tables were as strong and as impact resistant as possible since they would literally be walked on as part of a piece of sculpture open to the general public.
From my experience with hard expanded polystyrene, it’s more than tough enough for home table use, and as long as you supported it along the edges and at the center, it should provide a stiff unbending surface. Of course, you would need to use the 1.5 inch or 2 inch thickness or laminate two thinner pieces together.
What About Edges?
In theory, the easiest treatment for edges is a metal rim, but most crafters are not welders or metal workers. And so, if your table doesn’t already include a metal rim, then your best option is to fabricate a table top that has a wide edge and mosaic the edge like Risa did in her project.
Yes, mosaiced edges can make the top more vulnerable to damage, and so consider the type of chairs that will be pushed up against it and other usage issues.

Concrete Board over Plywood
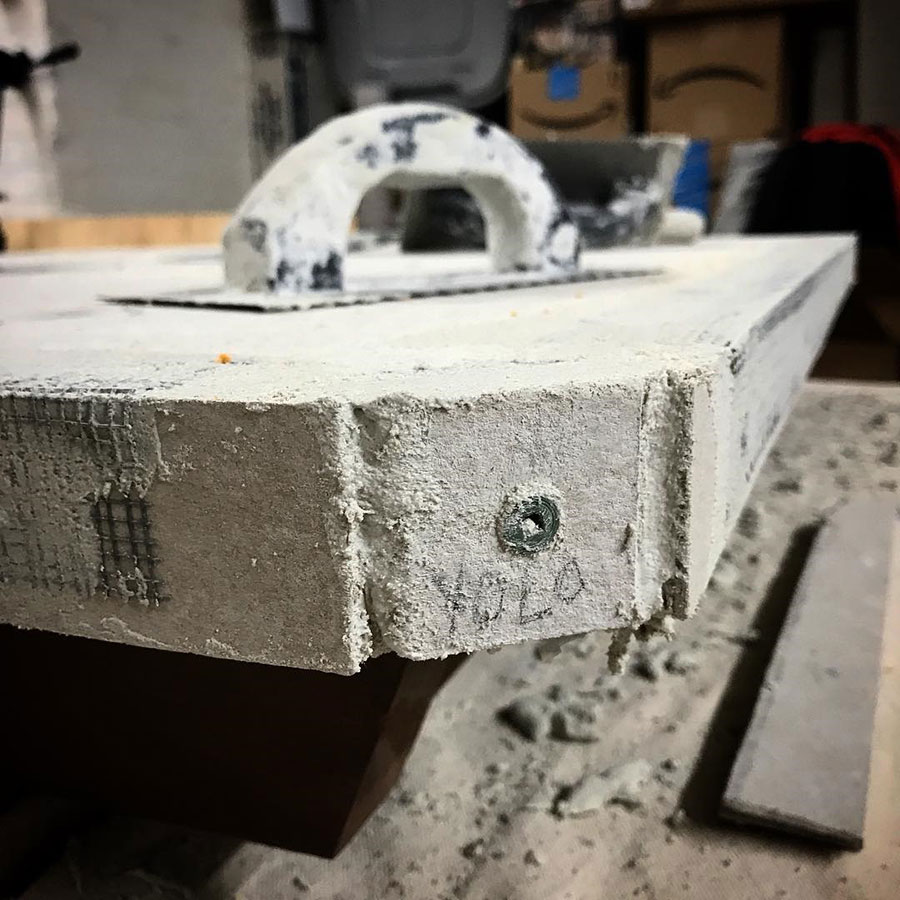
For Risa’s project, she chose to fabricate her table tops from CDX plywood with a layer of 1/2-inch concrete backer board attached to the top and sides. The concrete board was attached with thinset mortar and fasteners (special screws with custom heads designed to hold concrete board). Purchase these fasteners at the same building material store where you buy the concrete board.
Once the concrete board was in place, then hardware cloth (metal mesh) was plastered over the top with thinset mortar to form a shell.
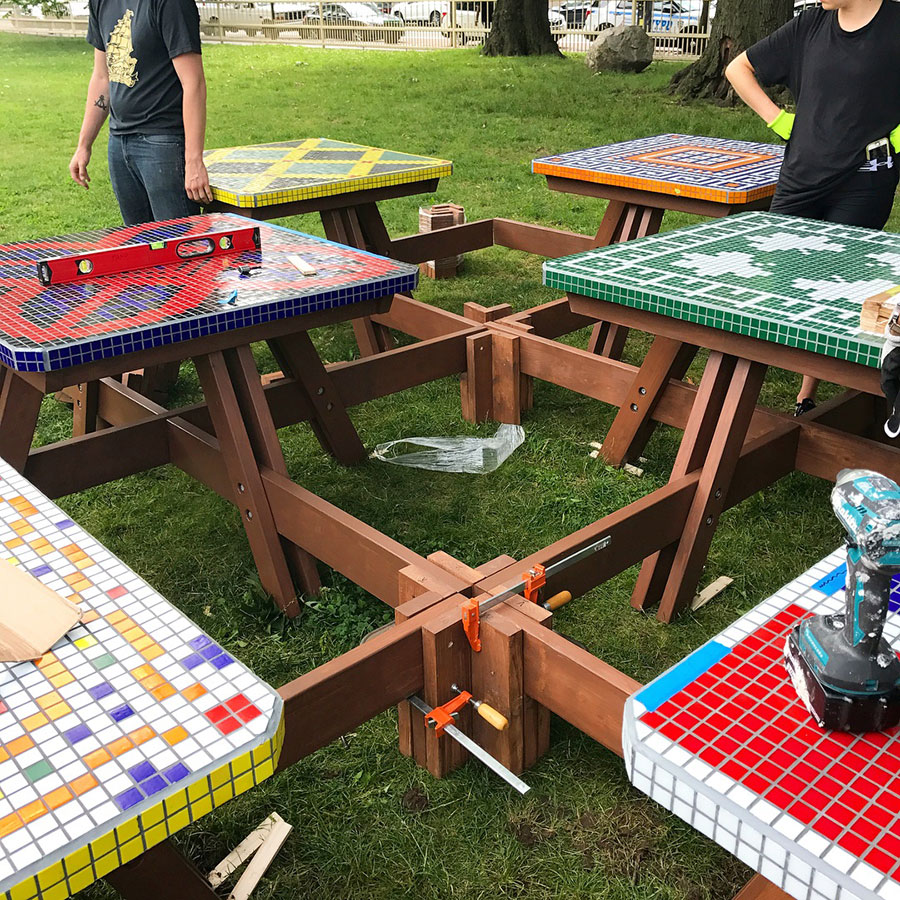
Note how Risa chose to blunt her corners with a short diagonal nose. This goes a long way toward reducing the potential for damage, which usually happens at corners when people bump the table top and knock off a tile or two. This also eliminates people getting poked in the hip or shins by sharp corners.
The undersides of these table tops are CDX plywood, and these were sealed with multiple coats of an exterior deck sealer.
Table Bases
Make sure your table base can support the weight of a mosaic table top. Also make sure that the table isn’t top heavy and unstable and prone to falling over. We prefer and recommend wider tables with lower centers of gravity for mosaic surfaces.

Important Caveats
For a piece of public art, you need to make sure you are using architectural materials and methods and not information recommended for crafters making mosaic tables for their home patios.
Keep in mind that there is a lot of advice online that doesn’t make sense in terms of longevity even for backyard projects. Too many people think in terms of everything being temporary and disposable, and then there are other people who just want to sell stuff, and so you have to vet what you read online.
At Mosaic Art Supply, we do our best to recommend methods that are suitable for architectural use and rely on best practices. I am an engineer by training and experience, and my employees are professional artists who emphasize quality and durability in their own work.
For a permanent installation for something like this, you would need to use a base of reinforced concrete or maybe slabs of granite and include vertical surfaces to prevent people from slipping between surfaces. You would also need to prevent the sh*thead variety of skateboarder from damaging it by making a cement border on outside edges and include slide blocks.
For a permanent installation, I would bow horizontal surfaces slightly to allow for drainage, which will increase the life of the mosaic, especially if annual cleaning and sealing are neglected in the future.

Tips for Increased Durability
Glass tile is impervious to liquids and therefore frost proof. The points of vulnerability are the grout line and the cement used to attach the tiles. You can make those a lot more freeze resistant by sealing with multiple applications of a tile and grout sealer, and resealing each year. Wipe away excess completely so that it isn’t a slip hazard and follow the instructions on the can.
For your grout, consider using epoxy-based grouts, which are much stronger than traditional grouts. We have no experience with these because we use traditional materials and methods because we are making heirloom art and fine art, and so we think in terms of archival properties.
We use sanded grout for all our grouted mosaics. Non-sanded grout is for hairline cracks or mixing with sand. Non-sanded grout will be fragile in gaps of any width.
Avoid silicone caulk in your mosaic work. Sure it is waterproof, but it is flexible, but grout is not. It is also is messy to work with, and it doesn’t clean up easily with soap and water.


Leave a Reply