What does a skeleton’s rib teach us about how to make mosaic more easily?
It teaches us only one lesson, but that lesson is probably the biggest tip I have for how to make mosaics more easily and with less tedium and frustration.
The Importance of Fun Projects
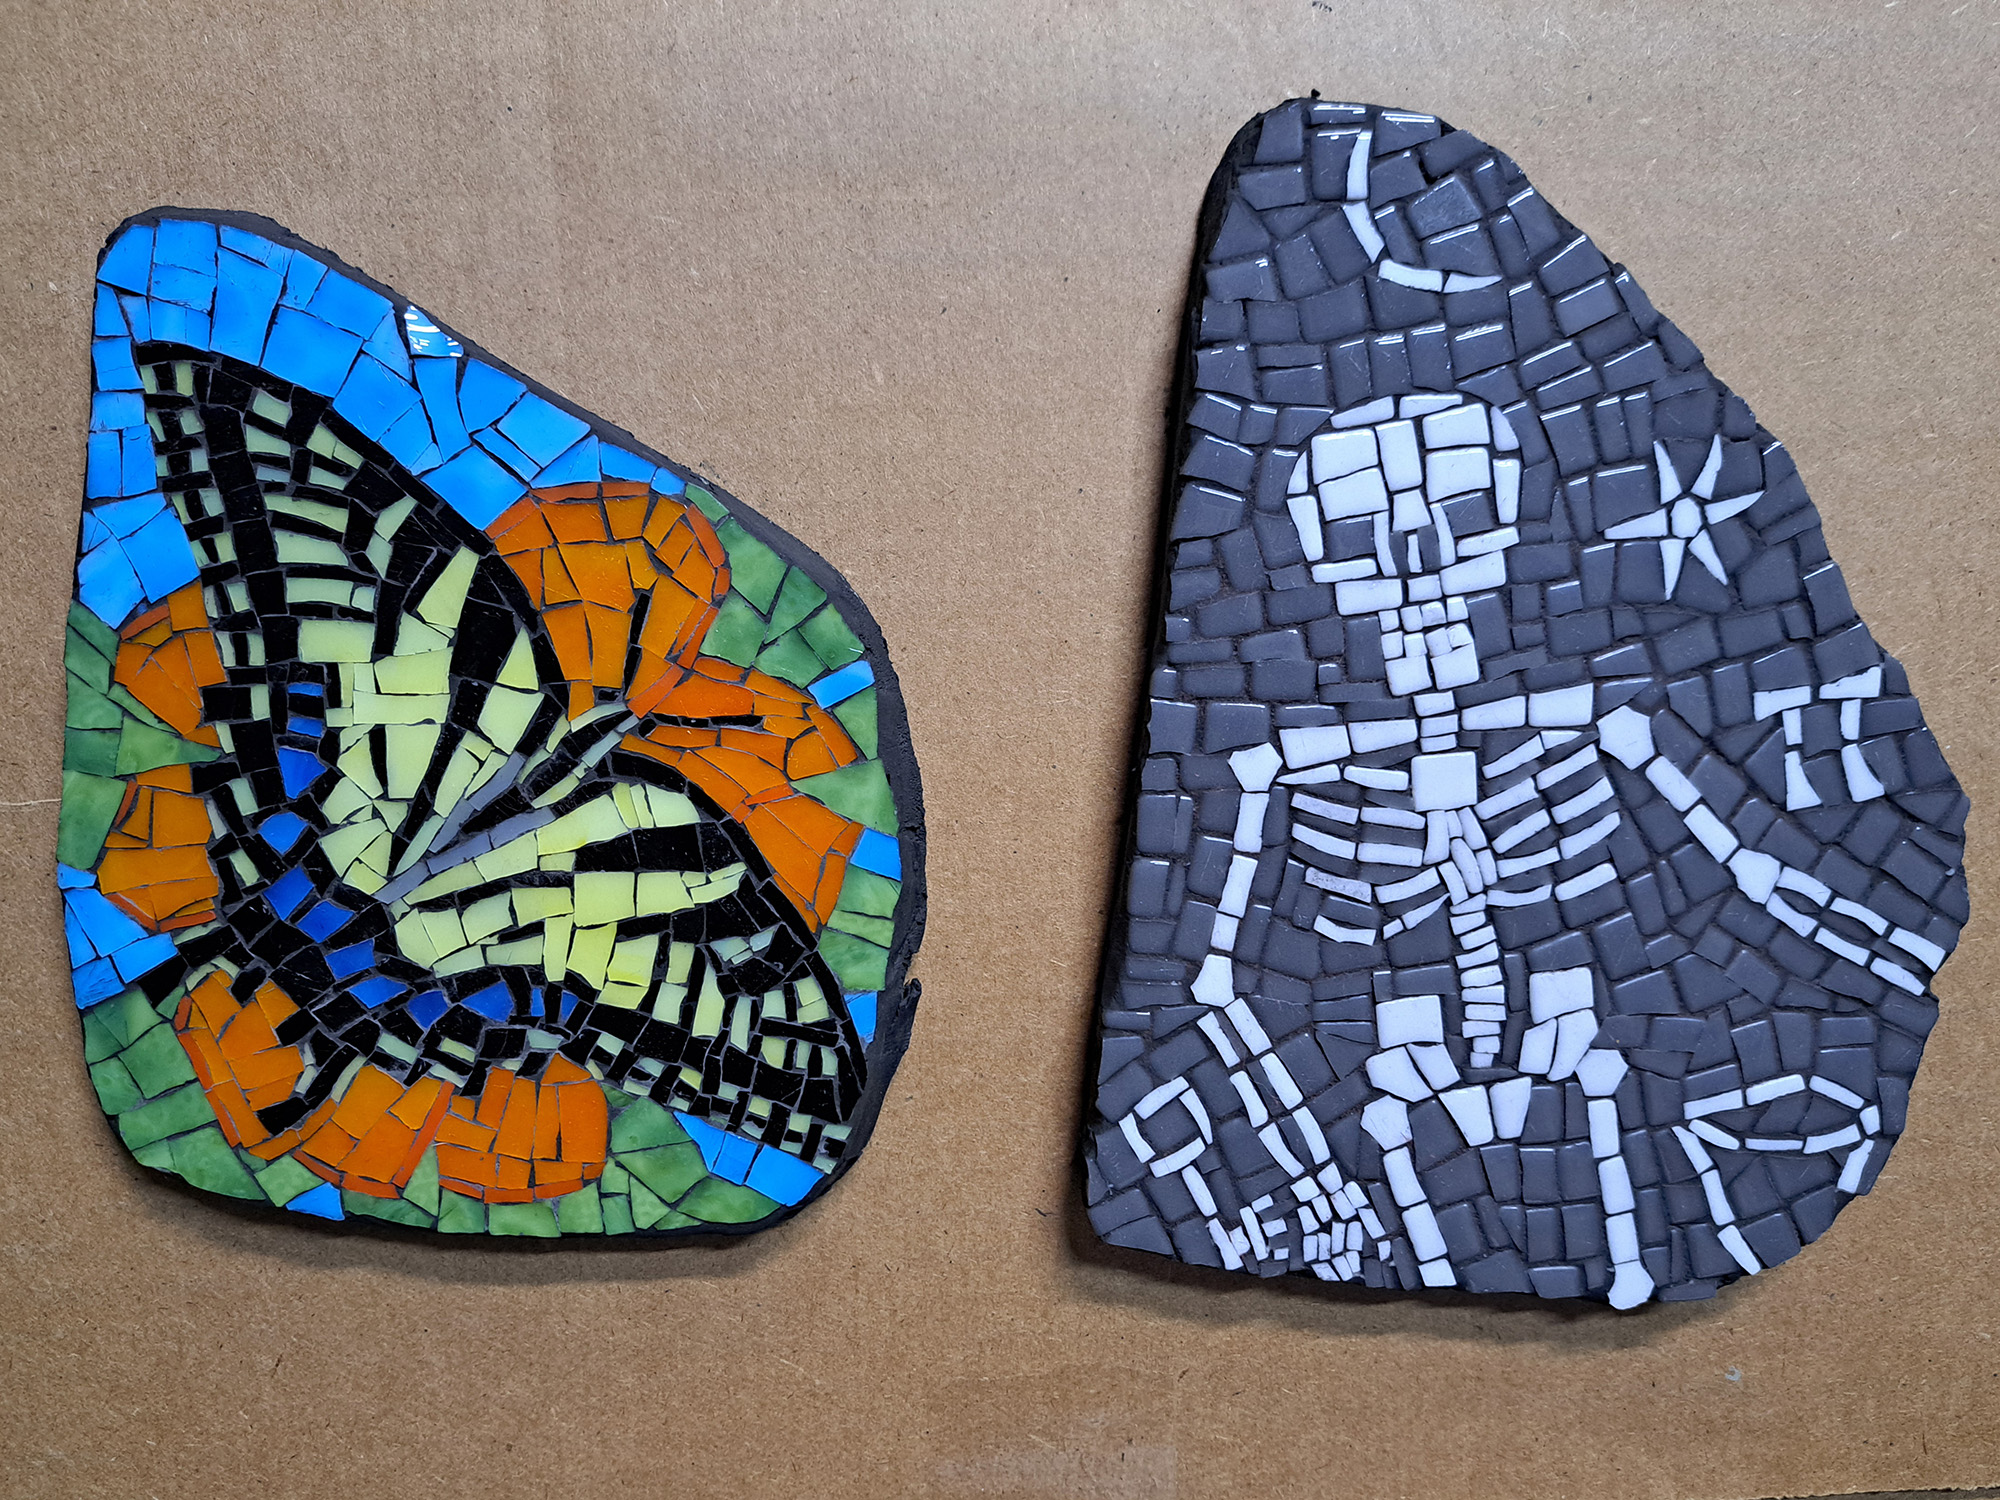
Recently I have been making mosaics based on photo collages as models, and that level of “realism” means a lot careful attention to detail and a lot less latitude. A detail is either right and looks somewhat like the model(s) or it is wrong and looks less real.
While I enjoyed these projects, they weren’t what most people mean when they say a “fun” art project because so much work and precision was required.
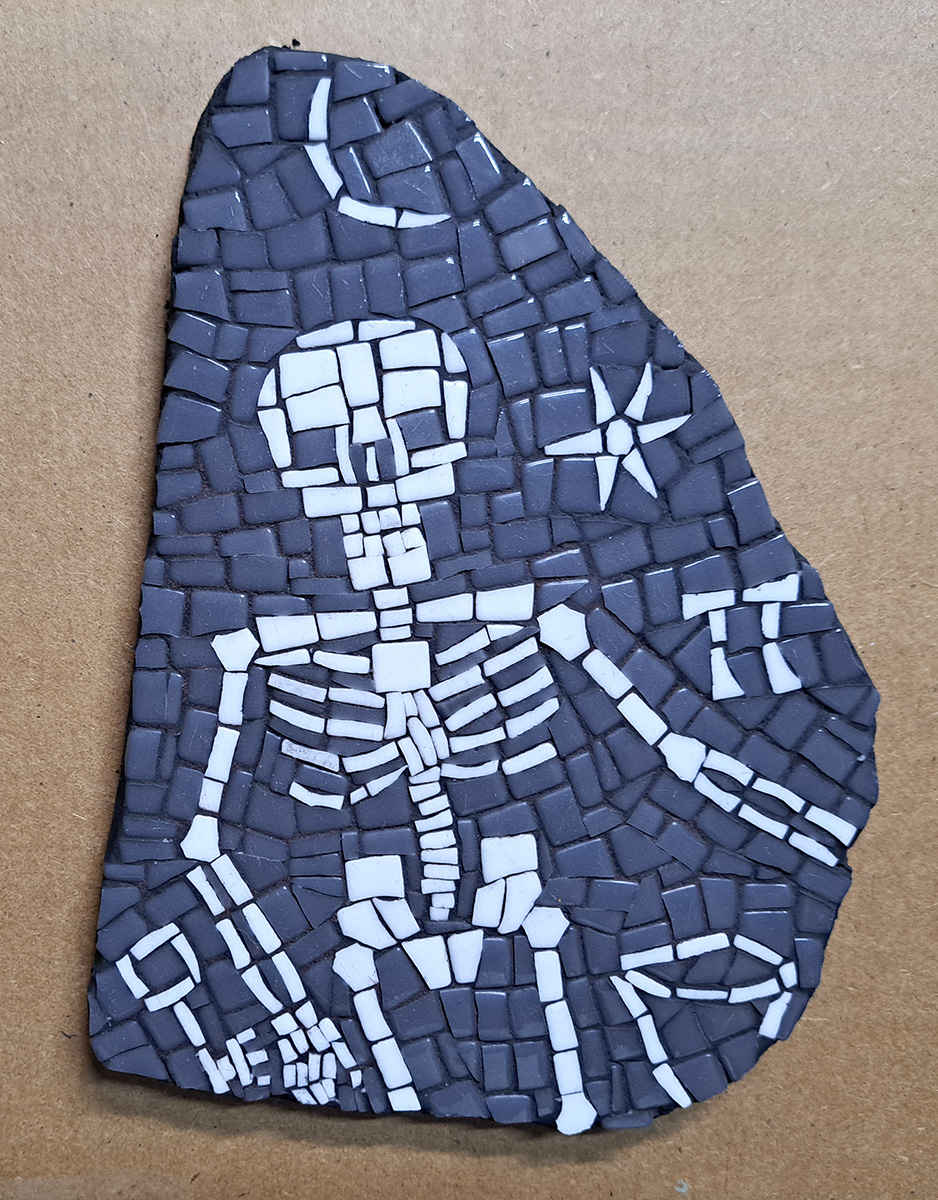
As a change of pace, I decided to make a mosaic of a stylized skeleton and symbols, such as might be seen in a medieval catacomb.
The “fun” aspect of this project is based on the model being stylized and not an attempt to depict it naturally. That gives a lot of latitude. In this situation, there are many ways to render a particular detail without it looking wrong.
The Smallest Detail
The size/resolution of a mosaic is determined by the smallest detail that can be rendered, typically the face of a central figure.
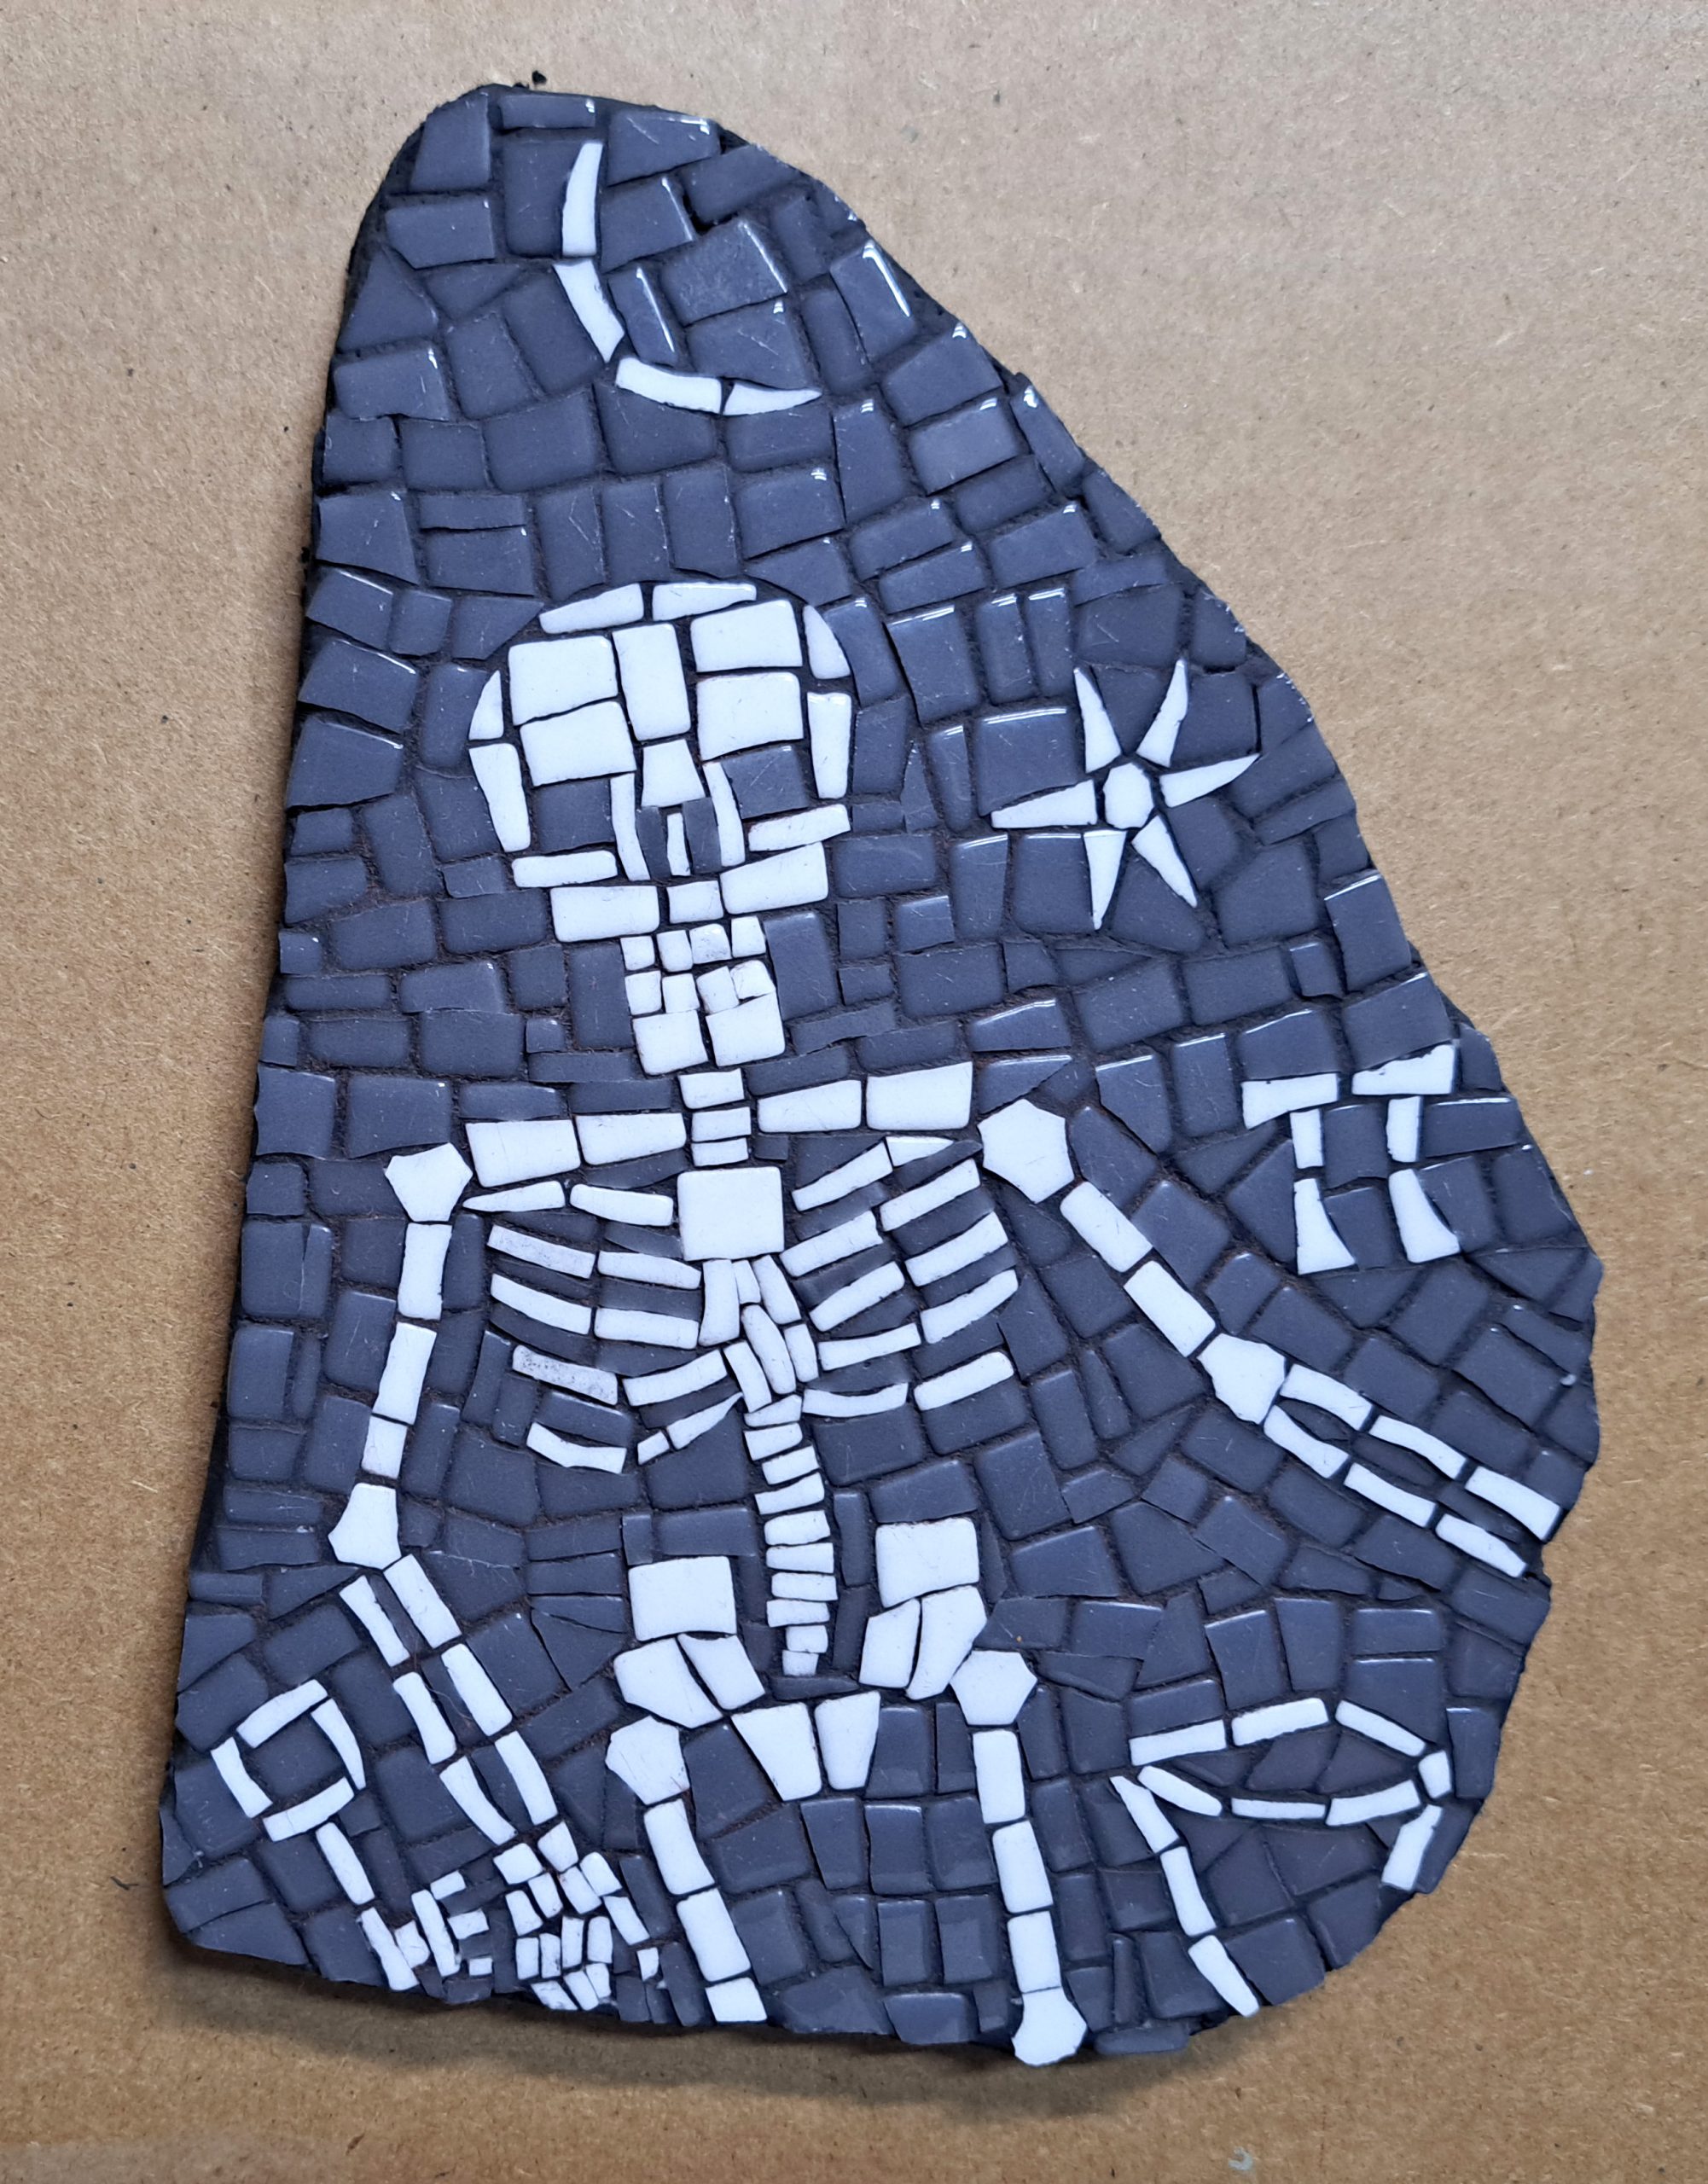
In the case of this mosaic, the teeth were that smallest detail, but the ribs also had to be evaluated because they involved long narrow pieces, which can be as difficult to cut as small pieces.
Width and Spacing
Here is the central point of this blog article:
How many ribs I depicted, their width, and the spacing between them was determined by how narrow I could easily cut the glass and not determined by the model.
My model was only a stylized cartoon of a skeleton not an anatomical drawing. That meant I wasn’t required to have the exact number of ribs in a human body.
Other aspects of the ribs were more critical, specifically the concentric curvature of the ribs, their narrowness, and their spacing being roughly the same width was the width of the ribs.
Those details were deemed more critical for rending a rib cage than an exact count of ribs.
For this reason, the cartoon I drew as a pattern for this mosaic was made very quickly, and I spent the least amount of time drawing the ribs.
I simply made a few quick concentric curves because I knew that the count, width, and spacing of the ribs would be determined when I started cutting tile.
The Tyranny of the Pencil
In general, drawing a model is the best way to learn its details before you execute the image in a more demanding medium.
But drawing the model can be extremely problematic in mosaic, particularly for novices.
Tile doesn’t render images the same way that a pencil does, and the pencil can render a detail in seconds that might take forever to render in tiny slivers of glass or simply be impossible.
In teaching art to novices, I have noticed time and again how counterproductive drawing the model can be when used as an exercise before making a mosaic.
All that being said, most novices want or need a pattern, and so drawing a cartoon pattern is often done at the beginning of a mosaic class.
That is why it is essential that an instructor explain this issue before the students start, and the instructor should monitor the students as they draw and point out any details that look problematic.
Other Tips
Here are some other tips for reducing tedium and frustration in making mosaics:
Don’t leave a grout gap for dry indoor artistic mosaics (not architectural surfaces). The tiny cracks between the tiles can still be grouted, but the surface is mostly colorful glass and not dull grout. This reduces the color impact of grouting.
Using a dark gray or black grout also reduces the possibility that grout changes the look of the mosaic. The tiny cracks between the glass were already black/dark naturally, and so black grout looks the same
Cut three to six pieces and use the piece that fits best instead of trying to trim one piece to an exact size or shape. Most if not all of the rejected pieces can be used elsewhere.
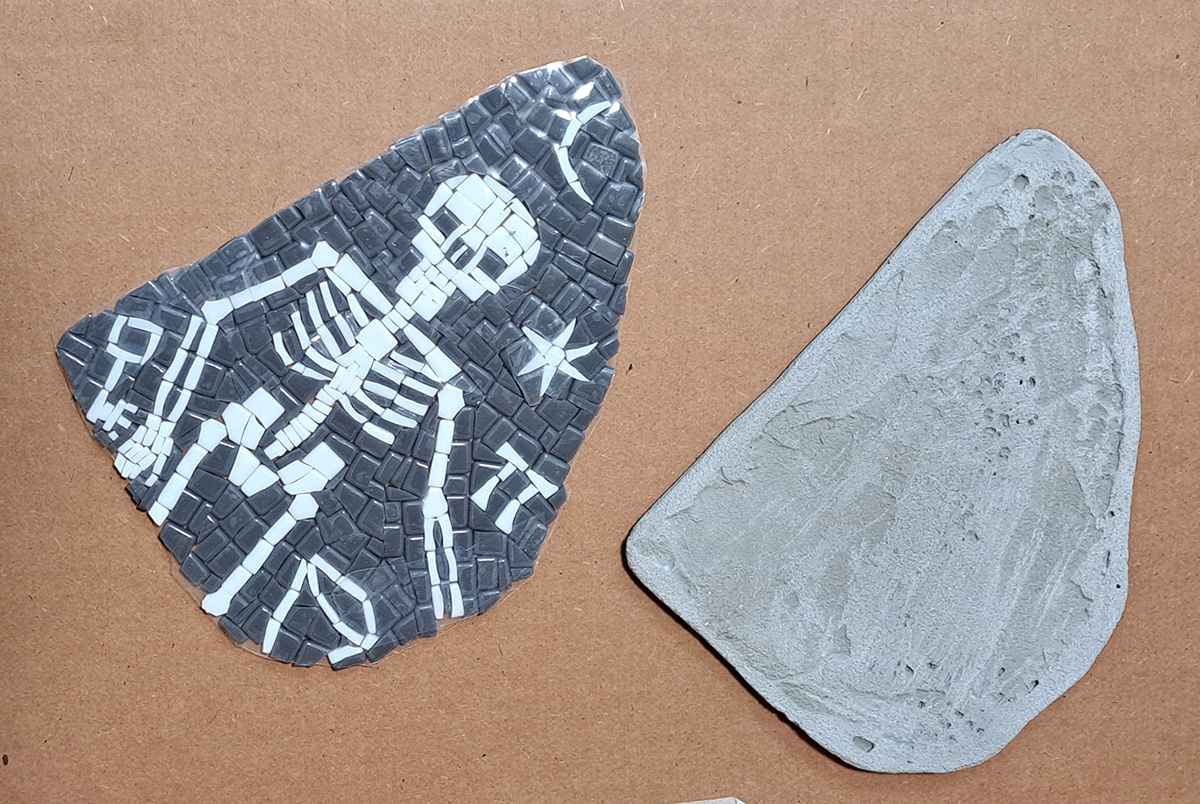
Use a temporary surface and Mounting Tape to lay up the whole mosaic instead gluing one tile at a time. This allows the mosaic to be seen as a whole and easily edited before a single tile is glued down.
Leave a Reply