Stylized or Photorealistic?
Mosaic is usually used to make stylized images, meaning images that are simplified in certain ways, and that is done because the constraints of working with tile that only comes in certain colors and can only be cut so small forces the artist to simplify the details. Think about how ancient Roman mosaic faces and figures are outlined like cartoons and how scenes are composed of 6 to 8 colors, and you will know what I mean. I strongly prefer this type of art because it is a dialog between the symbolic and visual aspects of the artist’s mind, and it produces a lot of quirky and interesting details that would never be possible in mere realism.
BUT, it is important to remember that you can use mosaic to render images in a naturalistic or photorealistic way even if you can’t find tile in all the colors you think you need. First, you can use two colors in place of one. For example, if the teal color you think you need is not available, use small pieces of blue and green tile positioned closely together and rely on the eye blending the two colors together.
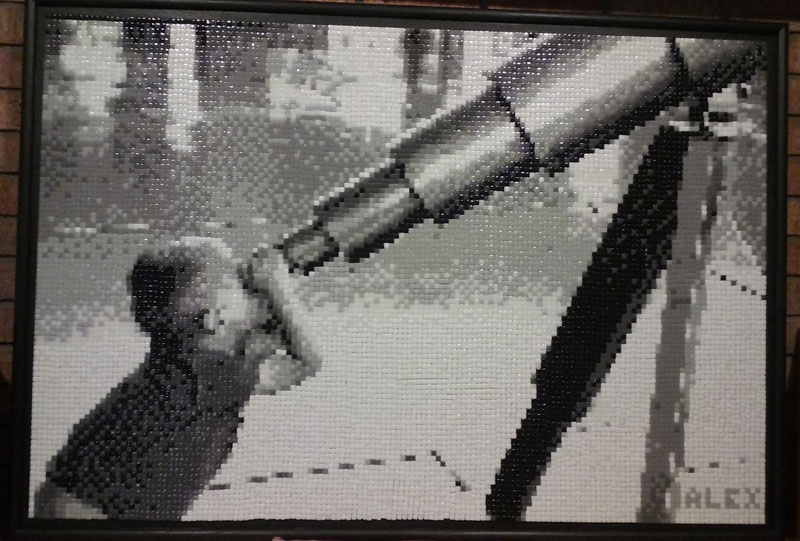
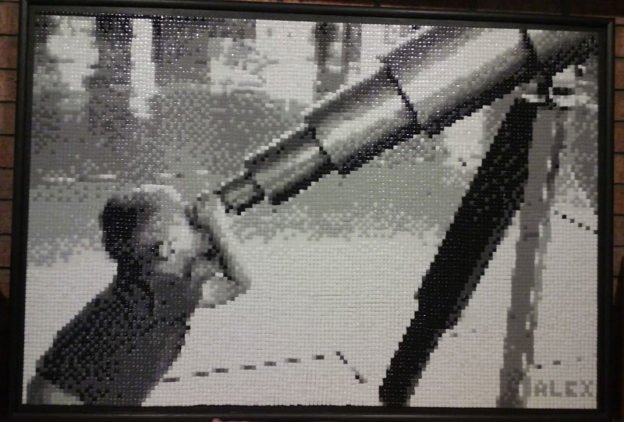
Another means of working photorealistically is to make a monochomatic mosaic or a black and white mosaic, such as Mark did using our 8mm recycled glass mosaic tile when he made the mosaic of his grandson peering through a telescope.
Note that Mark’s mosaic doesn’t use concentric rows of tiles to convey a sense of motion such as seen in the andamento of most stylized mosaics. Rather, the tiles are treated as pixels in a grid, which is how most though not all photorealistic mosaics are made. The alternative to gridded pixels is to use large irregularly-shaped pieces in a mode similar to stained glass artwork.
Patterns For Mosaics Made From Photos
I didn’t ask Mark how he made the pattern for his mosaic, but I know how I would do it:
I would take the photograph I wanted to use and convert it to a black and white image using Photoshop or another photo-editing software package.
Then I would enlarge it to the actual size I needed and print it out in sections, and then tape these together on my work table.
Then I would would cover this pattern with clear contact paper, WITH THE STICKY SIDE STICKING UP.
Then it just a matter of positioning tiles over the pattern and filling in the design.
The only question is: Do I put the tile right side up or upside down?
Upside-Down Tile
If the mosaic is relatively small. I can spread adhesive on the backer and then press the backer onto the mosaic. In that case, I would want to position the tile upside down. Of course, this reverses the mosaic design from left to right as if in a mirror. Complete instructions for working in this way are given in my blog article Using Contact Paper To Transfer A Mosaic Design.
TIP: If you don’t want the above method to reverse your design from left to right, then reverse your pattern from left to right in the photo-editing software that you use to make the pattern.
Right-Side-Up Tile
If I would like to work with my tile right side up so that the mosaic is not reversed, then I can use clear mounting tape or opaque mounting paper to pick the mosaic off the contact paper and then press it onto an adhesive-covered backer. This method is commonly used for laying up large mosaics such as murals. Instructions for this method are given in my blog article Mounting A Mosaic On Clear Adhesive Film.
To Grout Or Not To Grout?
Grouting can totally change the look and feel of a mosaic, and so this question can be critical for photorealistic work depending on the colors and grout gap used. You can minimize the visual impact of grout by making sure that your grout gap isn’t too large. For most mosaic tile, the recommended grout gap is 1/16 inch, but for 8mm and 10mm tiles, use a grout gap of 1/32 inch.
For dry indoor mosaic, you can mount the tiles so closely together that they touch and simply not grout the finished mosaic.
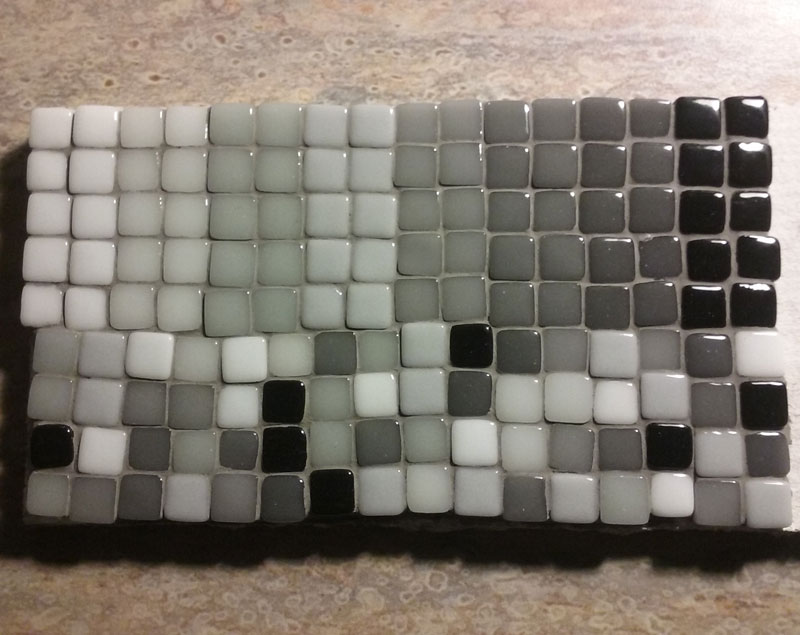
You should also test grout colors before you apply them to the mosaic. The “test” can be as simple as taking some of your tile to the building material store and holding them next to different color swatches in the grout aisle.
For his mosaic, Mark did exactly what I recommend: he glued some of his tile to a scrap piece of plywood and grouted them with different grout colors to see what they looked like in situ.

If that seems like a lot of extra work, the simple truth is that it isn’t. An experiment like that can be done in 15 minutes of gluing one night and 15 minutes of grouting the next, and what is that compared to the amount of time spent on the mosaic itself? Before you dump concrete on something you spent a month creating, make sure you are using the right color concrete.


Leave a Reply