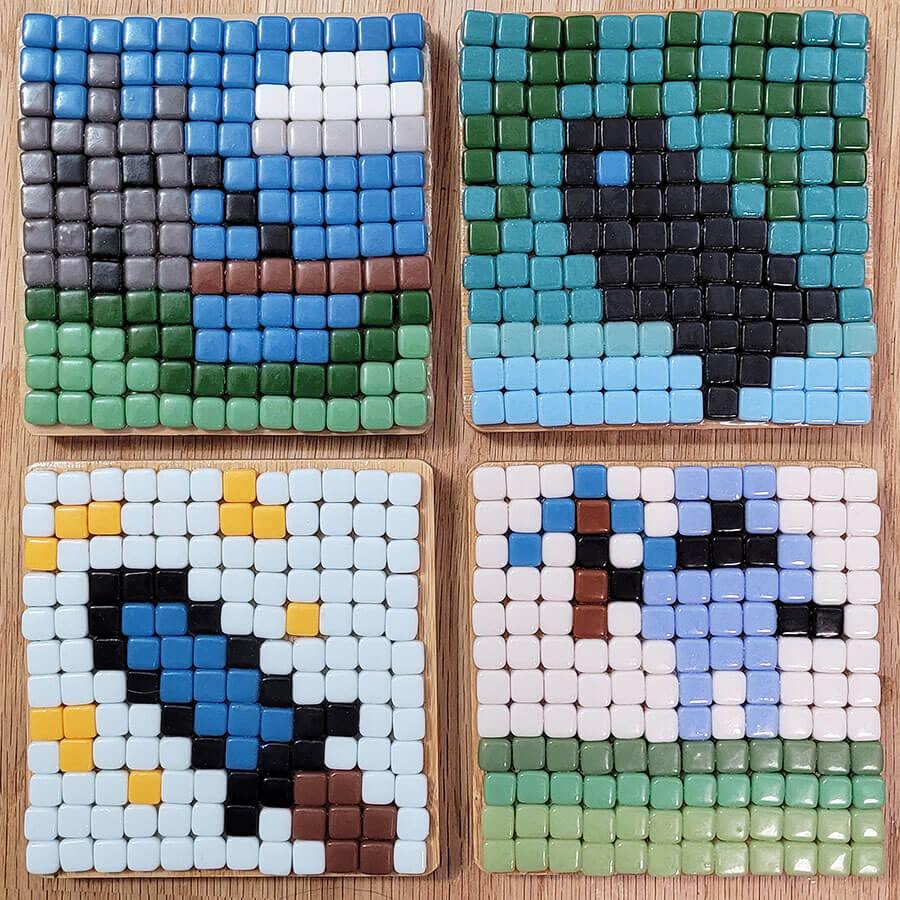
My 13-year-old son made some mosaics on our 4-inch bamboo coasters with me. His designs are also figurative and iconic, but unlike the mosaics I have been making, his designs use whole uncut tiles.
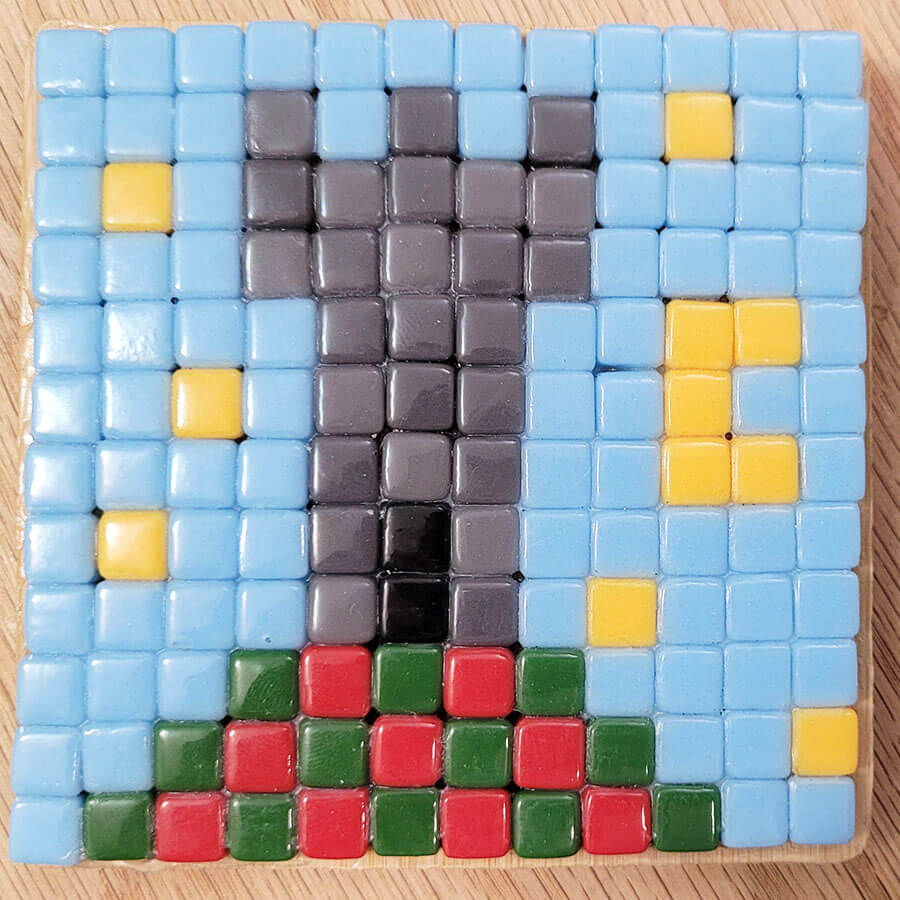
My son’s designs are all Minecraft-inspired images, and so the blocky nature of uncut square 8-mm tiles was perfect:
He challenged me to design some of my own mosaics using whole uncut tiles, and so I did.
Since we were working on contact paper as a temporary surface, I was able to lay out a design in tile and easily revise it over and over.
I made a profound discovery doing that with my son watching.
Great Teaching Tool
Small whole-tile mosaics are the perfect way to demonstrate some subtle points about the design process, in particular how to start with a rough composition and tweak it one tile at a time until it is as good as you can make it.
My son is impatient as I was at his age, and he mistakenly thinks that his artwork must show signs of virtuosity, or it isn’t worth pursuing.
I’ve showed him how I work by trial and error in multiple mediums and how I sketch faintly at first to converge on images, but I don’t think I’ve quite reached him until now.
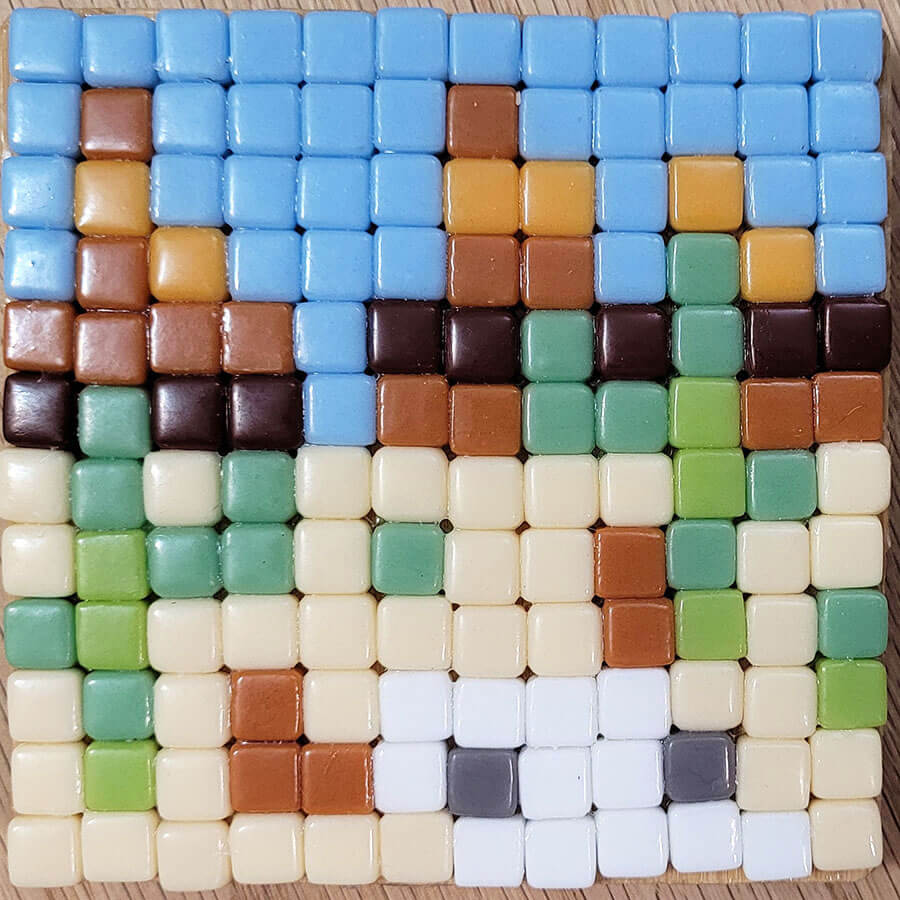
The 144-tile compositions are the perfect format for his age-limited attention span.
He got to watch me work out an entire composition and repeatedly see how much power changing one single thing can have for making the whole image more recognizable (or not).
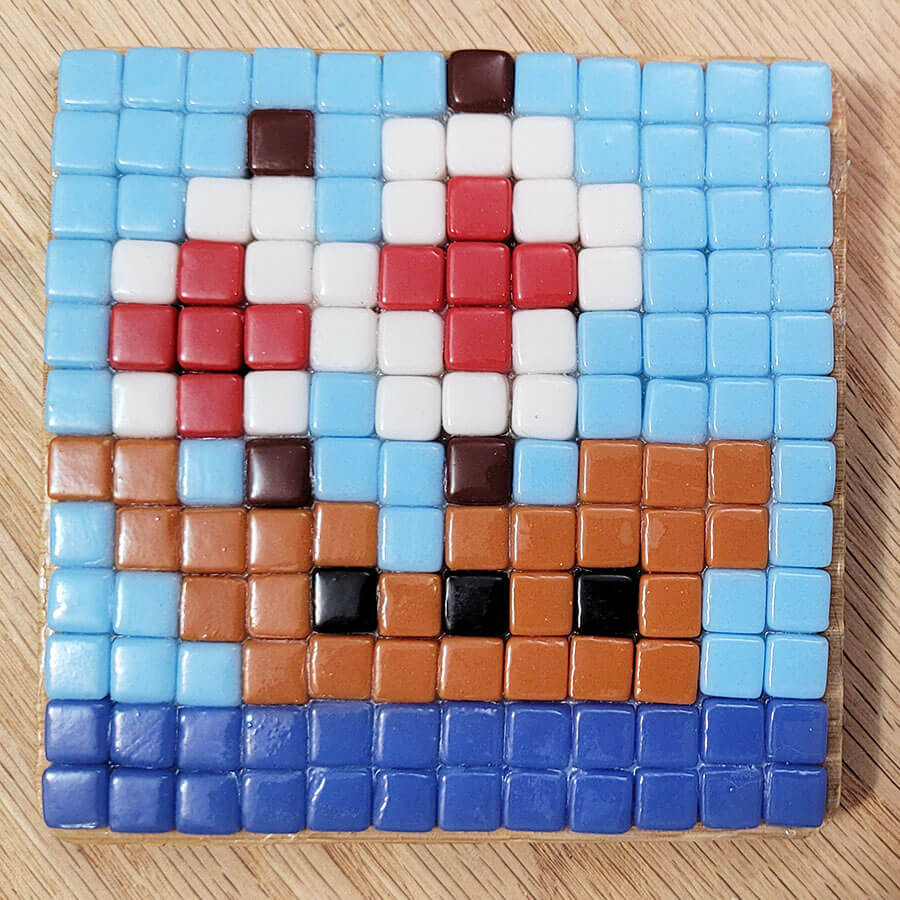
With my sailing ship, my son got to see the sails and the prow emerge from an unrecognizable chaos of white, brown, and blue.
Limitations of Grid Mosaics
Photorealistic mosaics can be rendered in a mechanical way with whole tiles if your surface is large enough compared to the size of your tiles.
If you are willing to reduce the tile to a pixel (AND lose any element of style in the rendering), all things are possible in terms of the detail that can be rendered.
But there is a huge cost in turning a tile into a pixel.
I get to see how bad it can be all the time. There are factories in China that email me each week wanting to sell me wall-sized mosaics of Marilyn Monroe, Justin Bieber, pop-culture images of all description.
The results all look machine-generated, printed, more commodity than art.
That’s because each tile is tiny, and the composition is large, and so the mosaic aspect of the image isn’t really visible unless you are close to the surface.
On the other hand, when you only have 144 tiles to work with, creating a pixelated design is a completely different exercise.
The 144-tile compositions require a lot of human mental processing with jumps between the symbolic and the visual.
The decisions YOU have to make are specific to you and how your mind processes images. Style can’t help but be involved.
The problem is that the range of what you can render is limited.
With cut pieces of tile, I had been able to render all sorts of figures and scenes with a much higher level detail on those same 4-inch bamboo coasters.
With whole tile, there are only 144 pixels, merely 12 rows and 12 columns, and so the designs are limited to simple cut-out shapes with virtually no opportunities for shading or depth and certainly no variegation. Everything is a colored silhouette viewed straight on.
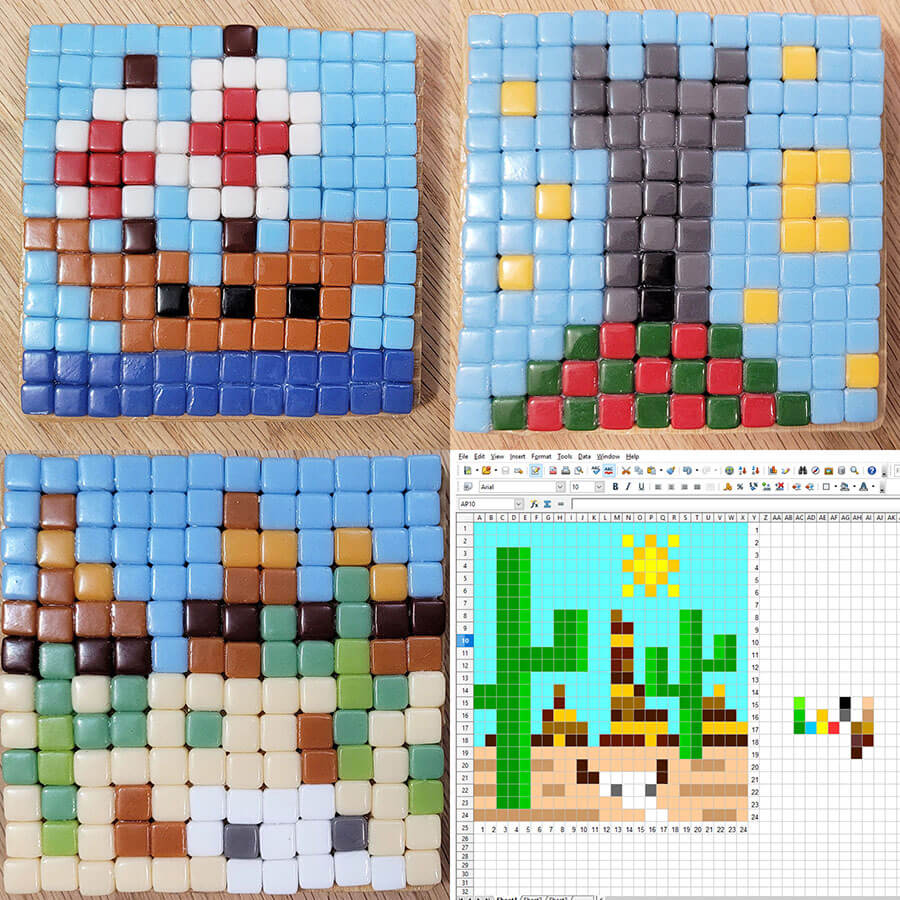
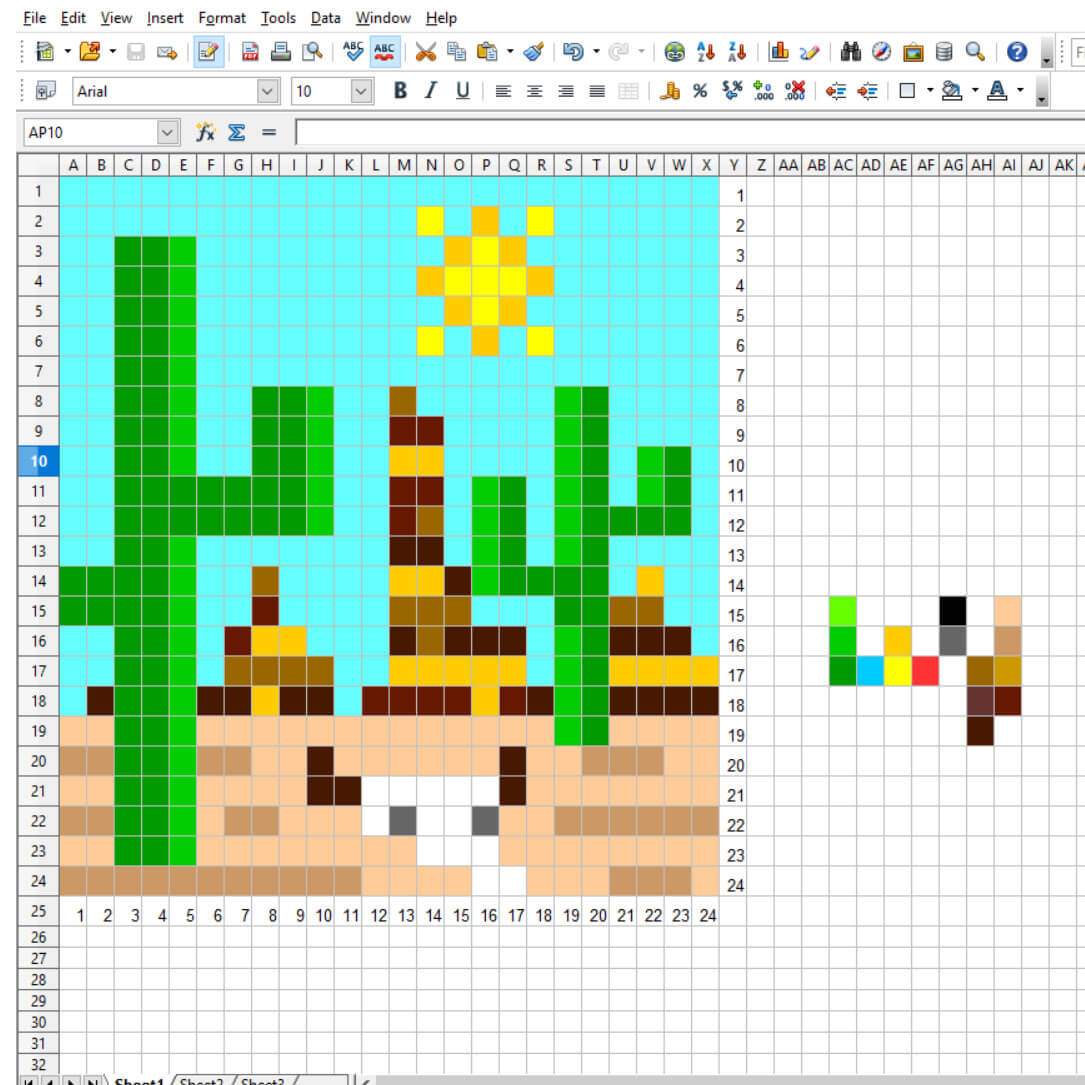
To push the limits of this format, I attempted to render a landscape scene instead of a single iconic object.
I chose a Southwestern desert landscape with saguaro cacti and a bull’s skull in the foreground, but the results were poor and failed the test of instantly being recognizable:
Spreadsheet Design Tool
After my failed landscape, I became interested in how many tiles I would need to have to be able to render a similar landscape composition and make it recognizable.
To be able to try different dimensions and resolutions quickly, I created a spreadsheet mosaic design tool.
I set the column widths and row heights to be equal to form a grid, and then I set the background color for each cell, which can be done quickly by copy and paste.
I tried a 6-inch backer, which gave me a grid of 18 x 18 cells or 324 tiles total, but that didn’t have enough resolution, and I then created and 24 x 24 cell version of the spreadsheet:
Step-by-Step Instructions
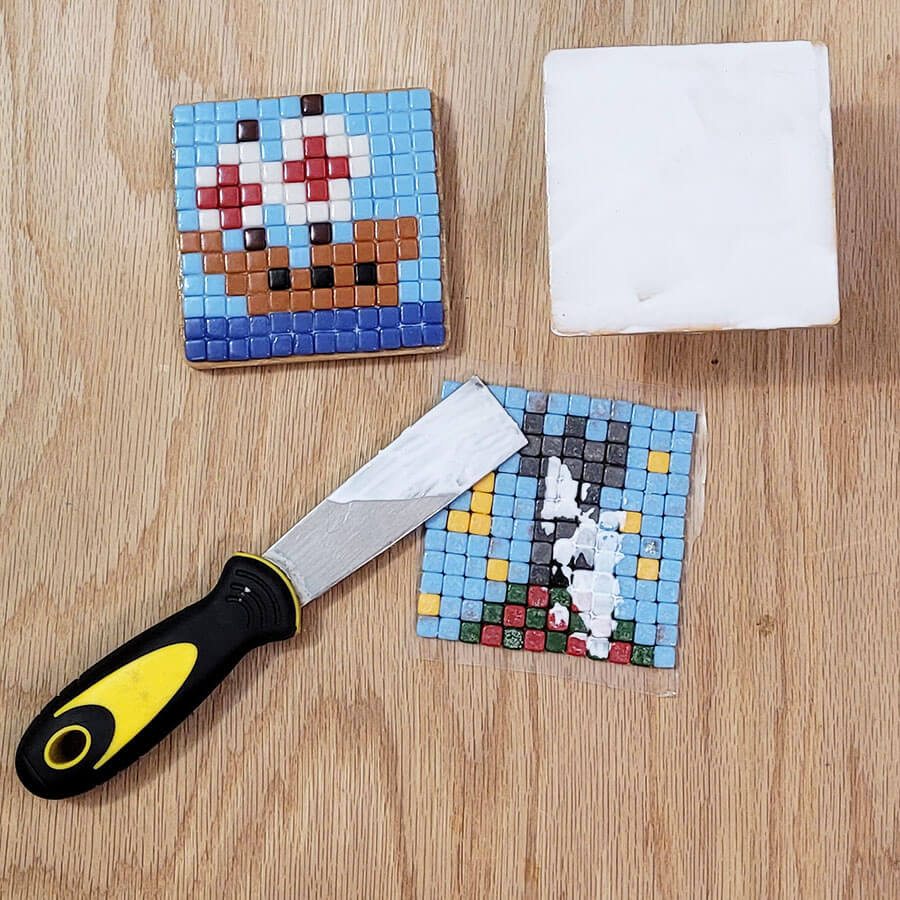
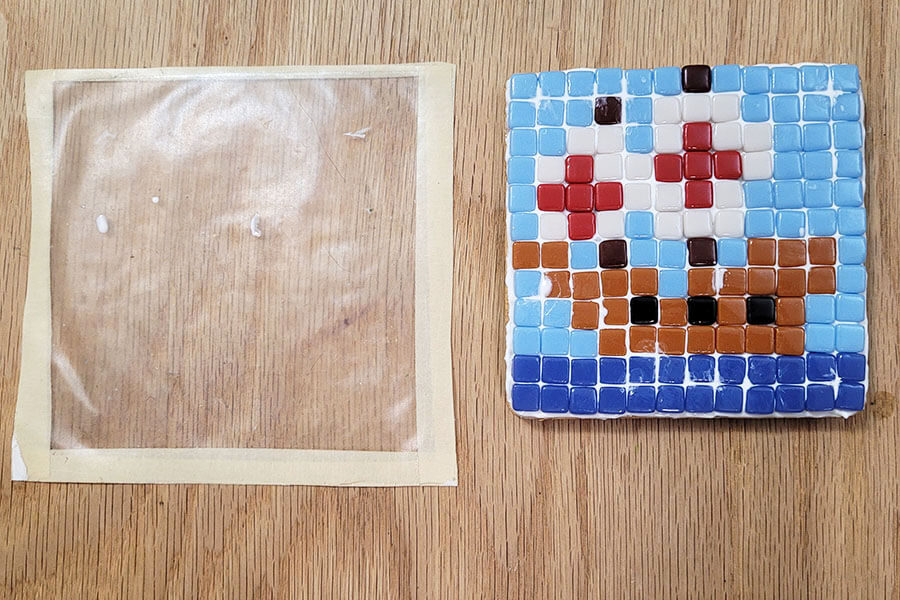
Normally I use a two-step mosaic tape method, which involves clear contact paper AND mounting tape.
In that method, clear contact paper is taped over the pattern with sticky side up, and then tile is arranged to cover the design, and then the mosaic is picked up with mosaic mounting tape.
That method allows you to work with the tiles right side up.
BUT, we were working at home and only had some clear contact paper that had been used previously, and so we taped down the contact paper sticky side up and laid our tiles upside down on that.
The reason we put the tiles upside down was that we didn’t have any mounting tape to pick up the mosaic, and so we just glued the backer to the mosaic once we got it all laid out.
Of course that meant our designs would be reversed from left to right when done because we were working upside down.
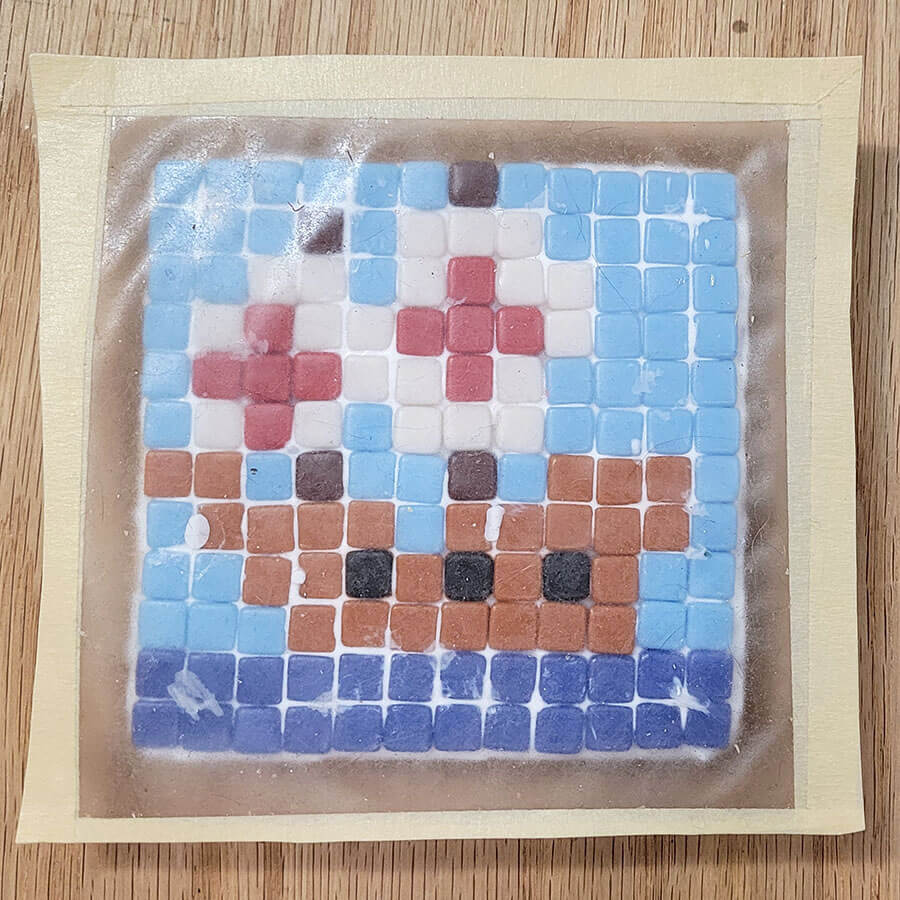
There are photos below illustrating some of the individual steps, but the entire process is summarized here:
- Set the backer on a piece of paper and trace a line around it with a pen or pencil. This will show you how large the mosaic can be.
- Tape a piece of clear contact paper upside down on the paper with the sticky side up.
- Position the tiles upside down on the contact paper.
- Tweak the design as needed by trial and error.
- Spread mosaic adhesive on the backer.
- CAREFULLY spread adhesive on the backs of the tiles in the mosaic.
- Press the backer to the mosaic.
- Flip the assembly and make sure the mosaic is centered.
- Allow the adhesive to harden.
- Remove contact paper and scrub glue residue from the face of the mosaic with a Scotchbrite pad and a damp rag.

Leave a Reply