Irregular Shapes
It’s easy to estimate the total area of a rectangular or circular mosaic using our tile estimator, but it can be much more difficult if the shape of the mosaic is irregular. In fact, most of the individual color fields in a mosaic are arranged in irregular shapes, unless you are doing an abstract geometrical pattern.
How do you estimate the area covered by an individual color when it is arranged in irregular shapes throughout a mosaic design?
The following is a method using Photoshop Elements.
Use Digital Images
If you get the image into the computer, the computer already knows how many pixels are that color and the total number of pixels in the image.
The trick is to find some way for the computer to tell us this information, and there are probably many image editing software packages that could be used in some way to do it. I used Photoshop Elements because that was what I had installed. I would think GIMP and other freeware imaging packages could be adapted in some way as well.
This method uses Photoshop’s Magic Extractor to cut out the color field, then turning that color field black and putting it on a white background. In the RBG color mode used by JPEGs, white has a value of 255 and black has a value of 0. If we take an average of the value of all pixels, this weighted average divided by 255 will represent the percent of the image area that is NOT the particular color.
Photoshop Elements Example
For this example, we will use a jpeg of Henri Matisse’s painting “The Dance” and find the percent of the total area that is covered by blue.
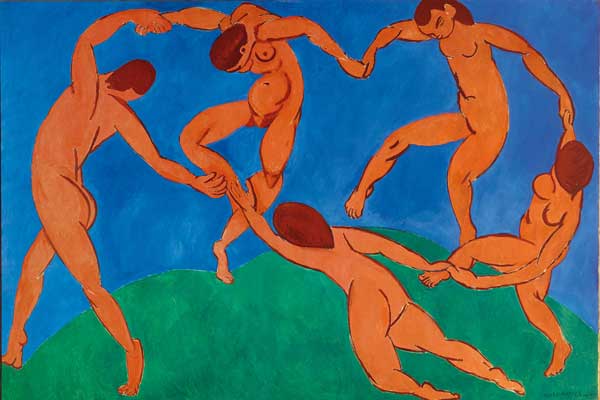
Tip: When you make your own mosaic designs, don’t use one blue color for an area such as this. Instead, use two or even three blues of the same hue but slightly different in shade and mix them together to create visual interest. Note how Matisse’s bold color fields aren’t completely homogenized, even in this digital copy of low resolution.
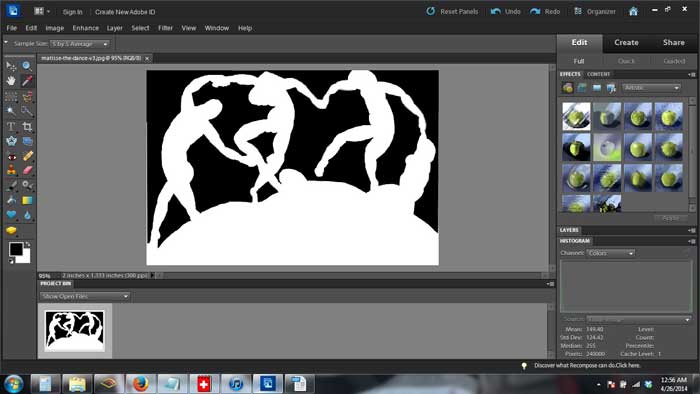
Step 1. Use The Magic Extractor To Clip Out The Color Of Interest
Use the Magic Extractor in Photoshop Elements to clip out the color.
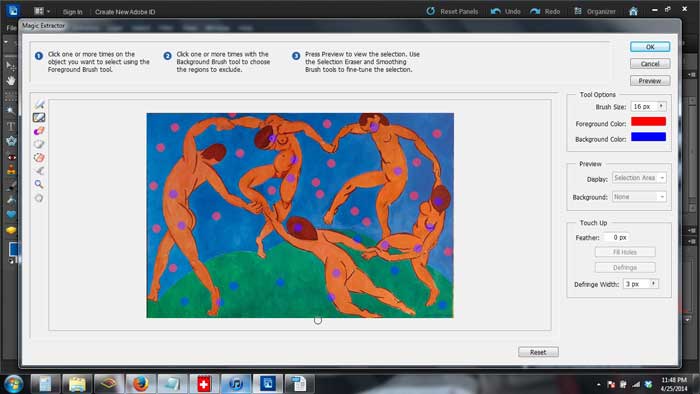
Note that I used the first highlighter to mark the blue in multiple places to make sure that I marked all the different shades of blue. I also marked it in each separate blue area just to be sure, but this isn’t necessary. When I used the second highlighter, I made sure I marked the grass and the dancers in a way that got all the different colors and shades of colors used for them.
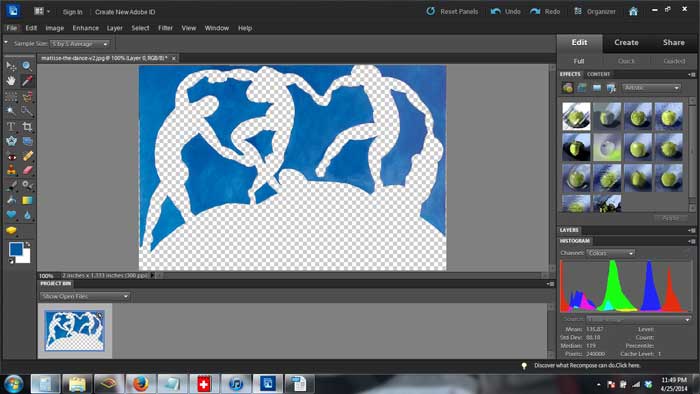
Notice how efficiently the Magic Extractor removes the non-blue elements.
Step 2. Use Filter Tools To Black Out The Color
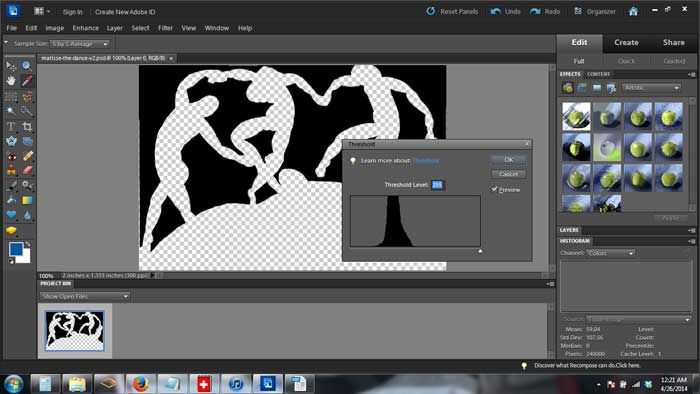
Under the Filter menu, there is a collection of tools called Adjustments. Use the Threshold tool, and drag the pointer to 255. What this is doing is saying black out all color with RBG values under 255, which is the RBG for pure white.
Step 3. Save As A JPEG With A White Background.
Notice that the gridded background is not colored at all, which means the image is now a Photoshop file PSD instead of a JPEG. We need to save it as a JPEG with a white background before we can proceed. However, first you should save this PSD file in case you need to backtrack for whatever reason, and then save it as a JPEG.
Once you have saved it as a JPEG, close this PSD file and open the newly created JPEG.
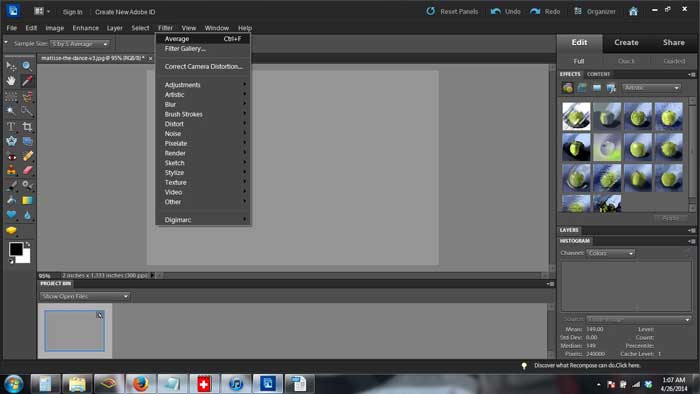
Step 4. Use Filter Tools To Set Every Pixel To The Average Color.
Now comes the real trick of how to find out how many pixels were in the blue area that we turned to black. Photoshop has a tool that will turn every pixel to the average of all the pixel’s current RBG values. All of our pixels are white (RBG = 255) or black (RBG = 0). The weighted average of all these pixels will be a gray with an RBG somewhere between 0 and 255. The larger the blacked area was before the averaging, the darker the gray will be and the lower the RBG number. The Average tool is found under the Filter menu: Filter > Average or Filter > Blur > Average.
Step 5. Use The Color Picker Tool To Find The RBG Value Of The Gray.
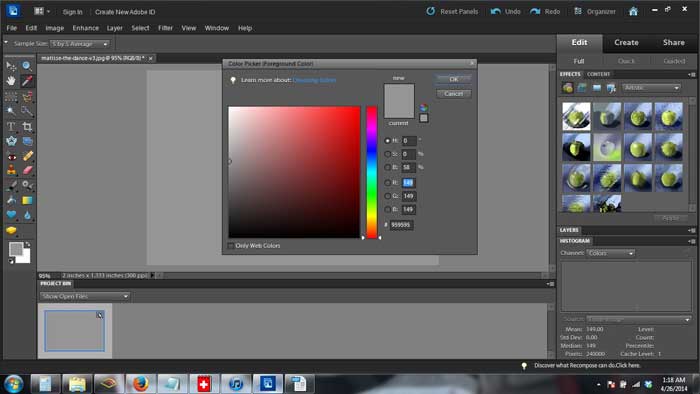
Photoshop’s Color Picker tool is the eyedropper icon. Use it to click the image and then the “Select Foreground Color” square at the bottom of the left toolbar.
Use Photoshop’s Color Picker tool (eyedropper icon) to click the image and then click the “Select Foreground Color” square. This square is at the bottom of the left toolbar. Once you click the square, the dialog window will pop open and show you the RBG (red blue green) values for this gray. Since it is a gray averaged from pure white and pure black, all the RBG values should be the same number.
In our example, we see that the RBG value for the gray is 149. If we divide 149 by 255, we get 0.58, which means that 58% of the image’s area is the whited-out non-blue colors. To get the percent of the total area that is blue, we subtract 58% from 100% and get 42%.
Why this works: If the mosaic was completely whited out, then the RBG number we found using the Color Picker would be 255, the number of white. But some of the mosaic was our blacked-out blue area. Black has an RBG number of 0. When all the white pixels (255) were averaged with the black pixels (0), the number calculated for this average was 149. Dividing 149 by 255 tells us the ratio of white area to total area. Grays with a higher RBG number mean that the amount of white area before averaging was larger.
So let’s say you were making a 6 ft x 4 ft mosaic interpretation of this Matisse painting. The total area is 6 ft x 4 ft = 24 square feet. The area that is blue is 0.42 x 24 square feet = 10.1 square feet.
You can find out how many tiles you need to cover that blue area using our tile estimator, which has a table of different tile sizes per square foot based on a standard grout gap.
Faster and Easier Than It Seems
Note that you will need to do this for all your colors (you can find the area of the last colors by subtracting the rest from 100%). However, this isn’t very much work. In fact, once you do it a few times, you can do this sort of analysis easily and quickly. Keep in mind that if a color isn’t used anywhere but in small areas like trimming and borders, then it might be difficult to block it out using the Magic Extractor tool, but do you really need a close estimate of something that is only used in 5% of the area? (If so, you need to use a higher resolution pattern, and do the analysis in sections.) Also, you can save that color for last and find it’s area by subtracting all the other color area estimates from 100%.
Leave a Reply