Artist RJ Spurr recently completed two mosaic tables for his home, and I wanted to share them because the level of craft work is excellent, and the designs are integrated with the color schemes of rooms where they were installed.
The great thing about dry indoor mosaics is that you can use wood as a base, and that means you can put mosaics on wooden tables. Thrift shops, yard sales, and unfinished furniture stores are great sources for tables, but you can also breath new life into old tables you already have on hand.
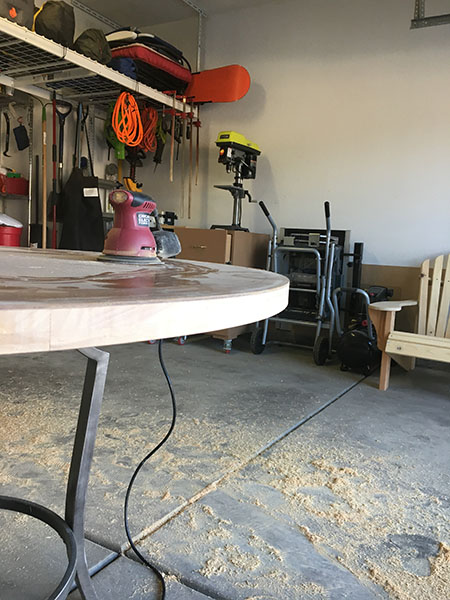
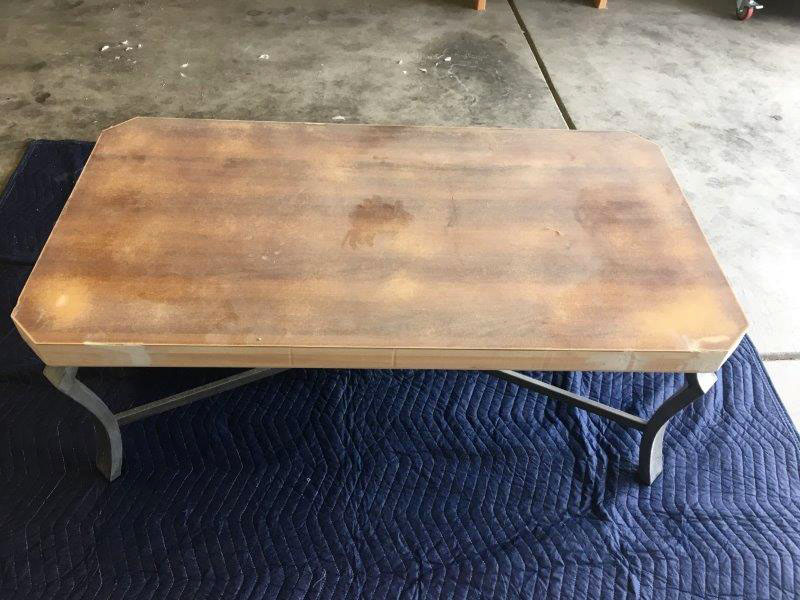
Surface Prep
The most important concern is preparing the surface so that glue and grout can adhere to the wood. Mostly that means sanding off the varnish and furniture polish.
Many artists recommend resealing the wood with the same PVA adhesive that will be used for mounting the tile so that the wood doesn’t suck moisture out of the grout as it hardens, (which is a process of binding moisture chemically not drying out). I rarely if ever do this because I manage to get enough glue on the surface of the wood while I am mounting the tiles.
WARNING. Never seal wooden mosaic bases with varnish or paint or anything other than the glue you will use. Mosaic adhesives (PVA glues) do not bond to oil-based materials, and these materials are a point of failure when they degrade in the future.
Bad Advice About Varnish
There is a lot of BAD ADVICE and INCORRECT INFORMATION on the Internet, and art instructions are no exception. Many sites will recommend pre-sealing a wooden base with varnish and then scuffing it with sandpaper so that the glue can stick mechanically to the roughness.
Do not do this. It is a lot of extra work, and it probably makes your mosaic less durable not more. The glue needs to stick as intimately as possible, and it can’t do that when the surface has an oil-based material on it. Instead of using varnish, seal with the same white PVA glue that you use for mounting glass tiles to wood. We recommend the Weldbond we sell.
If you have a table that you cannot sand or strip, then use sandpaper to scuff the existing varnish. That is when scuffing varnish makes sense.
Edges?
What to do about the edges of the mosaic? It depends on the table.
If there is already a frame or rim around the edge of the table top, then you are set. Just make sure you don’t damage it sanding the top.
Otherwise, you have two options:
- Make a frame around the table top using wooden molding and a mitre saw that can make a 45 degree cut (for square and rectangular tables).
- Tile the sides of the table top like RJ Spurr did on both his tables.
- Tile to the edge and leave the edges of the tiling exposed.
The third option can be made to look good depending on the care you take, but you must be sure to smooth any sharp edges with a marble file or diamond-grit file.
The first option does not require that you find wood that can be stained the same color as the rest of the table and the same color stain because the frame is an extra element just like the mosaic is. As long as it looks good with the existing wood, it can be different.
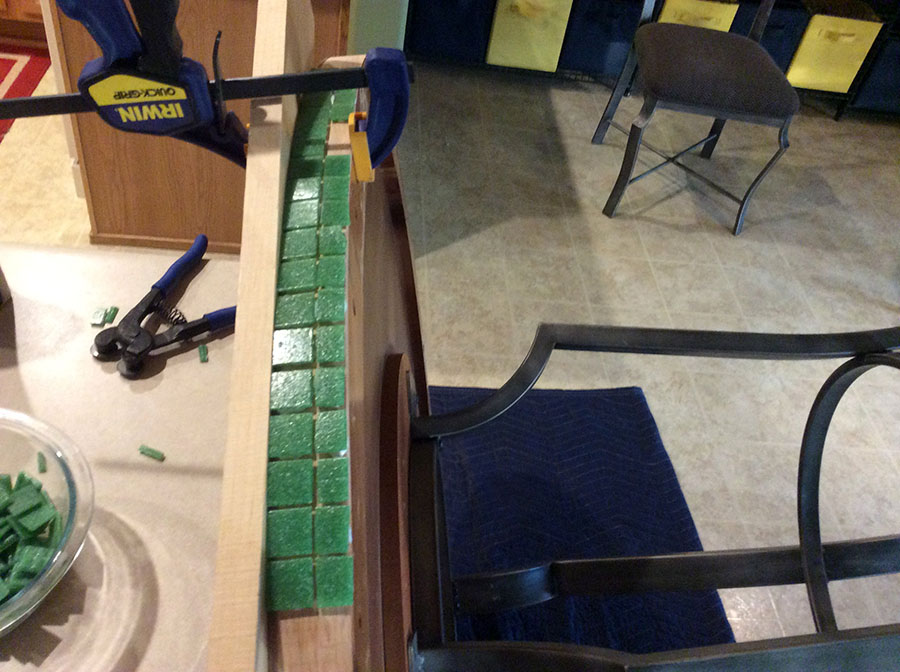
Work Smart: Notice the board clamped to the table to act as a stop to ensure that the tiles on the side edge are mounted flush with the top surface of the table. Notice that this edge tiling is done before the top surface is tiled. The tiling is done in that order so that the tiling on the top surface can extend slightly out over the edge tiling.
Where Do I Start?
Notice that RJ did everything in a logical order that made sense at every step:
- Surface preparation (so that the tiles don’t pop off).
- Tile the side edges first. (so that tiles on the top surface can extend out slightly to cover their sides).
- Tile the top surface starting at the perimeter (so that there are no partial tiles at the edge and so that the design stays centered).
- Start tiling the center of the design after the perimeter is complete instead of working all the way to the center (to makes sure the design stays centered and that error doesn’t creep in as you tile to it).

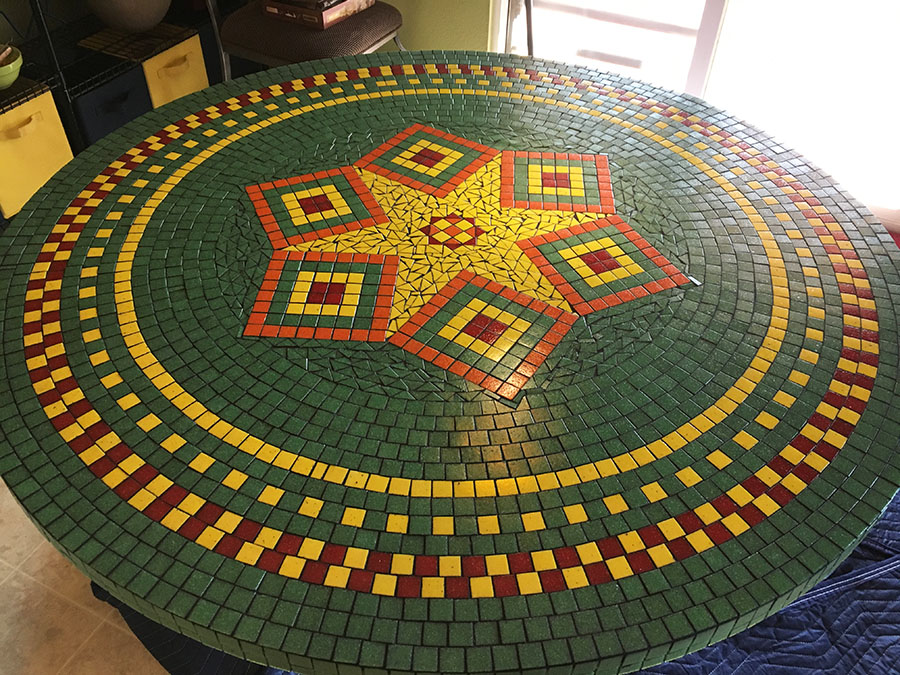
Note: I believe the table looks glossy and varnished in the photo above because he sealed it with Weldbond mosaic adhesive, if I remember correctly. That is what you should use to mount the tiles and to pre-seal the bare wood.
Centering the Design: Small Patterns as Design Units
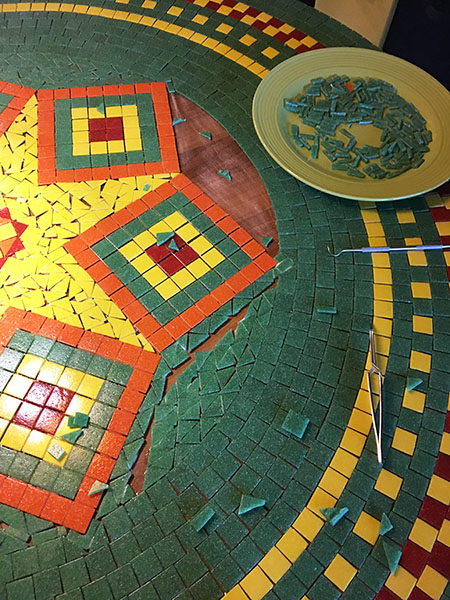
For the round dining-room table, the artist mounted the six square bullseye motifs on fiberglass mesh so that he could move them around as a unit and make sure he had everything lined up and symmetrical. Working smart.
I would have avoided mesh for these because the other tiles don’t have mesh under them, and so there might be a slight difference in height, but you could always use a little extra glue under adjacent tiles, and I suspect that is what the artist did. Instead of mesh, these square bullseye motiffs could have been face-mounted on mounting tape. It’s all a matter of what you happen to have and what you feel comfortable working with.
Start at the Perimeter; Then Jump to Center
Start at the perimeter to make sure you don’t have any partial tiles at the edge. Then jump to the center and tile that to make sure the design stays centered. Then fill in the area in between.
Morjo™ Vitreous Glass Tile
RJ used Morjo™ brand 3/4-inch vitreous glass mosaic tile for these tables.
Coffee Table
RJ also used a logical sequence in tiling the rectangular coffee table, with design units laid out on mesh.
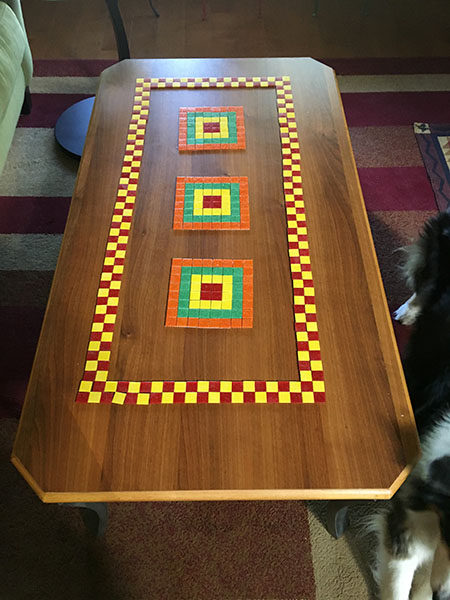
Whether you are making figurative compositions or abstract geometric patterns, it always helps to just lay out some tile without gluing it down and see what it looks like.
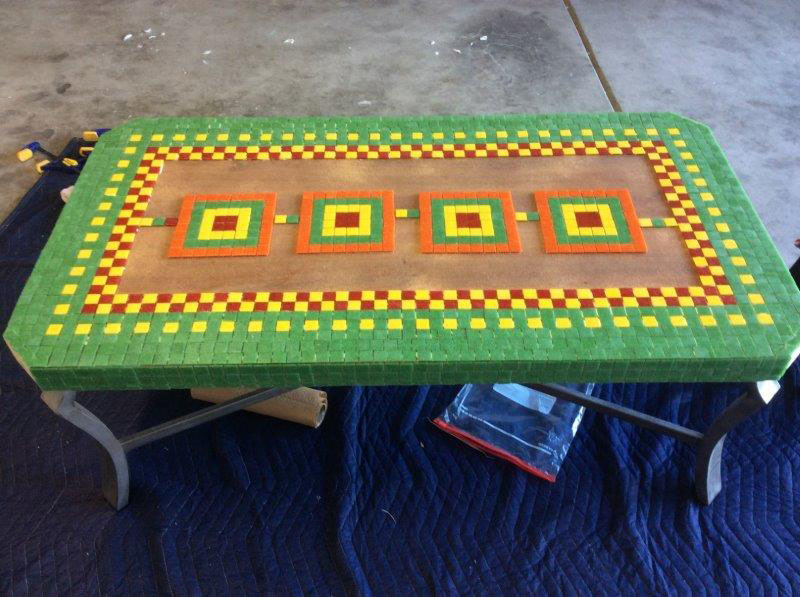
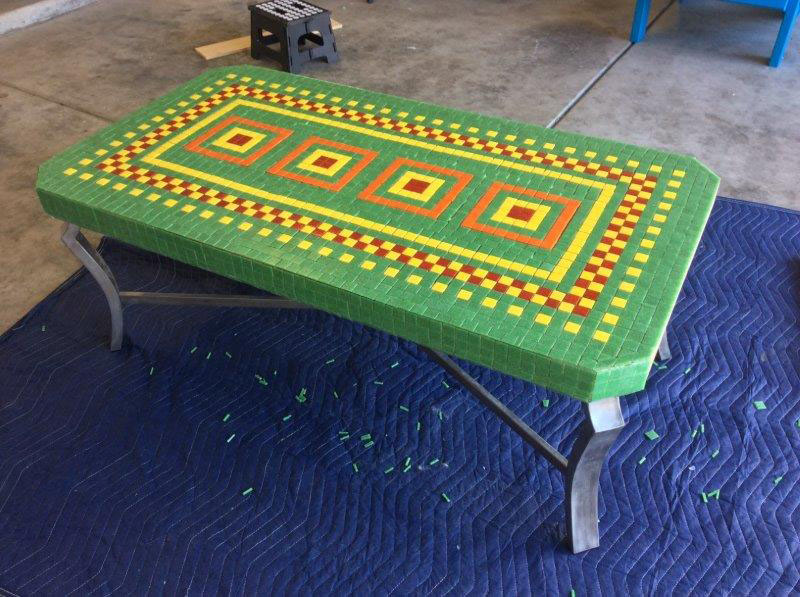
Notice the shipping blankets/freight pad on the floor in the photo above. Some sort of padding is essential if you are going to be turning the furniture on its side to tile side edges.
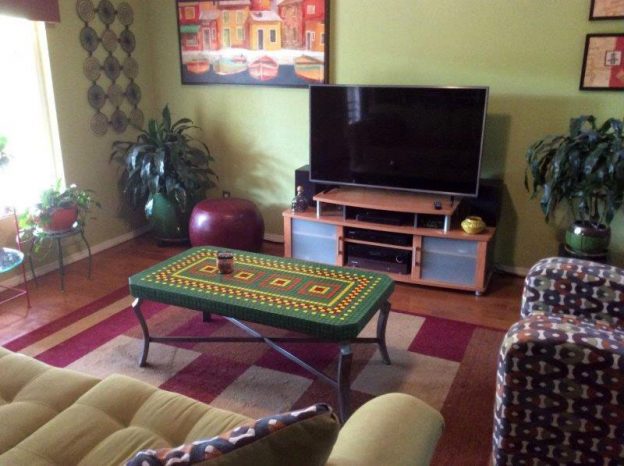
Look At Room’s Colors
When designing mosaics for a particular room, make sure you look at the room’s color scheme as a starting point. That applies to figurative work as well as abstract.
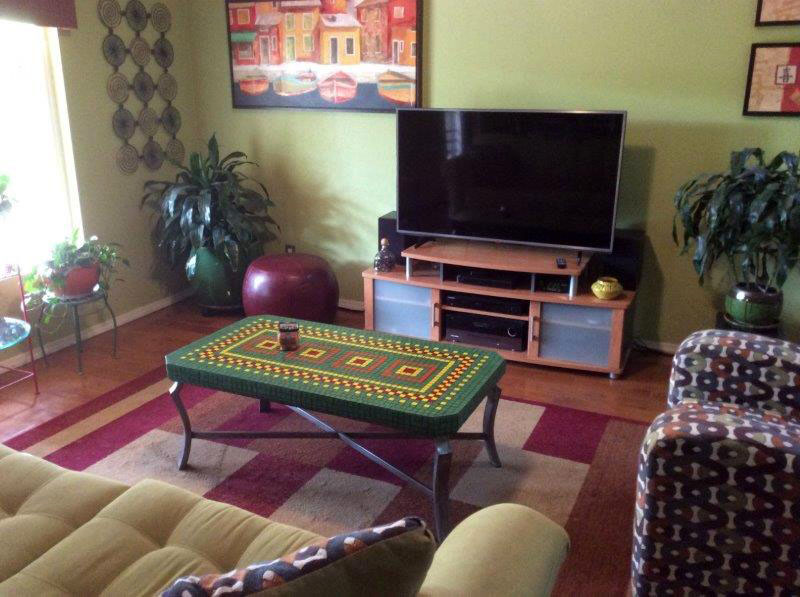
Doesn’t the table look like it was custom made for that room? That’s because it was. Congratulations RJ!
Leave a Reply