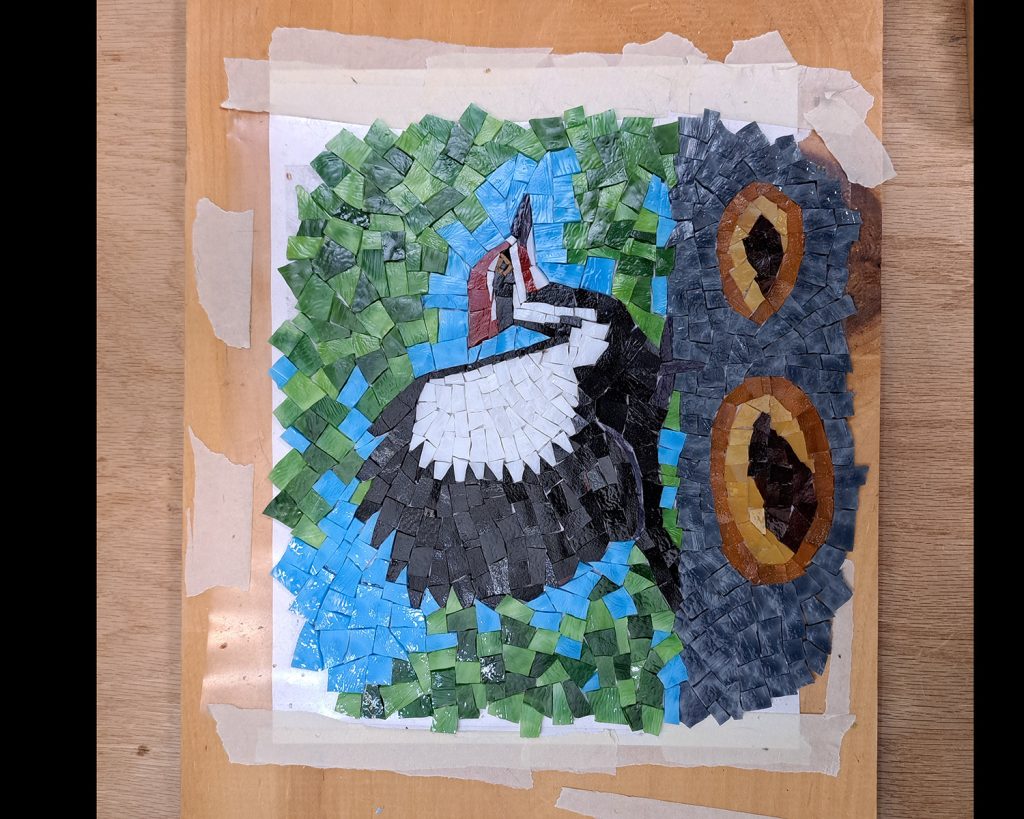
I made a mosaic of a pileated woodpecker by improvising over a pattern. Below is a video of the process of laying up the mosaic on a temporary surface of sticky contact paper.
The Video
The video of laying up the mosaic is a series of progress photographs.
Notice how casually I make changes on the sticky contact paper. It’s a very forgiving process that allows you to try different options and compare them.
The Captions
The captions for the video explain the process:
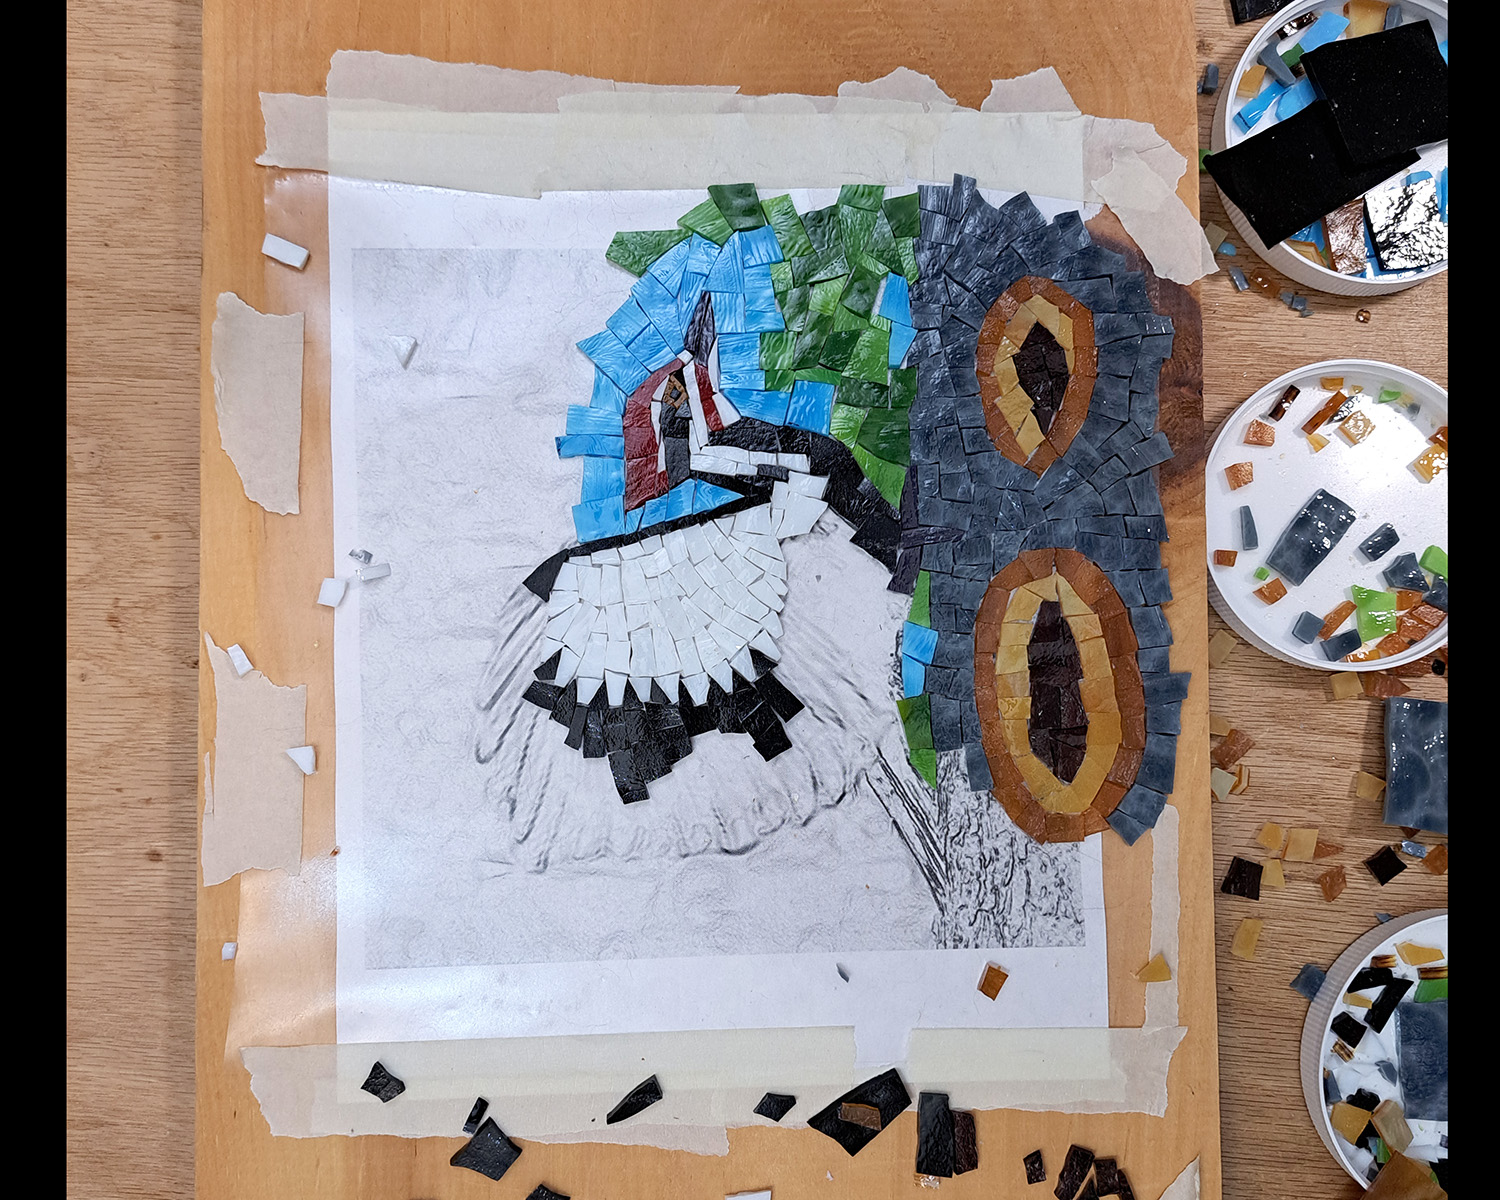
This mosaic was made by improvising over a pattern covered by clear contact paper with the sticky side up.
The pattern was quickly made from a collage of five photos and Photoshop’s feature:
Filter >> Stylize >> Find Edges.
The pattern wasn’t followed exactly. Instead, I used the pattern as a starting point.
A pattern doesn’t tell you what andamento to use or how to simplify fine detail.
You have to improvise those things.
Of course, I am talking only about mosaic artwork that shows the character of the artist and not mechanical pixelated renderings.
If you use tiles like tiny pixels in a grid, then a precise pattern is followed exactly.
This mosaic will now be picked up with mosaic mounting tape and transferred to a backer covered with thinset mortar.

Mounting
This mosaic will be mounted on an irregularly-shaped backer made from hardware cloth (wire mesh) and thinset mortar.

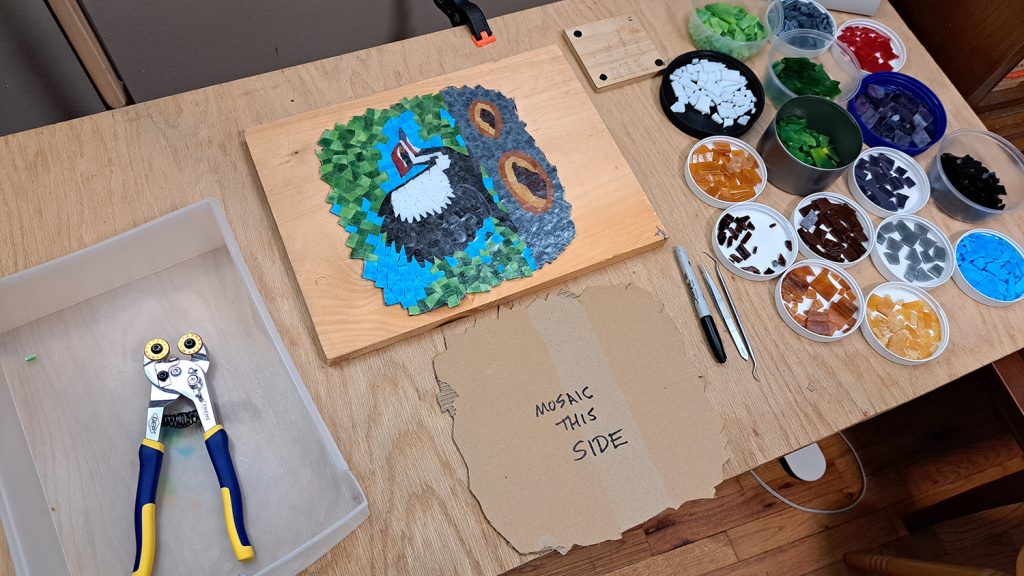
Studio Workstation
I have a large studio at the Mosaic Art Supply warehouse, but this is my set up at home.
Notice the cardboard template I made by tracing around the mosaic. The cardboard template is used to make the irregularly-shaped backer for the mosaic.


Leave a Reply