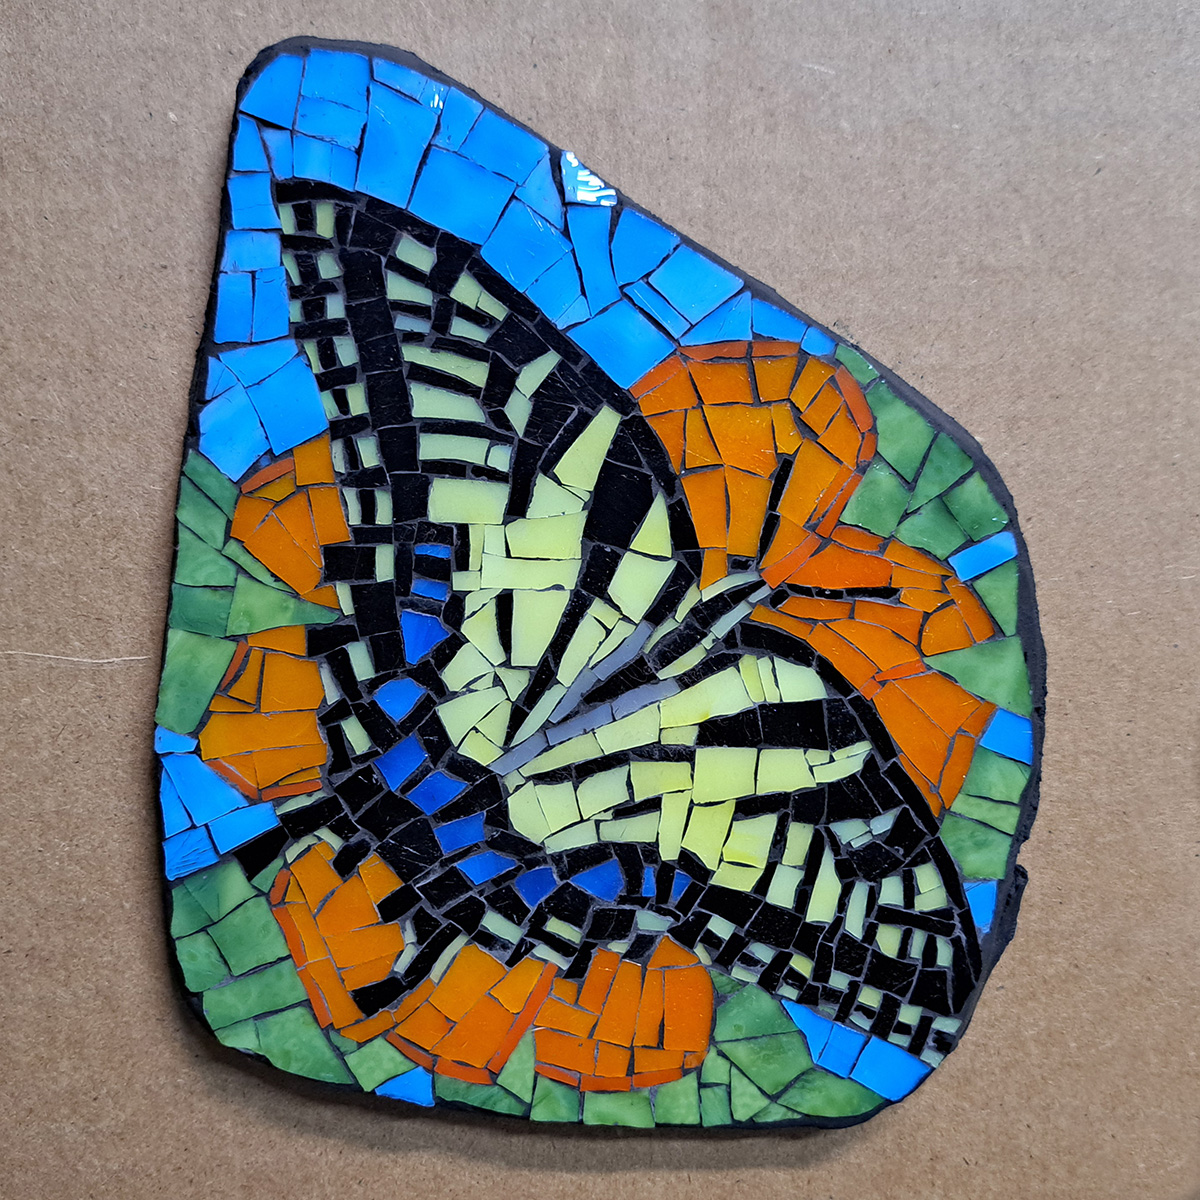
My article about making patterns for irregularly-shaped mosaics shows other work-in-progress steps for the same mosaic I show here in this post. The mosaic is named for its subject, Eastern Tiger Swallowtail Butterfly. It’s about 6 x 7 x 1/2 inches in size.
In this article, I show the creation of the temporary surface and mounting the mosaic to the backer.
Temporary Surfaces
Temporary surfaces such as a piece of sticky contact paper allow you to quickly lay out the design and easily make changes at any point, including after you get it all laid out and can see ways to fix critical errors and tweak the design.
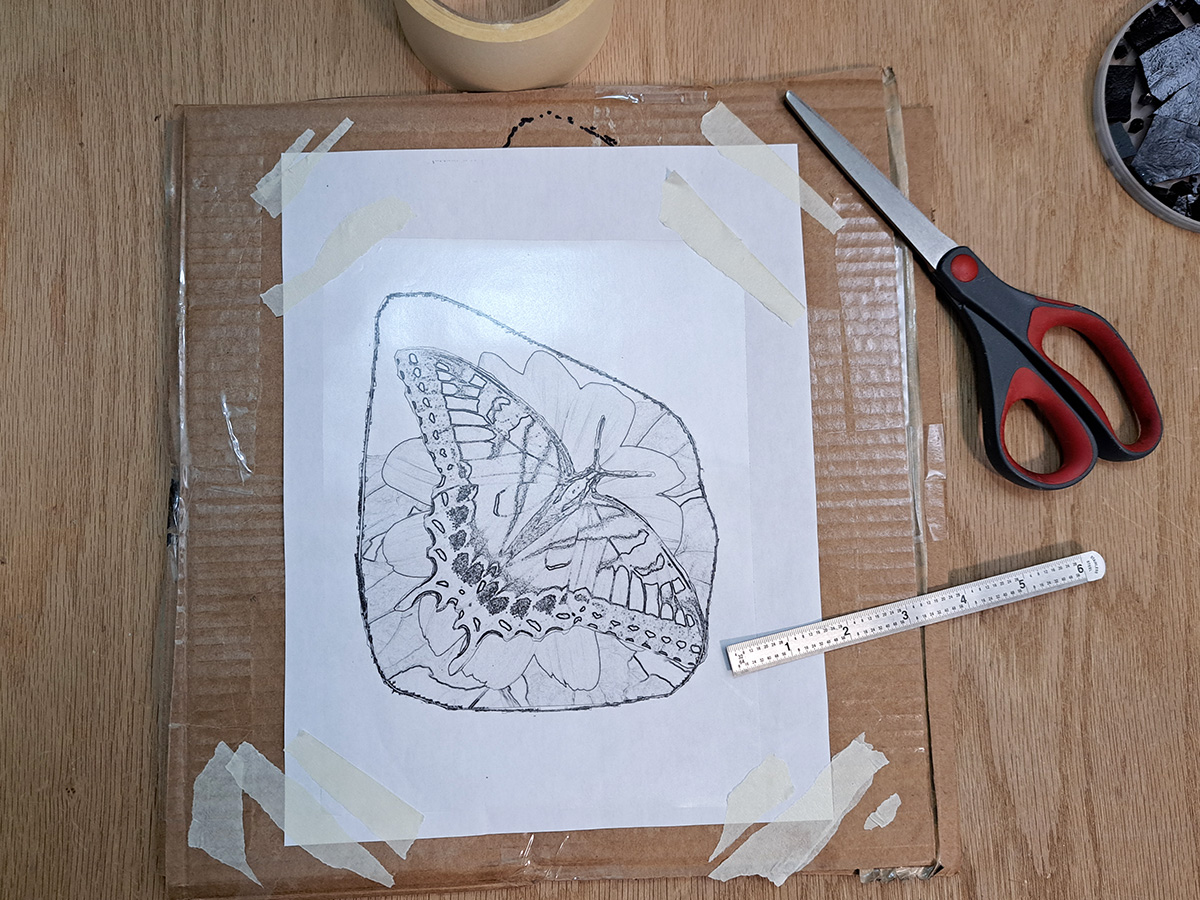
My favorite temporary surface is a piece of clear contact paper taped sticky side up over a pattern created from a photo collage.
TIP: I never follow a pattern exactly but only use it as a starting point for improvising while I consult other images of the same subject and make allowances for what can be rendered with the available color palette.
I recommend all mosaicists try using temporary surfaces at some point.
A temporary surface is the easiest way to take the sophistication of your mosaics to the next level.
The following photo shows the clear contact paper being taped down over the pattern with its sticky side up:
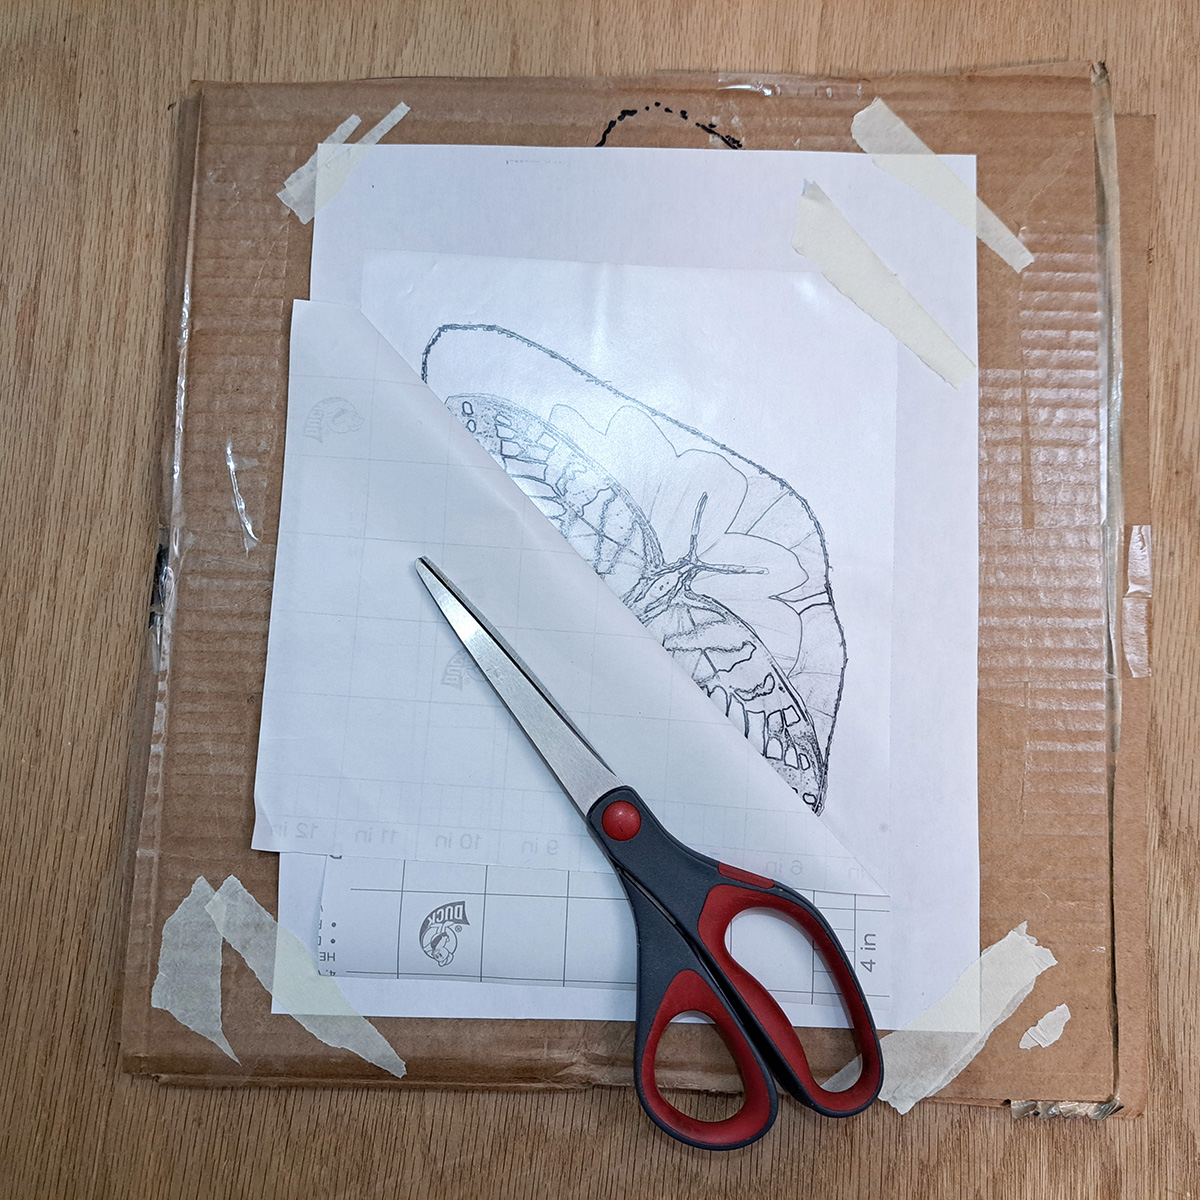
That is how I make my temporary surfaces for small mosaics, but the process easily scales up if you work in small square sections, with 1×1 ft or 300 x 300 mm being the most common sizes used.
Sections can be irregular in shape, and they can have irregular edges.
TIP: Whether you use square or irregularly-shaped sections, the most important tip about mounting them is to make sure the spacing between sections is the same width as the grout gap used in the sheet.
Otherwise the finished mosaic will look divided up into sections. Even a slight error in the spacing between sections (sheets of tile) can be noticeable.
Mounting to Backer
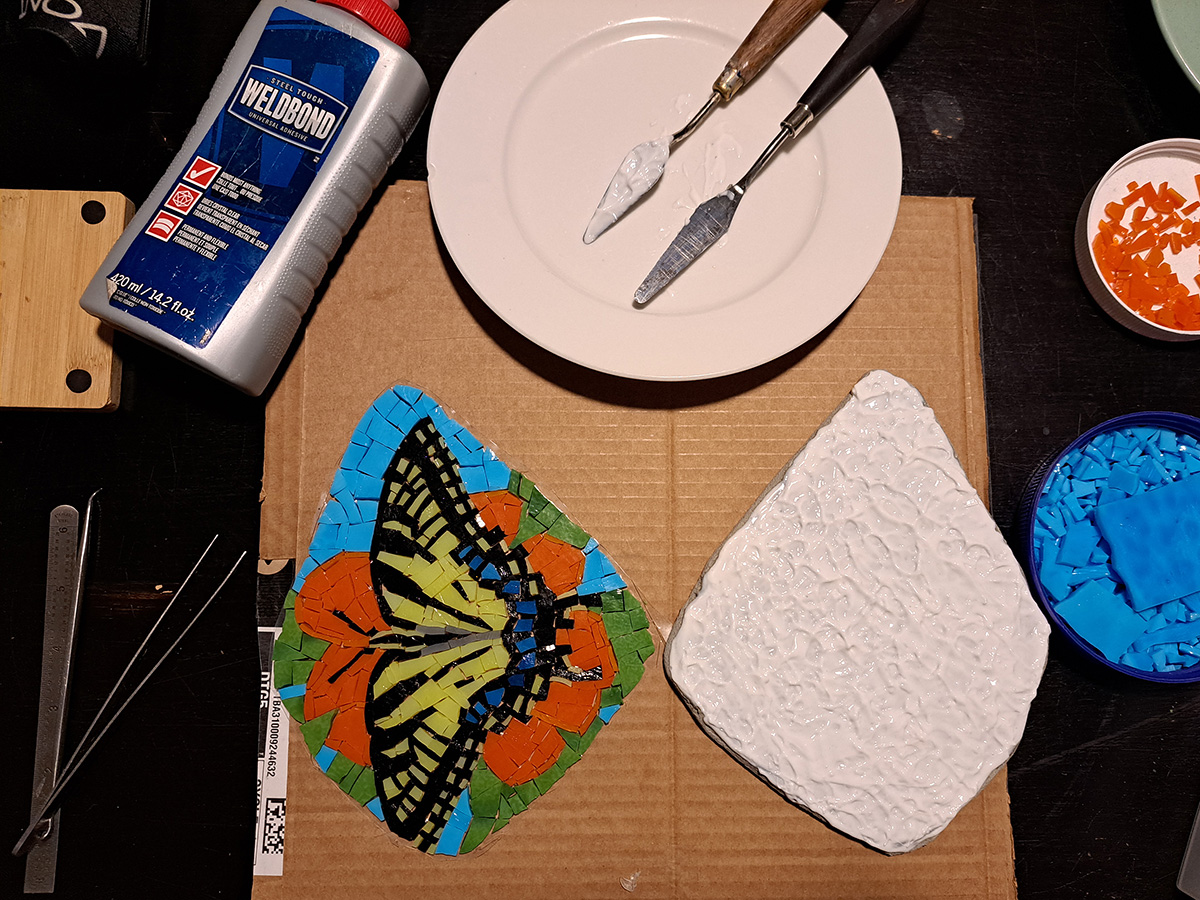
I mounted this mosaic on a reinforced mortar stone that I made to use as its backer.
I used Weldbond adhesive to mount the mosaic to the backer, and I used palette knives to work the glue by patting and spreading until it became more tacky.
This probably took about five minutes in a climate-controlled room.
I was careful to work and spread the glue periodically to prevent it from forming a skin at its surface or hardening prematurely on its bottom.
The hardened mortar sucks moisture from the adhesive, and so the adhesive starts hardening first on its bottom where it sits on the mortar stone.
For the actual mounting process, I picked the mortar stone up and lowered it glue-first onto the mosaic.
Note that we are looking at the back of the mosaic in the photo above. The mosaic is face down on Mosaic Mounting Tape, which was used to lift the mosaic off the temporary surface.
Leave a Reply