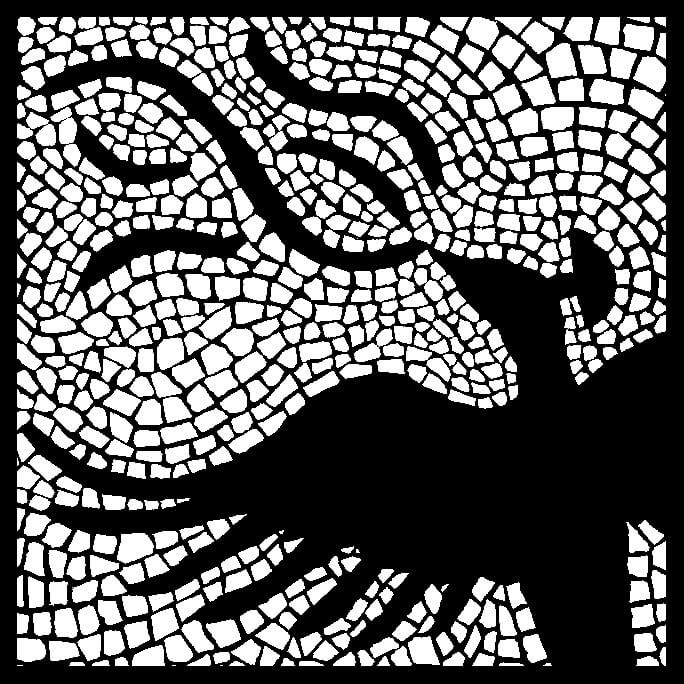
Artists can create a sense of motion in their mosaics by using concentric curved rows of tile, especially in the background around figures.
To me this use of andamento* is one of the most interesting aspects of mosaic, and it is an easy way for novices to make art that really engages the eye. I used this technique in the first mosaic I ever made, and when I used a photo of that mosaic to make our logo, I blacked out the figure of the fire bird to emphasize how much of the sense of motion was creation was created by the andamento in the background.
*The Joy of Shards mosaic website defines andamento as the visual flow and direction within a mosaic produced by the placement of rows of tesserae (pieces of tile).

Case Study: Chris McManus’ Swirling Opus
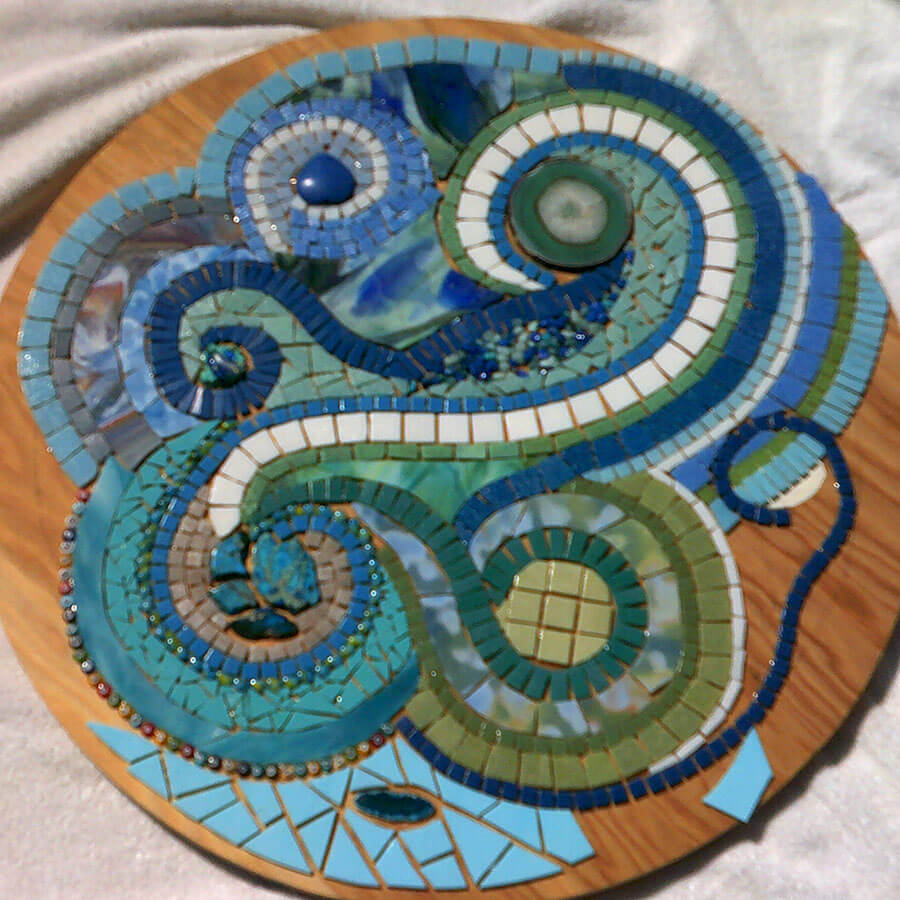
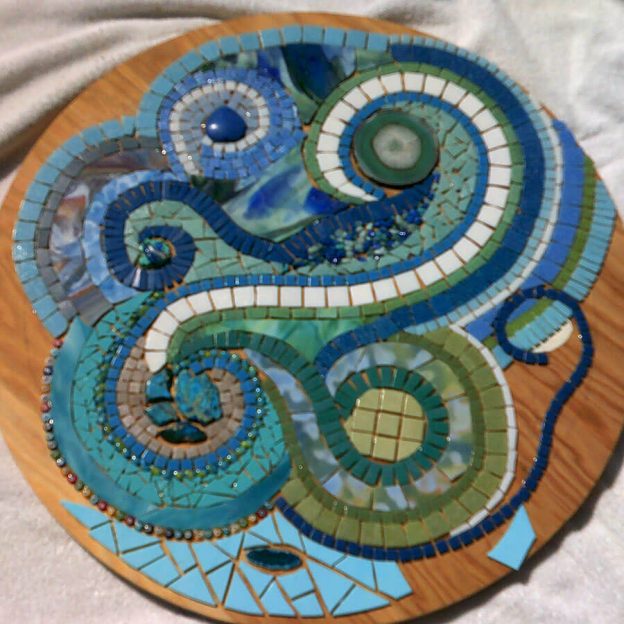
Recently artist Chis McManus sent me some photos of her Swirling Opus mosaic in progress, and I think it is an excellent teaching example because it contains elements that contribute to the sense of motion and other elements that cause that visual effect to break down. Chris says that the urge to complete the piece may have gotten the better of her, and that is something most all of us can relate to, including myself.

The light cyan blue stained glass at the bottom of the mosaic is the only area so far that isn’t made of rows of tile (other than the centers of the swirls). The center of one swirl is also different because the rows are a rigid grid. Do these elements provide interesting contrast, or do they disrupt a harmony?
Keep in mind that you have to visualize it grouted. My initial impression was that the stained blue glass has larger grout gaps than the rest of the mosaic, which is normally a problem, but with dark black grout, the lines would look like a nice fat lines of netting in a blue patch.
With black grout, that area should have enough contrast to compete visually with rowed areas BECAUSE it has slightly over-sized grout gaps that don’t harmonize with the rest of the mosaic, which is the exact opposite of what I recommended in my recent article about the importance of using a consistent grout gap throughout a mosaic. Sometimes you have to break the rules to follow the rules.That’s why it’s an art and not a science…
On the other hand, the grid area in the center of one of the swirls definitely looks out of place to me. Perhaps grouting will help it look more integrated with the rest of the work.
Using Thumbnails and Time
I like to lay work to the side and look at it with more objective eyes in the morning, or a few mornings later, instead of pushing the work to completion.

I also like to photograph it and look at the work as a thumbail image to see what it looks like at a distance. Looking at thumbnails is similar to a painter stepping back and squinting at his painting.
I like the white central swirl and the contrast it gives. I like very much that each swirl is different.
If You Decide to Rework an Area
Here is an article I wrote about how to remove tiles by carefully soaking the individual tiles, but you shouldn’t attempt something like that if you didn’t grow up working in a shop or are comfortable working with your hands around cut hazards.
Prying glass produces not only flying shards but shards still glued down and ready to cut a wrist or knuckles wide open when your prying too slips. (When not if.)
All that being said, an experienced person who soaks as I recommend should be able to get up all tiles without breaking any, especially if the glue is not cured for weeks. Wear safety glasses and work gloves anyway, and always keep in mind that some edges can cut through leather work gloves.


Leave a Reply