The backer used for this project was a reinforced mortar stone, and thinset mortar was used to mount the glass mosaic, which was on Mosaic Mounting Tape.
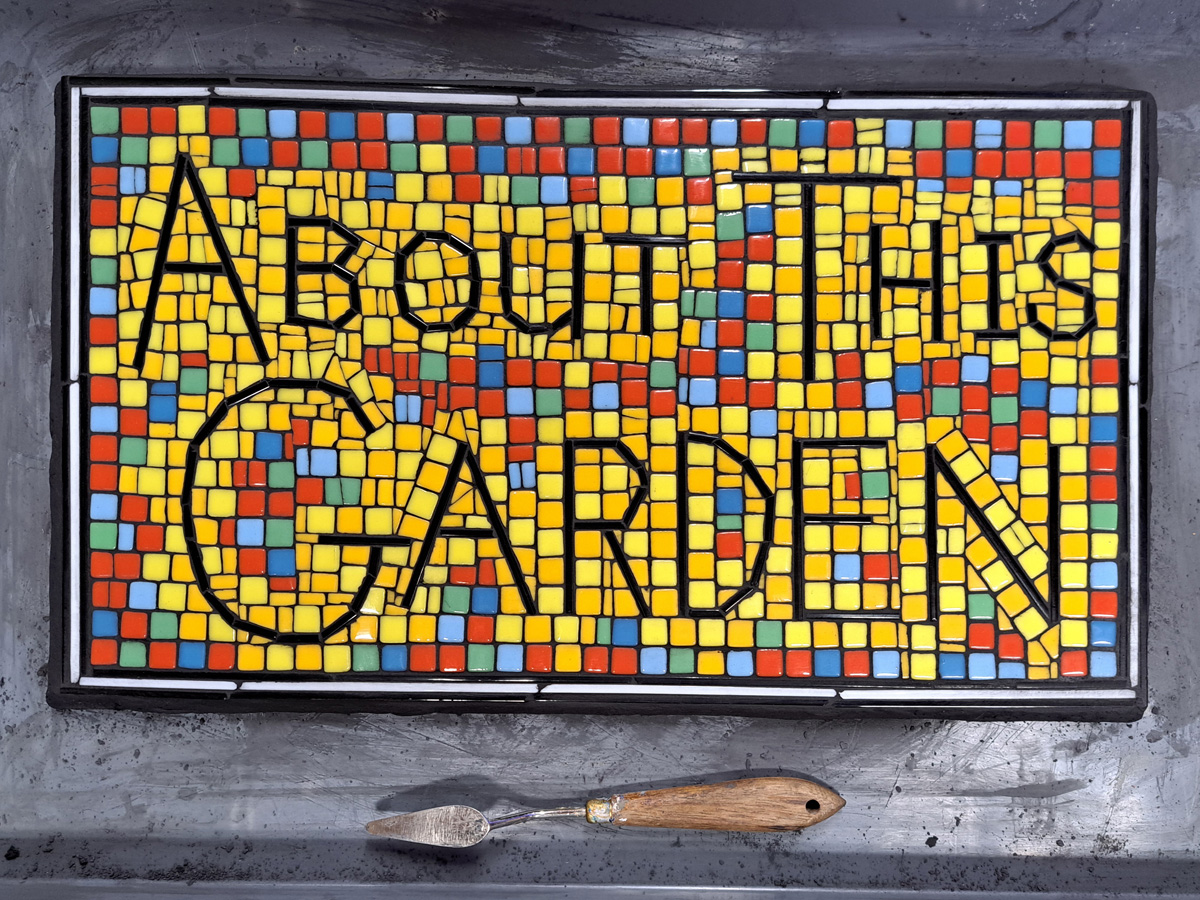
This mosaic garden sign is displayed under the QR-code mosaic so that passersby know the purpose of the QR code.
Mounting Process
Like the QR-code mosaic, the mosaic garden sign is a gridded gapless mosaic, and so the mounting process was the same as shown in the video for the QR-code mounting.
Mortar is spread on the backer, which is then lowered onto the mosaic, which is face-down on mosaic mounting tape.
Clarification: a thick bed of mortar is not used for sheets of tile with a grout gap. Instead, mortar is spread with a Notched Trowel in a controlled amount for those.
The reason I am spreading excess thinset for these gapless mosaics is to ensure that the mortar “cups” the bottom of each tile and squeezes up in the tiny cracks.
Also, I want there to be a significant amount of thinset remaining beneath the mosaic. My reason for doing this is:
I’ve noticed that very thin layers of thinset don’t harden very well because the backer sucks moisture from the mortar before the hardening process can bind the water chemically.
I want there to be enough mortar that I can press and rub the mosaic as much as needed to make sure that each tile is seated.
I want to be able to do with without having to worry about all the mortar getting too thin in place.
The problem with using excess mortar and rubbing is that it generates a lot of clean up work as shown in the photo below:

Note that the mortar in the photo is still soft, and the mounting tape hasn’t been peeled off.
The mortar in the gaps is allowed to harden in place to avoid disturbing the tiles while the mortar is still soft.
This leaves some clean up work before the mosaic can be grouted.
Tape Removal
After the mortar hardens the mounting tape is peeled off.
In practice, the process of removing the mounting tape is done in stages.
After 5 to 8-ish hours have passed, the mortar at the edges of mosaic should be firm enough to carefully peel the tape up at the edges.
Take care to only pull the tape backward and not upward so that you don’t pull tiles out of the mortar.
Roll the tape back to where the mortar still looks damp and soft.
After an hour or two, the mortar in the center should be dry and firm enough to remove the rest of the tape, or another stage of it at least.
Wait at least 24 hours before cleaning mortar from grout gaps.
Mortar Clean Up
The hardened thinset is still quite soft compared to the strength it will have in a week.
That means the excess thinset in the grout gaps can be easily crumbled with a dental pick.
It also means you need to handle the mosaic gently.
Care must also be taken to avoid flaking or splintering the glass, which can happen quite easily if the metal tool twists in the gap.
The photo below shows the face of the mosaic cleaned of mortar and ready for grouting.

Grouting
As usual, I used black grout. The black was non-sanded because there was no grout gap intentionally left. There are only the incidental cracks between tiles.

Installed
The mosaic was installed in the garden on a stepped stack of concrete landscaping blocks.

The mosaics lean back at an angle and are mortared to the landscaping stones at the top and bottom.
Leave a Reply