
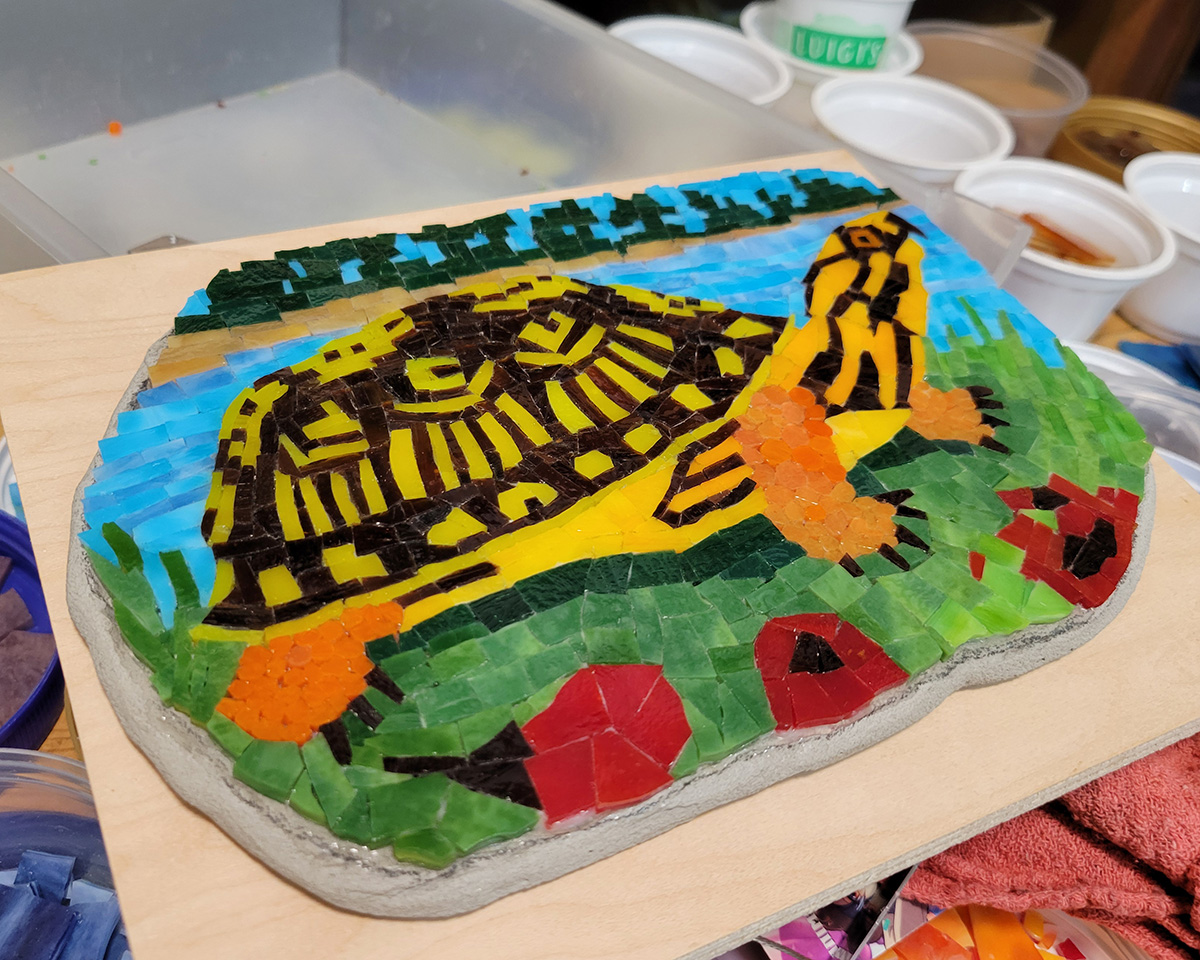
This mosaic was made on a temporary surface of clear contact paper. I looked at the shell patterns of countless Eastern Box Turtles. The shell pattern of the turtle in my mosaic is all of them and none of them.
I had an interesting problem with the backer for this mosaic. I found a way to fix it, took great photos of doing it, and then my cell phone died for time and all eternity.
Fortunately, I was able to get photos of other steps in the mosaic process, and the solution to the backer problem was relatively simple:
Undersized Backer Problem
After I made this mosaic on a temporary surface, I noticed that I had made it slightly larger than the custom “mortar-stone” backer I had made for it.
The mortar-stone backer was the correct shape more or less, but the mosaic overlapped the edges by about 1/8 to 3/16 inch all the way around.
I decided to enlarge the backer by adding more thinset mortar at the edges, which is problematic for two reasons.
The first issue is that perfect contact and hardening are required, and this can be a challenge when the amount of new mortar being added is relatively small.
Perfect Contact and Hardening
To make sure that new “shoulder” at the edges doesn’t easily chip off, it is important to make sure the mortar is thoroughly spread back and forth on the edge to ensure intimate contact with all pits and pores.
It is also a good idea the spread a little mortar on the top and bottom of the flat backer to help this shoulder hang on and not chip off easily.
I also made sure that the new mortar didn’t dry out before it could harden, which is likely to happen when only a small amount of mortar is on a surface.
I controlled the humidity by letting the enlarged backer harden over a pan of water for 12 hours before moving it to climate-controlled indoor air.
I let the mortar harden for 48 hours before filing and smoothing the backer with a Diamond-Grit File.
Templates for Precision
Another challenge was that the additional width needed was small and relatively even all the way around the mosaic.
How to avoid building out the edge too far in places?
A paper template was the most effective and easy solution once I figured out how to protect it from the mortar.
To make the template, I first pressed Mosaic Mounting Tape to the face on the mosaic and lifted it off the contact paper.
Then I placed the taped mosaic on a piece of printer paper and traced around it.
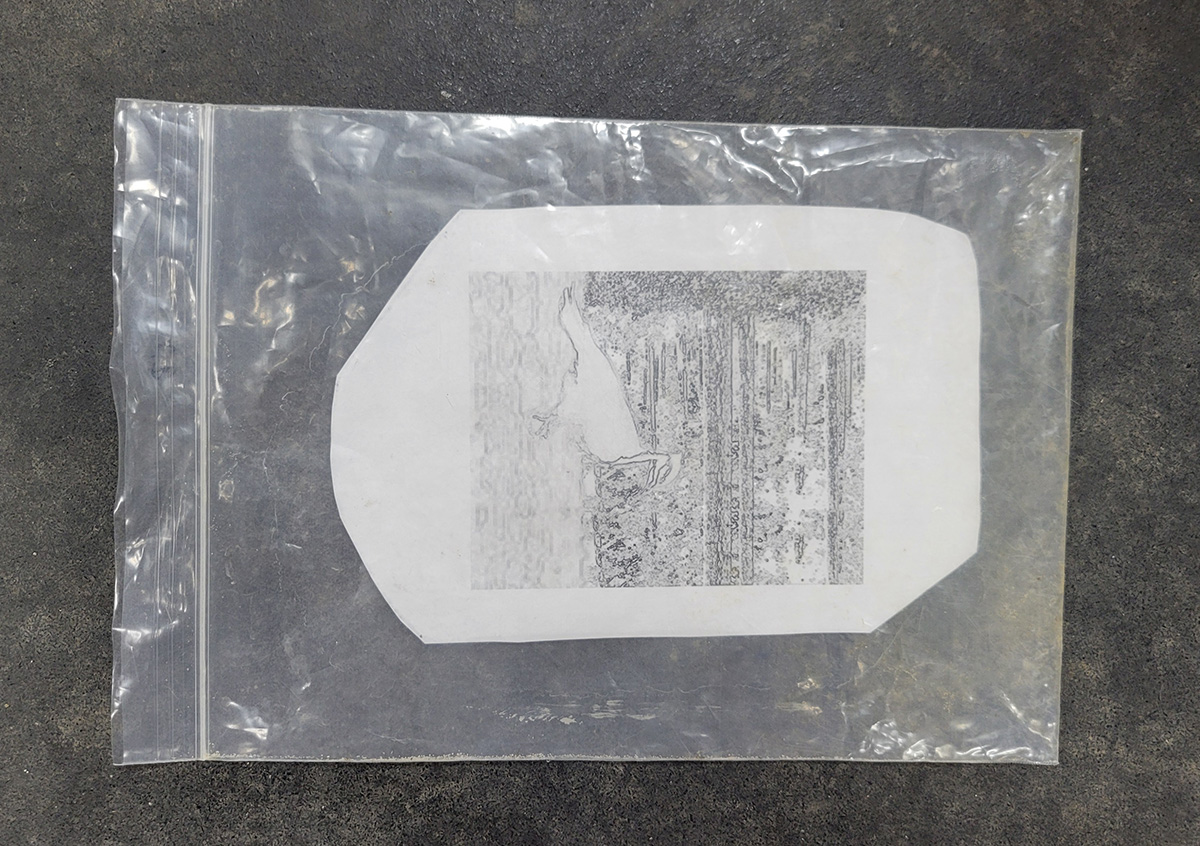
I cut this paper template out with scissors and put it inside an 8×10 ziplock bag lying flat on a worksurface.
I laid the backer on top of the template in the bag so that it centered on the template.
It was relatively easy to use a pair of Palette Knives to plaster the mortar around the edges.
The process was similar to icing a cake.
Recycled Materials
The ziplock bag and the paper used for the template were recycled materials that had already been used several times in the studio.
TIP: Sort and repurpose materials for use in the studio and learn how to use them instead of buying things like shop rags or mixing tubs. Plastic yogurt containers, used printer paper, bamboo chopsticks, and plastic bags are free.
Mounting the Mosaic
I used Weldbond Adhesive to mount the mosaic to the backer.
I traced an outline around the mosaic with a pencil on the backer because I didn’t want to get glue in places that wouldn’t be covered with mosaic.
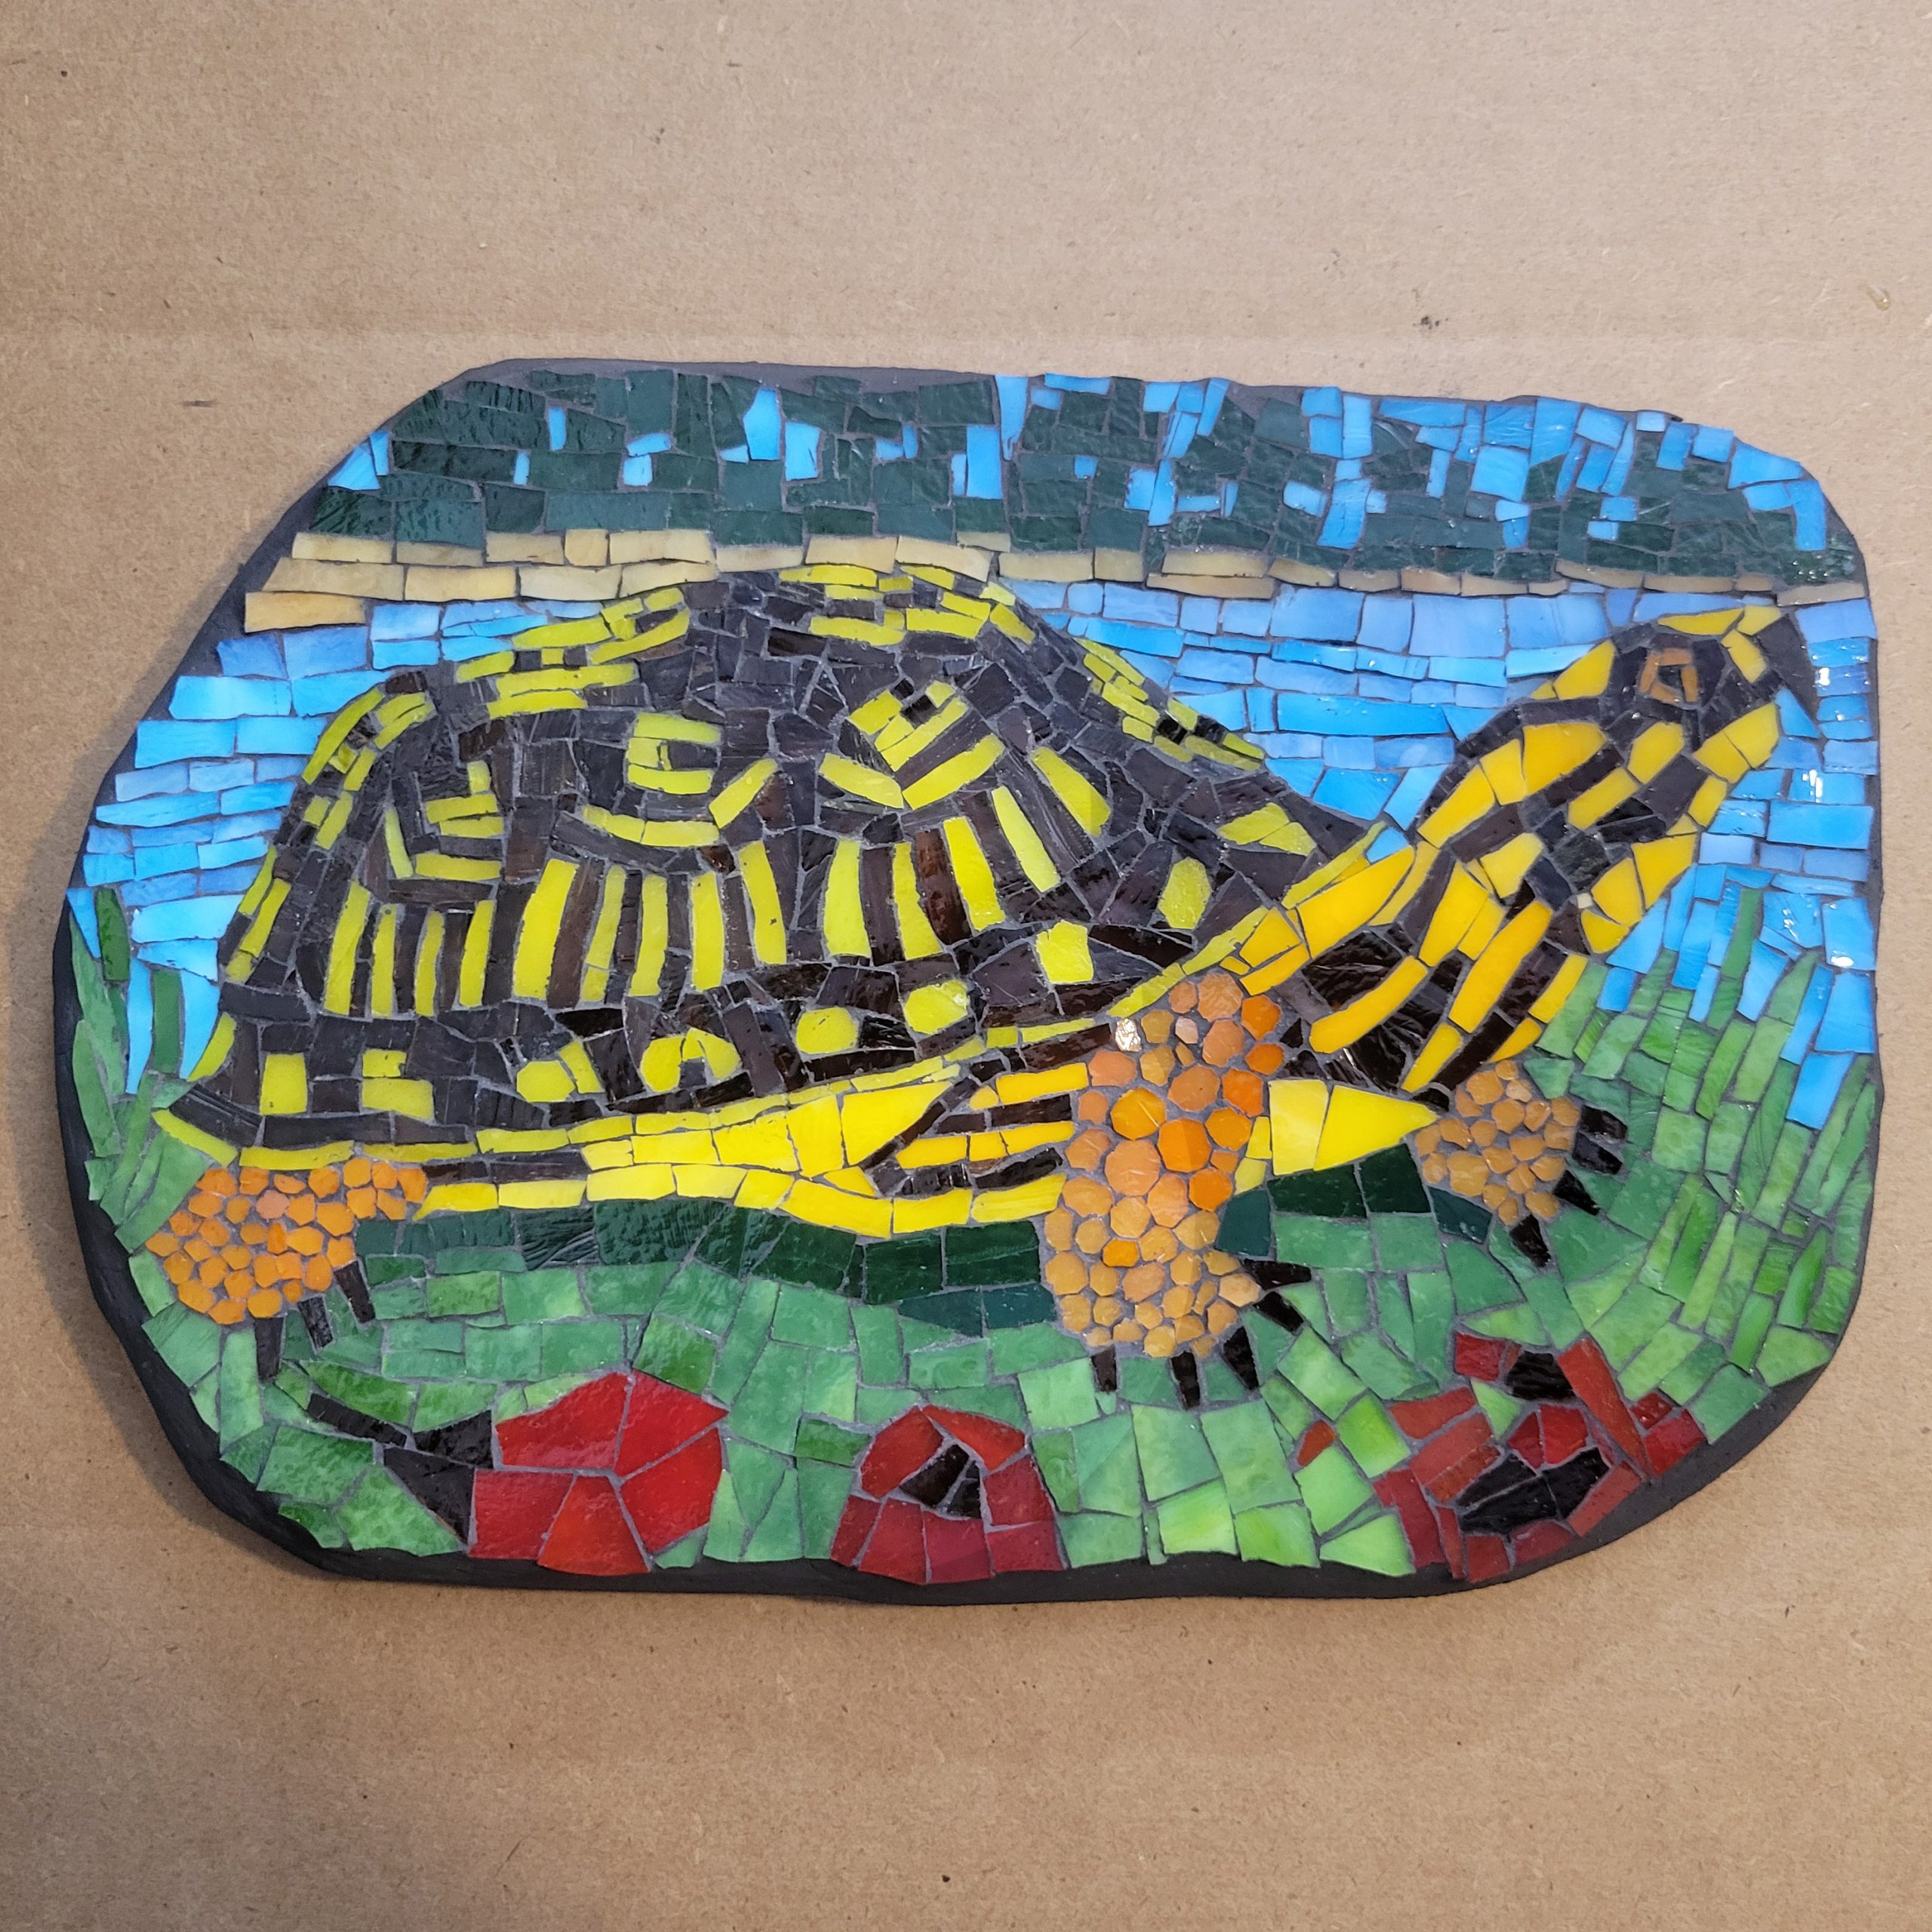
The pencil line on the backer was still visible before the mosaic was grouted:
I used a pair of Palette Knives to do this work.
I spread the glue back and forth over the surface of the backer to make sure the glue was making intimate contact.
I also spread the glue back and forth to help it lose excess moisture and start to get tacky.
Once the glue was tacky, I picked the backer up, flipped it over, and laid it on top of the mosaic, which was face-down on Mosaic Mounting Tape:

Easy Revisions
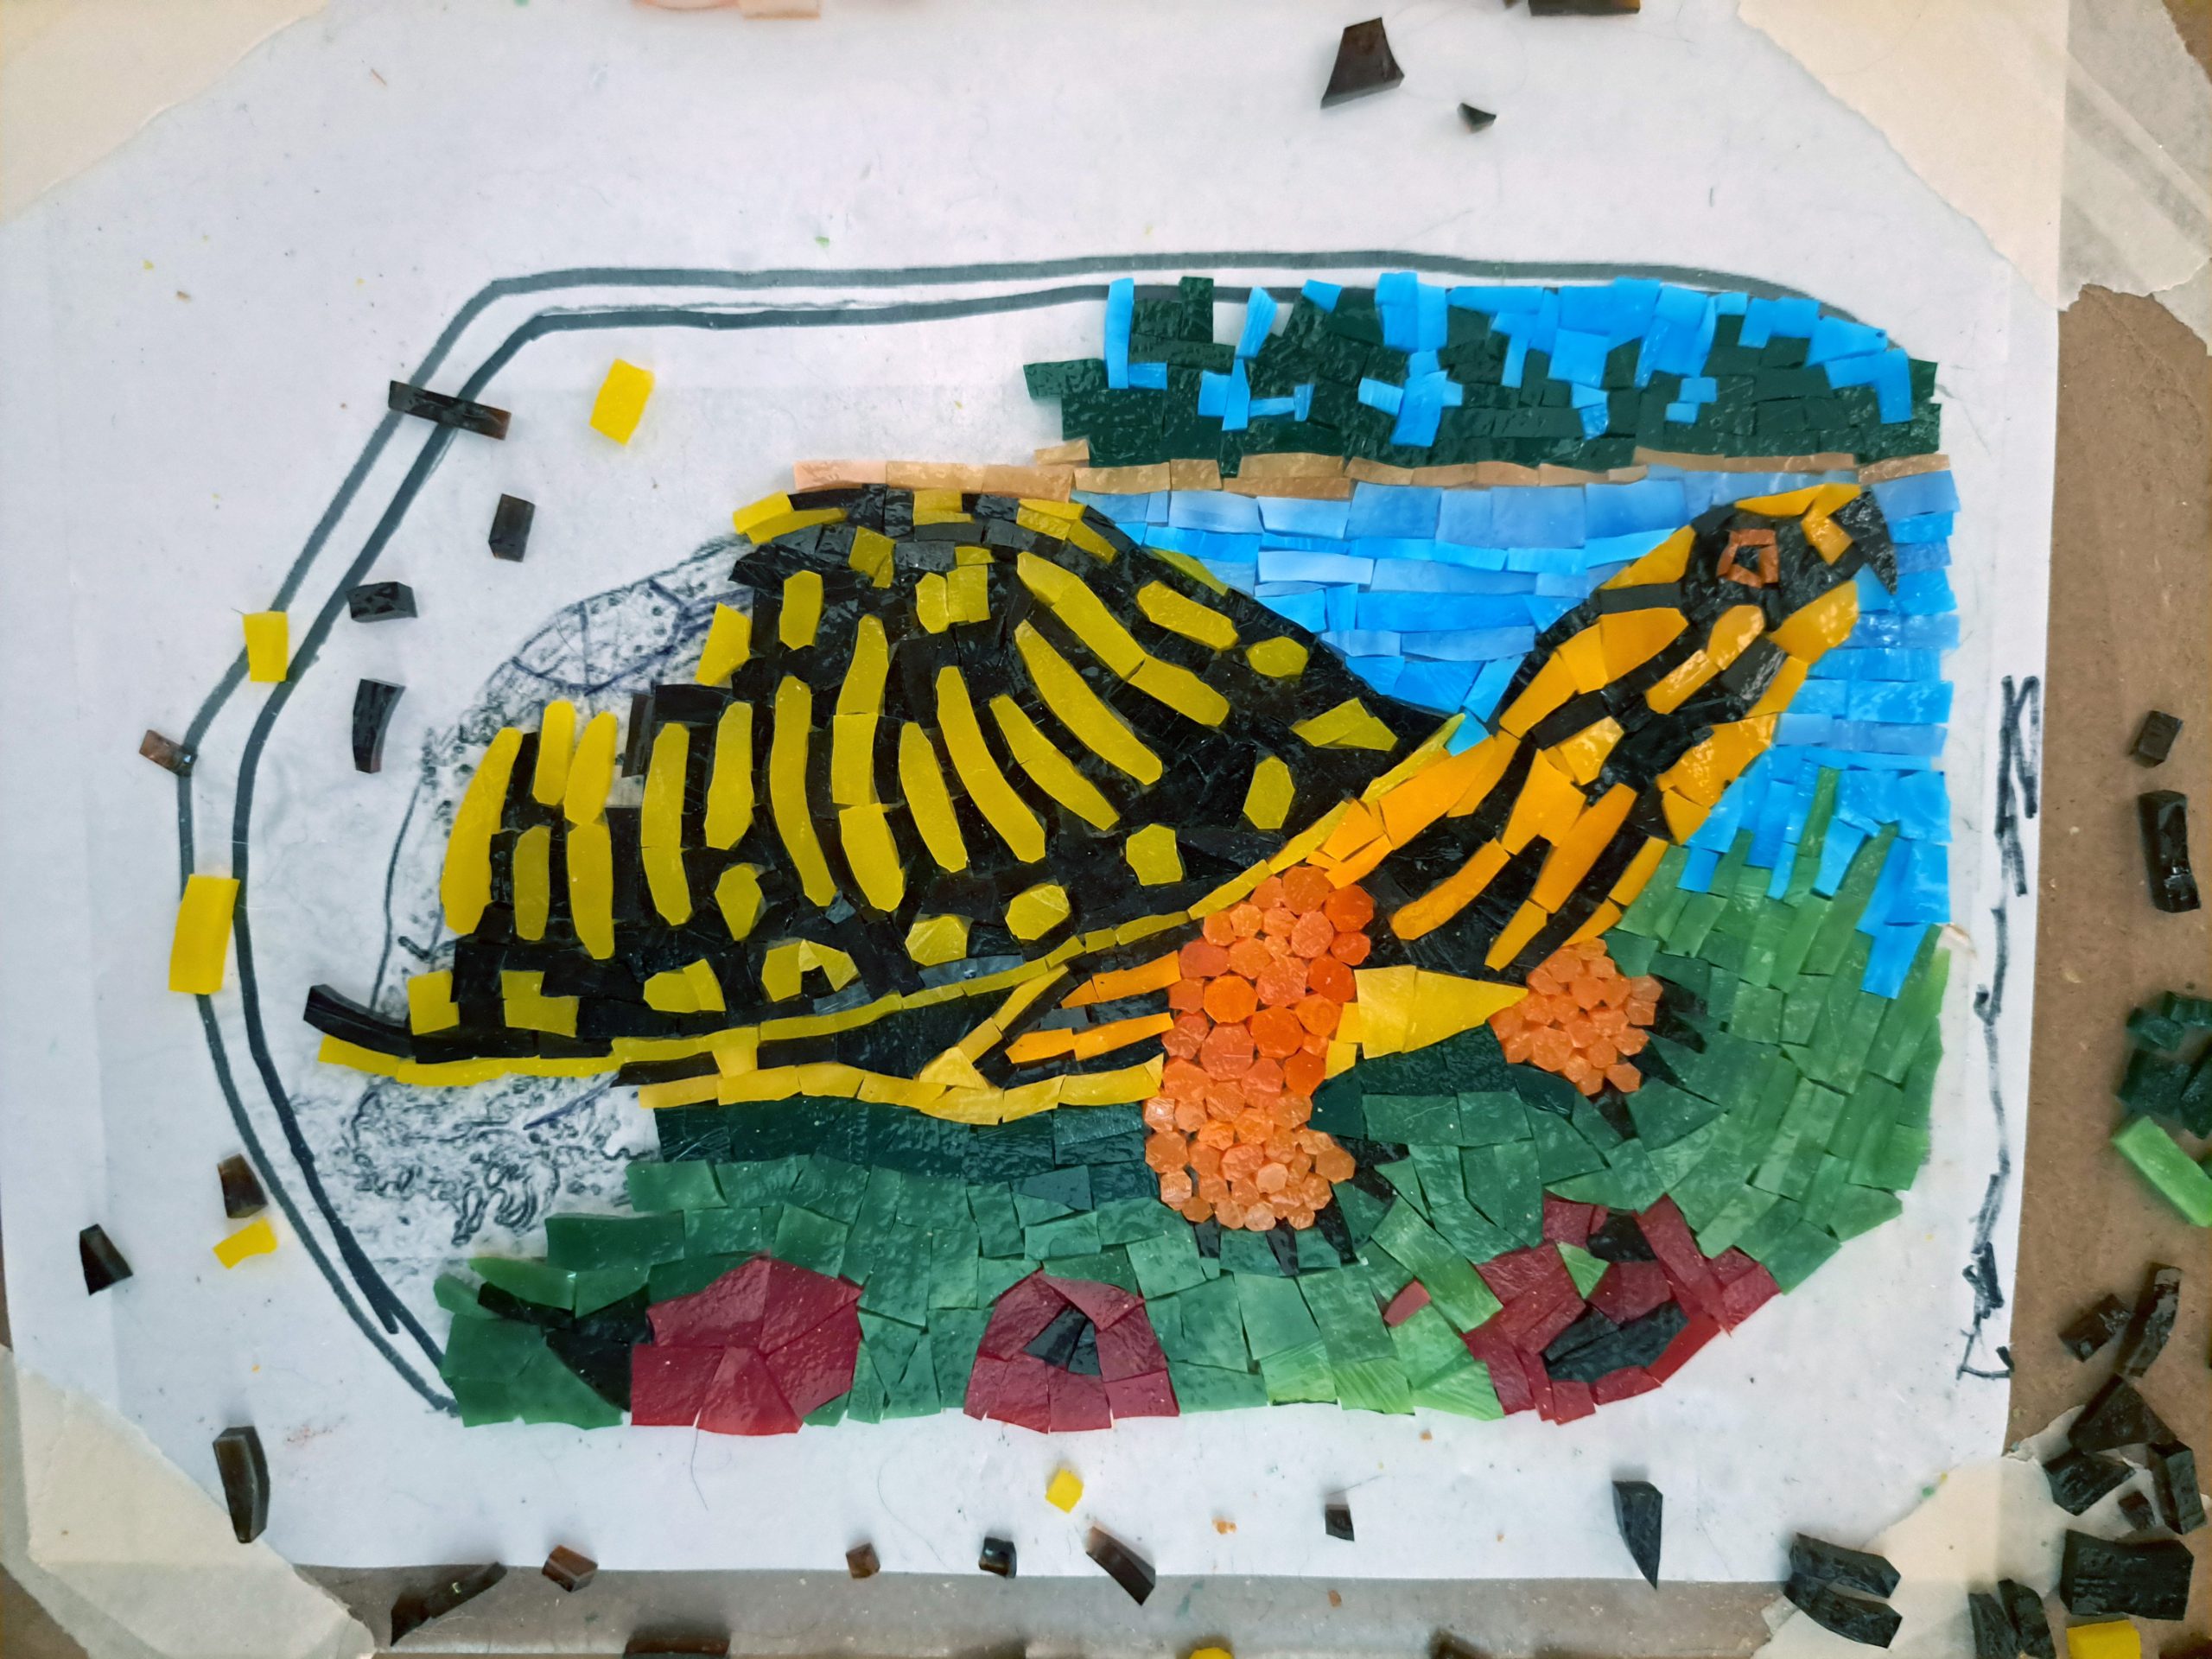
I didn’t like this previous version of the turtle shell pattern, but I was able to change it easily because I was laying all this out on a temporary surface of sticky contact paper:
Leave a Reply