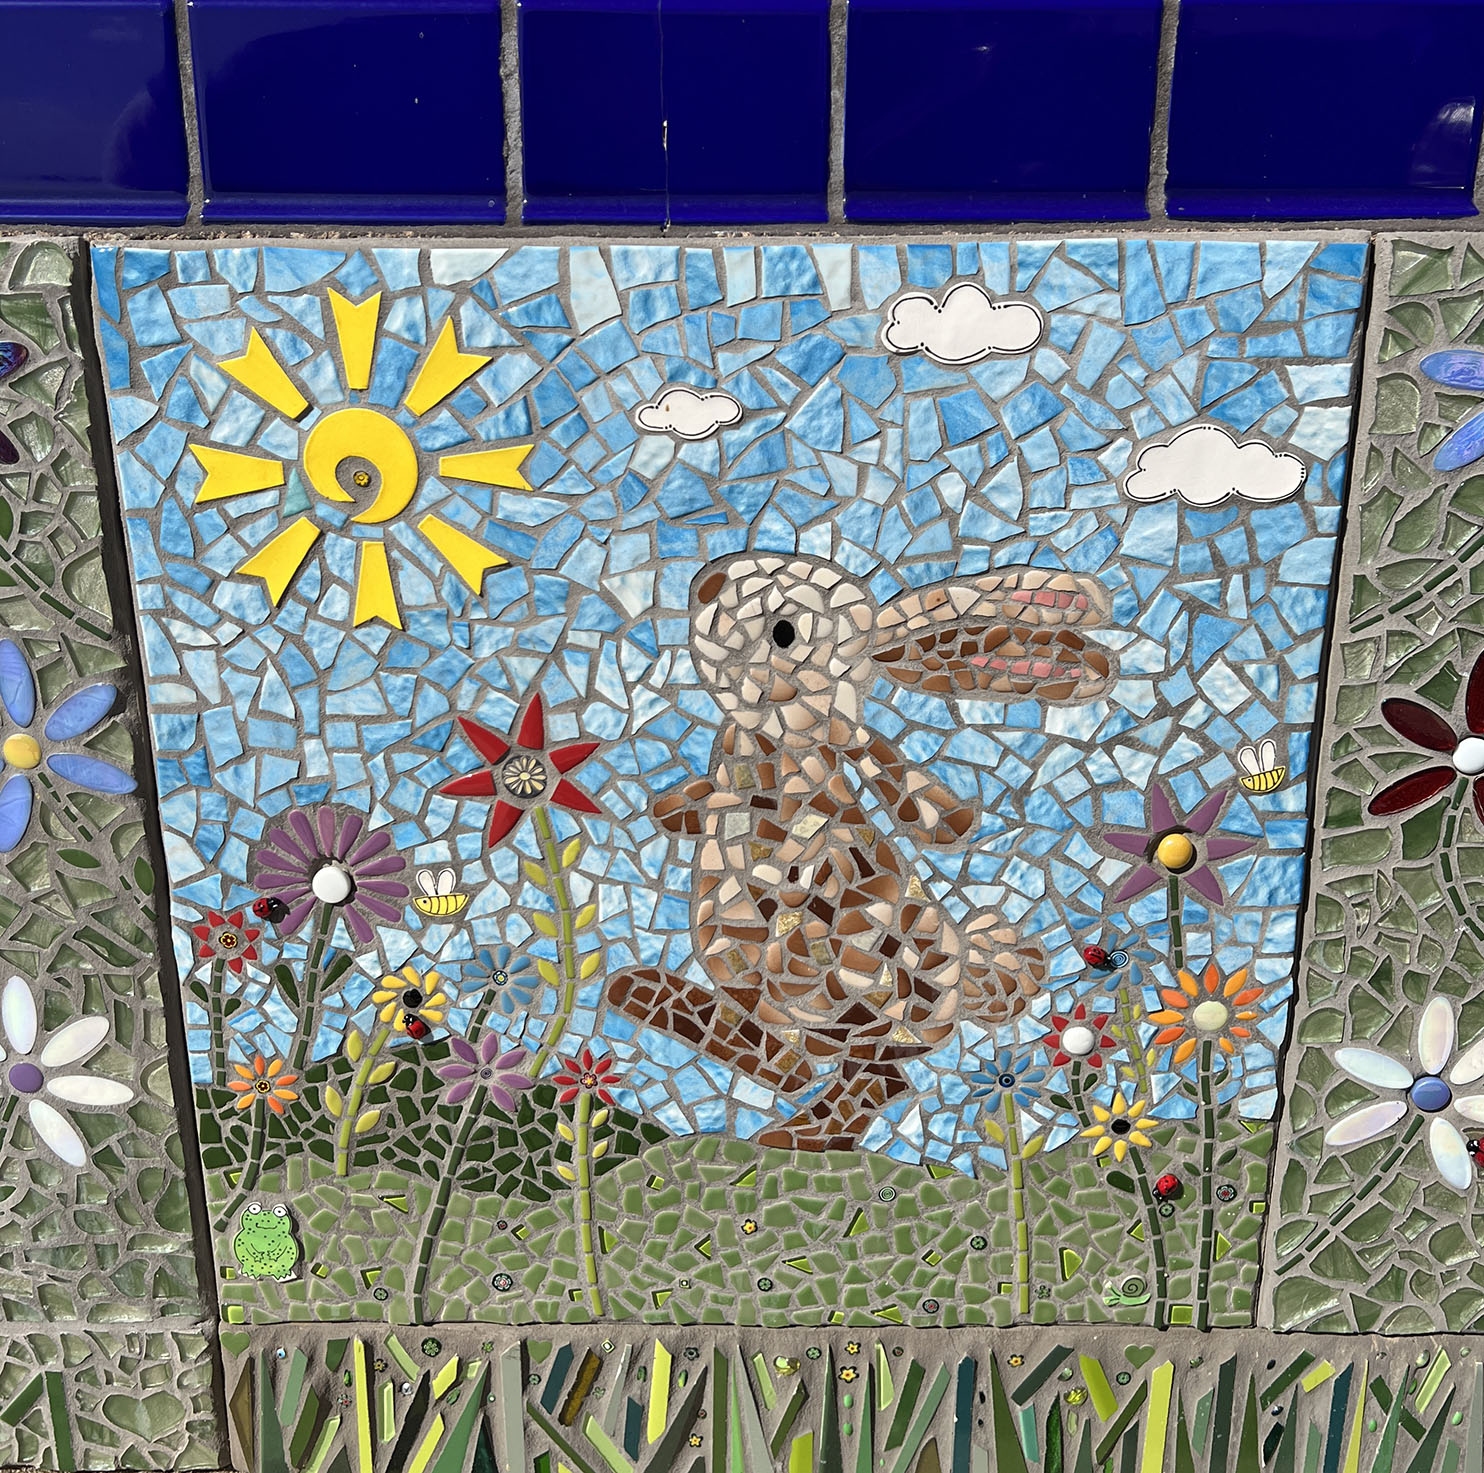
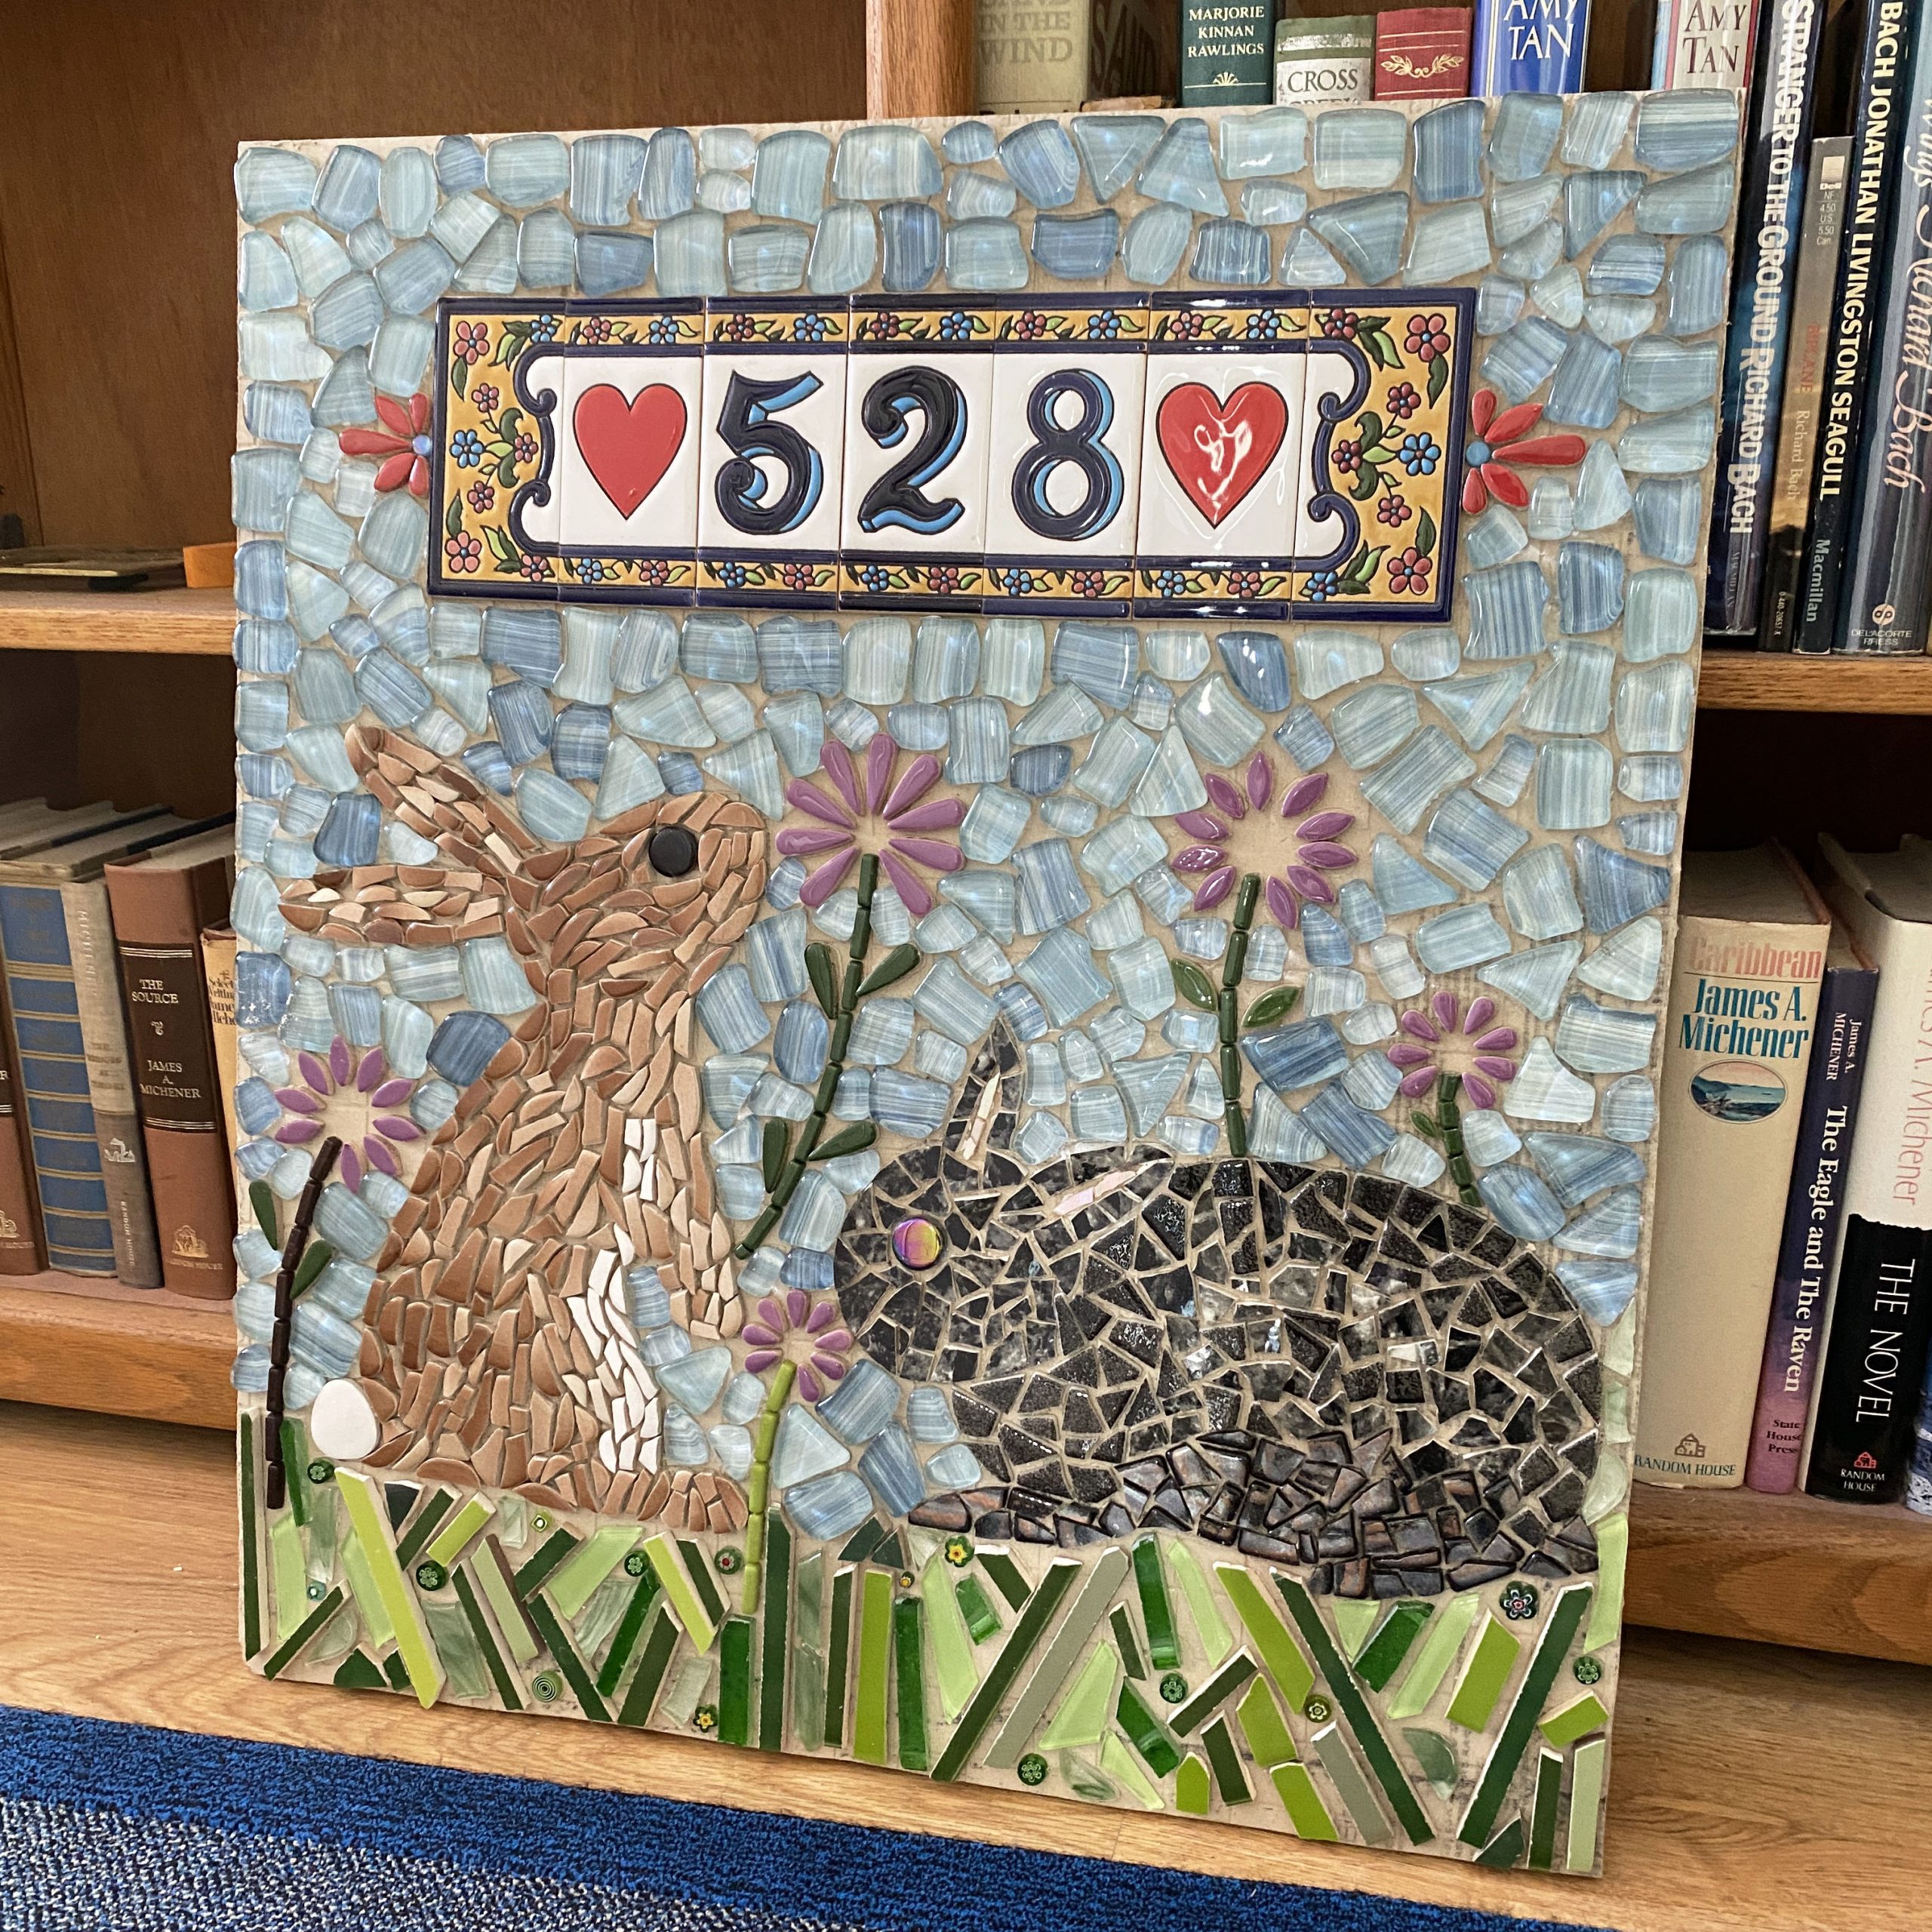
Artist Kim Kahrilas’ bunny mosaic mural uses pet portraits and children’s book illustrations for inspiration and demonstrates how you can create a larger project by making it in modules.
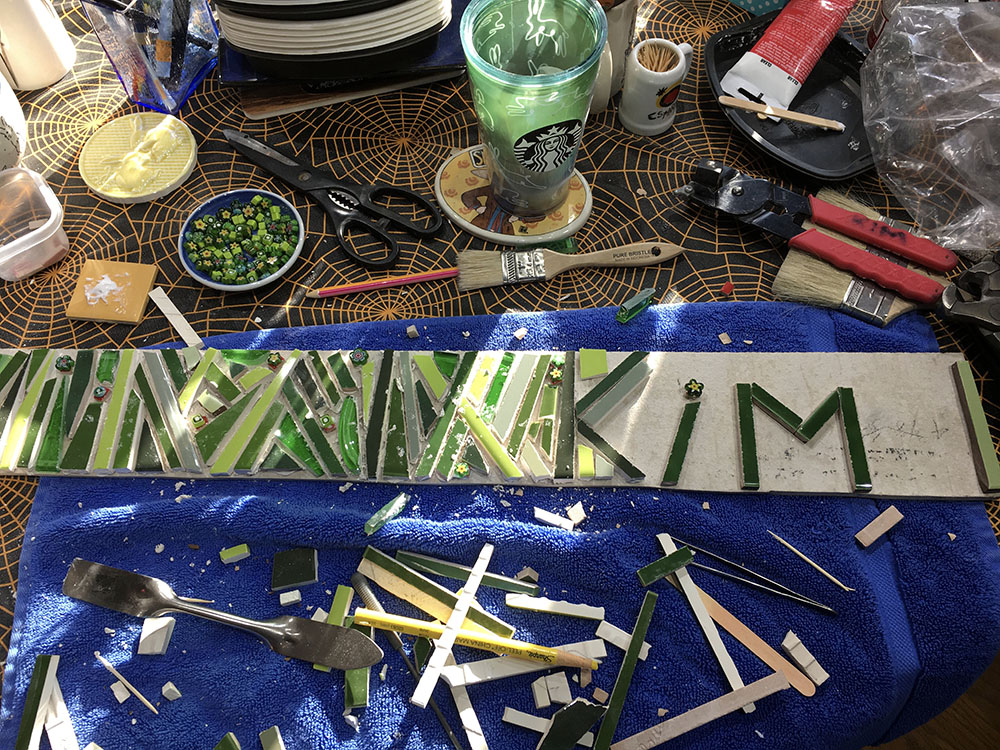
Kim made the mosaic on sections of tile backer board, with each section or panel having it own composition: four separate stand-alone scenes featuring bunnies plus some more narrow divider panels and the grass underneath the other panels.
Kim says that it took 2 years to complete the project and that looking back over the photos made her realize that she had completed a lot of other projects during that period.
That lack of stress and disruption is one of the reasons I recommend a “series of smalls” and making large projects from modular units that can function as stand-alone art.
For most artists, it is not functional to execute one large design all at once. That isn’t how they create. The all-at-once mode requires other people and helpers and equipment. It requires disruption of all other daily activities and responsibilities. It requires schedule.
The modular approach just make sense. Spread out over six months or a year, you could casually make something larger and more ambitious than what you would consider making if you had to do it all at once and disrupt your normal activities.
Here Kim describes the mounting process she used:
All of my work was done on Hardibacker and then attached to a concrete block wall with heavy-duty Gorilla construction adhesive. Before the panels were finished (and attached), we drilled a couple of holes through the Hardibacker in strategic places like the center of a flower. We also drilled corresponding holes into the concrete block wall. This provided additional strength for the panels to stay in place. After the panel was attached, I attached the tiles that I had put aside to cover those holes and then grouted. I also needed additional grout in between the panels.
-Kim Kahrilas
My preference would have been to use thinset mortar to attach the backers to the cinderblock wall instead of construction adhesive.

Important Caveat
Kim uses Hardiebacker brand tile backer board for this outdoor project. Unlike concrete backer board, HardieBacker has nice solid edges and is not crumbly . It is also structurally stronger and more rigid. I like using it for architectural projects.
The manufacturers of Hardiebacker recommend the product for indoor use only, but many artists have used it for outdoor projects. Note that these mosaic are neither submerged nor resting on the ground nor subject to seepage from behind, such as in the case of a retaining wall.
The concern with using Hardiebacker outdoors is that the concrete contains cellulose fibers, which could support mold growth.
That is why the mosaic and its edges and the backside of whatever wall it is mounted to must be thoroughly sealed.

My Preferred Materials and Methods
You might prefer Kim’s method because it uses a backer that allows the mosaic to be laid up directly on the backer at a work table in the studio before the backer is mounted.
I use different materials and methods. I prefer to mount the mosaic directly on the concrete or masonry surface with no backer.
I usually use glass mosaic tile face-mounted on mosaic mounting tape for my images, and any found objects are mounted on site directly into mortar.
The found objects are prearranged in a tray or shallow box lined with a “cushion” of folded bath towel to keep the objects from sliding around.
By prearranging found objects in a soft-bed tray, you can try different configurations and have it laid out and ready and minimize the need to improvise in rapidly hardening mortar.
In the last section of this article, I have some recommendations for mounting a mosaic directly onto a cinderblock wall without using tile backer board.
Photographing Artwork
In the photo below, note how the saturated sunlight makes the colors less intense than they would be if photographed in less intense sunlight.
We use mildly overcast days and diffuse light late in the day for photographing art.

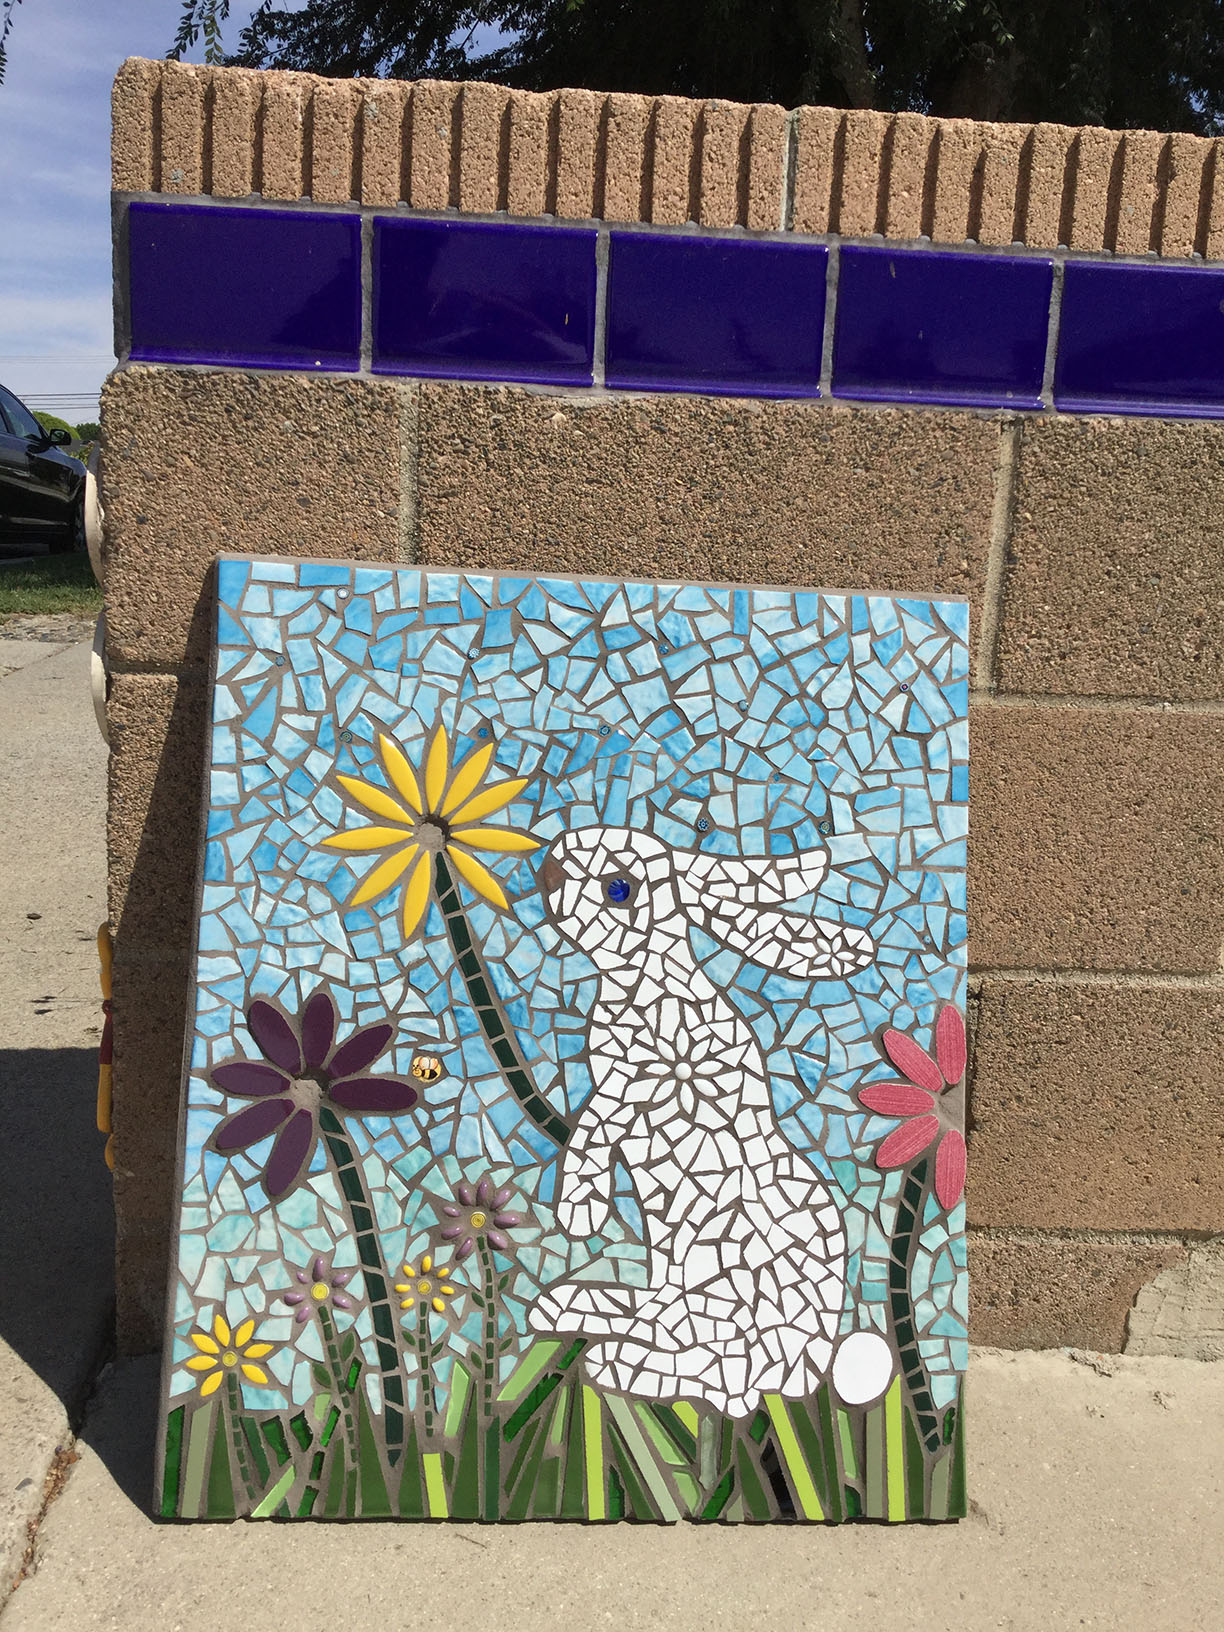
Compare how intensely blue the tile is in the photo below compared to how it looks in the photo made in saturated sunlight.
Inspiration for Mosaics
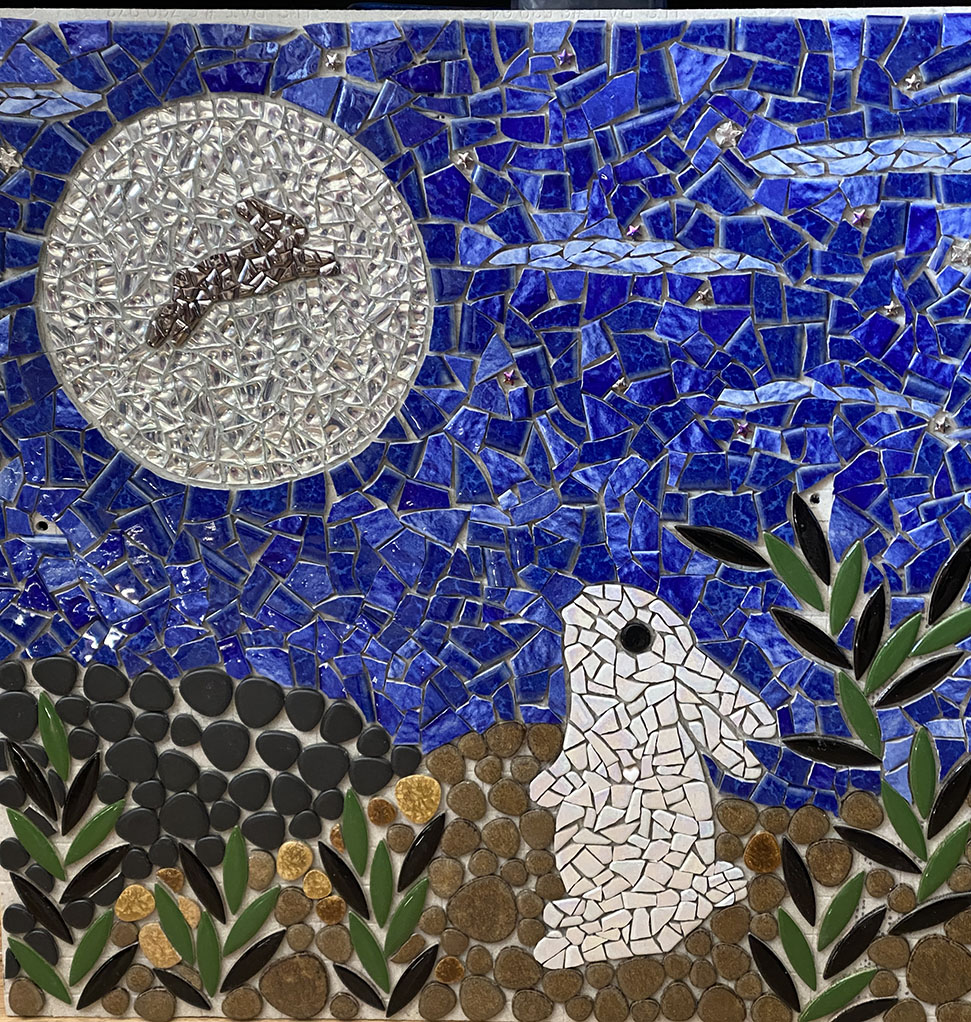
Kim says “Moon Bunny” is her favorite and is loosely based on a Japanese legend, but Kim’s bunny isn’t making mochi (Japanese ice cream) as in the legend.
Pet Portrait Mosaics
Kim writes:
The second mural (panel) consists of hand drawn portraits of our two bunnies. Betsy is a cottontail and the coloring is true – white tummy, white tail, blended browns. Lucy (short for Lucifer) is a black lionhead, just a bundle of black fur.
Kim says that she lives down the street and the kids get all excited when she tells them it’s OK to touch the ladybugs in the grass.
Making art for kids to notice is the best.

Preparing Cinderblock Walls
I prefer to mount mosaics directly onto concrete and masonry surfaces, but customer have reported of problems with cinderblock walls over time.
Cinderblock walls are simply more fragile and lightweight compared to other forms of masonry and concrete.
Cinderblock walls are particularly prone to freeze-cracking at the mortar line due to the porosity of the cinder blocks and the “pooling” of water right at the joint. The block is simply lifted out of the mortar by the expanding ice.
Moisture can come into the cinder block from the back side of the wall if that side of the wall isn’t properly sealed.
Here is what I would do to create a mosaic surface on a cinderblock wall:
Wire brush the surface to remove paint, sealers, dirt, oil residues, biofilms, dusts, and other contaminants that might not be visible or obvious.
I recommend plastering the cinder block wall with thinset mortar and a layer of fiberglass mesh. You spread the mortar with the trowel and then press the mesh into the mortar, keeping it wrinkle free.
By thinset mortar, I always mean Versabond brand and not some glorified adhesive that is deficient in sand and portland cement. You want the hard and heavy stuff, not the stuff designed to be light.
After 3 days of curing, apply a second layer of mortar and fiberglass mesh.
I might even apply a third layer depending on how vulnerable the wall looked.
After 3 days of curing, fill any pits using thinset mortar and a pallet knife or small trowel, but avoid making any any thin smears for the sake of making the surface perfectly smooth.
Thin stuff doesn’t harden properly and tends to flake off the surface in chips.
TIP: Never smear a thin layer of mortar or concrete or grout or any portland cement product over a hardened previous layer.
That thin stuff will dry out before it can harden properly. Or it will get too much moisture when the surface is misted.
It will start to chip up almost immediately, or worse yet, when you spread mortar on it to mount the mosaic.
You don’t have to keep adding mortar to make the surface smooth enough to mount the mosaic. Keep in mind that you can scrape off small burs and bumps and spackles with a paint scrapper.
I always wash and nylon brush the finished surface before I mount the mosaic on it. All loose crumbs and chalky residues need to be rinsed away.
Leave a Reply