The best way to mount an outdoor mosaic mural is to use thinset mortar and mount it directly to a brick, stone, or concrete wall.
You can make mosaic murals on foam-core backer board and mount these backers onto wooden fences with screws, but that is less than ideal for several reasons, and the weight could cause the fence to lean if its posts aren’t securely anchored. That is why we recommend mounting mosaics directly on masonry surfaces (brick, stone, or concrete).
Masonry surfaces need to be cleaned and possibly smoothed before the mosaic is mounted, but that isn’t too difficult, and it is well worth doing if you want the mosaic to last any time at all.
Lead Paint?
Paint should be removed from the surface before you mosaic it.
If there is old paint, it is likely to contain lead, especially if you notice many layers of old paint, and you need to remove it in a safe way.
There are numerous websites that explain how to DYI remove lead paint safely, and you should review a few of these before proceeding because they each have different helpful tips, but the basics of the process are to use some form of wet scraping/abrasion and use a shop vac with a HEPA filter to clean up the chips.
Of course you should wear a dust mask specifically sold for lead paint removal and make sure that your shoes and clothing don’t spread the paint dust outside your work area.
Avoid any kind of abrasion that creates fine dust if at all possible and try to remove the paint as crumbs or chips instead. Wet scraping is preferred to wet sanding for this reason.
No Paint?
Even if there isn’t any paint, the surface might still need to be scoured. There could be oil residues or concrete sealers that you can’t see but still compromise the bond that thinset mortar can make to the concrete. Dirt, mildew, and moss can also prevent mortar from making a secure bond.
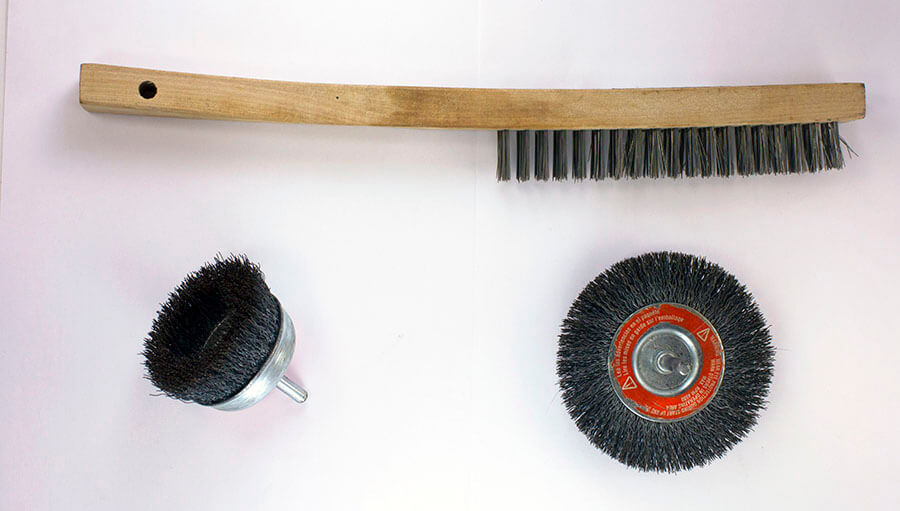
The best way of removing all that crud is with a stiff wire brush, such as used for cleaning welds in metal work.
Clean Already?
Ordinary things like moisture, freezing temperatures, soils, and the organic acids from mildew and moss damage concrete surfaces, and so if the concrete is old, there might be a thin skin of softer material on the surface that needs to be scoured off even if the surface appears to be clean.
But be aware that all concrete can be scratched with a wire brush, and so don’t keep scouring and eroding the concrete. That’s not the purpose.
It is possible for a concrete surface to be new and clean enough to be mosaiced on without any surface prep, but if there is any doubt, make sure you scour it just a little with a wire brush.
At a minimum, the surface should be washed with a spray-nozzle water hose and scrubbed with a broom.

WARNING
Keep in mind that wire brushes are like bundles of needles, and so most people can’t even pick one up at the store without pricking their finger before they get it home, and so wear leather work gloves when you handle them.
If you use a rotary brush in a power tool such as a drill or die grinder, make sure you wear the proper clothing and safety equipment (long-sleeved denim shirt and pants, safety glasses or face shield, leather gloves, leather shoes) and are aware of the dangers involved.
I consider rotary wire brushes in a power tool to be particularly dangerous for novices because the rotary motion jerks the tool forcefully when it makes contact with the surface, and it sprays particles at high velocity.
I have never used a rotary wire brush without the tool trying to leap out of my hands at least once, and I always get tiny cuts from flying particles of sand, usually in the neck and wrists or anywhere I neglected to cover up with sleeve, glove, or face shield.
If you don’t have shop experience with power tools, I recommend sticking with the hand brush and recruiting friends to help with the labor if the area is large.
Wear dust masks and safety glasses and leather work gloves no matter if you scour with power tools or by hand brush.
Don’t Have an Oops
Make sure you don’t scour the concrete or stone in places that aren’t going to be covered with mosaic because it might look odd to have an artificially scoured and cleaned region around the mosaic. Use a pencil or marker to mark an outline.

Smoothing with Thinset
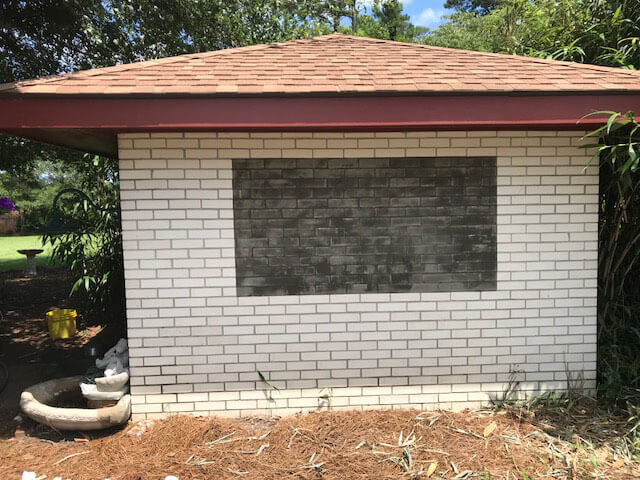
Brick walls have cement joints that are recessed from the surface of the bricks, and these are a problem for mounting a mosaic. Fortunately, you can use thinset mortar and a trowel to smooth and level the wall in the area where the mosaic will be mounted. You should do this at least a day or two before mounting your mosaic so that it can cure and harden and fully contract before you put anything on top of it.

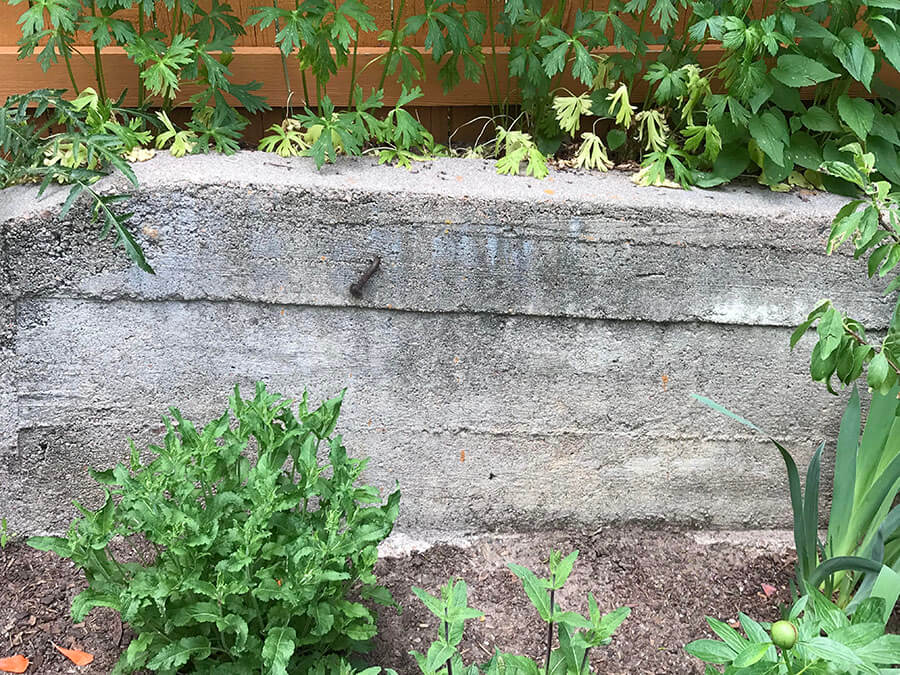
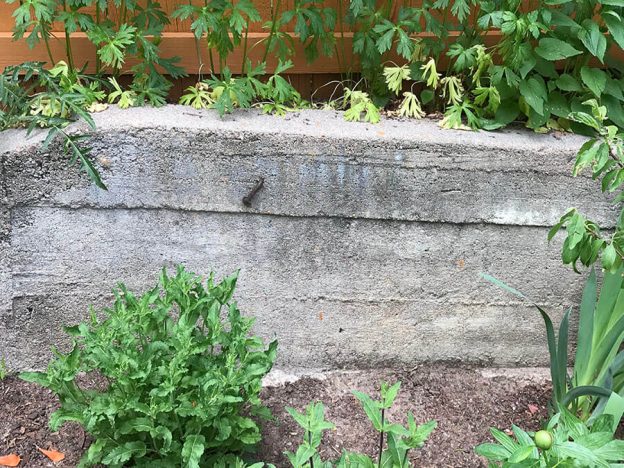
The nail in the picture above should be cut off with a rotary cutting tool such as a Dremel brand tool instead of bending it to break it off, which would weaken or crack the concrete.
The uneven surface should then be smoothed with thinset. The surface can have gentle hills and valleys and does not have to be perfectly flat (although flat is better), but you definitely don’t want sharp steps or offsets such as seen in the photo above. Instead, make a gentle slope from the high area down to the lower area using mortar and a trowel.
Mosaics on Mounting Tape
Instead of mounting one tile at a time directly on the wall, you should lay up the mosaic in advance on mosaic mounting tape. I wrote an article about using mosaic mounting tape and how to lay out the tile on top of a pattern.


Leave a Reply