Artist Jill Gatwood uses the following method to make water-resistant foam-core mosaic backers for exterior mosaics, such as the Pet Memorial Name Plaques she does for clients who need something that is lighter weight and easier to ship than stone or solid concrete. The method wraps the foam in three or four successive layers of fiberglass mesh and thinset mortar, and that coating is pretty tough, tougher than stone. (The combination of polymer-modified cement and fiberglass can withstand blows that would easily crack granite of the same thickness.)
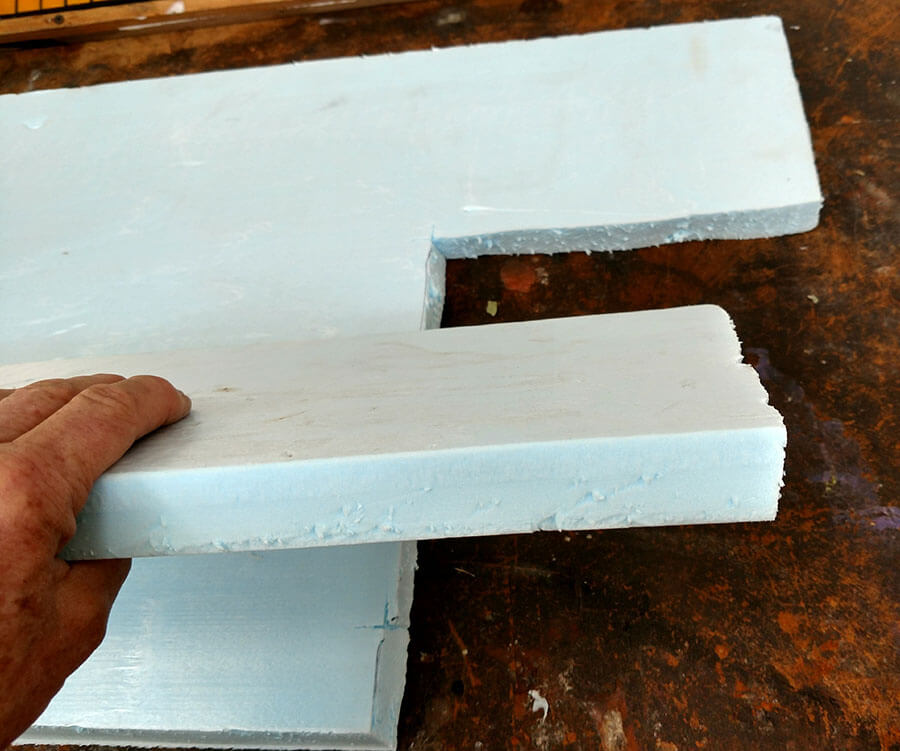
1. Cut Polystyrene Foam Board
Jill uses stiff polystyrene foam for the core of the base, products such as Owens Corning 1-inch foam insulation board, which she buys at her local building material store. It cuts easily with a box cutter or jigsaw.
TIP: If you aren’t sure about the type of polystyrene foam you have available to use, I recommend doing some destructive testing to get a feel for it’s compression strength and decide if you need extra layers of fiberglass and mortar to make it strong enough for your project. Press your finger or a rock into the surface of the foam and see how much force it takes to punch a hole or deform the surface.
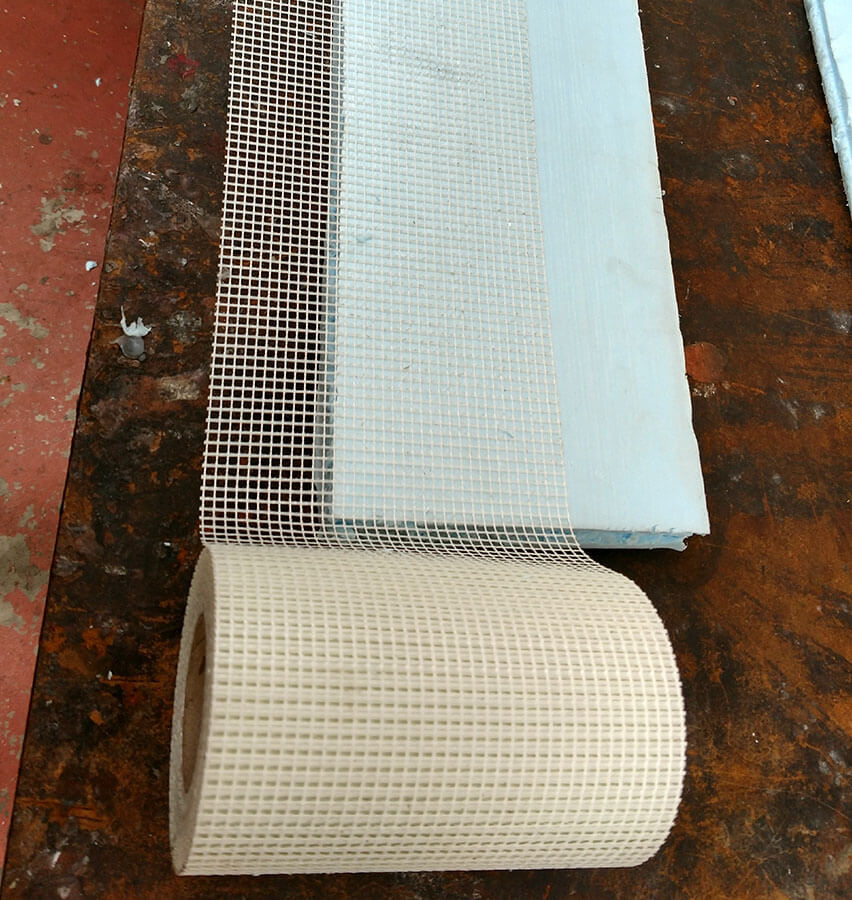
2. Wrap Foam Board With Fiberglass Mesh
Jill covers her foam board with the thin rolls of self-adhesive fiberglass mesh that can be found in the stucco-repair area of home improvement stores, but you can also use regular fiberglass mesh such as we sell. In that case, you would fold it around the foam board like wrapping a present and tie it with a thin gauge wire such as bailing wire.
TIP: The last time I made something like this, I secured the mesh temporarily with masking tape until I got the wire wrapped around it and twisted tight. I used some bare copper wire to bind it because that is what I had. I will try to make time to make an example and photograph it, but anyone who has ever wrapped a present and then tied it with string or ribbon should have the idea.
TIP: Keep in mind that the mesh doesn’t have to stick to the foam by itself because the mortar will take care of that, and it makes things stronger if the mesh is in the mortar and not underneath it.
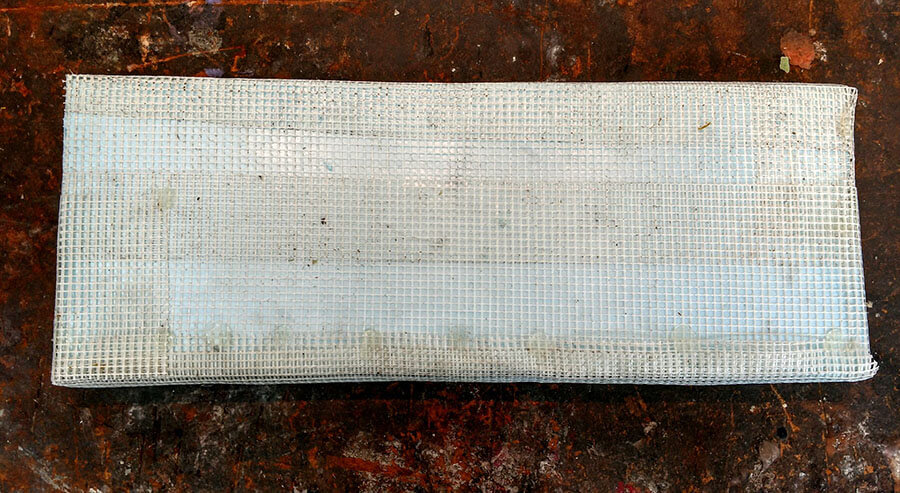
3. Overlap If Needed
If you are using the narrow strips of fiberglass mesh that is sold for stucco repair, you will need to overlap it by an inch or two to get the surface fully covered, but that isn’t a problem.
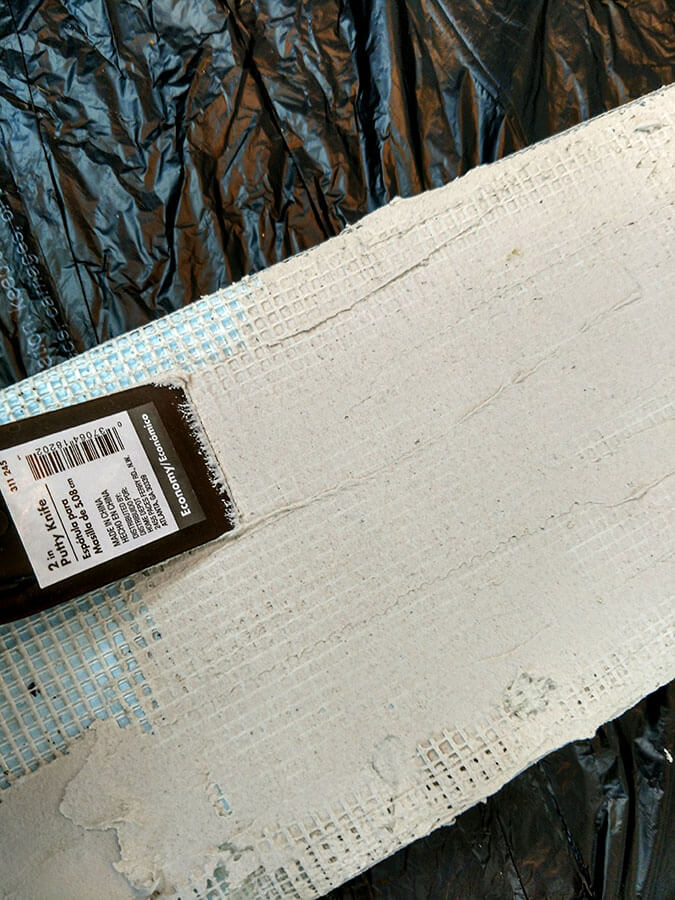
4. Apply Thinset Mortar To First Layer
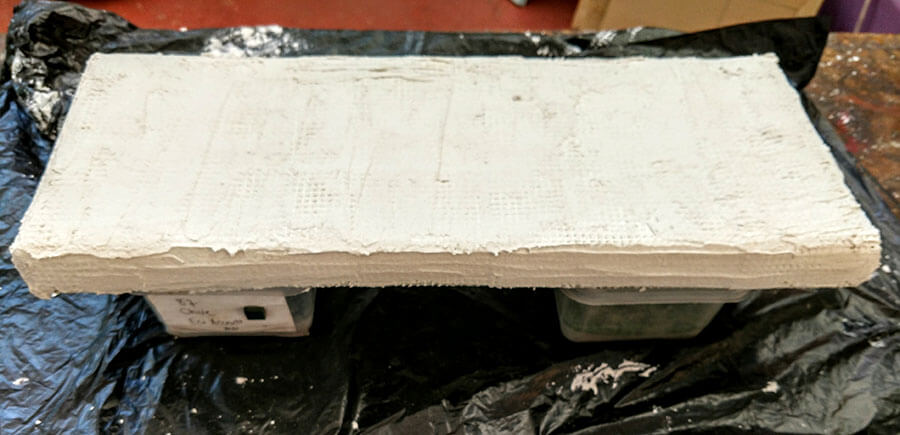
Use a putty knife or trowel to spread the thinset on the mesh. I have written some instructions for using thinset mortar for detailed found-object sculptures, but you should read it if you haven’t worked with mortar before because it has practical tips for keeping your hands clean and handling and storing the material. Allow the mortar to harden for a day before proceeding. Prevent the mortar from completely drying out as it hardens by keeping it near a humidifier or under a sheet of plastic such as a trash bag.
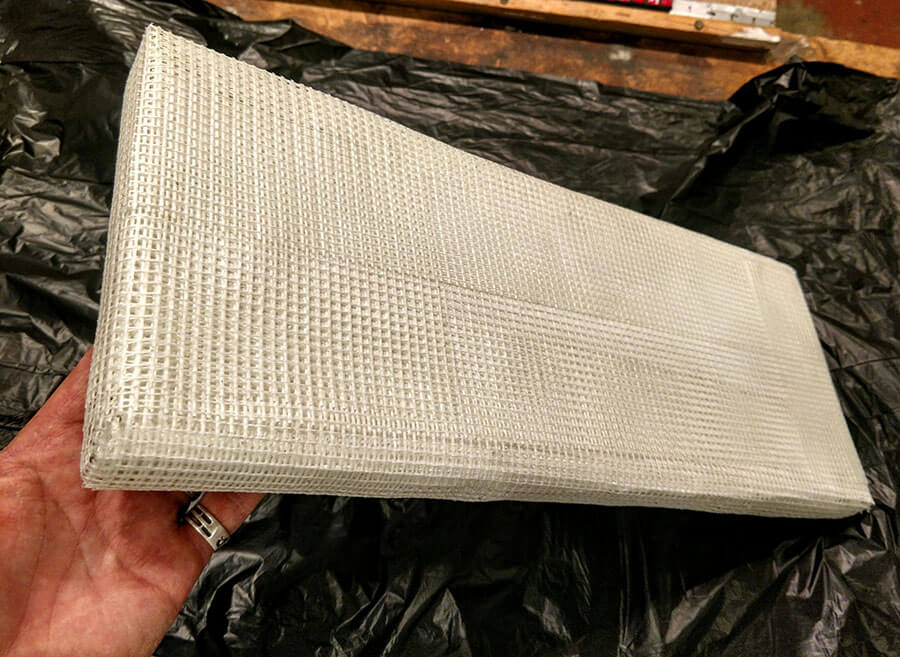
5. Wrap With Second Layer of Mesh
If your first coat of mortar has any irregular bumps or wrinkles that you don’t like, you can sand those off with a variety of rough surfaces including coarse grit sandpaper or sanding belts or a marble file such as we sell. I have sanded projects like this by rubbing them on the concrete drive of my shop.
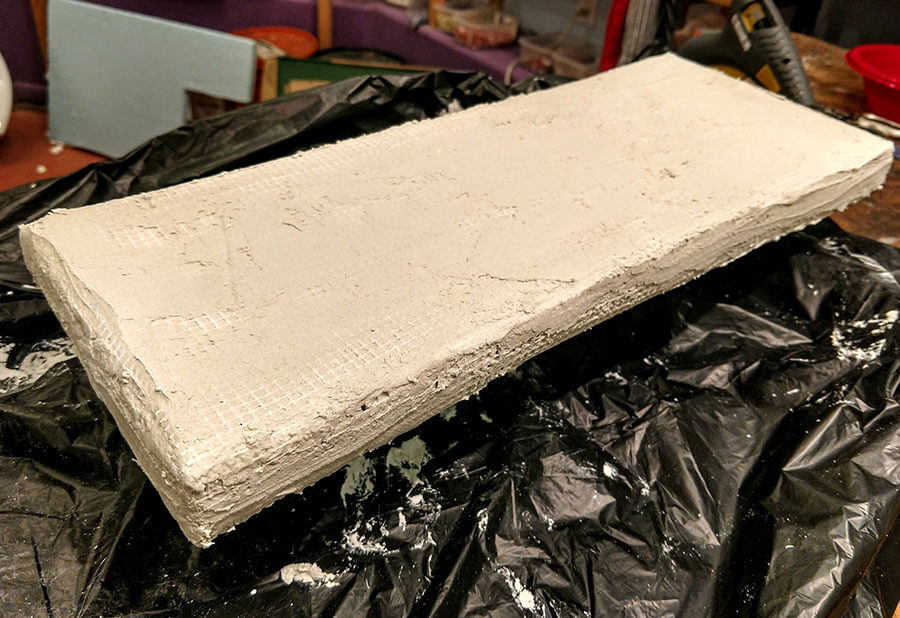
6. Apply Thinset Mortar To Second Layer
Each successive layer can be used to fix minor defects with previous layers. For example, if any loose strands of fiberglass are sticking out, you can simply cut them with a pair of scissors and cover with more mortar. This method is simple and forgiving.
7. Third Layer Of Mesh And Mortar
You should do three layers of mesh and mortar, but whether or not you should add a fourth layer is a matter of judgment. If the size of your board is fairly small, then three layers is sufficient in all probability, unless perhaps if you were stingy with the mortar in each layer. If your board is large, then there is always the possibility that it could break if someone stepped in the middle of it, but a fourth or possibly fifth layer would make it incredibly strong.
8. Sand The Finished Board If Needed
The smoother a surface is, the easier it is to tile, but it doesn’t have to be perfectly smooth. What I am thinking of are bumps that stand above the surrounding surface. The surface can actually be rough, just not so bumpy that a tile can’t lay flat on it.
9. Tiling The Board
For the central lettered part of Jill’s Pet Memorial Name Plaques, she uses the contact paper/tile tape method to lay up the design and transfer it onto the board spread with thinset. For the border area, Jill puts thinset into a clear baggie and cuts off the corner and squirts out a blob on the bottom of each tile and places them on the board.
10. Hanging Finished Mosaic?
IF you are making a backer of this type for hanging, keep it relatively small and use only two layers of mesh and mortar. Use hardware that is rated at least three times the weight of the mosaic. Have two of more points of attachment so that if one breaks the mosaic does not fall.
Large projects should be screwed to the wall at multiple points and not hung.
Make sure you only hang a mosaic on walls that can support the weight and anchor mounting fasteners into the studs of the wall. Consult a carpenter if needed.
Don’t create a dangerous situation with any wall-hanging sculpture. Hang them in locations where they are less likely to be bumped or can’t fall on people’s feet or heads. If it has to go someplace where that might happen, they need to be screwed to the wall.
How To Hang Your Mosaic
The best way to hang a small mosaic made from this type backer is to use D-loop picture hangers, and to put the mounting plates of the D-loops under at least one layer of mesh and thinset, with the loop part of the hanger poking out through slits in the mesh and exposed.
I would also use the screws provided in the holes in the mounting plate to further secure the plate to the backer. It helps if the mounting holes aren’t filled with thinset. If the screws strip out the foam core, then squirt some Weldbond glue in the hole and reinsert the screw.
Alternatively, you can make your own D-loops from heavy-gauge fencing wire or small steel rod and make each loop have long feet that can be under the mesh, but we are talking not talking about electrical wire or stranded cable. You need something that stays bent so that you can put a few bends in the feet so they can’t slip out of the mesh as you apply the thinset. Bend the feat in zig-zags so that lie flat against the board and hold the loop out.
If you forget to build in your D-loops as you were making your backer, all is not lost. You can add a rectangle of mesh and thinset to the back of the board. Put the mounting plates under the mesh and have the loop part of the D-loops poking out through slits in the mesh. Then plaster the mesh, taking care not to contaminate the loops too badly. Painters tape can help with that.
Alternatively, if you wanted to use a French-cleat hanging system, you could attach the cleat using lathe screws I believe, although you might have to squirt Weldbond into some of the holes if the lathe screws stripped out the foam core and couldn’t get a grip. Of course you also need the foot of the cleat under the mesh and not be held by fasteners alone.
For an outdoor mosaic, you would want to buy a metal French-cleat hanger from the hardware store or make it from heavy gauge z-channel. Natalija wrote an article about making a wooden French-cleat hanging system, but that was for dry indoor art.

Leave a Reply